EDST Quext Smart Thermostat User manual


2
Quext IoT User Manual
Contents
Getting Started � � � � � � � � � � � � � � � � � � � � � � � � � � � � � � � � � � � � � � � � � � � � � � � � � � � � � � � 3
Contact Info � � � � � � � � � � � � � � � � � � � � � � � � � � � � � � � � � � � � � � � � � � � � � � � � � � � � � � � � � � � � � � � � � � � � � � � � 3
Installing the Quext IoT App � � � � � � � � � � � � � � � � � � � � � � � � � � � � � � � � � � � � � � � � � � � � � � � � � � � � � � � � � � � � � � 3
Thermostat Overview � � � � � � � � � � � � � � � � � � � � � � � � � � � � � � � � � � � � � � � � � � � � � � � � � � � � � � � � � � � � � � � � � � 3
Indicators � � � � � � � � � � � � � � � � � � � � � � � � � � � � � � � � � � � � � � � � � � � � � � � � � � � � � � � � � � � � � � � � � � � � � � � � � � 4
Manual Controls � � � � � � � � � � � � � � � � � � � � � � � � � � � � � � � � � � � � � � � � � � � � � � � � � � � � � � 5
Thermostat � � � � � � � � � � � � � � � � � � � � � � � � � � � � � � � � � � � � � � � � � � � � � � � � � � � � � � � � � � � � � � � � � � � � � � � � � 5
Links to Video Tutorials � � � � � � � � � � � � � � � � � � � � � � � � � � � � � � � � � � � � � � � � � � � � � � � � � � � � � � � � � � � � � � � � � 5
Using the Quext IoT App � � � � � � � � � � � � � � � � � � � � � � � � � � � � � � � � � � � � � � � � � � � � � � � � � 7
First-time setup � � � � � � � � � � � � � � � � � � � � � � � � � � � � � � � � � � � � � � � � � � � � � � � � � � � � � � � � � � � � � � � � 7
Signing In � � � � � � � � � � � � � � � � � � � � � � � � � � � � � � � � � � � � � � � � � � � � � � � � � � � � � � � � � � � � � � � � � � � � � � � � � � 7
Overview of the App � � � � � � � � � � � � � � � � � � � � � � � � � � � � � � � � � � � � � � � � � � � � � � � � � � � � � � � � � � � � � � � � � � � 8
Operating the Thermostat � � � � � � � � � � � � � � � � � � � � � � � � � � � � � � � � � � � � � � � � � � � � � � � � � � � � � � � � � � � � � � � 9
Setting up Thermostat Schedules � � � � � � � � � � � � � � � � � � � � � � � � � � � � � � � � � � � � � � � � � � � � � � � � � � � � � � � � � 10
Using the Quext IoT Website � � � � � � � � � � � � � � � � � � � � � � � � � � � � � � � � � � � � � � � � � � � � � 11
Dashboard Overview � � � � � � � � � � � � � � � � � � � � � � � � � � � � � � � � � � � � � � � � � � � � � � � � � � � � � � � � � � � � � � � � � � 11
Setting up Thermostat Schedules � � � � � � � � � � � � � � � � � � � � � � � � � � � � � � � � � � � � � � � � � � � � � � � � � � � � � � � � � 11
Regulatory Information � � � � � � � � � � � � � � � � � � � � � � � � � � � � � � � � � � � � � � � � � � � � � � � � � � � � � � � � � � � � � � � � 12

3
Quext IoT User Manual
Getting Started
This guide will show you how to operate your Quext smart thermostat and door lock using manual controls as
well as the Quext IoT mobile app and website�
Contact Info
If you experience any problems using your IoT technologies, use the Contact Us link in the Quext IoT app, or
instantly chat with or email Quext support at help�quext�io� Available chat hours are M-F, 9:00am-12:00pm and
1:00pm-5:00pm Central Standard time�
Installing the Quext IoT App
The Quext IoT app is supported on iPhone and Android phones� Search “Quext IoT Resident�” On Android phones,
Location Services for Bluetooth must be enabled� Biometric authentication is strongly recommended�
Thermostat Overview
The thermostat dial lets you adjust the current temperature setting and access menus of additional features�
The LED screen displays temperature set points, override duration, menus, and indicators�
Item Description
A Network connection
B Infrared sensor
C Temperature set point
D Thermostat mode
E Fan mode
F Control method
G Dial
H Current room temperature
See next page for full list of indicators

4
Quext IoT User Manual
Indicators
The table below describes each indicator on the thermostats display
Indicator Description Indicator Description
▪Solid: Connected to the network
▪Flashing: Attempting to connect
▪Dark: No network connection
Thermostat mode
▪COOL: The system cools to the set
temperature
▪HEAT: The system heats to the set
temperature
▪AUTO: The system maintains the
temperature between the upper
and lower set points
▪OFF: The system is turned off
Property control mode; contact
Property Management
Power issue; contact Property
Management
▪Solid: AA batteries low
▪Flashing: 24V power not present
System mode Fan mode
▪AUTO: The fan operates only while
the system is cooling or heating
▪ON: The fan operates continuously
▪CIRC: The fan operates for a set
amount of time every hour to keep
air circulating
Fan active; also menu option to
change fan mode
Set the control method (Smart*/
Local)
*Only if schedule is set and active
Operation not allowed ▪Local- Not following any
automation
▪Smart- Can only be selected if a
schedule has been creating on
either the app or web
Delay in progress
System error; contact Property
Management
The number displayed is the duration
in hours of the temporary override
The current setting is a temporary
override of the scheduled operation

5
Quext IoT User Manual
Manual Controls
Thermostat
Use the thermostat dial to select options on the display� Turn the dial to highlight different options� Press and
release the dial to select the option that is currenly highlighted�
The control menu below is the starting point for many functions� From left to right, the control menu icons are
System mode, Fan and Settings�
Setting the thermostat mode
The thermostate has four operating modes: COOL, HEAT, AUTO and OFF�
To turn the thermostat off:
1� Press the dial once to highlight the control menu�
2� Turn the dial to highlight System mode , then press the dial to select it�
3� Turn the dial to highlight OFF on the system mode menu, then press the dial to select it�
Use COOL mode to prevent the temperature from rising above a set point:
1� Press the dial once to highlight the control menu�
2� Turn the dial to highlight System mode , then press the dial to select it�
3� Turn the dial to highlight COOL on the System mode menu, then press the dial�
4� Turn the dial to select the desired temperature, then press the dial�
5� If SMART mode is active, turn the dial to select the number of hours (up to 24) for this setting to override
the scheudled operation, then press the dial�
Video Tutorial
How to Adjust Your Thermostat

6
Quext IoT User Manual
Use AUTO mode to maintain the temperature between a high and low point
1� Press the dial once to highlight the control menu�
2� Turn the dial to highlight System mode , then press the dial�
3� Turn the dial to highlight AUTO on the System mode menu, then press the dial�
4� Turn the dial to select the temperature at the cool end of the range, then press the dial�
5� Turn the dial to select the temperature at the heat end of the range, then press the dial�
6� If SMART mode is active, turn the dial to select the number of hours (up to 24) for this setting to override the
scheduled operation, then press the dial�
Adjusting the temperature set point
When the thermostat is in COOL or HEAT mode, you can simply turn the dial to adjust the temperature set point�
When the thermostat is in AUTO mode, turn the dial to adjust the cool end of the range rst, press the dial to set
it, then turn the dial to adjust the heat end of the range and press the dial to set it�
Setting the fan mode
The fan has three operating modes: AUTO, ON, and CIRC�
To run the fan only while cooling or heating:
1� Press the dial once to highlight the control menu�
2� Turn the dial to highlight Fan , then press the dial�
3� Turn the dial to highlight AUTO on the Fan mode menu, then press the dial�
To run the fan continuously:
1� Press the dial once to highlight the control menu�
2� Turn the dial to highlight Fan , then press the dial�
3� Turn the dial to highlight ON on the Fan mode menu, then press the dial�
4� If SMART mode is active, turn the dial to select the number of hours (up to 24) for this setting to override the
scheduled operation, then press the dial�
Use HEAT mode to prevent the temperature from falling below a set point:
1� Press the dial once to highlight the control menu�
2� Turn the dial to highlight System mode , then press the dial to select it�
3� Turn the dial to highlight HEAT on the system mode menu, then press the dial�
4� Turn the dial to select the desired temperature, then press the dial�
5� If SMART mode is active, turn the dial to select the number of hours (up to 24) for this setting to override
the scheudled operation, then press the dial�

7
Quext IoT User Manual
To run the fan periodically in order to circulate air:
1� Press the dial once to highlight the control menu�
2� Turn the dial to highlight Fan , then press the dial�
3� Turn the dial to highlight CIRC on the Fan mode menu, then press the dial�
4� Turn the dial to select the number of minutes to run the fan each hour (in 5-minute increments), then press
the dial�
5� If SMART mode is active, turn the dial to select the number of hours (up to 24) for this setting to override the
scheduled operation, then press the dial�
Using the Quext IoT App
First-time setup
1� Open the Quext IoT app�
2� Enter your username and password� If you do not have this information,
contact Property Management�
3� Optionally, select Save password to skip the login page in the fu-ture�
4� If you forgot your password, tap Forgot password? and follow the on-
screen instructions to reset your password�
5� Tap SIGN IN.
6� When you are prompted to allow the app to access your location (or
Bluetooth, depending on your mobile operating system), agree and follow
the on-screen instructions to allow access�
7� Enter a four-digit PIN code of your choosing and tap NEXT� You will use this
code to access the app on future sign-ins or when the app locks out after a
period of inactivity�
8� Re-enter the PIN code to verify it and tap START�
9� Select an authentication method to use by default (a PIN code or biometric
identication) and tap SAVE�
You’re now logged in and on the Home Page�
Signing In
After initial setup, signing in uses the authorization method selected on the Settings page (PIN or biometric
identication).
1� Open the Quext IoT app�
2� Enter your PIN or provide biometric identication as instructed.
You’re now logged in and on the Home Page�

8
Quext IoT User Manual
Overview of the App
The Home Page shows the current temperature, thermostat settings and smart lock controls�
You can adjust temperature setting from the Home Page� Drag the circule on the slider, or tap a point on the
slider path� When AUTO mode is active, move the two slider circles to the lower and upper points of the desired
temperature range�
Item Description
ATemperature slider
BTemperature set point and mode indicator
(appearance depends on current mode)
CCurrent room temperature
DCurrent room humidity
EThermostat mode
FFan mode
GControl method
HLocation selector
IUnlock door
JList of linked devices
KPage tabs
The More Page provides options to get help and manage application settings�
Contact us: Options for contacting your apartment community staff�
Settings: Options to manage Quext IoT app security and access methods�

9
Quext IoT User Manual
Settings
Save password: When selected, the app does not require you to enter your
password� To maintain security, biometric authorization is used instead of
the password. (Biometric identication must be set up and enabled on your
device�)
Change Pin Code: Enter a new PIN code to access the app�
Lockout interval: Select the length of time before lockout when the app is
idle�
Lockout method: Select whether to use a PIN code or biometric
authorization to access the app after a lockout�
Devices Search Duration Time: Select the amount of time the app should
search for a lock within range to which you have access�
Operating the Thermostat
On the Home page, tap an area around the temperature slider to open the Thermostat page�
The Thermostat page provides options to set operating modes manually and to set up scheduled operation�
Like the Home page, the appearance of the temperature sliders and mode indicators depends on the current
mode. The gure below shows the Thermostat page in COOL, HEAT, and AUTO modes�
To adjust a temperature set point, drag the slider to the desired temperature�
To change the thermostat or fan mode, tap the bar and select the desired mode from the list�

10
Quext IoT User Manual
Setting up Thermostat Schedules
Use the Quext IoT app to create “events” — thermostat operations that occur on scheduled days and times�
An event has a start time but no end time� Each event on the schedule ends when the next event begins�
While an event is in progress, Smart mode is active� Any manual changes to the temperature and fan settings are
temporary overrides before scheduled operation resumes�
Create an event
1� On the Quext IoT app Home Page, tap the thermostat�
2� Tap Control Method�
3� Tap the plus button to open the Add Event page�
4� Select the days of the week on which the event will be active� The
buttons are labeled with abbreviations of each day from Sunday
through Saturday�
5� Tap the time bar to enter a start time for the event� You can enter
a start time using the clock or keypad control� Tap the icon in the
lower left corner of the page to toggle between these methods�
• Clock: Select AM or PM, tap an hour, and then tap a minute�
• Keypad: Tap the hour eld, enter an hour, tap the next
arrow, then enter a minute, then tap the check key, then
select AM or PM�
6� Tap Done�
7� Tap Mode and select the mode the thermostat will enter at the
event start time�
8� Tap Fan and select the mode the fan will enter at the start time�
9� Use the slider(s) to set the desired temperature (for Heat and Cool
modes) or the temperature range (for Auto mode)�
10� Tap Done to save the event and return to the Schedule page�
Modify an Event
On the Schedule page, tap an event to open the Edit Event page� Make your desired changes and tap Done�
Delete an event
On the Schedule page, tap the trash icon in the upper right corner of an event tile� When you are prompted to
conrm the deletion, tap Delete�

11
Quext IoT User Manual
Using the Quext IoT Website
Dashboard Overview
Welcome to your dashboard! It shows your home’s current temperature, thermostat settings/schedule(s) and smart
lock property activity and home door access histories�
Item Description
ACommunity/Unit information
BTemperature set point and mode indicator
(appearance depends on current mode)
CCurrent room temperature & humidity
DThermostat & fan modes, and control
method
ETo access or create schedule(s)
FShows home door access logs
GList of linked devices and who has access
to them
HShows smart lock property activity
Setting up Thermostat Schedules
Create an Event
1� Navigate to iot�quext�io and login�
2� On the Quext IoT Website Home Page, select Edit Schedule�
3� Select ADD EVENT�
4� Deselect any days that you do not want on the schedule being created�
• Note: Sunday will be deselected, by default
5� Select the Calendar icon to choose a time the schedule will begin on the
rst day of the event.
6� Select Mode and choose the mode the thermostat will enter at the event
start time�
7� Select Fan and choose the mode the fan will enter at the start time�
8� Use the slider(s) to set the desired temperature (for Heat and Cool
modes) or the temperature range (for Auto mode)�
9� Select ADD EVENT again to create another schedule�
• Note: When multiple events are created, current schedule will
continue until next even begins
10� Select Done to save the event and return to the Home page�
You will now see your new schedule(s) on your Home page�
B
C
D
F
G
A
H
E

12
Quext IoT User Manual
Patent Numbers: 10825273, 10803685, 10912370
For How-To vidoes
and additional
support visit
help�quext�io
Regulatory Information
Per FCC 15�19(a)(3) and (a)(4), this device complies with part 15 of the FCC Rules� Operation is subject to the
following two conditions: (1) This device may not cause harmful interference, and (2) this device must accept any
interference received, including interference that may cause undesired operation�
The FCC regulations provide that changes or modications not expressly approved by Quext LLC could void your
authority to operate this equipment� Maintain a distance of 20 cm (8 inches) from your body to be consistent with
how the device is tested for compliance with RF exposure requirements�
This manual suits for next models
1
Table of contents
Other EDST Home Automation manuals
Popular Home Automation manuals by other brands
Moeller
Moeller Xcomfort CSAU-01 Assembly instructions

Byron
Byron Home Easy HE-309 quick start guide

Stahl
Stahl SolConeX 8571/12 Series operating instructions
SEBSON
SEBSON AC_SENSOR_A user manual

Duco
Duco DucoBox Eco installation guide
Johnson Controls Unitary Products
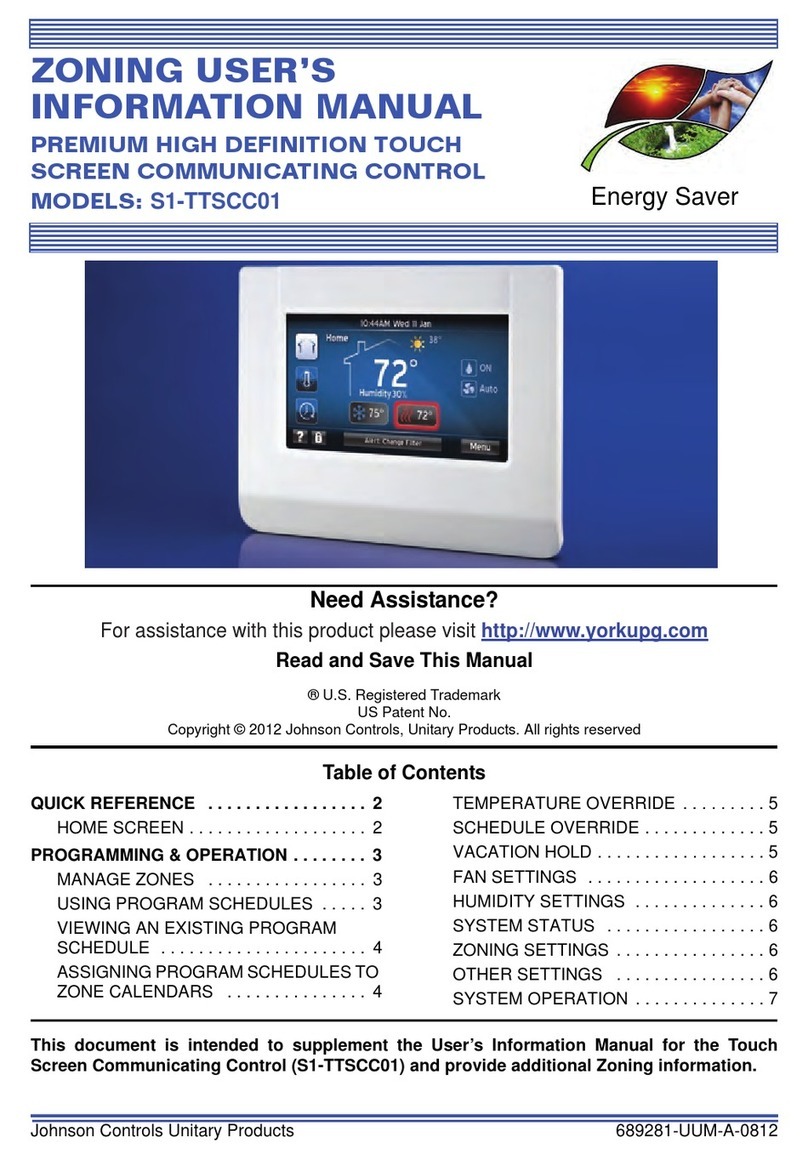
Johnson Controls Unitary Products S1-TTSCC01 Zoning User's Information Manual
