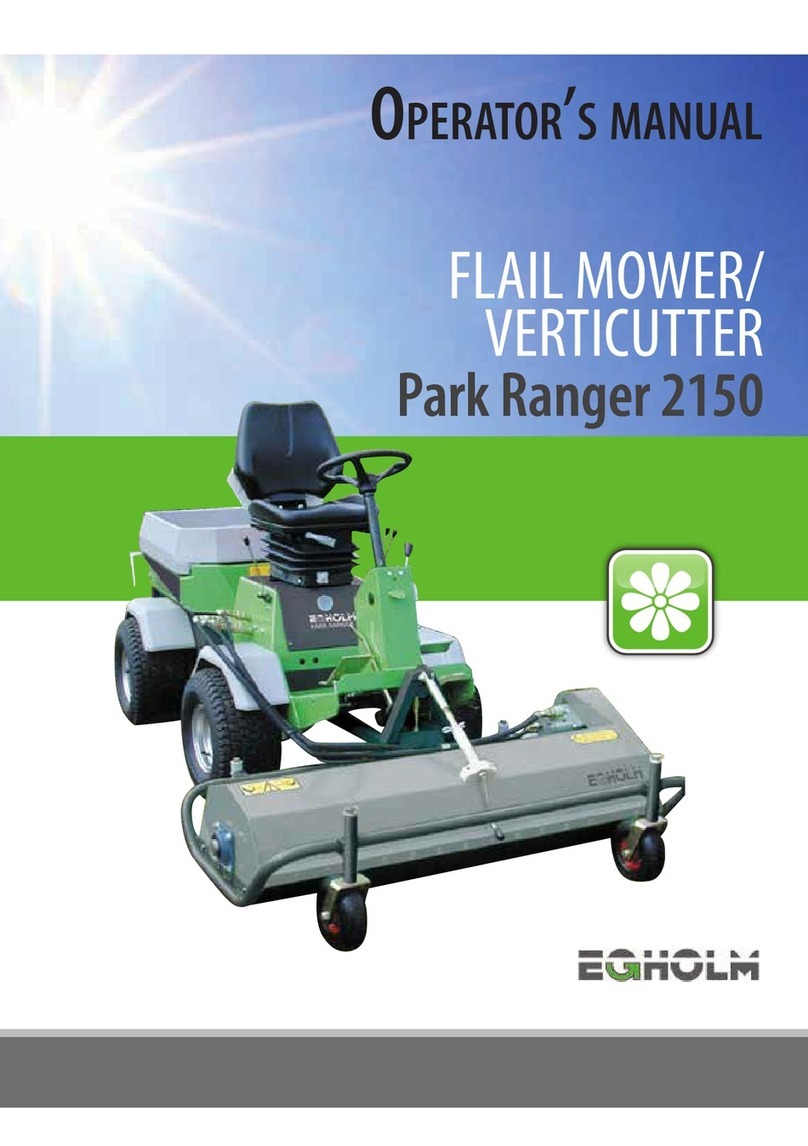
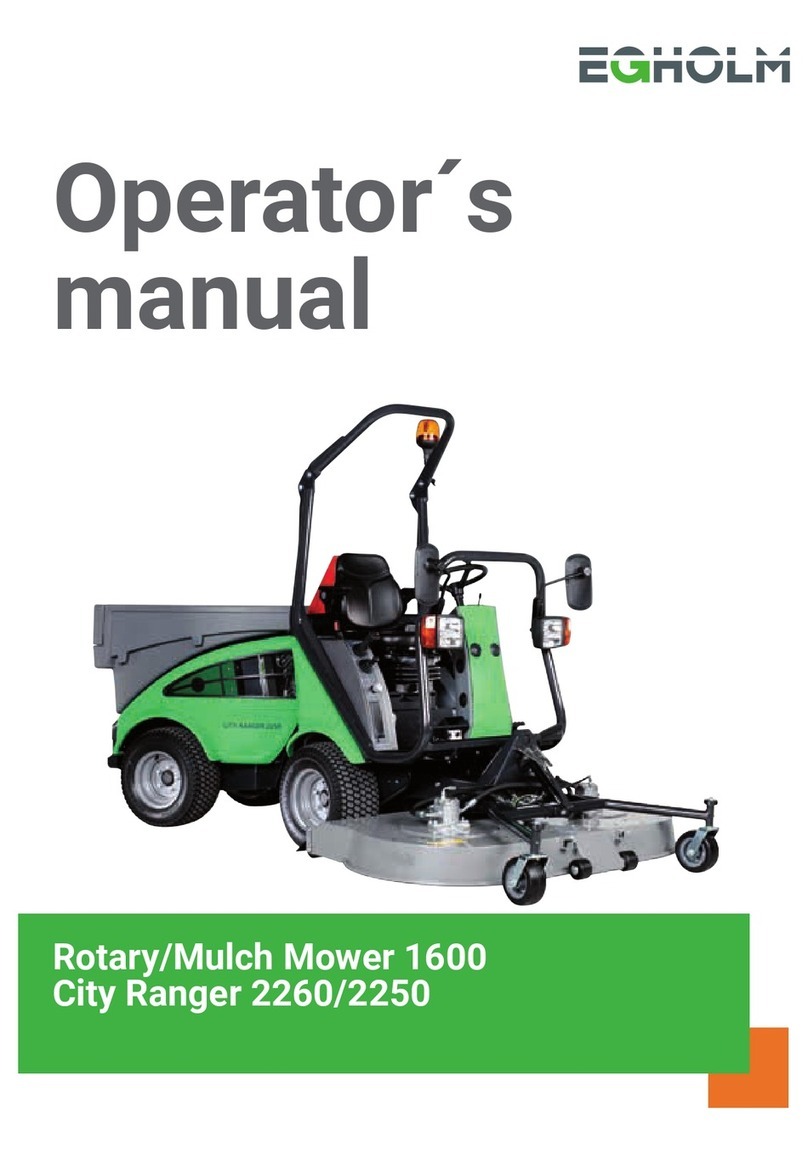
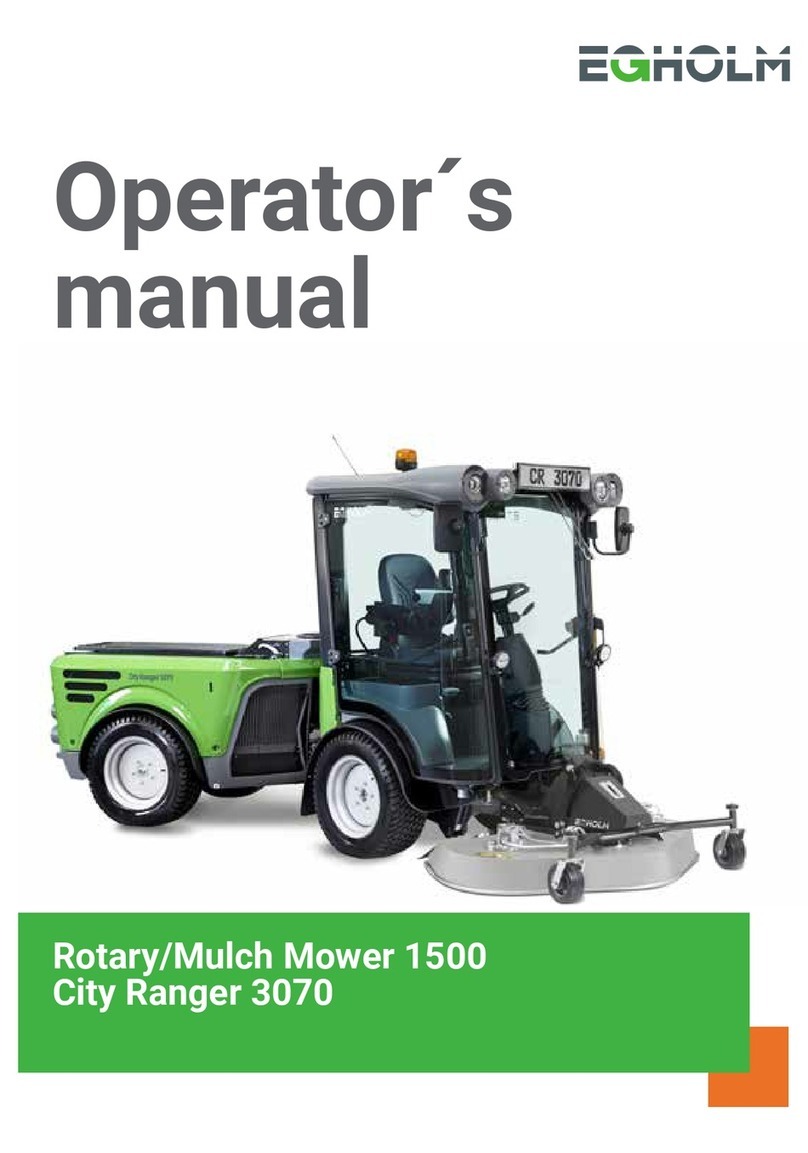
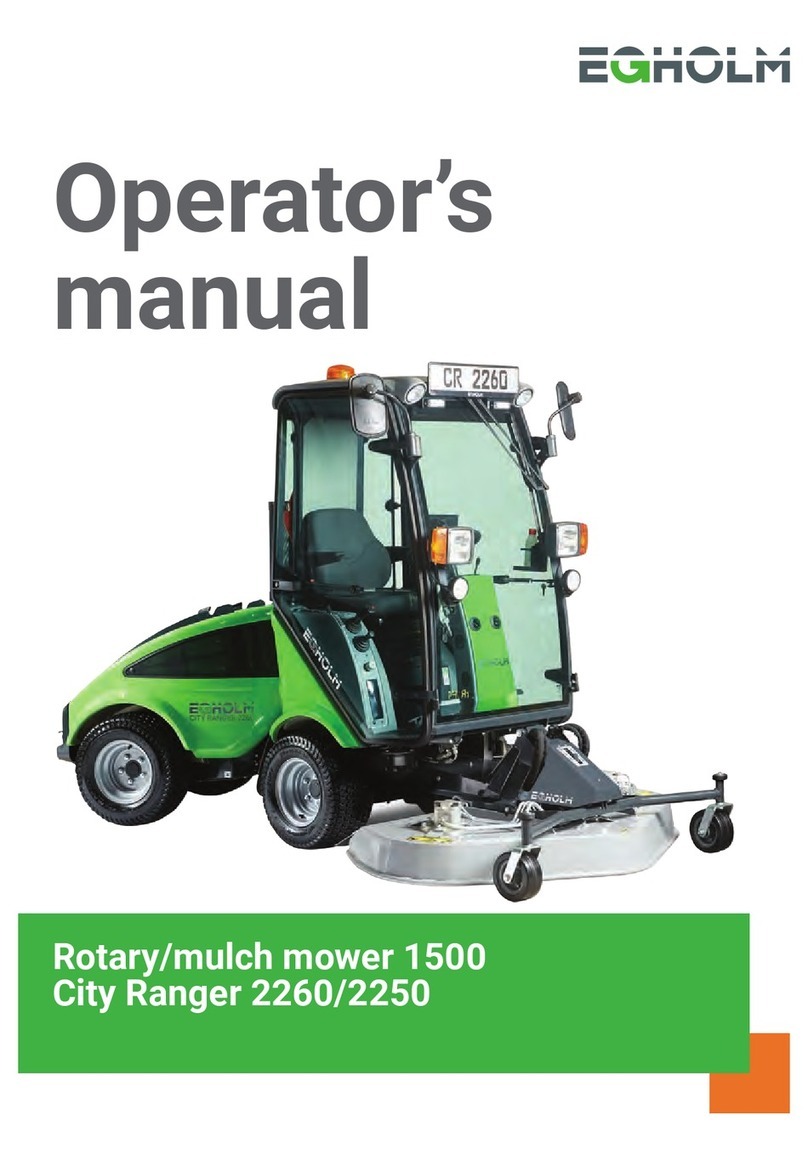
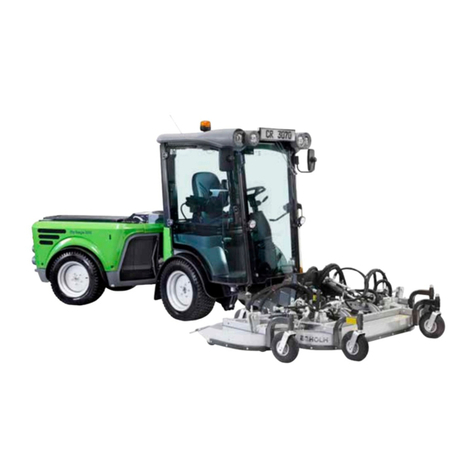
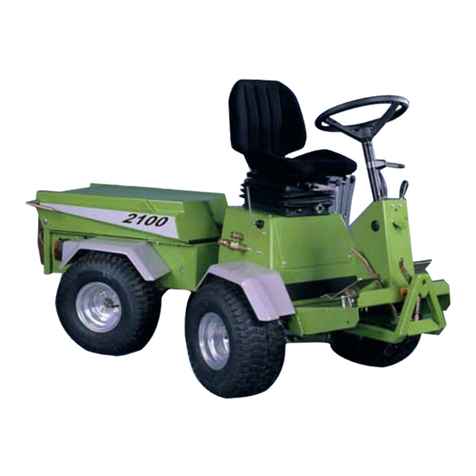
Egholm 2100 User manual

90101451-01 GB
Rotary Mower and
Mulch Mower
OPERATOR’S MANUAL

2
Introduction
Dear Customer
Thank you for buying an Egholm product
The Egholm 2001 is a Danish designed and manufactured product which offers a very flexible way of
maintaining outdoor areas.
Optimal performance of your Egholm Mulch or Rotary Mower:
To ensure the optimal performance of your Egholm Mulch or Rotary Mower, please read this
operator’s manual carefully before starting to use the machine. Failure to do so can result in personal
injury and damage to the machine.
Safety:
The Mulch/Rotary Mower is equipped with various devices to ensure optimal operational safety both
for the user and the surroundings. We therefore ask you to pay particular attention to Section 1.1
Safety. The machine must only be serviced by professionals.
The Mulch/Rotary Mower is designed only for use by professionals. On delivery, the user will receive
thorough training to become a competent operator. Do not lend the machine to anyone who has not
been thoroughly trained and has not read this manual carefully.
The operator’s manual should be considered as a permanent part of the machine and so must remain
with it if the machine is sold.
Warnings:
Some items in this operator’s manual are marked with this warning symbol.
The warning indicates areas where extra care has to be taken to avoid personal
injury or damage to the machine and its accessories. The warning also shows
what you should pay special attention to.
Reservations:
As it is the Egholm policy to make continuous improvements, we reserve the right to alter the specifi-
cations and equipment at any time without notice. Egholm Maskiner A/S accepts no liability for errors
or shortcomings in the operator’s manual.
Contact us:
Should you have questions of any kind regarding your new Egholm product, do not hesitate to
contact Egholm Maskiner A/S.
Best regards
Egholm Maskiner A/S - Transportvej 27 - DK - 7620 Lemvig
Tel: (+45) 97 81 12 05 - Fax: (+45) 97 81 12 10

3
Contents
1. Generel information
The Egholm Rotary/Mulch Mower is ideal for all
lawn-mowing applications; it can effectively take
care of the most tortuous of lawns.
The Mulch Mower cuts and recuts the grass
into tiny particles and blows them down into the
lawn. The fine cut grass decomposes rapidly
and is left to mulch the lawn throughout the
summer.
The Rotary Mower has rear discharge and is
especially suitable for handling tall grass. It
leaves the lawn looking well groomed, even
when the grass has grown tall and rough.
The Egholm mowers both come standard with
piano wheels which make the mower follow
the steering and thereby avoiding tracks on the
lawn.
Performance per hour is 5 – 10,000 m2. With
a working width of 1210 mm, the Egholm 2100
briskly handles all lawn areas.
Useful tips
Keep an eye on the radiator grille whilst mowing
dry dusty grass: radiator choking can be
avoided by installing a larger cover.
Do not cut more than one third of the grass-
blade height at any one time. Adjust the mowing
frequency hereafter.
Mowing too fast can scalp the grass - reduce
your mowing speed in order to achieve a nice
even cut.
Always use the large radiator cover when
mowing.
In order to protect the hydraulic system, wipe the
hose couplings clean before attaching them.
Daily cleaning and maintenance extends the
lifetime of machine and implements.
1. General information Page
1.1 Safety ............................................................................................................... 4
1.2 EC Declaration of Conformity for Machinery......................................................... 5
1.3 Technical data ................................................................................................... 6
2. Instructions for use
2.1 Assembly/Disassembly ...................................................................................... 7
2.2 Before start-up ............................................................................................ 8
2.3 Start-up ............................................................................................................. 8
2.4 Adjustment ...................................................................................................... 10
3. Service and maintenance
3.1 Cleaning .......................................................................................................... 11
3.2 Maintenance .................................................................................................... 12
4. Conditions
4.1 Warranty .......................................................................................................... 14
4.2 Complaints ...................................................................................................... 15
4.3 Disposal .......................................................................................................... 15

4
1
1
2
2
3
3
4
4
Max. 10°
1.1 Safety
Make sure no one is standing too
close to the machine:
Make sure no one is near the machine
while it is in use as there is a danger of
crushing.
N.B.!
As it is articulated, the rear of the
machine swings out when turning.
Make sure no one is near the machine as
there is a danger of crushing. (Picture 1)
Avoid finger injuries!
Keep your hands and fingers away from
areas where there is danger of crushing.
(Picture 2)
Avoid roll-overs:
Do not drive the machine in a place where
it can slide, tip or roll.
Do not drive on slopes with an incline of
more than 10°. (Picture 3)
Reduction of noise and energy
consumption:
It is recommended not to drive with a
higher engine speed than necessary, to
reduce the noise and energy
consumption.
Warning! Rotating parts!
Make sure that no one puts their fingers
or toes under the mower while it is
running, to avoid personal injuries.
(Picture 4)
Inspect the working area!
Make sure to remove stones and twigs
from the lawn. These can be flung from
the mower unintentionally and cause
personal injuries and damage to the
machine and its implements.
1. General information
Prevent people from standing
in the working area
Crush danger
Do not drive on slopes with an
incline of more than 10°
Warning label

55
1.2 EC Declaration of Conformity for Machinery
Manufacturer: Egholm Maskiner A/S
Address: Transportvej 27, DK-7620 Lemvig
Phone: (+45) 97 81 12 05
Hereby declares that
- Machine: Mulch Mower/Rotary Mower Type: LM 1200
Serial no.: _____________________________ Year: _______________
- is in conformity with the provisions of the Machinery Directive (directive
98/37/EC) and with national implementing legislation.
- is in conformity with the provisions of the following other EC directives:
directive 2000/14/EC
The Egholm 2100 fitted with the cab FH 2100 (ROPS approved)
- has been tested at the Danish Institute of Agricultural Sciences at Bygholm in
conformity with directive 86/298/EEC concerning rear mounted roll-over
protection structures of narrow-track wheeled agricultural and forestry
tractors.
Place:Lemvig
Date: ___________________
Signature: ___________________
Managing Director Kaj Egholm
1. General information

666
1
1
2
2
3
3
4
4
1
1
2
2
3
3
4
4
B
B
H
H
L
L
1. General information
Side view
Front view
Location of model plate
Mulch-Kit for Rotary Mower
1.3 Technical data
Dimensions:
Assembled: Storage
dimensions:
Length (L): 2,780 mm 980 mm
Width (B): 1,290 mm 1,290 mm
Height without cab (H): 540 mm 500 mm
Height with cab: 1,935 mm
Technical data:
Type description: LM1200
Sound power level re
Directive 2000/14/EU LWA: 105 dB(A)
Own weight: 96 kg
Mowing width: 1210 mm
Height adjustment: 30-70 mm
Capacity per hour,
approx.: ca. 5.000 -10.000 m²
Ground clearance below mower: 110 mm
No of blades: 2
Cutting speed - Tip speed:
77 m/sec
N.B.:
Specifications may be changed without prior notice.
Optional Accessories:
90501591 Mulch-Kit for Rotary Mower.
90203071 Large radiator cover (recommended when
mowing very dry grass).

7
1
1
2
2
3
3
4
4
A B C
A B C
D3
D3
D2 D1
D2 D1
2. Instructions for use
Hydraulic hoses
Locking handle on the A-frame - open
Lever A
Connectors D1, D2 and D3
2.1 Assembly/Disassembly
Assembly:
1. It is recommended that the hydraulic hoses should
be run over the mower in front of the A-frame to
keep them clear and free from dirt when the mower
is being fitted. (Picture 1)
2. The locking handle on the A-frame of the basic
machine must be in the open position. (Picture 2)
3. Drive the basic machine right up to the A-frame of
the mower, so the A-frames fit into each other.
(Picture 2)
N.B.! It is recommended not to lower the A-frame of
the basic machine completely as this can damage
the paint on the mower when the A-frames are
connected.
4. Raise the A-frame with lever A on the left-hand side
of the machine until the piano wheels are freely
suspended above the ground. (Picture 3)
5. Stop the machine. (See the operator’s manual for the
basic machine, section 2.2)
6. Lock the mower in place with the locking handle on
the A-frame. (Picture 2)
7. Fit the hydraulic hoses on the connectors D1, D2
and D3 on the right-hand side of the machine.
(Picture 4)
8. Attach the hydraulic hoses with the rubber strap
under the running board to ensure it runs correctly
over the screen.
Disassembly:
Follow the procedure for assembly in reverse order.
Put the protective caps on the snap couplings to
protect them from dirt.
L
o
c
k
e
d
L
o
c
k
e
d
Left-hand side
Left-hand side
Right-hand side
Right-hand side

8
1
1
2
2
3
3
4
4
A B C
A B C
D
D
2. Instructions for use
Transport lock
Lever A
Turn throttle until half open
Lever D
2.2 Before start-up
During transport, lock the mower in the raised
position with the transport lock. (Picture 1)
Before start-up and fitting the mower, make sure the
blades are sharp, intact and without cracks. This
avoids unnecessary stops during mowing.
Warning!
Make sure to remove stones and twigs
from the lawn. These can be flung from
the mower unintentionally and cause per-
sonal injuries and damage to the machine
and its implements.
Make sure to drive around well covers
etc. to avoid damage to the blades and
the shield.
2.3 Start-up
1. Start the machine. (See the operator’s manual for the
basic machine, section 2.2)
2. Lower the mower by pushing lever A on the left-hand
side of the machine down to position 2. (Picture 2)
3. Hold the lever A down for about 2 seconds, as after
this the mower is in a floating position and will follow
the contours of the surface.
4. Turn the throttle lever so that it is at least half way.
(Picture 3)
5. Start the mower by slowly pushing lever D on the
right-hand side of the machine up to position 1.
(Picture 4)
6. Now open the throttle fully (full power) to achieve the
correct blade speed. (Picture 3)
Adjust the driving sped to suit the conditions.
L
o
c
k
e
d
L
o
c
k
e
d
Left-hand side
Left-hand side
Right-hand side
Right-hand side

9
1
1
2
2
3
3
7. While mowing, make sure to keep the water cooler,
the oil cooler and the radiator cover free from grass,
to avoid overheating. (See section 3.1 Cleaning).
It is recommended always using the large radiator
cover when mowing. The large radiator cover can be
ordered from an authorised Egholm distributor.
Warning! Rotating parts:
Make sure no one puts their fingers or
toes under the mower while it is running
to avoid personal injuries.
Make sure no one is standing too
close to the machine!
Make sure no one is near the machine
while it is in use as there is a danger of
crushing.
N.B.!
As it is articulated, the rear of the
machine swings out when turning.
Make sure no one is near the machine as
there is a danger of crushing.
2. Instructions for use
Water cooler cover
Oil cooler cover
Large radiator cover

10
1
1
2
2
3
3
2.4 Adjustment
Adjusting the cutting height:
It is recommended to start with a high cutting height,
to avoid cutting the grass too short.
Adjustment is carried out as follows:
1. Stop the machine. (See the operator’s manual for the
basic machine, section 2.2).
2. Turn the adjustment crank handle.
a. Clockwise for a higher cutting height. (Picture 2)
b. Counter-clockwise for a lower cutting height.
(Picture 3)
3. Check the cutting height and repeat the adjustment
until the required height is achieved.
2. Instructions for use
Adjustment scale
Higher cutting height - Adjustment crank
Lower cutting height - Adjustment crank

11
1
1
2
2
3
3
3.1 Cleaning
Cleaning the mower:
1. Stop the machine. (See the operator’s manual for the
basic machine, section 2.2)
2. Dismount the mower. (See section 2.1)
3. Tip the mower. (Picture 1)
4. Clean the mower with water.
It is recommended to clean the mower immediately
after mowing to keep the grass from sticking to the
shield and the blades
Cleaning the water cooler:
1. Remove the water cooler cover by turning the two
spring-loaded handles out to the side. (Picture 2)
2. Blow the ribs and the cover clean with compressed
air.
3. The ribs can be washed with clean water.
N.B.!
Do not use hard implements for cleaning
the water cooler as this can damage the
ribs.
Cleaning the oil cooler:
1. Remove the oil cooler cover. (See the operator’s
manual for the basic machine, section 2.2)
(Picture 3)
2. Blow the ribs and the cover clean with compressed
air.
N.B.!
The cooler must be cleaned with
compressed air before it is washed;
otherwise dirt will stick to it.
3. Service and Maintenance
Mower tipped
Water cooler cover
Oil cooler cover

12
1
1
2
2
3
3
3.2 Maintenance
Replacing the blades:
When the blades are damaged, the mower will start to
vibrate. The blades are then to be replaced as follows:
1. Stop the machine. (See the operator’s manual for the
basic machine, section 2.2)
2. Dismount the mower. (See section 2.1)
3. Tip the mower. (Picture 1)
4. Open the strike plate that holds the bolts with a
screwdriver or a chisel. (Picture 2)
5. Unscrew the bolts and remove the strike plate and
the disk.
6. Fit the new blades. The cutting edge is to be placed
in the cutting direction. (Picture 3)
It is recommended to replace the blades one by one
to make sure that they are fitted correctly.
7. Refit the disk and the strike plate and tighten the
bolts. The bolts are to be tightened with 85 nM
moment.
8. Bend the strike plate against a flat side of the bolt to
lock the bolt.
It is recommended only to use the strike plate twice
and not to bend it in the same place, to avoid the
blades falling out when mowing.
New blades and strike plate can be ordered from an
authorised Egholm distributor.
3. Service and Maintenance
Mower tipped
Disk, Bolts - Strike plate
Cutting direction of the blades

13
Sharpening the blades:
1. Stop the machine. (See the operator’s manual for the
basic machine, section 2.2)
2. Dismount the mower. (See section 2.1)
3. Remove the blades. (See page 12)
4. When sharpening the blades, both sides must be
equally sharpened to avoid imbalance.
5. Re-fit the blades. (See page 12)
Replacing the V-belt:
The V-belt must be replaced every year by an Egholm
distributor.
Winter storage:
When it is time to store the mower for the winter, the
following steps are recommended:
1. Remove any loose paint and repaint any damaged
areas.
2. Spray the mower with preservative oil.
3. Service and Maintenance

1414
4. Conditions
4.1 Warranty
The warranty period for the materials and
manufacture of this Mulch Mower/Rotary Mower
is 12 months from the date of purchase.
In case of errors or defects on the machine within
the warranty period, Egholm Maskiner A/S will
carry out the necessary repairs without charge
for materials and working hours in accordance
with the terms and conditions listed below. The
customer is to cover the costs for transportation.
The scope of warranty:
1. The Egholm warranty is only valid on
presentation of the original receipt supplied
with model description, serial number and
date of purchase.
2. Regular checks, adjustments, services and
technical alterations are not covered by the
guarantee.
3. All inquiries concerning the warranty are to be
addressed to the place where the machine
was purchased.
4. This warranty does not cover faults and
defects which cannot be traced back to
defects in material or production errors.
5. Egholm Maskiner A/S reserves the right to
make improvements and design-related
alterations to the machine without being
obliged to modify previously delivered models
in relation hereto.
6. This warranty is valid for persons who have
legally acquired the machine within the
warranty period.
The guarantee does not cover:
* Wear and tear, accidents, damage to the
equipment caused by operating errors,
improper utilization of the machine, changes
to the construction of the machine or use of
non-Egholm spare parts or implements.
* Machines with illegible serial numbers.
* Damage caused by force majeure such as
lightning, flood, fire, war, civil disturbance etc.
or other causes over which Egholm Maskiner
A/S has no control.

1515
4. Conditions
4.2 Conditions of complaint
All inquiries regarding the machine should be made to the distributor from whom the machine was
purchased. This applies to inquiries concerning normal use, service, maintenance and spare parts
as well as to any complaints.
If there are questions that the distributor cannot answer, please do not hesitate to contact Egholm
Maskiner A/S directly. Also feel free to contact us with suggestions or requests for special
implements and/or features for the machine. We wish you many years of safe and satisfied use of
your machine.
Best regards
Egholm Maskiner A/S - Transportvej 27 - DK -7620 Lemvig, tel: +45 97 81 12 05, fax: +45 97 81 12 10
4.3 Disposal
When – many years from now – your Egholm Mulch Mower/Rotary Mower comes to the end of its
working life, it should be disposed of in a responsible manner and conform with the relevant disposal
regulations.
1. Used hydraulic oil is to be disposed of at an approved waste disposal facility or site.
2. Remove all plastic and rubber parts and discard in a dustbin.
3. After the parts mentioned have been removed, the machine is ready to be handed over to one of
your local approved scrap merchants.

Egholm Maskiner A/S * Transportvej 27 * DK-7620 Lemvig
Tel.: (+45) 97 81 12 05 * Fax: (+45) 97 81 12 10
Other manuals for 2100
8
Table of contents
Other Egholm Lawn Mower manuals

Egholm
Egholm City Ranger 2250 User manual

Egholm
Egholm City Ranger 2200 User manual

Egholm
Egholm Park Ranger 2150 User manual

Egholm
Egholm City Ranger 2250 User manual

Egholm
Egholm City Ranger 2260 User manual

Egholm
Egholm Triplex Rotary Mower 2500 User manual

Egholm
Egholm Park Ranger 2150 User manual

Egholm
Egholm City Ranger 2250 User manual

Egholm
Egholm Park Ranger 2150 Rotary/Mulch Mower 1000 User manual

Egholm
Egholm 2100 User manual