Page 7 Page 8 Page 9
The alarm automatically monitors the battery every 40
seconds to ensure that it is satisfactory. If it is depleted
it will give a short beep every 40 seconds.
Ei141EH, Ei144EH & Ei146EH Models
Before replacing the battery, check that the beeps
are not due to one of the following:
8. Low Battery Waning
1. Battery snaps not connected properly.
2. On the optical smoke alarm only (Ei146) if the
unit beeps and the red light does not flash at the
same time it indicates a problem with the smoke
chamber (see “Cleaning your Alarm” section on
page 8)
3. If the beeps have continued for over 20 minutes
(and the other causes of beeps have been ruled
out (see “Troubleshooting” section on page 10)
the battery must be replaced. (See “Changing
the Battery” section on page 5)
Ei161EH, Ei164EH & Ei166EH Models
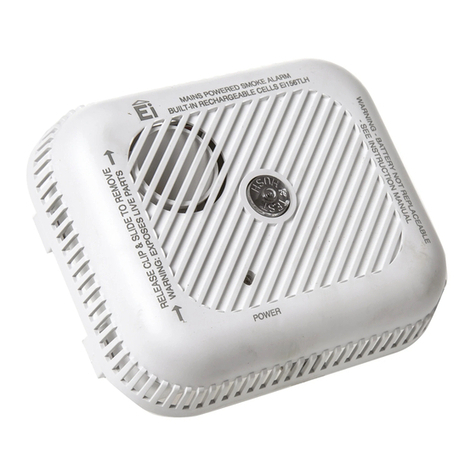
1. Check that the green mains power indicator light
is on. If it is off the alarm is not receiving mains
power and is being powered from its internal
back-up cells, the beeps indicate that they are
depleted. Reconnect the mains, check the fuse/
circuit breakers and wiring. If in doubt contact a
qualified electrician. The beeps should cease
within 2 hours as the cells charge up. Fully
charged, the cells will provide up to 6 months
back-up without mains power.
2. On the optical smoke alarm only (Ei166EH) if the
unit beeps and the red light does not flash at the
same time it indicates a problem with the smoke
chamber (see “Cleaning you Alarm”
section on page 8.)
If all of the above possible causes of beeps have
been ruled out, but the beeping has still persisted for
over 2 hours with the green light on, the rechargeable
cells may be defective. The smoke/heat alarm must
be returned for repair or replacement. (See “5 Year
Guarantee” section on page 12)
Please note: The ionisation and heat alarms (Ei141EH/
Ei144EH/Ei161EH/Ei164EH) give two short beeps about
a second apart at the end of the hush period (i.e. about
10 minutes after test/hush button has been pressed).
These two beeps should not be confused with low bat-
tery beeps.
An alarm will operate from the mains alone, even with a
fully depleted or a defective battery, and give beeps
every minute, though it may not give sufficient
warning of fire if the mains supply is disconnected for
any reason.
If there are any problems get a qualified electrician to
inspect the house wiring and connections to the alarms.
If there are still problems the unit must be returned to
us at one of the addresses on the back page for
examination and analysis.
9. Cleaning Your Alarm
WARNING: Electrical shock hazard. Disconnect the
mains power at the fuse box or circuit breaker powering
the alarm before following the cleaning instructions.
Clean your alarm regularly, particularly in dusty areas.
Use the narrow nozzle attachment of your vacuum
cleaner to remove dust, insects and cobwebs from the
sides and cover slots where the smoke/heat enters. To
clean the cover, wipe with a damp cloth. Dry cover
thoroughly with a lint free cloth.
WARNING: Do not paint your Alarm.
Other than the cleaning described above, no other
customer servicing of this product is required. Repairs,
when needed, must be performed by the manufacturer.
All alarms are prone to dust and insect ingress which
can cause false alarms or failure to alarm.
The latest design, materials and manufacturing
techniques have been used in the construction of the
alarm to minimise the effects of contamination.
However it is impossible to completely eliminate the
effect of dust and insect contamination, and therefore,
to prolong the life of the alarm you must ensure that it
is kept clean so that excess dust does not build up. Any
insects or cobwebs in the vicinity of the alarm should be
promptly removed.
In certain circumstances even with regular cleaning,
contamination can build up in the smoke sensing
chamber causing the alarm to sound or fail. If this
happens the alarm must be returned to us for servicing
or replacement. Contamination is beyond our control, it
is totally unpredictable and is considered normal wear
and tear. For this reason contamination is not covered
by the guarantee and a charge is made for servicing
such alarms.
10. Nuisance Alarms
If absolutely sure that the alarm is just a nuisance
alarm, simply press the test/hush button briefly on the
alarm with the rapidly flashing red light to silence the
alarm for 10 minutes.
If, when the alarm goes off, there is no sign of smoke,
heat or noise to indicate that there is a fire, you should
get your family into a safe place before you start
investigating.
1. Check the house carefully in case there is a small
fire smouldering somewhere.
2. Check whether there is some source of smoke or
fumes, for example cooking fumes being drawn past
the alarm by an extractor.
If there are frequent nuisance/false alarms it may be
necessary to relocate the device away from the source
of the contamination or replace it with a more
appropriate type of alarm.
If cleaning the alarm does not correct the problem it can
be returned to returned to us at one of the addresses on
the back page for repair or replacement.
Hush Feature
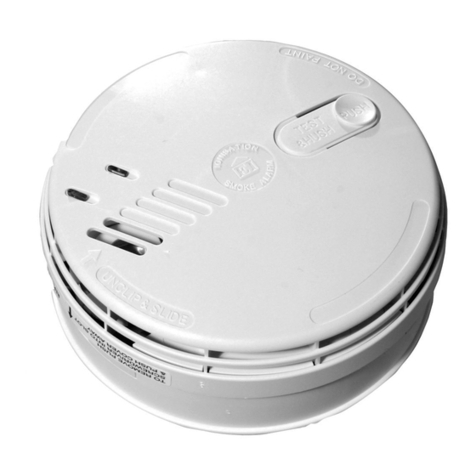
The alarm has a combined Test/Hush button to help you
control nuisance false alarms.
1. To cancel a false alarm, press the Test/Hush Button
located on the cover. The alarm will automatically
switch to a reduced sensitivity condition (very large
levels of smoke from a nearby fire will override the
Hush feature on smoke alarms). This condition al-
lows unwanted alarms to be silenced for a period of
approximately 10 minutes.
