Eiki Brilliant LC-XBL30 User manual

Multimedia Projector
MODEL LC-XBL30
Owner’s Manual
Network Supported
□ WiredLAN
RefertotheOwner'sManualsbelowfor
detailsaboutnetworkfunction.
□ NetworkSet-upandOperation
□ PJNetworkManager

2
Features and Design
ThisMultimediaProjectorisdesignedwiththemostadvancedtechnologyforportability,durability,andeaseofuse.
Thisprojectorutilizesbuilt-inmultimediafeatures,apaletteof16.77millioncolors,andmatrixliquidcrystaldisplay
(LCD)technology.
♦Compact Design
Thisprojectorisdesignedcompactinsizeandweight.
Itis easy tocarry and installedanywhere you wishto
use.
♦Simple Computer System Setting
TheprojectorhastheMulti-scansystemtoconformto
almostallcomputeroutputsignalsquickly(p.28).Upto
WUXGAresolutioncanbeaccepted.
♦Useful Functions for Presentations
-Thedigital zoom functionallows you tofocuson the
crucialinformationduringapresentation(p.35).
-Blackboards*canbeusedasaprojectionscreen.
*TheboardcolorislimitedtoGreen(pp.32,39).
♦Lamp Control
Brightnessoftheprojectionlampcanbeselected
(pp.25,52).
♦Quick Termination
TheACpowercordcanbeunpluggedimmediately
afterturningofftheprojectorwithoutwaitingforthe
terminationofthecoolingfanrotation(p.20).
♦Logo Function
TheLogofunctionallowsyoutocustomizethescreen
logo(pp.46-48).Youcancaptureanimageforthe
screenlogoanduseitforthestarting-updisplayor
betweenpresentations.
♦Multilanguage Menu Display
Operationmenuisavailablein19languages;English,
German,French,Italian,Spanish,Portuguese,Dutch,
Swedish,Finnish,Polish,Hungarian,Romanian,
Russian,Turkish,Kazakh,Chinese,Korean,Japanese,
andThai.(p.43)
Note:
•TheOn-ScreenMenuandfiguresinthismanualmaydifferslightlyfromtheproduct.
•Thecontentsofthismanualaresubjecttochangewithoutnotice.
♦Security Function
TheSecurityfunctionhelpsyoutoensuresecurity
oftheprojector.WiththeKeylockfunction,youcan
locktheoperationonthetopcontrolorremotecontrol
(p.53).PINcodelockfunctionpreventsunauthorized
useoftheprojector(pp.19,53–54).
♦
Helpful Maintenance Functions
Lampandfiltermaintenancefunctionsprovidefor
betterandpropermaintenanceoftheprojector.
♦LAN Network Function
ThisprojectorisloadedwiththeWiredLANnetwork
function.Youcanoperateandmanagetheprojector
vianetwork.Fordetails,refertotheowner’smanualof
“NetworkSet-upandOperation.”
♦Auto Setup Function
ThisfunctionenablesInputsearch,AutoKeystone
correctionandAutoPCadjustmentbysimplepressing
theAUTOSETUPbuttononthetopcontrol(p.44).
♦Colorboard Function
A t thetimeofsimpleprojectiononthecoloredwall,
youcangettheclosecolorimagetothecolorimage
projectedonawhitescreenbyselectingthesimilar
colortothewallcolorfromthepresetfourcolors.
♦Switchable Interface Terminal
Theprojectorprovidesaswitchableinterfaceterminal.
Youcanusetheterminalascomputerinputormonitor
outputconveniently.(p.49)
♦
Power Management
ThePowermanagementfunctionreducespower
consumptionandmaintainsthelamplife(p.50).
♦Closed Caption
ClosedCaptionisafunctionthatdisplaystheaudio
portionofaTVprogramastextonthescreen.The
closedcaptioningserviceisavailablemainlyinthe
U.S.(p.51)

3
Table of Contents
Trademarks
Eachnameofcorporationsorproductsinthisbookiseitheraregisteredtrademarkoratrademarkofitsrespective
corporation.
Features and Design ...................2
Table of Contents ......................3
To the Owner..........................4
Safety Instructions.....................5
AirCirculation 6
InstallingtheProjectorinProperPosition 6
MovingtheProjector 6
Compliance...........................7
Part Names and Functions ..............8
Front 8
Back 8
Bottom 8
RearTerminal 9
Top Control 10
RemoteControl 11
RemoteControlBatteryInstallation 12
RemoteControlOperatingRange 12
RemoteControlCode 12
Installation...........................13
PositioningtheProjector 13
AdjustableFoot 13
ConnectingtoaComputer 14
ConnectingtoVideoEquipment 15
ConnectingtoComponentVideoand
RGB(Scart)Equipment 16
ConnectingtheACPowerCord 17
Basic Operation ......................18
TurningOntheProjector 18
TurningOfftheProjector 20
HowtoOperatetheOn-ScreenMenu 21
MenuBar 22
ZoomandFocusAdjustment 23
AutoSetupFunction 23
KeystoneCorrection 23
SoundAdjustment 24
RemoteControlOperation 25
Computer Input ......................27
InputSourceSelection
(RGB:Computer1/Computer2) 27
ComputerSystemSelection 28
AutoPCAdjustment 29
ManualPCAdjustment 30
ImageModeSelection 32
ImageAdjustment 33
ScreenSizeAdjustment 34
Video Input ..........................36
InputSourceSelection(Video,S-video) 36
InputSourceSelection
(Component,RGBScart21-pin) 37
VideoSystemSelection 38
ImageModeSelection 39
ImageAdjustment 40
ScreenSizeAdjustment 42
Setting ..............................43
Setting 43
Information ..........................57
InputSourceInformationDisplay 57
Maintenance and Cleaning .............58
WARNINGindicator 58
CleaningtheFilters 59
ResettingtheFilterCounter 59
AttachingtheLensCap 60
CleaningtheProjectionLens 60
CleaningtheProjectorCabinet 60
LampReplacement 61
Appendix ...........................63
Troubleshooting 63
MenuTree 67
IndicatorsandProjectorCondition 69
CompatibleComputerSpecifications 70
TechnicalSpecifications 71
OptionalParts 72
PJLinkNotice 73
ConfigurationsofTerminals 74
PINCodeNumberMemo 75
Dimensions 76

4
To the Owner
CAUTION: TO REDUCE THE RISK OF ELECTRIC
SHOCK, DO NOT REMOVE COVER (OR
BACK). NO USER-SERVICEABLE PARTS
INSIDE EXCEPT LAMP REPLACEMENT.
REFER SERVICING TO QUALIFIED
SERVICE PERSONNEL.
THISSYMBOLINDICATESTHATDANGEROUS
VOLTAGECONSTITUTINGARISKOFELECTRIC
SHOCKISPRESENTWITHINTHISUNIT.
THISSYMBOLINDICATESTHATTHEREARE
IMPORTANTOPERATINGANDMAINTENANCE
INSTRUCTIONSINTHEOWNER'SMANUAL
WITHTHISUNIT.
CAUTION
RISK OF ELECTRIC SHOCK
DO NOT OPEN
Beforeinstallingandoperatingthisprojector,readthis
manualthoroughly.
Thisprojectorprovidesmanyconvenientfeaturesand
functions.Operatingtheprojectorproperlyenables
youtomanagethosefeaturesandmaintainsitingood
conditionformanyyearstocome.
Improperoperationmayresultinnotonlyshorteningthe
product-life,butalsomalfunctions,firehazard,orother
accidents.
Ifyourprojectorseemstooperateimproperly,readthis
manualagain,checkoperationsandcableconnections
andtrythesolutionsinthe“Troubleshooting”sectionon
pages63-65ofthismanual.Iftheproblemstillpersists,
contactthedealerwhereyoupurchasedtheprojectoror
theservicecenter.
Safety Precaution
CAUTION
DO NOT SET THE PROJECTOR IN GREASY, WET, OR
SMOKY CONDITIONS SUCH AS IN A KITCHEN TO PREVENT
A BREAKDOWN OR A DISASTER. IF THE PROJECTOR
COMES IN CONTACT WITH OIL OR CHEMICALS, IT MAY
BECOME DETERIORATED.
READ AND KEEP THIS OWNER'S MANUAL FOR
LATER USE.
WARNING: ●THIS APPARATUS MUST BE EARTHED.
●TO REDUCE THE RISK OF FIRE OR
ELECTRIC SHOCK, DO NOT EXPOSE THIS
APPLIANCE TO RAIN OR MOISTURE.
–Thisprojectorproducesintenselightfromtheprojection
lens.Donotstaredirectlyintothelens,otherwiseeye
damagecouldresult.Beespeciallycarefulthatchildren
donotstaredirectlyintothebeam.
–Installtheprojectorinaproperposition.Otherwiseitmay
resultinfirehazard.
–Allowingtheproperamountofspaceonthetop,sides,
andrearoftheprojectorcabinetiscriticalforproper
aircirculationandcoolingoftheunit.Thedimension
shownhereindicatetheminimumspacerequired.
Iftheprojectoristobebuiltintoacompartmentor
similarlyenclosed,theseminimumdistancesmustbe
maintained.
–Donotcovertheventilationslotontheprojector.Heat
build-upcanreducetheservicelifeofyourprojector,and
canalsobedangerous.
–Iftheprojectorisunusedforanextendedtime,unplug
theprojectorfromthepoweroutlet.
–Donotprojectthesameimageforalongtime.The
afterimagemayremainontheLCDpanelsbythe
characteristicofpanel.
SIDEandTOP REAR
CAUTION
NotforuseinacomputerroomasdefinedintheStandard
fortheProtectionofElectronicComputer/DataProcessing
Equipment,ANSI/NFPA75.
0.7’(20cm)
1.5’(50cm) 3’(1m) 3’(1m)
20cm
50cm 1m 1m
FOR EU USERS
Thesymbolmarkandrecyclingsystemsdescribedbelow
applytoEUcountriesanddonotapplytocountriesinother
areasoftheworld.
Yourproductisdesignedandmanufacturedwithhighquality
materialsandcomponentswhichcanberecycledand/or
reused.
Thesymbolmarkmeansthatelectricalandelectronic
equipment,batteriesandaccumulators,attheirend-of-
life,shouldbedisposedofseparatelyfromyourhousehold
waste.
Note:
If a chemicalsymbolisprintedbeneaththesymbolmark,
thischemicalsymbolmeansthatthebatteryoraccumulator
contains a heavy metal at a certain concentration. This will
beindicatedasfollows:Hg:mercury,Cd:cadmium,Pb:lead
IntheEuropeanUnionthereareseparatecollectionsystems
forusedelectricalandelectronicequipment,batteriesand
accumulators.
Please,disposeofthemcorrectlyatyourlocal
communitywastecollection/recyclingcentre.
Please,helpustoconservetheenvironmentwe
livein!

5
Safety Instructions
Allthesafetyandoperatinginstructionsshouldberead
beforetheproductisoperated.
Readalloftheinstructionsgivenhereandretainthem
forlateruse.UnplugthisprojectorfromACpowersupply
beforecleaning.Donotuseliquidoraerosolcleaners.
Useadampclothforcleaning.
Followallwarningsandinstructionsmarkedonthe
projector.
Foraddedprotectiontotheprojectorduringalightning
storm,orwhenitisleftunattendedandunusedforlong
periodsoftime,unplugitfromthewalloutlet.Thiswill
preventdamageduetolightningandpowerlinesurges.
Donotexposethisunittorainorusenearwater...for
example,inawetbasement,nearaswimmingpool,etc...
Donotuseattachmentsnotrecommendedbythe
manufacturerastheymaycausehazards.
Donotplacethisprojectoronanunstablecart,stand,
ortable.Theprojectormayfall,causingseriousinjury
toachildoradult,andseriousdamagetotheprojector.
Useonlywithacartorstandrecommendedbythe
manufacturer,orsoldwiththeprojector.Wallorshelf
mountingshouldfollowthemanufacturer’sinstructions,
andshoulduseamountingkitapprovedbythe
manufacturers.
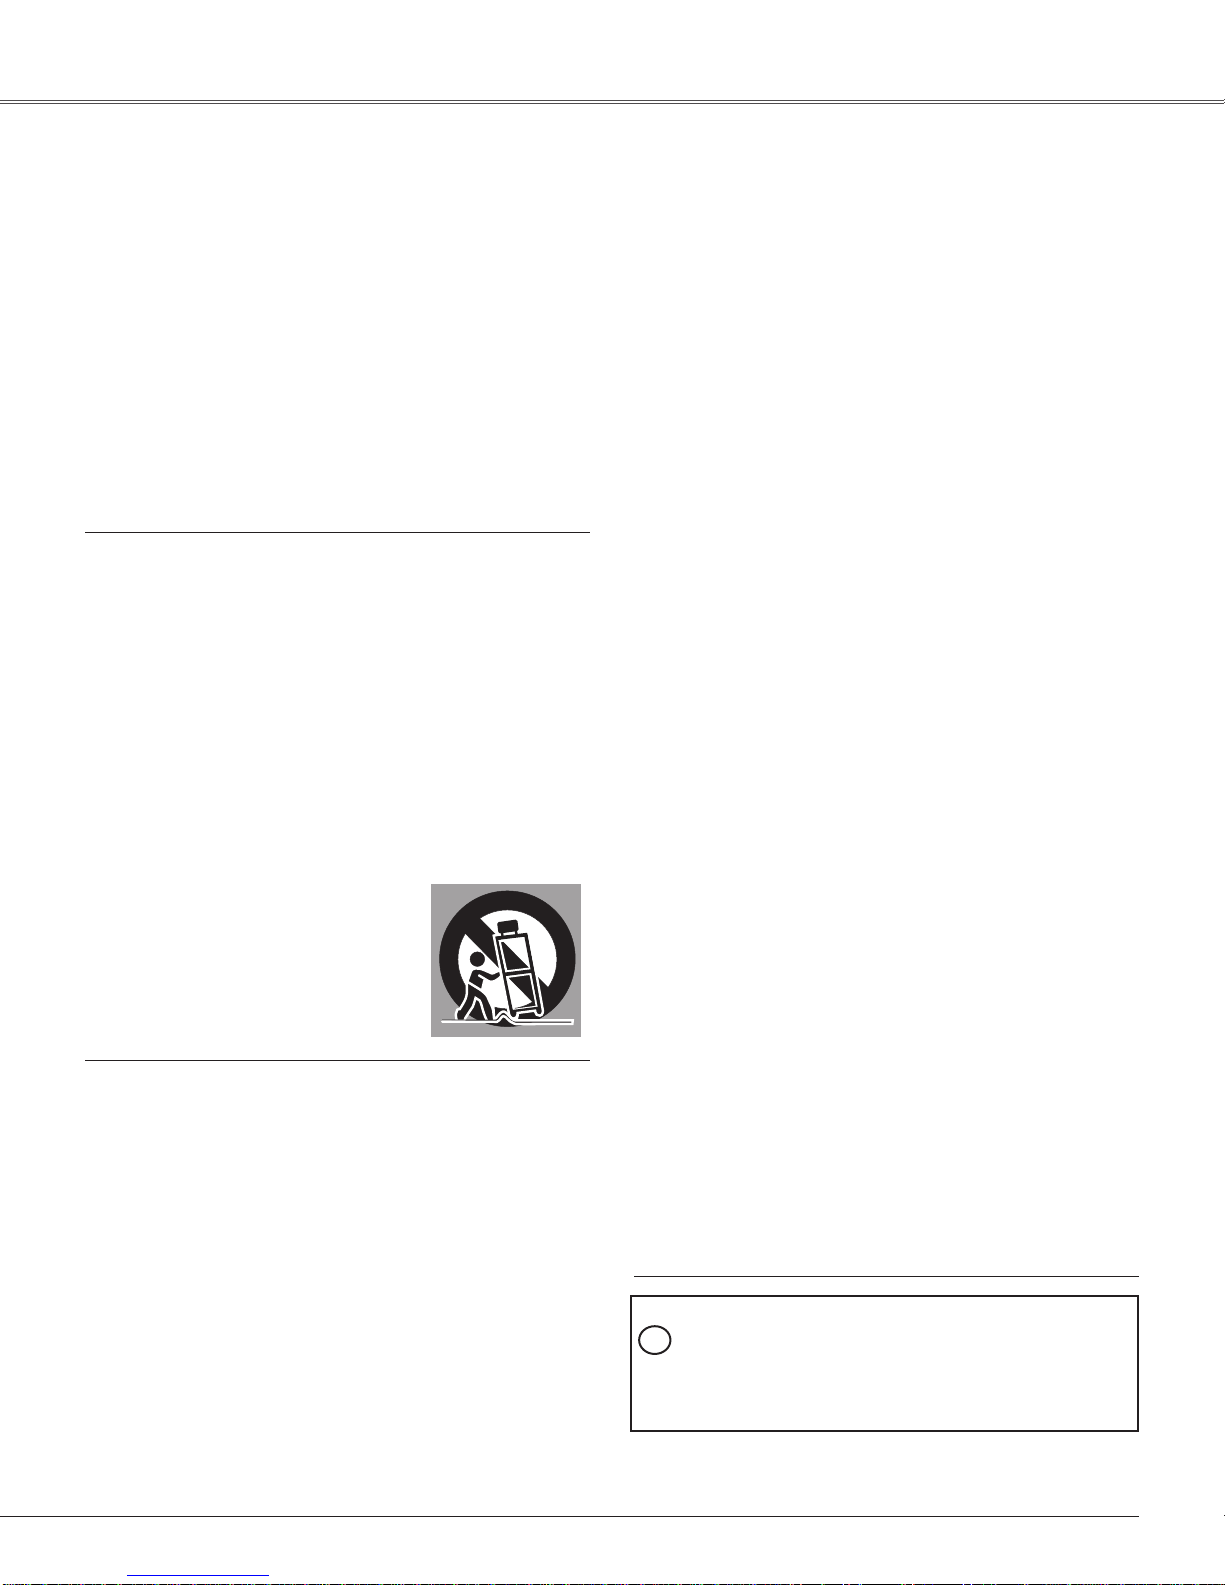
Anapplianceandcartcombination
shouldbemovedwithcare.Quick
stops,excessiveforce,anduneven
surfacesmaycausetheappliance
andcartcombinationtooverturn.
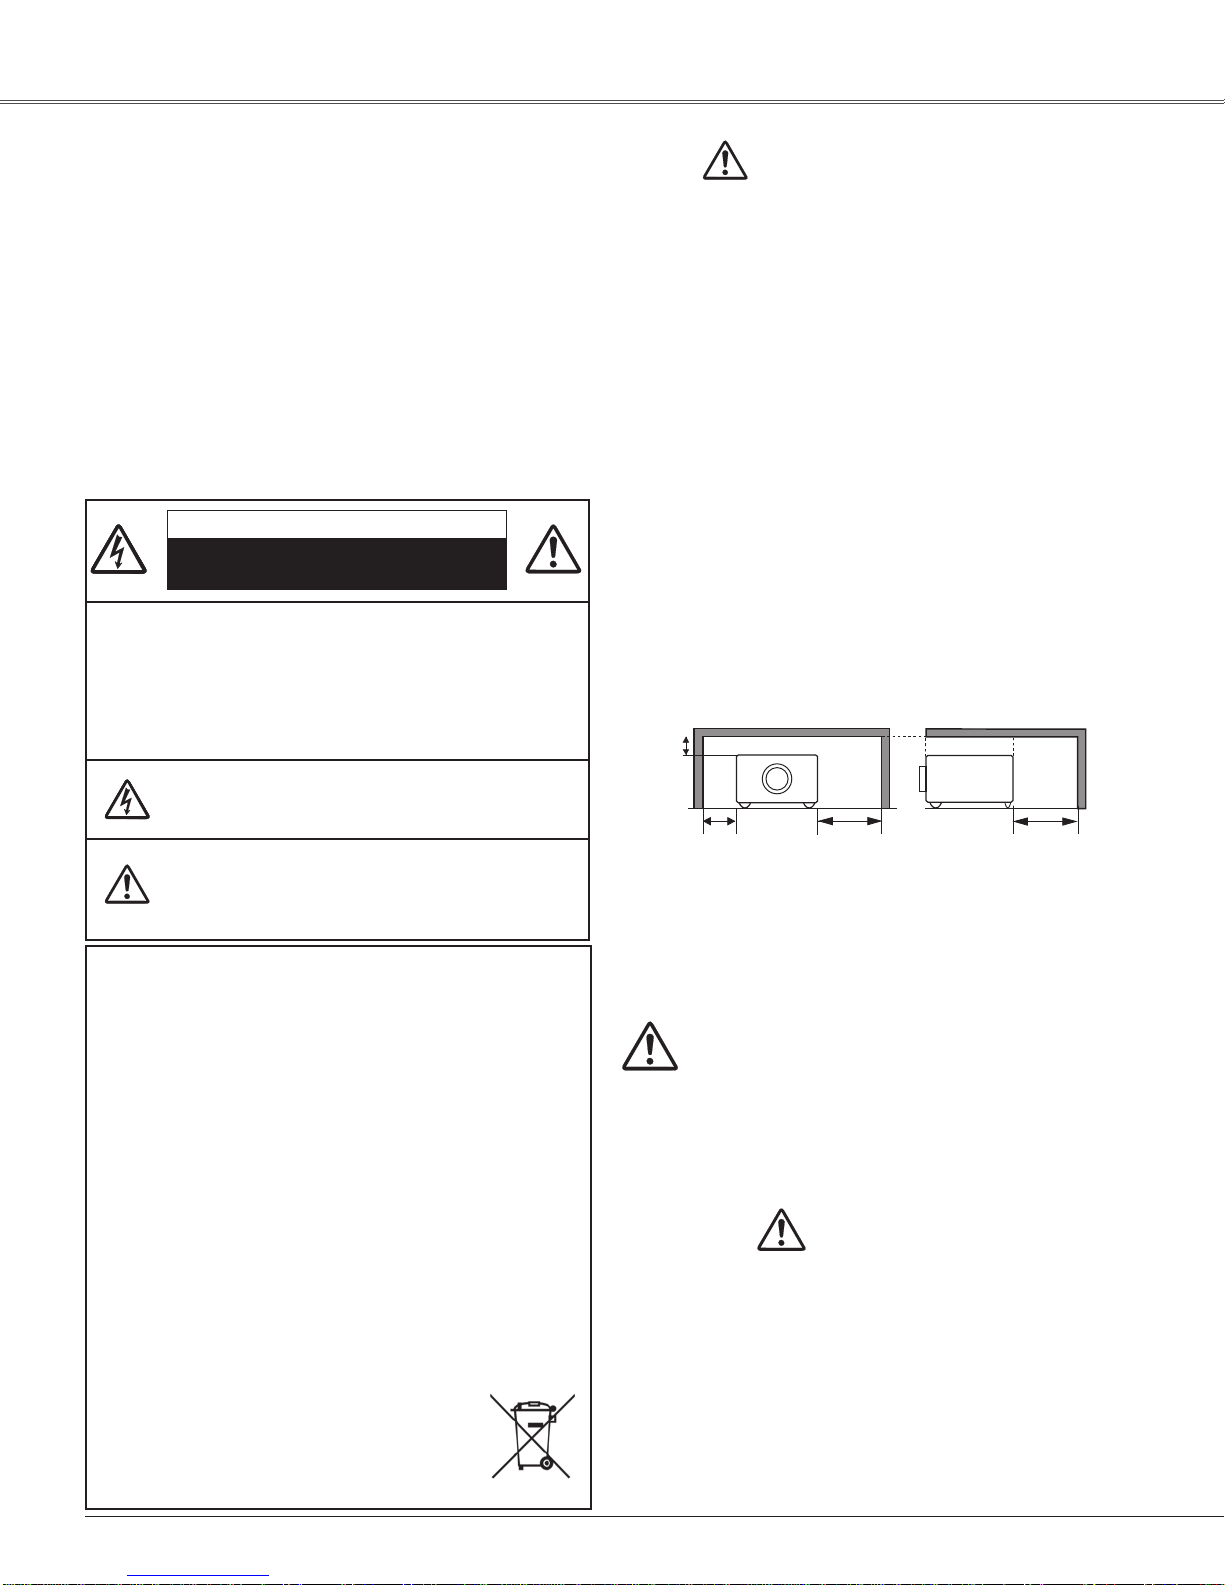
Slotsandopeningsinthebackandbottomofthecabinet
areprovidedforventilation,toensurereliableoperationof
theequipmentandtoprotectitfromoverheating.
Theopeningsshouldneverbecoveredwithclothorother
materials,andthebottomopeningshouldnotbeblocked
byplacingtheprojectoronabed,sofa,rug,orother
similarsurface.Thisprojectorshouldneverbeplaced
nearoroveraradiatororheatregister.
Thisprojectorshouldnotbeplacedinabuilt-ininstallation
suchasabookcaseunlessproperventilationisprovided.
Neverpushobjectsofanykindintothisprojectorthrough
cabinetslotsastheymaytouchdangerousvoltagepoints
orshortoutpartsthatcouldresultinafireorelectric
shock.Neverspillliquidofanykindontheprojector.
Donotinstalltheprojectorneartheventilationductof
air-conditioningequipment.
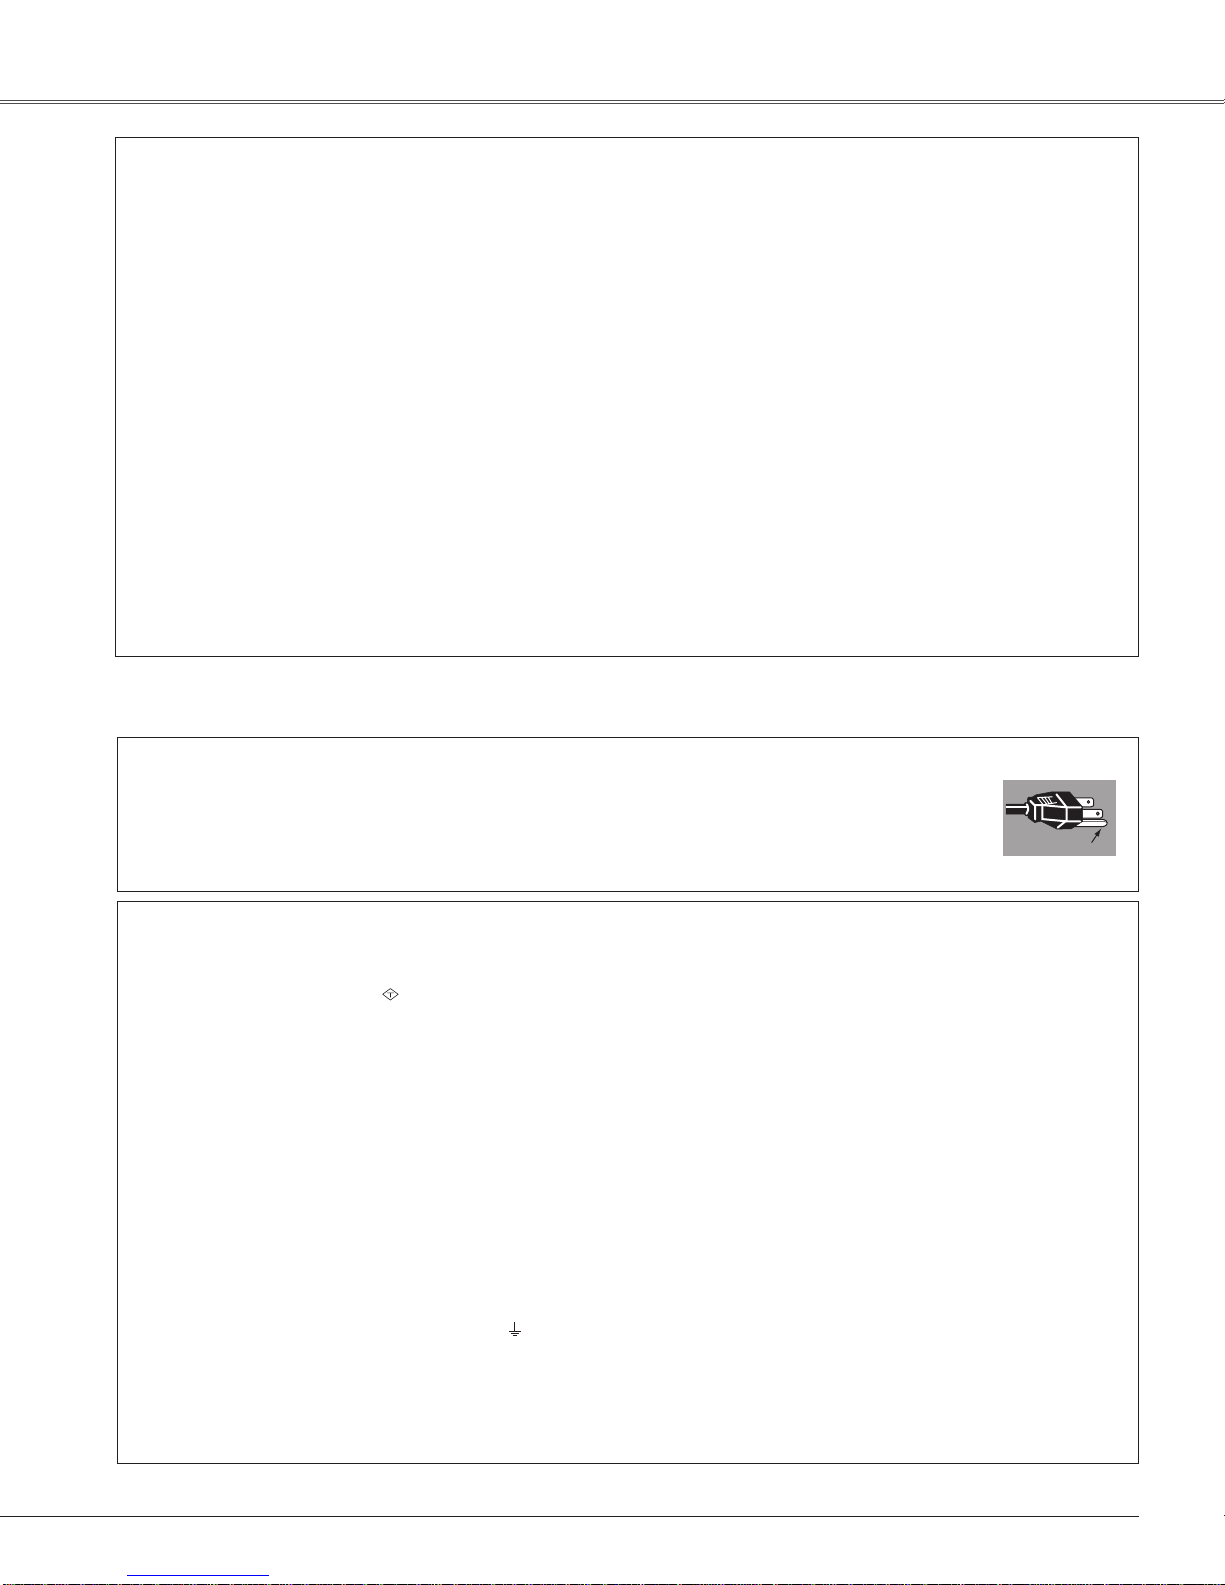
Thisprojectorshouldbeoperatedonlyfromthetype
ofpowersourceindicatedonthemarkinglabel.Ifyou
arenotsureofthetypeofpowersupplied,consultyour
authorizeddealerorlocalpowercompany.
Donotoverloadwalloutletsandextensioncordsasthis
canresultinfireorelectricshock.Donotallowanything
torestonthepowercord.Donotlocatethisprojector
wherethecordmaybedamagedbypersonswalkingon
it.
Donotattempttoservicethisprojectoryourselfas
openingorremovingCoversmayexposeyouto
dangerousvoltageorotherhazards.Referallservicing
toqualifiedservicepersonnel.
Unplugthisprojectorfromwalloutletandreferservicing
toqualifiedservicepersonnelunderthefollowing
conditions:
a.Whenthepowercordorplugisdamagedorfrayed.
b.Ifliquidhasbeenspilledintotheprojector.
c.Iftheprojectorhasbeenexposedtorainorwater.
d.Iftheprojectordoesnotoperatenormallybyfollowing
the operating instructions.Adjust only those controls
thatarecoveredbytheoperatinginstructionsas
improperadjustmentofothercontrolsmayresultin
damageandwilloftenrequireextensiveworkby a
qualifiedtechniciantorestoretheprojectortonormal
operation.
e.If the projector has beendroppedorthecabinethas
beendamaged.
f.Whentheprojectorexhibitsadistinctchangein
performance-thisindicatesaneedforservice.
Whenreplacementpartsarerequired,besurethe
servicetechnicianhasusedreplacementpartsspecified
bythemanufacturerthathavethesamecharacteristics
astheoriginalpart.Unauthorizedsubstitutionsmay
resultinfire,electricshock,orinjurytopersons.
Uponcompletionofanyserviceorrepairstothis
projector, ask the service technician to perform routine
safety checks to determine that the projector is in safe
operatingcondition.
NOTE FOR CUSTOMERS IN THE US
HgLAMP(S)INSIDETHISPRODUCTCONTAIN
MERCURYANDMUSTBERECYCLEDORDISPOSED
OFACCORDINGTOLOCAL,STATEORFEDERAL
LAWS.

6
Safety Instructions
Openingsinthe cabinetareprovidedfor ventilation.To
ensurereliableoperationoftheproductandtoprotectit
from overheating, these openings must not be blocked
orcovered.
CAUTION
Hotairisexhaustedfromtheexhaustvent.Whenusing
orinstallingtheprojector,thefollowingprecautions
shouldbetaken.
–Donotputanyflammableobjectorspraycannearthe
projector,hotairisexhaustedfromtheairvents.
–Keeptheexhaustventatleast3’(1m)awayfromany
objects.
–Donottouchaperipheralpartoftheexhaustvent,
especiallyscrewsandmetallicparts.Theseareaswill
becomehotwhiletheprojectorisbeingused.
–D o notputanythingonthecabinet.Objectsputonthe
cabinetwillnotonlygetdamagedbutalsomaycause
firehazardbyheat.
Coolingfansareprovidedtocooldowntheprojector.
Thefans’runningspeedischangedaccordingtothe
temperatureinsidetheprojector.
Moving the Projector
Whenmovingtheprojector,replacethelenscapand
retractadjustablefoottopreventdamagetothelensand
cabinet.
Whentheprojectorisnotinuseforanextendedperiod,
putitintoasuitablecase.
Air Circulation
AirIntakeVent
ExhaustVent
(Hotairexhaust)
AirIntakeVent
Donottilttheprojectormorethan30
degreesfromaboveandbelow.
Donotpointtheprojectoruptoprojectan
image.
Donotpointtheprojectordowntoproject
animage.
Donotputtheprojectoroneithersideto
projectanimage.
Installtheprojectorproperly.ImproperInstallationmay
reducethelamplifeandcauseafirehazard.
Installing the Projector in Proper Position
Donottilttheprojectormorethan20
degreesfromsidetoside.
20°
20°
30°
30°
CAUTION IN CARRYING OR TRANSPORTING
THE PROJECTOR
–Donotdroporbumptheprojector,otherwisedamages
ormalfunctionsmayresult.
–Whencarryingtheprojector,useasuitablecarryingcase.
–Donottransporttheprojectorbycourieroranyother
transportserviceinanunsuitabletransportcase.This
maycausedamagetotheprojector.Forinformation
abouttransportingtheprojectorbycourieroranyother
transportservice,consultyourdealer.
–Donotputtheprojectorinacasebeforetheprojectoris
cooledenough.

7
Safety Instructions Compliance
Federal Communications Commission Notice
Note:ThisequipmenthasbeentestedandfoundtocomplywiththelimitsforaClassBdigitaldevice,pursuant
toPart15oftheFCCRules.Theselimitsaredesignedtoprovidereasonableprotectionagainstharmful
interferenceinaresidentialinstallation.Thisequipmentgenerates,uses,andcanradiateradiofrequency
energy,andifnotinstalledandusedinaccordancewiththeinstructions,maycauseharmfulinterference
toradiocommunications.However,thereisnoguaranteethatinterferencewillnotoccurinaparticular
installation. If this equipment does cause harmful interference to radio or television reception, which can be
determinedbyturningtheequipment offandon,theuserisencouraged totrytocorrecttheinterferenceby
oneormoreofthefollowingmeasures:
–Reorientorrelocatethereceivingantenna.
–Increasetheseparationbetweentheequipmentandreceiver.
–Connecttheequipmentintoanoutletonacircuitdifferentfromthattowhichthereceiverisconnected.
–Consultthedealeroranexperiencedradio/TVtechnicianforhelp.
UseofshieldedcableisrequiredtocomplywithclassBlimitsinSubpartBofPart15ofFCCRules.
Donotmakeanychangesormodificationstotheequipmentunlessotherwisespecifiedintheinstructions.If
suchchangesormodificationsshouldbemade,youcouldberequiredtostopoperationoftheequipment.
ModelNumber:LC-XBL30
TradeName:EIKI
Responsibleparty:EIKIInternational,Inc.
Address:30251EsperanzaRanchoSantaMargaritaCA92688-2132
TelephoneNo.:800-242-3454(949-457-0200)
TheACPowerCordsuppliedwiththisprojectormeetstherequirementforuseinthecountryyoupurchasedit.
AC Power Cord for the United States and Canada:
ACPowerCordusedintheUnitedStatesandCanadaislistedbytheUnderwriters
Laboratories(UL)andcertifiedbytheCanadianStandardAssociation(CSA).
ACPowerCordhasagrounding-typeAClineplug.Thisisasafetyfeaturetobesurethatthe
plugwillfitintothepoweroutlet.Donottrytodefeatthissafetyfeature.Shouldyoubeunable
toinserttheplugintotheoutlet,contactyourelectrician.
GROUND
AC Power Cord Requirement
AC Power Cord for the United Kingdom:
Thiscordisalreadyfittedwithamouldedplugincorporatingafuse,thevalueofwhichisindicatedonthepin
faceoftheplug.Shouldthefuseneedtobereplaced,anASTAapprovedBS1362fusemustbeusedofthe
samerating,markedthus
ASA
.Ifthefusecoverisdetachable,neverusetheplugwiththecoveromitted.Ifa
replacementfusecoverisrequired,ensureitisofthesamecolourasthatvisibleonthepinfaceoftheplug
(i.e.redororange).FusecoversareavailablefromthePartsDepartmentindicatedinyourUserInstructions.
Iftheplugsuppliedisnotsuitableforyoursocketoutlet,itshouldbecutoffanddestroyed.
Theendoftheflexiblecordshouldbesuitablypreparedandthecorrectplugfitted.
WARNING : A PLUG WITH BARED FLEXIBLE CORD IS HAZARDOUS IF ENGAGED IN A LIVE SOCKET
OUTLET.
TheWiresinthismainsleadarecolouredinaccordancewiththefollowingcode:
Green-and-yellow ..
Earth
Blue ...........Neutral
Brown.........Live
Asthecoloursofthewiresinthemainsleadofthisapparatusmaynotcorrespondwiththecolouredmarkings
identifyingtheterminalsinyourplugproceedasfollows:
Thewirewhichiscolouredgreen-and-yellowmustbeconnectedtotheterminalintheplugwhichismarkedby
theletterEorbythesafetyearthsymbol orcolouredgreenorgreen-and-yellow.
Thewirewhichiscolouredbluemustbeconnectedtotheterminalwhichismarkedwiththeletter N or
colouredblack.
Thewirewhichiscolouredbrownmustbeconnectedtotheterminalwhichismarkedwiththeletter L or
colouredred.
WARNING: THIS APPARATUS MUST BE EARTHED.
THE SOCKET-OUTLET SHOULD BE INSTALLED NEAR THE EQUIPMENT AND EASILY ACCESSIBLE.

8
Part Names and Functions
⑤⑦ ⑧
③
②
Front
Back
⑥
①Top controls and Indicators
②Zoom Ring
③Focus Ring
④Speaker
⑤Infrared Remote Receiver
⑥Projection Lens
⑦Lens Cap
(Seepage60forattaching.)
⑧Air Intake Vent
⑨Lamp Cover
⑩Terminals and Connectors
⑪LAN Connection Terminal
⑫ Power Cord Connector
⑬ Exhaust Vents
CAUTION
Hotairisexhaustedfromtheexhaustvent.Donotput
heat-sensitiveobjectsnearthisside.
⑭Filters
⑮Adjustable Foot
Note:
⑪LANConnectionTerminalisfortheNetworkfunction.
Refertotheowner’smanualof“NetworkSet-upand
Operation”.
Kensington Security Slot
ThisslotisforaKensingtonlockusedtodetertheftof
theprojector.
KensingtonisaregisteredtrademarkofACCOBrands
Corporation.
CAUTION
Donotturnonaprojectorwithlenscapattached.High
temperaturefromlightbeammaydamagelenscapand
resultinfirehazard.
④
⑩
⑧
⑪
⑨
Bottom ⑮
①
⑭⑬⑬⑫
⑭

9
Part Names and Functions
Rear Terminal
② ③① ④⑥
⑦
⑤
⑦AUDIO IN
Connecttheaudiooutputsignalfromcomputeror
videoequipmenttothisjack(pp.14-16).
⑤VIDEO IN
Connectthecompositevideooutputsignaltothis
jack(p.15).
②COMPUTER IN 1 /S-VIDEO IN / COMPONENT IN
ConnectanalogRGBoutputsignalfroma
computer,S-VIDEOoutputsignalfromvideo
equipment,orRGBscart21-pinvideooutputor
componentvideooutputtothisterminal(pp.14-16).
④AUDIO OUT (VARIABLE)
Connectanexternalaudioamplifiertothisjack
(pp.14-16).
ThisterminaloutputssoundfromAUDIOIN
terminal.
⑥LAN Connection Terminal
ConnecttheLANcable(refertotheowner’s
manualof“NetworkSet-upandOperation”).
①CONTROL PORT
WhencontrollingtheprojectorwithRS-232C,
connectthecontrolequipmenttothisconnectorwith
theserialcontrolcable.
③COMPUTER IN 2 / MONITOR OUT
–ConnectanalogRGBoutputsignalfroma
computertothisterminal(p.14).
–Thisterminalcanbeusedtooutputtheincoming
analogRGBandComponentsignalfrom
COMPUTERIN1/S-VIDEOIN/COMPONENTIN
terminaltotheothermonitor(pp.14,16).

10
Part Names and Functions
Top Control
⑦LAMP REPLACE indicator
Lightsyellowwhentheprojectionlampreachesits
endoflife(pp.61,69).
⑧WARNING indicator
–Lightsredwhentheprojectordetectsan
abnormalcondition.
–Blinksredwhentheinternaltemperatureofthe
projectorexceedstheoperatingrange(pp.58,
69).
④ON/STAND–BY button
Turntheprojectoronoroff(pp.18-20).
⑤POWER indicator
–Lightsredwhentheprojectorisinstand-bymode.
–Lightsgreenduringoperations.
–BlinksgreeninthePowermanagementmode
(p.50).
⑥MENU button
OpenorclosetheOn-ScreenMenu(p.21).
②POINT ▲▼◄► (VOLUME +/–) buttons
–Selectanitemoradjustthevalueinthe
On-ScreenMenu(p.21).
–PantheimageintheDigitalzoom+/-mode
(p.35).
–Adjustthevolumelevel(Point◄►buttons)
(p.24).
③AUTO SETUP button
ExecutethesettingofAutosetup(includesInput
search,AutoPCadj.andAutoKeystonefunctions)
inthesettingmenu.(pp.23,44).
①SELECT button
–Executetheselecteditem(p.21).
–ExpandorcompresstheimageintheDigital
zoommode(p.35).
①
②
③
④
⑤
⑥
⑦
⑧

11
Part Names and Functions
Note:
Toensuresafeoperation,pleaseobservethefollowingprecautions:
–Donotbend,drop,orexposetheremotecontroltomoistureorheat.
–Forcleaning,useasoftdrycloth.Donotapplybenzene,thinner,spray,
oranychemicalmaterial.
Remote Control
⑦
⑭
⑩
⑳
④
⑱
②
⑧
⑨
⑬
⑯
⑤
⑥
⑪
⑫
⑲
⑮
③
②AUTO SET button
ExecutethesettingofAutosetup(includesInputsearch,AutoPCadj.
andAutoKeystonefunctions)inthesettingmenu.
(pp.23,44)
⑤S-VIDEO button
SelecttheS-VIDEOinputsource.(p.36)
⑥Point ▲▼◄►buttons
–SelectanitemoradjustthevalueintheOn-ScreenMenu.(p.21)
–PantheimageintheDigitalzoom+/-mode.(p.35)
⑬MUTE button
Mutethesound.(p.24)
⑦SCREEN button
Selectascreenmode.(pp.26,34-35,42)
⑮P-TIMER button
OperatetheP-timerfunction.(p.26)
⑩NO SHOW button
Temporarilyturnofftheimageonthescreen.(p.26)
⑯LAMP button
Selectalampmode.(pp.25,52)
⑱KEYSTONE button
Correctkeystonedistortion.(pp.23,45)
⑲SELECT button
–Executetheselecteditem.(p.21)
–ExpandorcompresstheimageinDigitalzoommode.(p.35)
⑧MENU button
OpenorclosetheOn-ScreenMenu.(p.21)
⑨FREEZE button
Freezethepictureonthescreen.(p.25)
⑫VOLUME +/- buttons
Adjustthevolumelevel.(p.24)
①ON/STAND-BY button
Turntheprojectoronoroff.(pp.18-20)
③COMPUTER 1/2 buttons
SelecttheCOMPUTER1orCOMPUTER2inputsource.
(pp.27,37)
⑪D.ZOOM ▲▼buttons
Zoominandouttheimages.(pp.25,35)
⑭IMAGE button
Selecttheimagemode.(pp.26,32,39)
⑳COMPONENT button
SelecttheCOMPONENTinputsource.(p.37)
④VIDEO button
SelecttheVIDEOinputsource.(p.36)
⑰
⑰INFO. button
Operatetheinformationfunction.(p.57)
①

12
Part Names and Functions
Toensuresafeoperation,pleaseobservethefollowingprecautions:
● Usetwo(2)AAAorLR03typealkalinebatteries.
● Alwaysreplacebatteriesinsets.
● Donotuseanewbatterywithausedbattery.
● Avoidcontactwithwaterorliquid.
● Donotexposetheremotecontroltomoistureorheat.
● Donotdroptheremotecontrol.
● Ifthebatteryhasleakedontheremotecontrol,carefullywipethecasecleanandinstallnewbatteries.
● Riskofanexplosionifbatteryisreplacedbyanincorrecttype.
● Disposeofusedbatteriesaccordingtotheinstructionsoryourlocaldisposalruleorguidelines.
Openthebattery
compartmentlid.
Installnewbatteries
intothecompartment.
Replacethe
compartmentlid.
Two AAA size batteries
Forcorrectpolarity
(+and–),besure
batteryterminalsare
incontactwithpinsin
compartment.
1 2 3
Pointtheremotecontroltowardtheprojector(Infrared
RemoteReceiver)whenpressingthebuttons.Maximum
operatingrangefortheremotecontrolisabout16.4'(5m)
and60degreesinfrontoftheprojector.
Remote Control Operating Range
Remote Control Battery Installation
16.4'
(5m)
30° Remotecontrol
30°
The2 differentremote controlcodes (Code 1–Code2) are
assignedtothisprojector.Switchingtheremote
controlcodespreventsinterferencefromotherremote
controlswhenseveralprojectorsorvideoequipment
nexttoeachother are operatedatthesametime.Change
theremotecontrolcodefortheprojectorfirstbefore
changingthatforthe remote control.See"Remotecontrol"
intheSettingMenuonpage52.
PressandholdtheMENUandIMAGEbuttonsformore
thanfivesecondstoswitchbetweentheCode 1andCode
2.TheinitialcodeissettoCode 1.
Remote Control Code
MENU button
IMAGE button

13
Positioning the Projector
Forprojectorpositioning,seethefiguresbelow.Theprojectorshouldbesetperpendicularlytotheplaneofthe
screen.
Installation
Note:
•Thebrightnessintheroomhasagreatinfluenceonpicturequality.Itisrecommendedtolimitambient
lightinginordertoobtainthebestimage.
•Allmeasurementsareapproximateandmayvaryfromtheactualsizes.
Adjustable Foot
AdjustableFoot
FootLockLatch
Projectionanglecanbeadjustedupto10.0degreeswith
theadjustablefoot.
Liftthefrontoftheprojectorandpushthefootlock
latchontheprojector.
Releasethefootlocklatchtolocktheadjustablefoot
androtatetheadjustablefoottoadjustthepositionand
tilt.
Toretracttheadjustablefoot,liftthefrontofthe
projectorandpushandundothefootlocklatch.
Keystonedistortionoftheprojectedimagecanbe
correctedbymenuoperation.(seepages23,44-45)
A
B
100"
150"
200" 250
167
125
83
300"(wide)
40"
300"(tele )
34.4'(10.5m)
28.6'(8.7m)
19.1'(5.8m)
14.3'(4.4m)
Max. Zoom Min. Zoom
A : B = 4.3 : 1
(Inch Diagonal)
9.5'(2.9m)
(Center)
3.6'(1.1m)
Screen Size
(W x H) mm
4 : 3 aspect ratio
40”
Zoom (max)
813 x 610
3.6'(1.1m)
100”
2032 x 1524
9.5'(2.9m)
150”
3048 x 2286
14.3'(4.4m)
200”
4064 x 3048
19.1'(5.8m)
300”
6096 x 4572
28.6'(8.7m)
Zoom (min) 4.5'(1.4m) 11.4'(3.5m) 17.1'(5.2m) 22.9'(7.0m) 34.4'(10.5m)

14
Installation
Connecting to a Computer
UnplugthepowercordsofboththeprojectorandexternalequipmentfromtheACoutletbeforeconnecting
cables.
Cables used for connection
•VGACables(MiniD-sub15pin)*(Onlyonecableissupplied.)
•AudioCables
(*Onecableissupplied;othercablesarenotsuppliedwiththeprojector.)
Note:
•InputsoundtotheAUDIOINterminalwhenusingtheCOMPUTERIN1/S-VIDEOIN/COMPONENTIN
andtheCOMPUTERIN2/MONITOROUTterminalsasinput.
•WhentheAUDIOOUTisplugged-in,theprojector'sbuilt-inspeakerisnotavailable.
•Whenthecableisofthelongervariety,itisadvisabletousetheCOMPUTERIN1/S-VIDEOIN/COMPONENTINand
nottheCOMPUTERIN2/MONITOROUT.
ExternalAudioEquipment
Audiocable
(stereo)
Audiocable
(stereo)
AudioOutput
AUDIOIN
AUDIOOUT
(stereo)
AudioInput
MonitorInput
or
MonitorOutput
COMPUTERIN2/
MONITOROUT
VGA
cable
COMPUTERIN1
/S-VIDEOIN
/COMPONENTIN
VGA
cable
Monitor
Output
Thisterminalisswitchable.
Setuptheterminalas
eitherComputerinputor
Monitoroutput.(SeePage
49.)

15
Installation
Connecting to Video Equipment
Cables used for connection
•VideoCable
•S-VideoCable
•S-Video-VGACable
•AudioCables(MiniPlug:stereo)
(Cablesarenotsuppliedwiththeprojector.)
Note:
•WhentheAUDIOOUTisplugged-in,theprojector'sbuilt-inspeakerisnotavailable.
•Seepage72fororderingoptionalcables.
UnplugthepowercordsofboththeprojectorandexternalequipmentfromtheACoutletbeforeconnecting
cables.
ExternalAudioEquipment
Audiocable
(stereo)
S-Videocable
CompositeVideoandAudioOutput
S-VideoOutput AudioInput
AUDIOIN
S-Video-VGA
cable
Videocable
COMPUTERIN1
/S-VIDEOIN
/COMPONENTIN
AUDIOOUT
(stereo) VIDEOIN
Audiocable
(stereo)
AudioOutput

16
Installation
Connecting to Component Video and RGB ( Scart) Equipment
Note:
•WhentheAUDIOOUTisplugged-in,theprojector'sbuilt-inspeakerisnotavailable.
•Seepage72fororderingoptionalcables.
Cables used for connection
•AudioCables(MiniPlug:stereo)
•Scart-VGACable
•ComponentCable
•Component-VGACable
(Cablesarenotsuppliedwiththisprojector.)
ExternalAudioEquipment
AUDIOIN
Audiocable
(stereo)
Audiocable
(stereo)
AudioInput
ComponentVideoOutput
( Y, Pb/Cb,Pr/Cr)
AudioOutput RGBScart
21-pinOutput
Scart-VGA
cable
Component-
VGAcable
AUDIOOUT
(stereo)
Component
cable
COMPUTERIN1/S-VIDEOIN/COMPONENTIN
UnplugthepowercordsofboththeprojectorandexternalequipmentfromtheACoutletbeforeconnecting
cables.

17
Installation
Connecting the AC Power Cord
This projector uses nominal input voltages of 100-120 V or
200–240VACanditautomaticallyselectsthecorrectinput
voltage.Itisdesignedtoworkwithsingle-phasepower
systemshavingagroundedneutralconductor.To reduce
theriskofelectricalshock,donotplugintoanyothertypeof
powersystem.
Ifyouarenotsureofthetypeofpowerbeingsupplied,
consultyourauthorizeddealerorservicestation.
Connecttheprojectorwithallperipheralequipmentbefore
turningtheprojectoron.
Note:
UnplugtheACpowercordwhentheprojectorisnot
inuse.Whenthisprojectorisconnectedtoanoutlet
withtheACpowercord,itisinStand-bymodeand
consumesalittleelectricpower.
TotheACoutlet.
(200 - 240 V AC)
NOTE ON THE POWER CORD
ACpowercordmustmeetrequirementofthecountrywhereyouusetheprojector.
ConfirmtheACplugtypewiththechartbelowandproperACpowercordmustbeused.
IfsuppliedACpowercorddoesnotmatchyourACoutlet,contactyoursalesdealer.
Topowercord
connectoronyour
projector.
Projector side AC outlet side
Ground
TotheACoutlet.
(120 V AC)
For the U.S.A. and Canada
TotheACoutlet.
(200 - 240 V AC)
For the U.K.For Continental Europe
CAUTION
TheACoutletmustbenearthisequipmentandmustbe
easilyaccessible.
ConnecttheACpowercord(supplied)tothe
projector.

18
Thepreparationdisplaywilldisappear
after30seconds.
(Seepage52forLampcontrolstatus.)
Turning On the Projector
Connecttheprojector’sACpowercordintoanAC
outlet.ThePOWERindicatorlightsred.Openthelens
cap(seepages8,60).
PresstheON/STAND-BYbuttononthetopcontrolor
ontheremotecontrol.ThePOWERindicatorlights
greenandthecoolingfansstarttooperate.The
preparationdisplayappearsonthescreenandthe
countdownstarts.
2
3
1Completeperipheralconnections(withacomputer,
VCR,etc.)beforeturningontheprojector.
Selected Input Source and Lamp Control
Note:
TheFilterwarningandLampreplacement
iconsmayappearonthescreen
dependingontheusagestateofthe
projector.
Basic Operation
Lampcontrolstatus
Video
4Afterthecountdown,theinputsourcethatwasselected
thelasttimeandthelampcontrolstatusicon(seepage
52)appearonthescreen.
Note:
•WhentheLogoselectfunctionissettoOff,thelogowill
notbeshownonthescreen(p.46).
•WhenCountdown offorOffisselected in the Display
function,thepreparationdisplaywillnotbeshownon
thescreen(p.45).
•WhentheInputSearchfunctionissettoOn2,theinput
signalwillbesearchedautomatically(p.44).
• WhenOffisselectedintheDisplayfunction,theVideo/
PCselectionwindowandtheinputsignalguidance
windowarenotshownonthescreen.(p.45)
5Ifthereisnosignalinputwhenstartontheprojector,
orthecurrentsignalismissedwhileoperatingthe
projector,theVideo/PCselectionwindowwillbe
displayedonthescreen,pleasemovethepointerto
inputsourcedesiredbypressingthePoint▲▼buttons
andpresstheSELECTbutton.Andthenfollowthe
inputsignalguidancewindowtocorrectthesignaland
connection.
IftheprojectorislockedwithaPINcode,PINcodeinput
dialogboxwillappear.EnterthePINcodeasinstructed
onthenextpage.
Video / PC selection window
Input signal guidance window
Video / PC selection window
Input signal guidance window
Project Video
Project Computer
Cancel
Project Video
Project Computer
Cancel
Project Computer
Nosignal
CurrentInputsetting:Video
Issignalprocessedcorrectly?
Iscableconnectedproperly?
Nosignal
CurrentInputsetting:RGB
Issignalprocessedcorrectly?
Iscableconnectedproperly?
16
http://www.eiki.com

19
What is PIN code?
PIN(PersonalIdentificationNumber)codeisasecurity
codethatallowsthepersonwhoknowsittooperatethe
projector.SettingaPINcodepreventsunauthorizeduseof
theprojector.
APINcodeconsistsofafour-digitnumber.RefertothePIN
codelockfunctionintheSettingMenuonpages53-54for
lockingoperationoftheprojectorwithyourPINcode.
Enter a PIN code
UsethePoint▲▼buttonstoenteranumber.Pressthe
Point◄►buttonstofixthenumberandmovethered
framepointertothenextbox.Thenumberchangesto“”.
Ifyoufixedanincorrectnumber,usethePoint◄►buttons
tomovethepointertothenumberyouwanttocorrect,and
thenenterthecorrectnumber.
Repeatthissteptocompleteenteringafour-digitnumber.
Afterenteringthefour-digitnumber,movethepointertoSet.
PresstheSELECTbuttonsothatyoucanstarttooperate
theprojector.
IfyouenteredanincorrectPINcode,PIN codeandthe
number()willturnredforamoment.Enterthe
correctPINcodealloveragain.
CAUTION ON HANDLING PIN CODE
IfyouforgetyourPINcode,theprojectorcanno
longerbestarted.Takeaspecialcareinsetting
anewPINcode;writedownthenumberina
columnonpage75ofthismanualandkeepit
onhand.ShouldthePINcodebemissingor
forgotten,consultyourdealerorservicecenter.
AftertheOKicondisappears,
youcanoperatetheprojector.
PIN Code Input Dialog Box
Note:
•IfthePINcodenumberisnotenteredwithinthree
minutesafterthePINcodedialogboxappeared,the
projectorwillbeturnedoffautomatically.
•The“1234”issetastheinitialPINcodeatthefactory.
Basic Operation

20
TOMAINTAINTHELIFEOFTHELAMP,ONCE
YOUTURNTHEPROJECTORON,WAITAT
LEASTFIVEMINUTESBEFORETURNINGIT
OFF.
Power off?disappearsafter4seconds.
Turning Off the Projector
Press the ON/STAND-BY button on the top control or
ontheremotecontrol,andPower off? appearsonthe
screen.
PresstheON/STAND-BYbuttonagaintoturnoffthe
projector.ThePOWERindicatorstartstoblinkred,and
thecoolingfanskeeprunning.(Youcanselectthelevel
offans’quietnessandspeed.See“Fan”on page 55.)
Atthistime,youcanunplugtheACpowercordevenif
thefansarestillrunning.
1
2
3When theprojectorhascooleddownenough,the
POWERindicatorstopsblinkingandyoucanturnon
theprojector.
Note:
•WhentheOnstartfunctionissettoOn,theprojectorwill
beturnedonautomaticallybyconnectingtheACpower
cordtoanACoutlet(p.50).
•Therunningspeedofcoolingfansischangedaccording
tothetemperatureinsidetheprojector.
•Donotputtheprojectorinacasebeforetheprojectoris
cooledenough.
•IftheWARNINGindicatorblinksorlightsred,see
“WARNINGindicator”onpage58.
•WhilethePOWERindicatorisblinking,thelampisbeing
cooleddownandtheprojectorcannotbeturnedon.Wait
untilthePOWERindicatorstopsblinkingtoturnonthe
projectoragain.
•ThefanrotationwillterminatedirectlyiftheACpower
cordisunpluggedimmediatelyaftertheprojectoris
turnedoff.
•TheprojectorcanbeturnedonafterthePOWER
indicatorturnsred.Thewaitingtimetorestartwillbe
shortenedwhenthenormalpower-offprocessingforfan
coolingiscompleted,comparedwiththetimetheAC
powercordisimmediatelyunpluggedafterthepower-
off.
Basic Operation
DONOTOPERATETHEPROJECTOR
CONTINUOUSLYWITHOUTREST.
CONTINUOUSUSEMAYRESULTIN
SHORTENINGTHELAMPLIFE.TURNOFFTHE
PROJECTORANDLETSTANDFORABOUTAN
HOURINEVERY24HOURS.
Other manuals for Brilliant LC-XBL30
1
Table of contents
Other Eiki Projector manuals

Eiki
Eiki LC-4200U Setup guide

Eiki
Eiki LC-X5L User manual

Eiki
Eiki Projector User manual

Eiki
Eiki LC-WB200A User manual

Eiki
Eiki LC-XG110 Setup guide

Eiki
Eiki Brilliant LC-SB15 User manual

Eiki
Eiki LC-XGA980E Setup guide

Eiki
Eiki Brilliant LC-XNP4000 User manual

Eiki
Eiki LC-6000U Setup guide

Eiki
Eiki LC-X60 Setup guide