EN
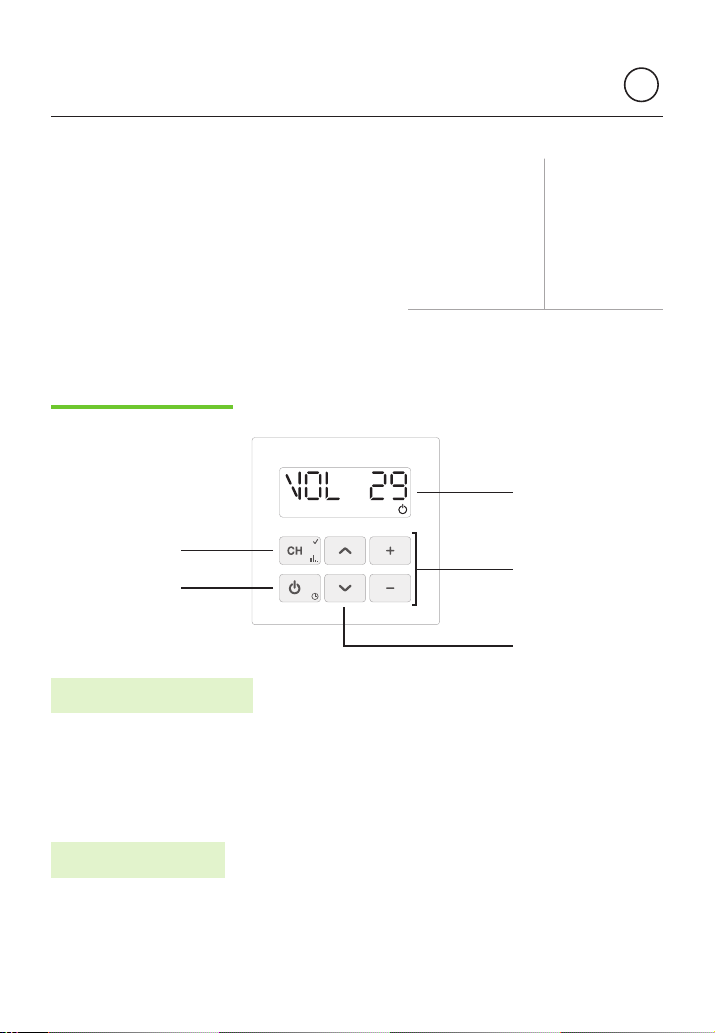
In-Wall PREMIUM BT & In-Wall FM/DAB Display Installation & User Manual
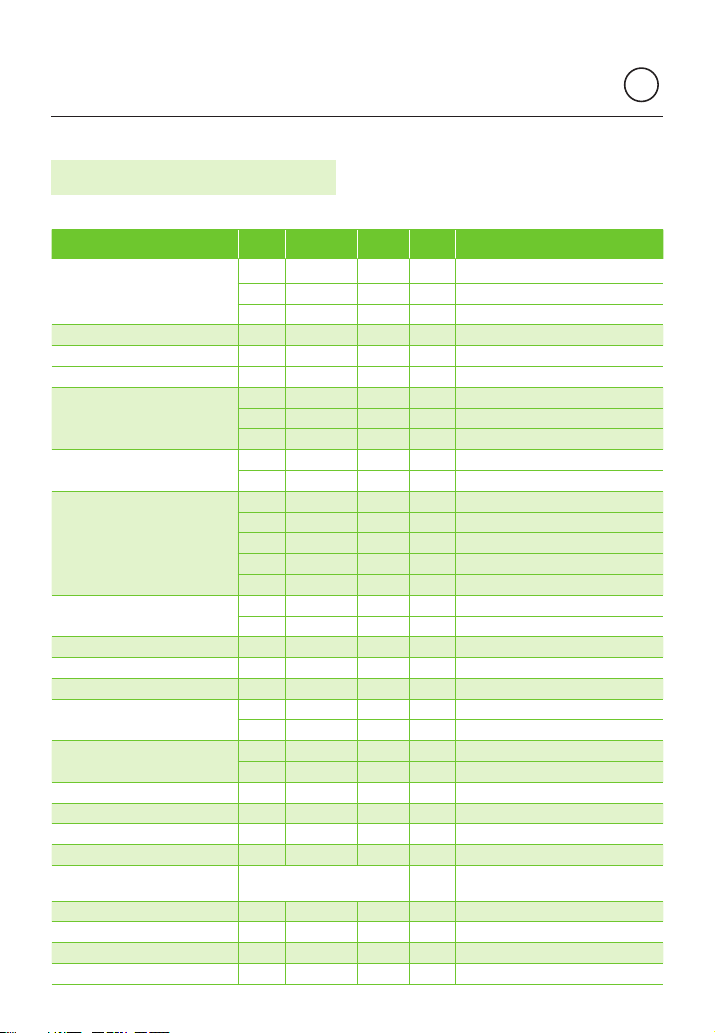
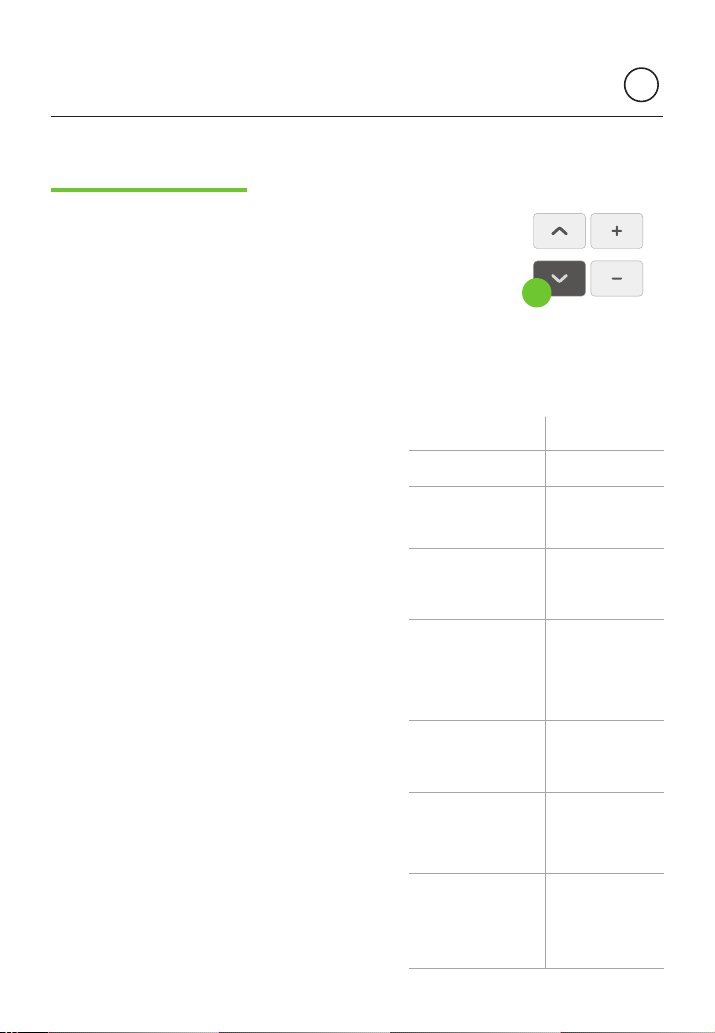
328x1 / 328x2 / 527x6 / 527x7 MIN NORMAL MAX COMMENTS
Measurements
45x45x45,5 mm exterior (width x height x depth)
45x45x36 mm cavity (width x height x depth)
45x45 mm face cover (width x height)
Voltage 15 15,5 Vdc terminals 2,4
Consumption demand 328x1, 527x7 8 50,2 mA terminals 2,4
Consumption demand 328x2, 527x6 21 61 mA terminals 2,4
Input signal
2,75 Vrms terminals 15, 16, 25, 26, NORMAL mode
1,22 Vrms terminals 15, 16, 25, 26, PROF mode
0,32 Vrms terminals 15, 16, 25, 26, OTHER mode
Input impedance 3300 ohms terminals 15
33000 ohms terminals 16, 25, 26
Audio output signal
1,5 W terminals 05, 06, 04, 8 OHM mode
1 W terminals 05, 06, 04, 16 OHM mode
1,288 Vrms terminals 05, 06, 04, LINE mode
2,585 Vrms terminals 05, 06, 04, AMP1 mode
1,82 Vrms terminals 05, 06, 04, AMP2 mode
External amplifier activation signal 5 Vdc terminals 05 (DC component)
14 Vdc terminal 0/62
Call reception signal 2,75 Vrms terminal 7
Passband 20 22000 Hz
Distortion 0,1 1 %
Frequency range 87,5 108 MHz FM
174 240 MHZ DAB
Antenna impedance 75 ohms FM
50 ohms DAB
Antenna sensitivity 3,5 10 uV
Tuner distortion 1 %
Number of memories FM 10
Number of memories DAB 10
Bluetooth spec. Class2 BT4.2 dual mode
BLE, A2DP 1.3, AVRCP 1.6C Only 527x6, 527x7 models
Wireless transceiver 2,4 GHz ISM Band, only 527x6, 527x7 models
RF transmision power 2 dBm Only 527x6, 527x7 models
RF antenna internal Only 527x6, 527x7 models
Bluetooth range 10 m Only 527x6, 527x7 models
2.2 TECHNICAL SPECIFICATIONS