For Bluetooth 2.1 + EDR class 2
Bluetooth headset with dual-microphone
noise cancellation function
LBT-PCHS500/LBT-MPHS500A/LBT-MPHS500C series User's Manual V01
Thank you for purchasing this quality Elecom product.
This manual describes the operating procedure and safety precautions for this Bluetooth
headset.
Ensure that you have read this manual before using the product. After reading this manual,
store it somewhere safe for future reference.
Product features
This product is a Bluetooth headset that supports Headset Profile (HSP) and Hands-Free
Profile (HFP).
Equipped with 2 microphones and reduced ambient noise so that you can enjoy hands-
free calling and voice chat on a mobile phone or PC with clear sound.
Supports "Bluetooth 2.1+EDR", making it easy to perform pairing operations with devices
that support the same specifications.
Designed for ultra-low power consumption; 1 charge provides approx. 4 hours of continuous
z
conversation and over 100 hours of standby time.
The dual microphone noise cancellation function reduces ambient noise to achieve conversation with
z
clear sound.
A USB type AC adapter for charging is included with the LBT-MPHS500A series. Even without a PC,
z
charging can be done from a household outlet.
A cigarette lighter charging device (12 V/24 V compatible) is included with the LBT-MPHS500C series. While
z
driving, the headset can be charged from a car cigarette lighter socket even if the battery has run out.
It is possible to maintain pairing information for up to 8 devices.Once paired, there is no need for trou-
z
blesome pairing work the next time it is used, even after it has been turned off. *Can only connect to one
device at a time.
* This product is specifically used for calls. It is not possible to listen to music on a mobile phone as
Bluetooth audio profiles (A2DP) are not supported.
Necessary information when connecting:
Product device name when detected in a search from a mobile device:
Link Key
Package Contents
The package for this product contains the following items. Please confirm the
package contents before using this product.
Headset x1
USB charging cable x1
Ear hook x1
User's Manual - This document
Easy Connection Guide x1
USB AC adapter (LBT-MPHS500A series only)
Cigarette lighter charger (LBT-MPHS500C series only)
Part Names
Multi-function button This button controls functions such as power ON/OFF, as well as the following:
Power ON/Pairing When there is no paired device around the headset
The headset will turn ON when the button is pressed and held for 3 seconds
until the lamp lights up blue.
If there is no paired device around the headset, it will be awaiting connection
(the lamp will blink once approximately every 2 seconds), and if there is no
connection the headset will automatically turn OFF after approx. 6 minutes.
When there is a paired device around the headset
The headset will turn ON and attempt to connect with the paired device when
the button is pressed and held for 3 seconds until the LED lamp lights blue.
When connection has failed such as when the power for the paired device is
off, the headset will be awaiting connection and will automatically turn OFF
after approx. 6 minutes.
When the headset has been successfully connected with a mobile phone or
other such device
Lamp will blink blue in a loose pattern (-> blinks once or twice
approximately every 3 seconds).
Power OFF If the button is pressed and held for 4 seconds or longer when the power is ON,
the LED lamp will blink red and the power will turn OFF.
Sub microphone Detects surrounding sound and reduces noise. Because of this, do not use
your hands or a tool to tamper with the sub microphone.
LED lamp A LED lamp that displays the state of the power or pairing.
Read the explanation for the multi-function button for information regarding
states for the lamp display and for this product.
Charging connector When charging, insert the included USB charging cable.
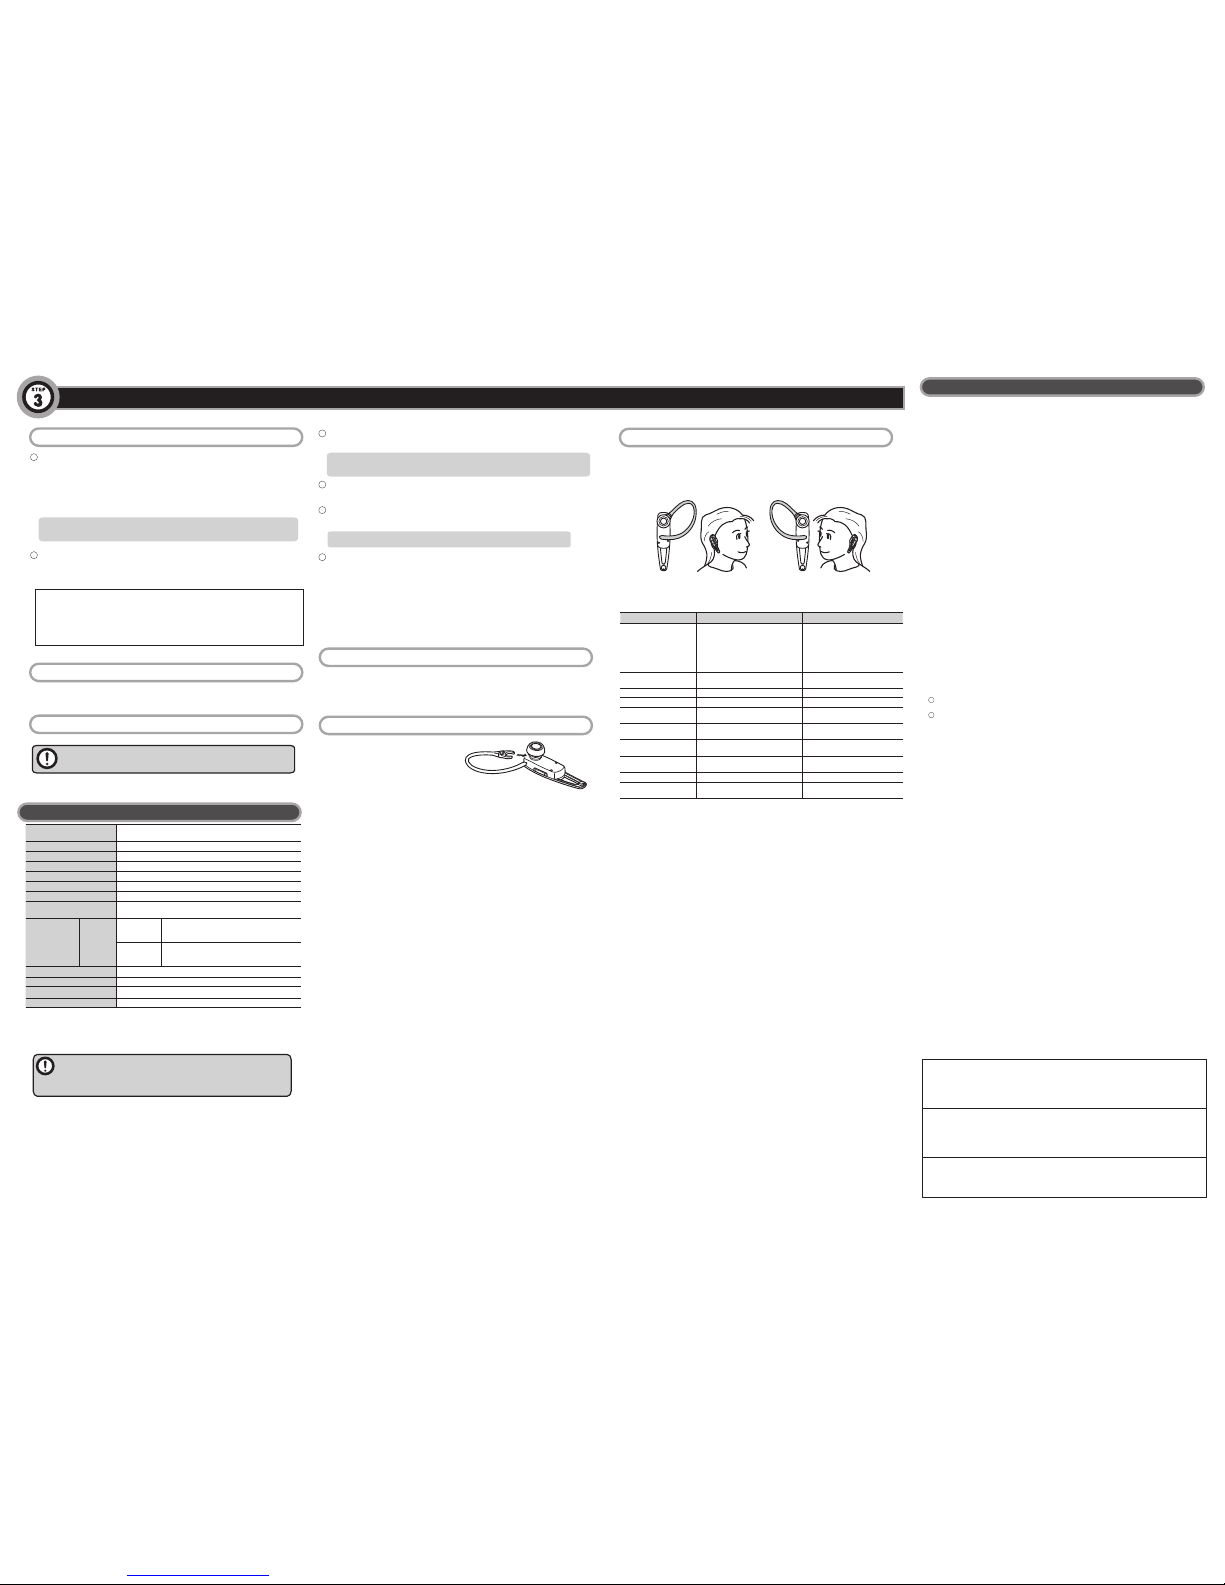
Ear hook Remove, adjust and reattach to optimize for left or right ears. Read "How to put
on the ear hook" on the back of this page.
Volume button (+/-) Press the + button when increasing the volume. Press the - button when
decreasing the volume.
Earphone Earphone is mounted on this product.This cannot be removed.
Microphone A microphone for the purpose of sound input.
Handling precautions
For proper and safe use
In order to use this product properly and safely, the following important precautions must be observed.
Warning
If the items listed here are ignored, there is risk of death or
injury for the operator, or there is risk of property damage.
Do not operate while driving an automobile.
z
Never operate this product while driving, as it is very dangerous to do so.
When operating this device, check the safety of the surrounding area while
the car has been stopped.
Do not use while driving a car.
z
Do not use the headset while driving a car. Also, even when walking, cease
use of this product and carefully check the surrounding conditions in places
such as a train station platform, traffic crossing, or construction site.
If an abnormality is found:
z
When an unusual smell or smoke has been emitted from this product, im-
mediately cease use and turn off the power. If it is being charged, remove the
included USB charging cable from the outlet. After doing this, stop using this
product and contact the retailer.
Do not leave under high temperatures.
z
This product is a precision electronic device. Avoid using or storing this product in
high temperature or humid areas, or in areas that are exposed to direct sunlight
for long periods of time. Also, when there are sudden changes in the ambient
temperature, malfunction may occur as a result of internal condensation.
Never leave this product inside a car.
z
If this product is left for a long period of time inside a car under high tempera-
tures, there is considerable risk that this will result in rupture of the internal bat-
tery, fire, or breakdown.
For charging, do not use anything other than the included
z
charging device.
A lithium polymer battery is used for the internal power source of this product. If
the battery is handled incorrectly, it may ignite. When charging this product, do
not use anything other than the included charging device or USB charging cable.
Always remove the charging cable once charging has fin-
z
ished. Also, even if the required charging time has ended
and if it has not finished charging, remove the charging
cables as soon as charging has ended.
If charged beyond the fixed charging time, there is risk that the internal battery
will become heated, ignite, or rupture. This may also affect the life span of the
battery.
Exercise caution when setting the ringtone volume.
z
When using this product after pairing it with a mobile phone, the sound of the
ringtone may surprise you and cause an accident, affecting your heart.
Do not disassemble.
z
Not including operations that are performed in accordance with the directions
of this document, do not repair, modify, or disassemble this product yourself.
Doing so may cause electric shock, fire, or burns.
Do not damage the cord used for connection.
z
Doing so may cause fire or disconnection.
Do not use in a hospital or on an airplane.
z
Never use this product in areas that require a high level of safety.This product may cause
the malfunction of metres and gauges for designated medical facilities or airplanes.
Caution If the items listed here are ignored, it may cause injury or prop-
erty damage.
Do not use or leave in areas that contain a large amount of
z
moisture.
If liquid enters the inside of this product, it may cause breakdown, fire, or electric shock.
Do not leave in areas that are reachable by small children.
z
This may lead to an unexpected incident where this product is accidentally ingested.
As the main unit is a precision electronic device, avoid
z
using or storing it in areas where impact or vibration will
occur, in areas where strong magnetism is produced, or in
areas where static electricity is produced.
Do not use this product if it creates radio wave interference
z
with in-car devices.
Depending on the model of car that is used, radio wave interference may occur between
this product and in-car devices.When something like this occurs, cease use of this product.
Do not place anything around this product or the USB
z
charging cable when charging.
Doing so may result in heating, ignition, fire, or burns.
When using this product, follow the directions given by the
z
instruction manual for the connection device.
This product can be used through wireless communication with a PC, mobile phone or
other such device but the setting method or items of caution will differ depending on the
device that it connects to. When using this product, carefully read the instruction manual
for these devices and follow their items of caution.
Charge regularly.
z
Even if this product is not used for a long period of time, charging should be
performed once a month on average.
Disposal
A lithium polymer battery is used for the internal battery of this product. Lithium polymer batteries
are a resource that can be recycled.
Other: Please also pay attention to the following items.
Do not use or store this product in an area where impact or vibration occurs, in an area of high tem-•
perature or high humidity, or in an area that is exposed to direct sunlight for a long period of time.
This product is a precision device.Do not drop or cause strong impact with the product.•
Do not place this product in an area of high temperature or humidity (such as the dashboard of a car•
or near heating equipment), in an area that is exposed to direct sunlight for a long period of time, in an
area where static electricity is easily generated, or in dusty area.
When this product has become dirty, wipe it with a soft cloth that contains a small amount of water or•
mild detergent. Using benzene or thinner will cause deformation or discoloration.
Precautions regarding radio waves
The band of frequencies used by this device are used to operate local wireless base stations
(wireless stations that require a license) and designated low-power wireless stations (wireless
stations that do not require a license) for the detection of moving objects on factory production
lines in addition to microwave ovens and other industrial/scientific/medical devices.
Before using this device, make sure that local wireless base station and designated low-
z
power wireless stations for the detection of moving objects are not being operated.
If this device has created radio wave interference for a local wireless base station for moving
z
object detection, quickly change the frequency that is used or after stopping the emission
of radio waves, contact Elecom technical support, and inquire about measures for avoiding
interference (such as setting up a partition).
In other situations where some sort of problem has occurred such as when this device causes
z
an incident where radio wave interference is produced for a designated low-power wireless
station for moving object detection, contact Elecom technical support.
Used frequency band : 2.4 GHz
Modulation method : FHSS (Frequency Hopping Spread Spectrum)
Estimated interference distance : Approx. 10 m (when there are no obstructions)
Ability to change frequencies : Uses all bands and it is possible to avoid bands for "local wireless base
stations" or "designated low-power wireless stations"
Part Names
Charging
This product must be charged before use.
Use the included USB cable to charge.
With the model that includes a USB AC adapter or the model that includes a cigarette lighter
charger, it is also possible to charge from a household power outlet or from a car cigarette
lighter socket by connecting to these supplied accessories.
* The USB AC adapter is only included with the LBT-MPHS500A series.
* The cigarette lighter charger for charging is only included with the LBT-MPHS500C series.
After opening this product, charging this product for the first time will take about 4 hours.
Guidelines for the charging time for the second time and all subsequent charges
is as follows.
Using the USB cable : Approx. 2 hours*
Using the USB AC adapter or the cigarette lighter charger :Approx. 1 hour 30 minutes
Remove the charging cable after charging is complete.
When the state of the LED shows that charging is complete, remove the charging cable.
For safety reasons, it is recommended to avoid passing an electric current after charging.
Also, do not use the product while it is charging.
* The charging time varies depending on how much power is output from the USB port.
Connect the series A connector of the USB cable to the USB port of your PC, etc.
* With the model that includes a USB AC adapter or the model that includes a cigarette lighter charger,
by connecting to their USB sockets, it is also possible to charge from a household outlet or cigarette
lighter socket. For information on the included accessories, check the contents of the package.
The LED lamp lights up red and charging begins. LED lamp turns off when
charging is complete.
Connect the charging connector of the included USB charging cable to the charging con-
nector of this product.
Pairing (Registering with the device)
To use this product, it is required to perform pairing (registering the device for the first
time) with the device with which you want to use. Please refer to the manual of your
device for information regarding the operation of the device.
You can register and save up to 8 paired devices
z
in memory. If more than 8 paired devices are regis-
tered, the chronologically oldest paired device will
automatically be deleted. Pairing must be performed
again to use a device that has been deleted from
memory.
This product is designed exclusively for phone
z
conversation. Cannot be used for music or One Seg
listening/viewing.
If pairing cannot be completed due to problems such
z
as a setting on the connection device, turn off the
power once, and try again.
This product conforms to Bluetooth 2.1 + EDR
z
standards. It may be possible to bypass link key en-
try when connecting to another Bluetooth 2.1 device.
1
2
3
4
While this product is OFF, continue to press the multi-function button for approx. 7
seconds. The lamp will alternately blink red and blue.
When the headset has been connected to an unintended device, turn the power for this device
z
OFF and try again.
If the paired devices are close by, you can remove your finger from the button as soon as power
z
turns ON. When the device-side automatic reconnection function or the trust settings are ena-
bled, that device will automatically reconnect.
Depending on the device that you wish to perform pairing with, an “operation that allows commu-
z
nication from the LBT-HS500” is necessary in advance on the device side.
Perform a search for this product from the pairing device (mobile phone, PC, etc.)
Search method varies depending on the device your are using. Refer to the manual of your device.
z
When this product is found from the mobile phone or PC, the device name will be
displayed as [LBT-HS500] in the search screen. Select and register.
Depending on the device, you may be prompted for a link key. In this case, enter [0000] (4 zeros).
z
Once pairing is complete, the LED lamp will blink in a loose pattern (a blue LED
blinks approx. twice every 3 secs.). The registeration process is now complete.
Continue in the background
LBT-HS500
0000 (Four zeros)