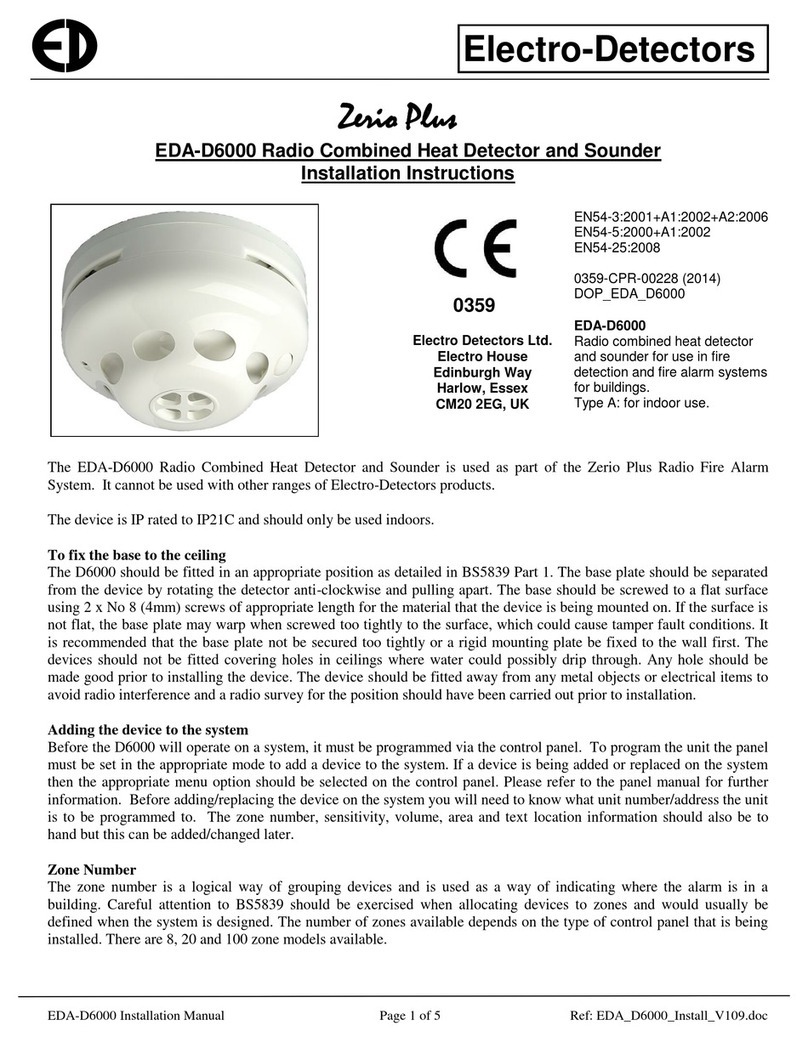
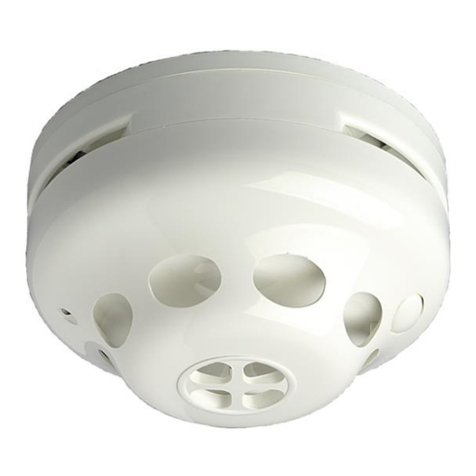
Electro Detectors Zerio Plus EDA-R6000 User manual

EDA-R6000 Installation Manual Page 1of 5 Ref: EDA_R6000_install_V109.doc
Electro-Detectors
Zerio Plus
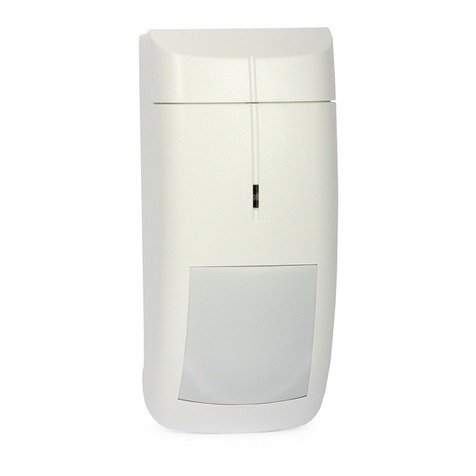
EDA-R6000 Radio Combined Optical Smoke Detector and Sounder
Installation Instructions
The EDA-R6000 Radio Combined Optical Smoke Detector and Sounder is used as part of the Zerio Plus Radio Fire
Alarm System. It cannot be used with other ranges of Electro-Detectors products.
The device is IP rated to IP21C and should only be used indoors.
To fix the base to the ceiling
The R6000 should be fitted in an appropriate position as detailed in BS5839 Part 1. The base plate should be separated
from the device by rotating the detector anti-clockwise and pulling apart. The base should be screwed to a flat surface
using 2 x No 8 (4mm) screws of appropriate length for the material that the device is being mounted on. If the surface is
not flat, the base plate may warp when screwed too tightly to the surface, which could cause tamper fault conditions. It
is recommended that the base plate not be secured too tightly or a rigid mounting plate be fixed to the wall first. The
devices should not be fitted covering holes in ceilings where water could possibly drip through. Any hole should be
made good prior to installing the device. The device should be fitted away from any metal objects or electrical items to
avoid radio interference and a radio survey for the position should have been carried out prior to installation.
Adding the device to the system
Before the R6000 will operate on a system, it must be programmed via the control panel. To program the unit the panel
must be set in the appropriate mode to add a device to the system. If a device is being added or replaced on the system
then the appropriate menu option should be selected on the control panel. Please refer to the panel manual for further
information. Before adding/replacing the device on the system you will need to know what unit number/address the unit
is to be programmed to. The zone number, sensitivity, volume, area and text location information should also be to
hand but this can be added/changed later.
Zone Number
The zone number is a logical way of grouping devices and is used as a way of indicating where the alarm is in a
building. Careful attention to BS5839 should be exercised when allocating devices to zones and would usually be
defined when the system is designed. The number of zones available depends on the type of control panel that is being
installed. There are 8, 20 and 100 zone models available.
0359
Electro Detectors Ltd.
Electro House
Edinburgh Way
Harlow, Essex
CM20 2EG, UK
EN54-3:2001+A1:2002+A2:2006
EN54-7:2000+A1:2002+A2:2006
EN54-25:2008
0359-CPR-0230 (2014)
DOP_EDA_R6000
EDA-R6000
Radio combined smoke detector
and sounder for use in fire
detection and fire alarm systems
for buildings.
Type A: for indoor use

EDA-R6000 Installation Manual Page 2of 5 Ref: EDA_R6000_install_V109.doc
Electro-Detectors
Sensitivity
The sensitivity can be adjusted by the control panel to the following settings.
High: 0.08dB/m (1.8%)
Medium: 0.12dB/m (2.7%) This is the default (EN54 approved) setting.
Low: 0.20dB/m (4.4%)
Alarm Verify
Number of seconds that an R6000 needs to remain in alarm before it sends an alarm signal to the control panel.
Range: 1 to 20 seconds 2 seconds is the default (EN54 approved) setting.
Volume
The volume of the sounder is set when the device is programmed by the control panel. We would recommend that this is
left as its default maximum setting which conforms to EN54-3 as tested. When changing volume levels, the appropriate
sections of BS5839 should be considered.
4-High 80dB at 1m* This is the default setting (EN54 approved) setting.
3-Medium 75dB at 1m
2-Low 65dB at 1m
1-Quiet 35dB at 1m
0-Off 0dB
*This is the minimum recorded volume in all directions. Depending on orientation a maximum of 90dB can be achieved.
Area 1 and Area 2
The cause and effects can be configured to only sound a specific area or group of sounders. Each sounder device can be
programmed to two different areas, known as Area1 and Area2, which are both set to 101 by default. The default cause
and effects for detectors or inputs on the system are for any fire event to sound in all areas (area 000). Up to 240
different sound areas can be used on a Zerio Plus system.
For example a sounder in flat number 3 could be programmed to area 003, and the detector in the flat could be
configured to only sound an alert tone in area 003. A fire event in flat 3 would only sound in that flat, preventing
disruption to other residents of the building. A detector in a common stairwell could be configured to sound an evacuate
tone in area 000 (all areas) which would alert all residents immediately.
Output Timeout
This controls how long the device will sound before automatically silencing, in order to preserve battery life. Once the
sounder has automatically silenced, the panel will remain indicating the alarm and the panel buzzer will continue to
sound. Should another alarm condition occur then the sounder will resound. The output timeout can be set in multiples
of 30 minutes from 0 to 900 minutes. Setting the value at 0 will allow the unit to sound indefinitely.

EDA-R6000 Installation Manual Page 3of 5 Ref: EDA_R6000_install_V109.doc
Electro-Detectors
Sounder Tone List
Two main tones are available. A swept tone that should be used as a general evacuate tone and a single frequency pulsed
tone should be used for an alert signal. When programming the panel, for each device that can set the system into alarm,
a set of cause and effects can be programmed to determine how the sounders, beacons and I/O units operate. The options
are detailed below. The system defaults to sounder tone number 0 and has been type approved to this. Other options
have not been approved. Four user defined tones can be added to the system.
The swept tone sweeps from 1056Hz to 918Hz in 500mS
The pulsed single frequency operates on a 50% duty cycle and is on for 1 second.
Sounder
Tone
Number
Tone Name
Tone Description
Beacon
I/O unit
Operation
0
Swept (+BCN+ACT)
Swept Tone + beacons + actuators
ON
ON
1
Pulsed (+BCN+ACT)
Pulsed 1s on 1s off + beacons + actuators
ON
ON
2
Swept (+BCN)
Swept Tone + beacons
ON
OFF
3
Pulsed (+BCN)
Pulsed 1s on 1s off + beacons
ON
OFF
4
Swept (+ACT)
Swept Tone + actuators
OFF
ON
5
Pulsed (+ACT)
Pulsed 1s on 1s off + actuators
OFF
ON
6
Swept
Swept Tone
OFF
OFF
7
Pulsed
Pulsed 1s on 1s off
OFF
OFF
8
No Tone
No Tone
OFF
OFF
9
No Tone (+BCN)
No Tone + beacons
ON
OFF
10
No Tone (+ACT)
No Tone + actuators
OFF
ON
11
No Tone (+BCN+ACT)
No Tone + beacons + actuators
ON
ON
12
User Tone A
Constant High*
ON*
ON*
13
User Tone B
Constant Low*
ON*
ON*
14
User Tone C
Warble*
ON*
ON*
15
User Tone D
6 second Swept Tone*
ON*
OFF*
*Can be configured by the user.
To put the R6000 into programming mode, follow the procedure below:-
1. Remove the power jumper link.
2. Press and hold the unit removal button and the reset button on the front of the detector simultaneously.
3. With these buttons both pressed down, fit the power jumper.
4. Keep both buttons held down for approximately 5 seconds until 3 rapid beeps are heard, then release the buttons
immediately.
5. If the mode is successfully selected the LED on the front of the unit will flash green.
6. On the control panel go to ‘Add Device’ or ‘Replace Device’ in the Device Setup menu. The panel will search
for new devices, and will indicate that it has found a smoke sounder detector.
7. Confirm this on the panel and select a zone number for the new device.
8. The panel will now ask whether to use default values or custom settings. Select which option you require.
Default values will meet the relevant parts of EN54. Follow the instructions on the screen selecting the
appropriate values. The selections can be made by using the cursor keys.
The available custom settings are as follows.
Zone Number: Sensitivity: Volume:
Area 1: Area 2: Output Timeout:
Alarm Verify:

EDA-R6000 Installation Manual Page 4of 5 Ref: EDA_R6000_install_V109.doc
Electro-Detectors
Fitting the unit to the ceiling.
In normal operation the power link should be fitted on the ON position. When the power link is placed to the ON
position the device will beep and the LED will briefly flash green. It will then flash red once a second if the device is off
its base. When fitting the device to its base the LED on the front of the device should be aligned with the red dot on the
base, then rotated clockwise. Once mounted correctly, press the reset button for about a second until the device beeps.
The LED will stop flashing if the unit is mounted correctly.
When enough smoke enters the optical chamber, the device will indicate the alarm with a solid red LED and will beep
once a second. The alarm will be indicated on the panel and if programmed accordingly, the sounder will sound a few
seconds later.
To change the batteries in the R6000: replacement part: 2 x EDA-Q690
The batteries should last approximately four years in the R6000. Always use batteries supplied by Electro Detectors
otherwise this will invalidate the certification. The battery pack is fitted with 2xAA Lithium Thynol Chloride cells. Min
voltage 3.0V, Max 3.7V. When the battery is approaching its end of life the unit will transmit a low battery condition,
which will be indicated on the control panel. The system will still function for at least a further 60 days in this
condition before the unit fails to operate. Once the batteries are too flat to operate, the unit will either indicate a “verify
fail” fault, because the panel has lost communication with the device, or a battery fault will be displayed. Should either
of these be witnessed, the batteries should be changed immediately. If the unit detects a fault with the battery a ‘battery
fault’ will be indicated on the panel. Therefore:-
1. Remove the power link.
2. Remove the back plate by removing the two screws
3. Remove the old battery packs.
4. Fit the new battery packs making sure the battery pins are lined up and pressed down.
5. Re-fit the back plate.
6. Press and hold the unit removal and reset button simultaneously.
7. With these buttons pressed down, fit the power link.
8. After 5 seconds the 3 rapid (log-on) beeps will be heard. Keep the buttons pressed down.
9. After a further 5 seconds another set of beeps will sound, at this point release the buttons. This will re-set the
battery counter after a further 15 minutes. Refit the device onto its base.

EDA-R6000 Installation Manual Page 5of 5 Ref: EDA_R6000_install_V109.doc
Electro-Detectors
Faults displayed on the control panel from R6000:-
Battery Low: The battery stats counter calculates battery life based on workload. Battery low is indicated when the
counter expects that the device will need to have batteries replaced in 60 days time. Battery Low is cleared by
resetting the battery stats counter (see above).
Battery Fault: The battery voltage has dropped below 3.0V. The batteries should be replaced immediately.
Verify Fail: The panel will generate a verify fault when it doesn’t receive any communication from a device from
390 seconds. This could be caused by inadequate signal strength, something blocking the radio signal, batteries
being flat, the unit failing to operate, or the device being turned off.
Unit Removal: If the device is removed from its base, the panel will display a unit removal/tamper fault.
Tx/Rx Fault: A failure with the transmit / receive module of the device. It is suggested that the fault should be reset
and if the same fault occurs within 60 minutes the unit be replaced.
Int Fault: The unit has detected an internal problem with the way it is operating. There are several faults that can
cause this but the usual way of solving the problem is to replace the unit or return it for repair. It is suggested that
the fault should be reset and if the same fault occurs within 60 minutes the unit be replaced. The faults can relate to
the operation of the sensing head, if fitted, the micro-processor controlling the device, its internal memory and a
host more.
Polar Diagram for swept tone at maximum volume.
Table of contents
Other Electro Detectors Security Sensor manuals
