manuals.online logo
Brands
  1. Home
  2. •
  3. Brands
  4. •
  5. Electrolux
  6. •
  7. Ventilation Hood
  8. •
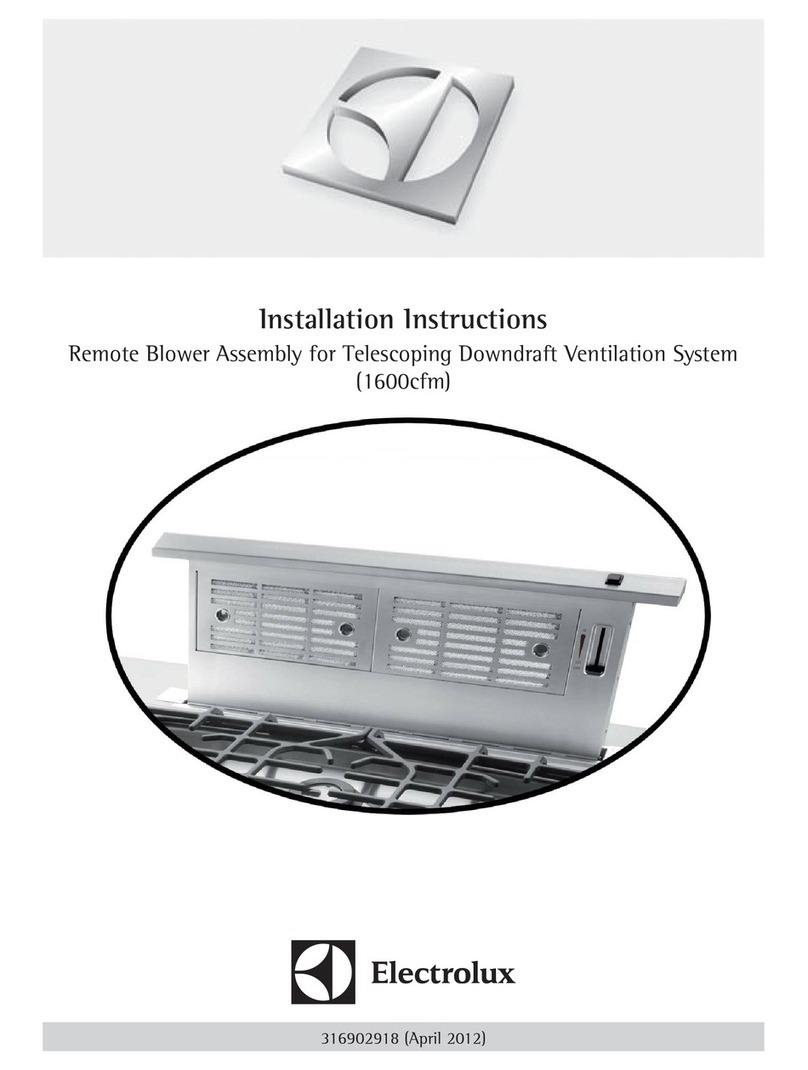
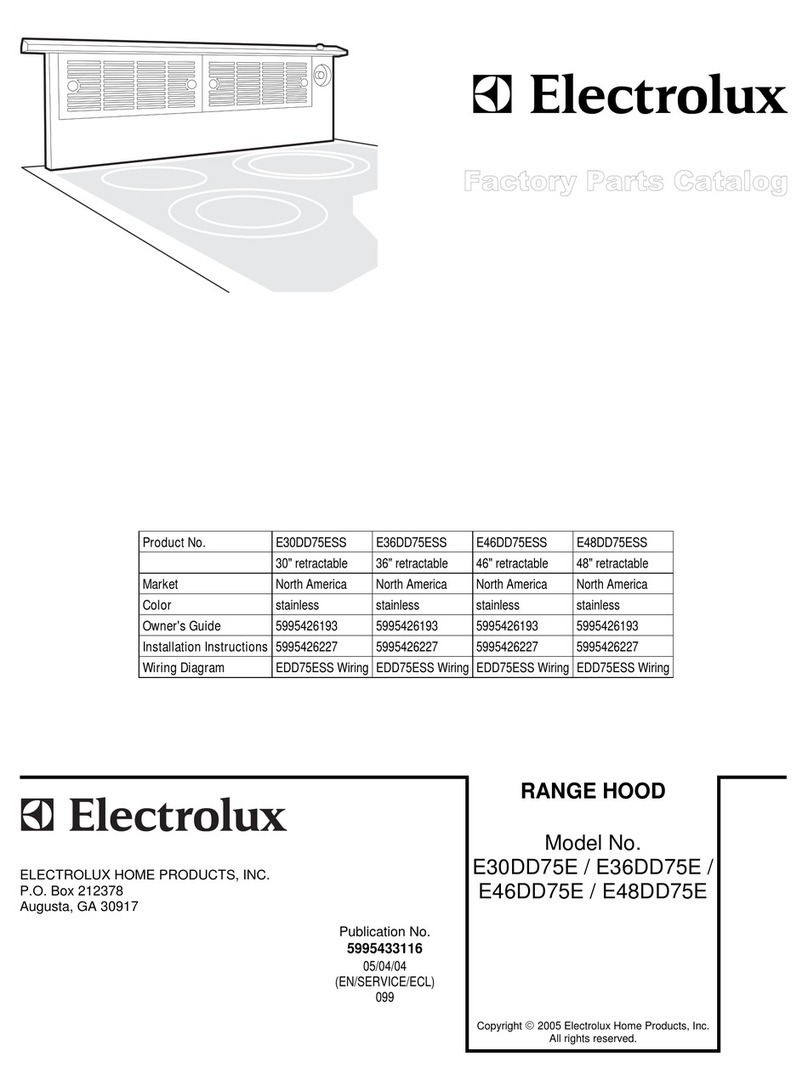
  9. Electrolux EI30DD10KS Installation instructions

Electrolux EI30DD10KS Installation instructions

electroluxappliances.com
Wall OvensRefrigerators Warmer DrawersCooktopsBuilt-In Ranges
Freestanding
Ranges
Microwaves
Vent Hoods
FreezersUnder CounterWashers / Dryers Dishwashers /
Kitchen Cleanup
Downdraft Vent
EI30DD10K S
Infinite-Speed Blower Control
The ultraquiet blower allows you to select
the precise airflow needed.
Push-Button Auto Raise/Lower
When activated, the downdraft rises 10"
to capture even the most stubborn cooking
odors. Can be vented through wall, roof or floor.
Stainless Steel Filters
Dishwasher-safe for easy cleaning.
Blower Motor System Options*
Choose the style of ventilation needed for your
requirements – from a 1,600 CFM Remote Blower
or 600 CFM Integrated Blower option.
30" DOWNDRAFT VENT*
Features
Nominal Width
Installation Type
Color –
Stainless Steel
Controls
Intake Area
Fan Speeds
Dishwasher-Safe Stainless Steel Filters
Specifications
Motor Power Cord Location
Shipping Weight
WITH REMOTE BLOWER MOTOR KIT
Features
Air Discharge
Air Delivery (CFM)
Blower Type
Sound Level (dBA)
Exhaust Duct
Duct Required
Accessories
Outdoor Kit (Remote Blower) – PN # WK-SP360
Specifications
Product Dimensions –
Height (Including 10" Rise)
Width
Depth
Voltage Rating
Connected Load (kW Rating) @ 120 Volts‡
Amps @ 120 Volts
Sones Rating
Shipping Weight
WITH INTEGRATED BLOWER MOTOR KIT
Features
Air Discharge
Air Delivery (CFM)
Blower Type
Sound Level (dBA)
Exhaust Duct
Duct Required
Specifications
Product Dimensions –
Height (Including 10" Rise)
Width
Depth
Voltage Rating
Connected Load (kW Rating) @ 120 Volts‡
Amps @ 120 Volts
Sones Rating
Shipping Weight
‡ For use on adequately wired 120V, dedicated circuit having 2-wire service with a separate ground wire.
Appliance must be grounded for safe operation.
* Requires installation with one Blower Motor System Kit – 1600 CFM Remote option or 600 CFM Integrated option.
Blower Motor System Kit ordered separately and ships separately.
** Actual sound measurement varies with each installation.
NOTE: Always consult local and national electric codes. Check local building codes for installation
requirements, as they may vary per locale. Refer to Product Installation Guide for detailed installation
instructions on the web at electroluxappliances.com.
Specifications subject to change.
PN # EI06DDPIKS
Down / Left / Right
600
External
59.2
External
3-1/4" x 10"
35-13/16"
30"
11-11/16"
120V / 60 Hz / 15A
0.41
3.4
8.7
24 Lbs.
EI30DD10KS
30"
In-Cabinet
S
Infinite-Speed
10"
Infinite
Yes
Bottom Right
48 Lbs.
PN # EI16DDPRKS
Down / Left / Right
1600
External
**
External
3-1/4" x 14"
Optional
35-13/16"
30"
5-13/16"
120V / 60 Hz / 15A
0.47
3.0
3.9
44 Lbs.
Electrolux Major Appliances, N.A.
USA •10200 David Taylor Drive •Charlotte, NC 28262 •1-877-4electrolux (1-877-435-3287) •electroluxappliances.com
CANADA •5855 Terry Fox Way •Mississauga, ON L5V 3E4 •1-800-265-8352 •electroluxappliances.ca
EI30DD10K 07/12 © 2012 Electrolux Home Products, Inc.
High standards of quality at Electrolux Home Products, Inc. mean
we are constantly working to improve our products. We reserve the right
to change specifications or discontinue models without notice.
Downdraft Vent
EI30DD10K S
Downdraft Vent Specifications
•
Downdraft Vent requires installation with Blower Motor System Kit –
1600 CFM Remote option or 600 CFM Integrated option (kit ordered
separately). Vent ships with transition duct pre-attached to chassis housing
for Remote Blower Motor installation and is removable for Integrated Blower
Motor installation. For Blower Motor System planning information, refer
to specific kit’s specifications page; for complete installation details and
specifications, refer to specific Product Installation Guides on web.
•
Voltage Rating – 120V / 60 Hz / 15 Amps
•
Connected Load (kW Rating) and Amps @ 120 Volts – Refer to specific
Blower Motor System Kit specification page.
•
Do not use same circuit as cooktop.
•
Always consult local and national electric codes. Check local building
codes for installation requirements, as they may vary per locale.
•
Locate grounded electrical outlet for 28"- long power cord within reachable
distance. When installing vent in 30"- wide cabinet, outlet cannot be
located on back wall of cabinet, but can be wall-mounted with access
hole in cabinet.
•
Downdraft Vent designed for installation with cooktop in island, peninsula
or conventional installation. (Cutout template provided, packed with vent.)
•
To ensure proper installation with cooktop, refer to model-specific
cooktop installation guide on web for dimensions, countertop cutout
dimensions and cabinet requirements; oversized cabinets recommended
for ease of installation. Due to varying cooktop depths, tight fit is possible
between cooktop and vent, depending on overall depth of countertop.
•
Pre-formed countertops with raised lip and /or backsplash may not
allow enough flat area for proper installation. Minimum 2-5/16" of flat
countertop required behind cooktop and 2-1/16" necessary between
back edge of cooktop and inside of cabinet back.
•
To ensure adequate clearance for air vent when raised /lowered, 1/8" gap
needed between back edge of cooktop and front of downdraft top trim.
•
Vent exhaust air outside only.
•
Exhaust Duct Required – Refer to specific Blower Motor System Kit
specifications page.
•
Three blower discharge direction options available. Pre-positioned with
discharge facing down; left or right discharge requires 90-degree transition
duct rotation. Transition duct can also be mounted to back of chassis
housing with minimum 3-3/4" clearance to back of cabinet wall.
•
Consider ductwork location before cutting hole in cabinet.
•
For maximum efficiency, use shortest and straightest duct run possible.
System operates most efficiently with up to 60 equivalent feet of duct;
Downdraft Vent operates properly with ductwork up to 100 equivalent
feet. (Refer to Calculating Duct Length Table in Product Installation Guide.)
•
Do not use flexible duct. Round duct instead of rectangular duct
recommended, especially when elbows are required.
•
Thermal breaks such as short section of nonmetallic duct, should be used
in areas of extreme cold. Cold weather installations should have additional
backdraft damper installed.
•
High level of airflow may affect gas flame on some gas cooktop models.
Blower Motor System Options
•
1600 CFM Remote Blower Motor System Kit – (PN # EI16DDPRKS).
•
600 CFM Integrated Blower Motor System Kit – (PN # EI06DDPIKS).
Note: For planning purposes only. Refer to Product Installation Guide
on the web at electroluxappliances.com for detailed instructions.
Maximum 41/2"gap allowed between inside cabinet
back and chassis BEFORE downdraft stabilizing brackets
will require wood support installation for mounting
*For minimum clearance,
refer to specific Blower
Motor Kit specifications.
1/4"min.†25/16"
Front to back
inside cabinet depth
1/8"
(A)Countertop
raised lip
(B)
Countertop
backsplash
Downdraft
top trim
Cooktop
†Clearance
required
behind
downdraft
top trim
Transition duct
(or Integrated Blower Motor)
Min. clearance*
Downdraft
chassis
housing
21/16"
Downdraft Vent
EI30DD10KS
Blower Motor System Kit Options: Downdraft Vent requires installation with
Blower Motor System Kit – 1600 CFM Remote option or 600 CFM Integrated option
(kit ordered separately). Vent ships with transition duct pre-attached to chassis
housing for Remote Blower Motor installation and is removable for Integrated
Blower Motor installation. For Blower Motor System planning information, refer to
specific kit’s specifications page; for complete installation details and specifications,
refer to specific Product Installation Guides on web.
Typical 30" Downdraft Vent /Cooktop Installation
Designed for use with cooktop in conventional, island or peninsula installation.
Downdraft Vent requires installation with Blower Motor System Kit.
30" Downdraft Vent Dimensions
with Transition Duct (for Remote Blower
Motor installation option)
**Only used for vent installation
with remote blower option.
Discharge pre-positioned down;
left or right discharge requires
90-degree duct rotation.
30" Downdraft Vent/
Cooktop Countertop
Preparation
Cooktop edges
2615/16"
21/16"
30"Downdraft Vent cutout
Countertop Cutout Dimensions
(Cutout template provided, packed with vent.)
Top
View
Cooktop Installation Notes: To ensure
proper installation, refer to model-
specific cooktop installation guide on
web for dimensions, countertop cutout
dimensions and cabinet requirements;
oversized cabinets recommended
for ease of installation. Due to varying
cooktop depths, tight fit is possible
between cooktop and vent, depending
on overall depth of countertop.
Countertop Preparation Notes: Pre-formed
countertops with (A) raised lip and/or
(B) backsplash may not allow enough flat
area for proper installation. Minimum
2-5/16"of flat countertop required behind
cooktop and 2-1/16"necessary between
back edge of cooktop and inside of cabinet
back. To ensure adequate clearance for
air vent when raised/lowered,1/8"gap
needed between back edge of cooktop
and front of downdraft top trim.
30"
17 13/16"
10"
Rise
267/8"
Transition
duct**
(with 3-way
ducting)
Top trim
Chassis
housing
23/16"
3513/16"
59/16"
21/4"
17/16"
Control
box
Power
cord
21/2"
Electrical Supply Outlet Installation
for 30" Downdraft Vent
Electrical Installation Notes: All vertical dimensions relative to top
surface of countertop; all horizontal dimensions relative to cutout in
countertop. Locate grounded electrical outlet for 28"-long power cord
within reachable distance. When installing vent in 30"-wide cabinet,
outlet cannot be located on back wall of cabinet, but can be wall-mounted
with access hole in cabinet. Ensure that access to outlet will NOT be
obstructed by ducting after installation.
191/16"
C
L
Mount 120 VAC grounded
outlet inside cabinet, confined
to shaded area.
77
/8"8
3/4"
14 3
/4"
Cabinet
side wall
Cabinet
side wall
61
/2"
221/8"
233/4"
45
/8"
91/2"
13 1/2"Countertop surface
13 1/2"
Electrolux Major Appliances, N.A.
USA •10200 David Taylor Drive •Charlotte, NC 28262 •1-877-4electrolux (1-877-435-3287) •electroluxappliances.com
CANADA •5855 Terry Fox Way •Mississauga, ON L5V 3E4 •1-800-265-8352 •electroluxappliances.ca
EI16DDPRKS 07/12 © 2012 Electrolux Home Products, Inc.
High standards of quality at Electrolux Home Products, Inc. mean
we are constantly working to improve our products. We reserve the right
to change specifications or discontinue models without notice.
Remote Blower Motor System Kit
PN # EI16DDPRKS
Remote Blower Motor System Kit Specifications
•
1600 CFM Remote Blower Motor System Kit is designed for use with
Downdraft Vent models (36") EI36DD10KS and (30") EI30DD10KS. For
complete 36" or 30" Downdraft Vent /Cooktop Countertop Preparation
planning information and Downdraft Vent cutout dimensions, refer to
model-specific Downdraft Vent product page. For complete installation
details, refer to model-specific Product Installation Guide on web.
•
Remote Blower Motor installation requires use of transition duct,
pre-attached to Downdraft chassis housing. For complete blower motor
installation details, refer to Product Installation Guide on web.
•
Voltage Rating – 120V / 60 Hz / 15 Amps
•
Connected Load (kW Rating) = 0.47 kW (For use on adequately wired
120V, dedicated circuit having 2-wire service with a separate ground
wire. Appliance must be grounded for safe operation.)
•
Amps @ 120 Volts – 3.0 Amps
•
Do not use same circuit as cooktop.
•
Always consult local and national electric codes. Check local building
codes for installation requirements, as they may vary per locale.
•
Choose installation location where Remote Blower Motor is conveniently
accessible – and electrical power can be provided to connect main
blower housing with Downdraft Vent control box.
•
Possible Remote Blower installation locations are: on floor joists, ceiling
joists, wall studs or exterior wall.
•
Installation on exterior roof or exterior wall requires use of Outdoor
Weather Kit (PN # WK-SP360) to cover and protect Remote Blower
Motor housing from weather.
•
Main blower housing designed for mounting to joists or studs on 16"
centers. Four lag bolts provided for attaching housing to joists, studs
or other structural members; housing can NOT be directly attached
to wallboard, ceiling panels or other non-structural materials.
•
When mounting main blower housing between floor joists or wall studs,
minimum 2x4 wood spacer required to space blower housing off floor or
wall. Spacers should be properly secured to joists or studs and NOT to
sub-floor or wall materials.
•
Vent exhaust air outside only.
•
Exhaust Duct Required – Galvanized or aluminum duct in 8" or 10" round;
or 3-1/4" x 14", 4" x 14" or 4-3/4" x 14" rectangular; or combination of
both. PVC should be used if installing under concrete slab.
•
Three blower discharge direction options available. Transition duct ships
with discharge pre-positioned down; left or right discharge requires
90-degree duct rotation.
•
Consider ductwork location before cutting hole in cabinet.
•
For maximum efficiency, use shortest and straightest duct run possible.
System operates most efficiently with up to 60 equivalent feet of duct;
Downdraft Vent operates properly with ductwork up to 100 equivalent
feet. (Refer to Calculating Duct Length Table in Product Installation Guide.)
•
Do not use flexible duct. Round duct instead of rectangular duct
recommended, especially when elbows are required.
•
Thermal breaks such as short section of nonmetallic duct, should be used
in areas of extreme cold. Cold weather installations should have additional
backdraft damper installed.
•
High level of airflow may affect gas flame on some gas cooktop models.
Optional Accessories
•
Outdoor Weather Kit – (PN # WK-SP360).
Note: For planning purposes only. Refer to Product Installation Guide
on the web at electroluxappliances.com for detailed instructions.
Downdraft Vent - Blower Motor Kit (Remote)
EI16DDPRKS
Electrolux Major Appliances, N.A.
USA •10200 David Taylor Drive •Charlotte, NC 28262 •1-877-4electrolux (1-877-435-3287) •electroluxappliances.com
CANADA •5855 Terry Fox Way •Mississauga, ON L5V 3E4 •1-800-265-8352 •electroluxappliances.ca
EI06DDPIKS 07/12 © 2012 Electrolux Home Products, Inc.
High standards of quality at Electrolux Home Products, Inc. mean
we are constantly working to improve our products. We reserve the right
to change specifications or discontinue models without notice.
Integrated Blower Motor System Kit
PN # EI06DDPIKS
Integrated Blower Motor System Kit Specifications
•
600 CFM Integrated Blower Motor System Kit is designed for use with
Downdraft Vent models (36") EI36DD10KS and (30") EI30DD10KS. For
complete 36" or 30" Downdraft Vent /Cooktop Countertop Preparation
planning information and Downdraft Vent cutout dimensions, refer to
model-specific Downdraft Vent product page. For complete installation
details, refer to model-specific Product Installation Guide on web.
•
Integrated Blower Motor installation requires replacement of transition
duct, pre-attached to Downdraft chassis housing. For complete blower
motor installation details, refer to Product Installation Guide on web.
•
Voltage Rating – 120V / 60 Hz / 15 Amps
•
Connected Load (kW Rating) = 0.41 kW (For use on adequately wired
120V, dedicated circuit having 2-wire service with a separate ground
wire. Appliance must be grounded for safe operation.)
•
Amps @ 120 Volts – 3.4 Amps
•
Do not use same circuit as cooktop.
•
Always consult local and national electric codes. Check local building
codes for installation requirements, as they may vary per locale.
•
Locate grounded electrical outlet for 28"- long power cord within reach-
able distance. When installing 36" vent in 36"- wide cabinet, or 30" in 30"-
wide cabinet, outlet cannot be located on back wall of cabinet,
but can be wall-mounted with access hole in cabinet.
•
Vent exhaust air outside only.
•
Exhaust Duct Required – Galvanized or aluminum duct in 6" round or
3-1/4" x 10" rectangular, or combination of both. PVC should be used
if installing under concrete slab.
•
Three blower discharge direction options available; rotate blower motor
for left, right or down discharge.
•
Consider ductwork location before cutting hole in cabinet. Blower motor
mounted on slide plate, enabling 3-1/2" left or right adjustment to avoid
duct interference with joists or other obstructions.
•
For maximum efficiency, use shortest and straightest duct run possible.
System operates most efficiently with up to 60 equivalent feet of duct;
Downdraft Vent operates properly with ductwork up to 100 equivalent
feet. (Refer to Calculating Duct Length Table in Product Installation Guide.)
•
Do not use flexible duct. Round duct instead of rectangular duct
recommended, especially when elbows are required.
•
Thermal breaks such as short section of nonmetallic duct, should be
used in areas of extreme cold. Cold weather installations should have
additional backdraft damper installed.
•
High level of airflow may affect gas flame on some gas cooktop models.
Note: For planning purposes only. Refer to Product Installation Guide
on the web at electroluxappliances.com for detailed instructions.
Downdraft Vent - Blower Motor Kit (Integrated)
EI06DDPIKS

Other manuals for EI30DD10KS

3

This manual suits for next models

2

Other Electrolux Ventilation Hood manuals

Electrolux EFC925SAR User manual

Electrolux

Electrolux EFC925SAR User manual

Electrolux LFI519X User manual

Electrolux

Electrolux LFI519X User manual

Electrolux EFC 9440 User manual

Electrolux

Electrolux EFC 9440 User manual

Electrolux ERR627DSD Operating manual

Electrolux

Electrolux ERR627DSD Operating manual

Electrolux ICON RH30WC60GS User manual

Electrolux

Electrolux ICON RH30WC60GS User manual

Electrolux EFC60001 User manual

Electrolux

Electrolux EFC60001 User manual

Electrolux EFCL 50 User manual

Electrolux

Electrolux EFCL 50 User manual

Electrolux Frigidaire 76F49-AM21 Instruction Manual

Electrolux

Electrolux Frigidaire 76F49-AM21 Instruction Manual

Electrolux LFV429Y User manual

Electrolux

Electrolux LFV429Y User manual

Electrolux ZKP6010X User manual

Electrolux

Electrolux ZKP6010X User manual

Electrolux CFG516W User manual

Electrolux

Electrolux CFG516W User manual

Electrolux EFC90680X User manual

Electrolux

Electrolux EFC90680X User manual

Electrolux EFC 9414 User manual

Electrolux

Electrolux EFC 9414 User manual

Electrolux WHSL9062CN User manual

Electrolux

Electrolux WHSL9062CN User manual

Electrolux DAL5536WE User manual

Electrolux

Electrolux DAL5536WE User manual

Electrolux EFT 60465 OX User manual

Electrolux

Electrolux EFT 60465 OX User manual

Electrolux IHGL9030CN User manual

Electrolux

Electrolux IHGL9030CN User manual

Electrolux LFG516X User manual

Electrolux

Electrolux LFG516X User manual

Electrolux LFI514X User manual

Electrolux

Electrolux LFI514X User manual

Electrolux EFC 6940 User manual

Electrolux

Electrolux EFC 6940 User manual

Electrolux ECS9252K User manual

Electrolux

Electrolux ECS9252K User manual

Electrolux ECVI4262AS User manual

Electrolux

Electrolux ECVI4262AS User manual

Electrolux EFC 980 User manual

Electrolux

Electrolux EFC 980 User manual

Electrolux EFT739X User manual

Electrolux

Electrolux EFT739X User manual

Popular Ventilation Hood manuals by other brands

Franke FDL 487 W XS RB Installation instructions  use and care guide

Franke

Franke FDL 487 W XS RB Installation instructions use and care guide

Lamona LAM2853 User Instructions and Installation

Lamona

Lamona LAM2853 User Instructions and Installation

Eurolux ERA 60 WGP Electrician installation manual

Eurolux

Eurolux ERA 60 WGP Electrician installation manual

Framtid HW380 manual

Framtid

Framtid HW380 manual

ELICA ICEBERG Instruction on mounting and use

ELICA

ELICA ICEBERG Instruction on mounting and use

ISLAND COOKER HOOD 3LIOIO Use and Installation Instructions

ISLAND COOKER HOOD

ISLAND COOKER HOOD 3LIOIO Use and Installation Instructions

FALMEC Virgola FDVRG24W3SS Instruction booklet

FALMEC

FALMEC Virgola FDVRG24W3SS Instruction booklet

Zephyr Essentials Siena ZSI-E30AS Use, care and installation guide

Zephyr Essentials

Zephyr Essentials Siena ZSI-E30AS Use, care and installation guide

inventum AKD9000GTW instruction manual

inventum

inventum AKD9000GTW instruction manual

Miele DA 6590 D Operating and installation instructions

Miele

Miele DA 6590 D Operating and installation instructions

Franke FTC 532L GR/XS Instructions for use and installation

Franke

Franke FTC 532L GR/XS Instructions for use and installation

Pelgrim OSWA0980 Series Instructions for use

Pelgrim

Pelgrim OSWA0980 Series Instructions for use

KOBE IN26 30SQB-650-5 Series Installation instructions and operation manual

KOBE

KOBE IN26 30SQB-650-5 Series Installation instructions and operation manual

Faber STILO STIL24SS600-B Installation instructions; use and care information

Faber

Faber STILO STIL24SS600-B Installation instructions; use and care information

mFi Mason-Lite LMFP-48 instructions

mFi

mFi Mason-Lite LMFP-48 instructions

Koncar NV60LB instruction manual

Koncar

Koncar NV60LB instruction manual

sauter SHB4904X manual

sauter

sauter SHB4904X manual

FALMEC DIAMANTE Instruction booklet

FALMEC

FALMEC DIAMANTE Instruction booklet

manuals.online logo
manuals.online logoBrands
  • About & Mission
  • Contact us
  • Privacy Policy
  • Terms and Conditions

Copyright 2025 Manuals.Online. All Rights Reserved.