manuals.online logo
Brands
  1. Home
  2. •
  3. Brands
  4. •
  5. Element
  6. •
  7. Printer
  8. •
  9. Element RW-337D User manual

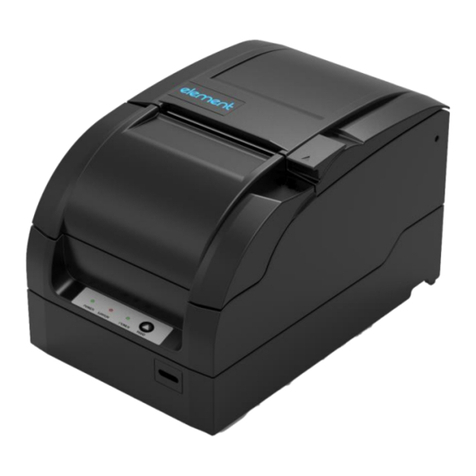
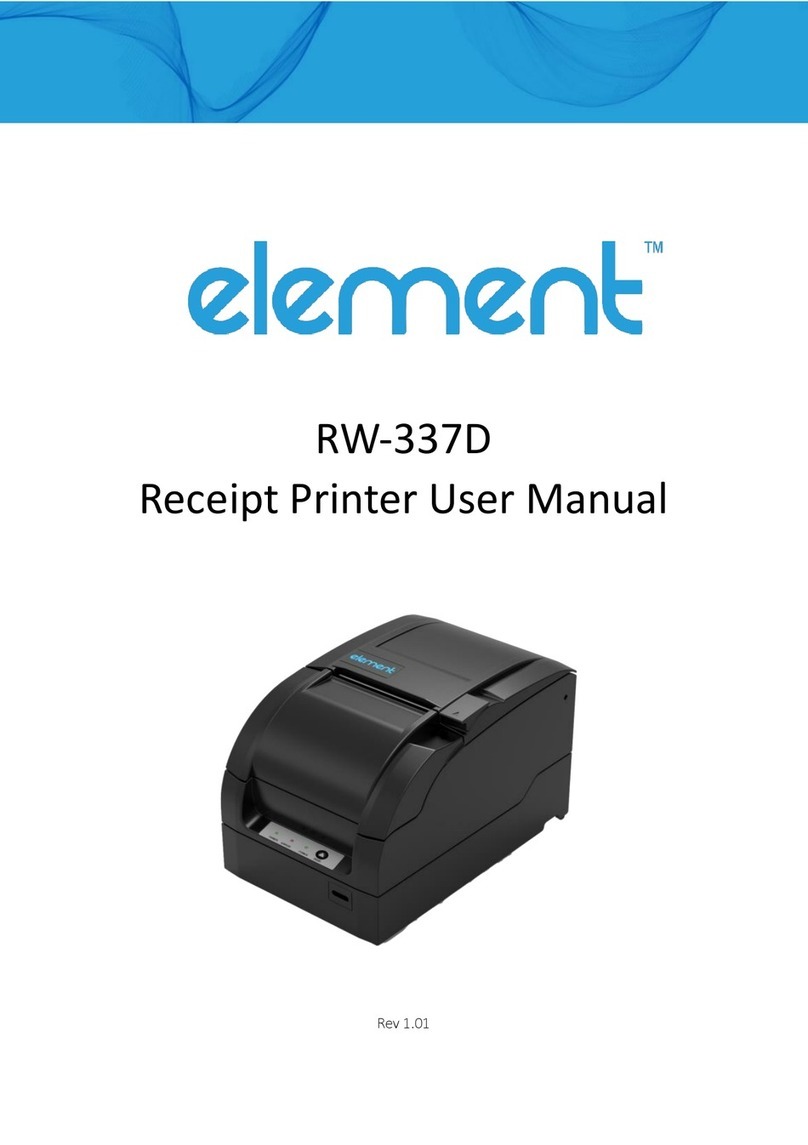
Element RW-337D User manual

2 3
2. Main technical specifications
➢Print mode: 9-pin serial impact dot matrix
➢Print dots: Max. 200(full dots) / 400(half dots)
➢Print width: 40CPL(7×9)/ 33CPL(9×9)
➢Paper feeding speed: 130mm/s
Characters per line
40CPL
36 CPL
30 CPL
Print speed
4.7 LPS
5.1LPS
5.9LPS
➢Print characters:
Character type
FONT A
FONT B
Chinese
Character size (W×H)
9×9
7×9
16×16
➢Paper width: 80±0.5/ 76±0.5/ 69.5±0.5/ 57.5±0.5 mm
➢Paper type: Continuous paper, marked paper
➢Single-layer paper thickness: 0.06—0.085mm
➢Multi-layer paper thickness: single layer thickness: 0.05—0.08mm, total thickness: ≤0.14 mm
➢Ribbon specification: ERC-38
➢Power parameters: AC 100-240V~1.0A Max.50-60Hz
➢Paper roll diameter: Max.Φ83mm
Caution
➢Recommended paper: Oji paper mfg. Co.,Ltd.: Register paper;
➢Please use recommended paper or its equivalent to
ensure the print quality and lifetime of print head
and printer.
ⅢPrinter installation
1. Printer connecting
Ensure the power switch of the printer is at the OFF position,
and then connect the printer as shown in the figure.
2. Paper loading
1) Pull upward the bulges on both sides of front cover
to open it;
2) Rotate the ribbon knob for 2-3 times in the arrow
direction shown on the ribbon cassette to tighten
the ribbon;
3) Vertically install the ribbon onto the
print mechanism, and rotate the
ribbon knob for 2-3 times in the
arrow direction shown on the ribbon
cassette to tighten the ribbon. Close
the front cover of printer to
complete the ribbon installation;
4) Open the rear cover of printer, hold the hole on
paper guide and move the paper guide upward to
offload it; when using 80mm width paper, please
offload the paper guide and keep it safely in case of
using it in the future; when using other width
paper, please insert the paper guide vertically into a
suitable location;
offload: 80±0.5mm A: 76±0.5mm
B: 69.5±0.5mm C: 57.5±0.5mm
5) Ensure the paper head is trimmed and drop the
paper roll into the paper cabinet as shown in the
figure;
6) Close the rear cover of printer, and the paper installation is
completed.
ⅣPrint self-test page
1) Ensure the ribbon and paper roll have been loaded, and the front cover and rear cover have
been closed;
2) Hold FEED button while turning on the power, and release the FEED button after ERROR LED
flashes once, the printer will print out configuration information and print prompt messages:
“Press and Release FEED key to print characters” and “Press and Hold FEED key to config the
printer”. The PAPER LED flashes while the printer is in pause status;
3) Press the FEED button for a short time, the printer will print out the character test sample;
press the FEED button for a long time, the printer will enter button configuration mode. For
detail function and operation method of button configuration mode, please contact your
distributor.
ⅤButton, LED and Buzzer
4 1
1. Function of button
1) Press FEED button for a short time
➢Printer feeds one line while pressing the FEED button for a short time;
2) Press FEED button for a long time
➢Under continuous paper mode, printer continuously feeds paper;
➢Under marked paper mode, printer feeds paper to the next mark.
2. Function of LED and buzzer
Name
Status
Explanation
POWER LED(green)
Always on
Printer power is on.
Off
Printer power is off.
ERROR LED(red)
Flash
Printer is in error status.
Off
Printer is in normal status.
PAPER LED (red)
Always on
Paper end or paper is near end.
Flash
Printer is in pause status.
Off
Paper is in normal status.
Buzzer
Beep
Printer is in error status.
3. LED, buzzer and error information
Error
Buzzer
ERROR LED
PAPER LED
HP error
Continuously
beep
Continuously
flash
Off
Print head is overheated
Six beeps
Six times
Off
Abnormal input voltage
Five beeps
Five times
Off
Abnormal cutter
Four beeps
Four times
Off
Front/Rear cover open
Three beeps
Three times
Off
Paper end
Two beeps
Two times
Always on
Paper near end
One time
Always on
www.elementpos.co
element RW-337D Receipt Printer Quick Start Guide
ⅠUnpacking and checking
Check all the parts according to the packing list (parts in the packing list are equipped according to
the user’s requirements), and standard configuration in the packing list is as below. Please contact the
distributor if there is any shortage or damage.
ⅡPrinter introduction
1. Main parts
1—rear cover
2—tear-off bar
3—front cover
4—POWER LED
5—ERROR LED 6—PAPER LED 7—FEED button 8—power switch
9—rear cover open lever 10—horizontal pluggable communication interface (optional)
11—vertical pluggable communication interface (optional) 12—cash drawer interface
13—power interface

Other manuals for RW-337D

2

Other Element Printer manuals

Element RW80L User manual

Element

Element RW80L User manual

Element RW873 User manual

Element

Element RW873 User manual

Element RW973 User manual

Element

Element RW973 User manual

Element RW873 User manual

Element

Element RW873 User manual

Element RW-337D User manual

Element

Element RW-337D User manual

Element RW973 Installation and operation manual

Element

Element RW973 Installation and operation manual

Element POS80D User manual

Element

Element POS80D User manual

Element RW-337D User manual

Element

Element RW-337D User manual

Element RW60 User manual

Element

Element RW60 User manual

Element RW973 Mk2 User manual

Element

Element RW973 Mk2 User manual

Popular Printer manuals by other brands

Epson Stylus Pro GS6000 installation guide

Epson

Epson Stylus Pro GS6000 installation guide

TallyGenicom LA550N quick start guide

TallyGenicom

TallyGenicom LA550N quick start guide

Canon PIXMA IP8700 Series manual

Canon

Canon PIXMA IP8700 Series manual

CognitiveTPG A799II Programming guide

CognitiveTPG

CognitiveTPG A799II Programming guide

Epson HP Designjet Z3200 quick start guide

Epson

Epson HP Designjet Z3200 quick start guide

Panasonic KX-P1080i operating instructions

Panasonic

Panasonic KX-P1080i operating instructions

Infinite Peripherals DPP-250 user manual

Infinite Peripherals

Infinite Peripherals DPP-250 user manual

Xerox DocuPrint 4850 NPS troubleshooting guide

Xerox

Xerox DocuPrint 4850 NPS troubleshooting guide

TEC BRST-10 SERIES owner's manual

TEC

TEC BRST-10 SERIES owner's manual

Ricoh SP 4510dn user guide

Ricoh

Ricoh SP 4510dn user guide

Canon BJC-80 user manual

Canon

Canon BJC-80 user manual

SATO M10e Series parts list

SATO

SATO M10e Series parts list

Canon TS700 Series Getting started

Canon

Canon TS700 Series Getting started

Panasonic JT-H200PR Series operating instructions

Panasonic

Panasonic JT-H200PR Series operating instructions

Canon ImageCLASS MF4270 Basic operation guide

Canon

Canon ImageCLASS MF4270 Basic operation guide

Brother 7050N - HL B/W Laser Printer Quick setup guide

Brother

Brother 7050N - HL B/W Laser Printer Quick setup guide

Lexmark 2591+ Service manual

Lexmark

Lexmark 2591+ Service manual

Canon imagePROGRAF W2200 user guide

Canon

Canon imagePROGRAF W2200 user guide

manuals.online logo
manuals.online logoBrands
  • About & Mission
  • Contact us
  • Privacy Policy
  • Terms and Conditions

Copyright 2025 Manuals.Online. All Rights Reserved.