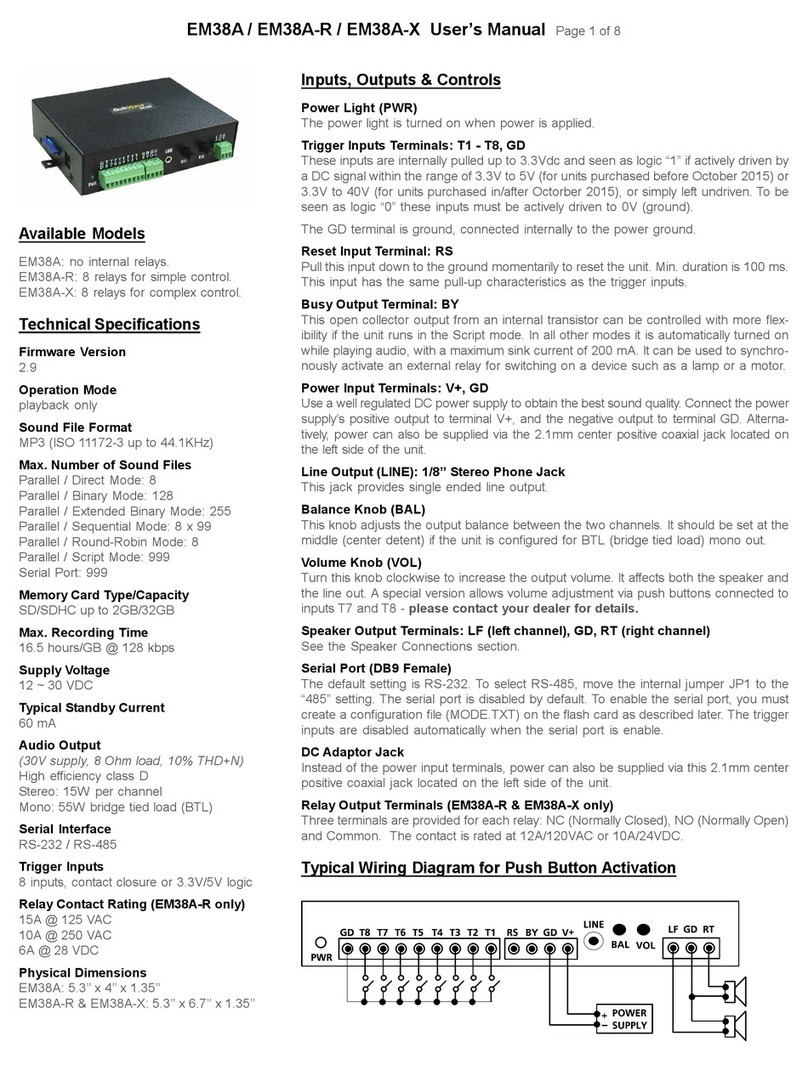
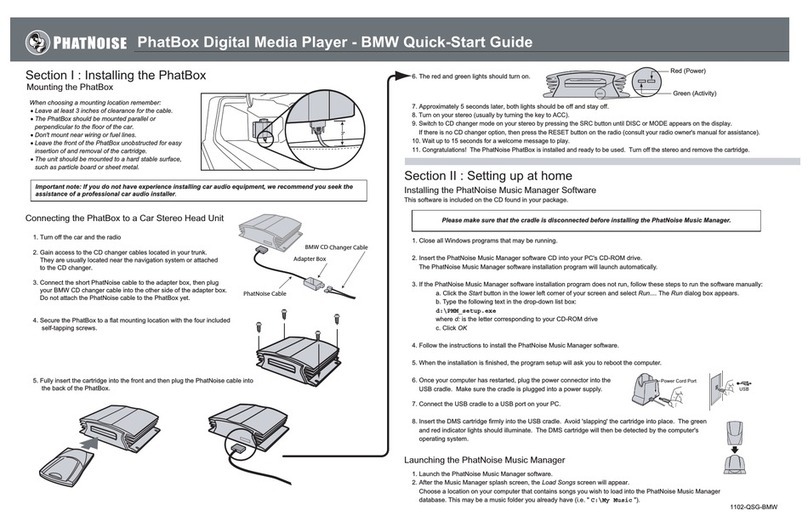
Eletech QuickWave EM38A-M User manual

EM38A-M / EM38AR-M / EM38AX-M User’s Manual Page 1 of 3
Available Models
EM38A-M: standard model
EM38AR-M: + 8 relays for simple control
EM38AX-M: + 8 relays for full control
EM38A-M-TCP: Ethernet TCP support
EM38AR-M-TCP: Ethernet TCP support
EM38AX-M-TCP: Ethernet TCP support
Technical Specifications
Manual Version
9.3.1
Firmware Version
9.3
Control Interface
Modbus RTU
Operation Mode
Audio playback with optional relay outputs
Sound File Format
MP3 (ISO 11172-3 up to 44.1KHz)
Max. Number of Sound Files
1000
Memory Card Type/Capacity
SD/SDHC up to 2GB/32GB
Max. Total Audio Time
16.5 hours/GB @ 128 kbps
Supply Voltage
12 ~ 30 VDC
Typical Standby Current
60 mA
Audio Output
(30V supply, 8 Ohm load, 10% THD+N)
High efficiency class D
Stereo: 15W per channel
Mono: 55W bridge tied load (BTL)
Relay Rating (EM38AR-M & EM38AX-M)
15A @ 125 VAC
10A @ 250 VAC
6A @ 28 VDC
Physical Dimensions
EM-38A-M: 5.3’’ x 4’’ x 1.35’’
EM-38AR-M & EM-38AX-M: 5.3’’ x 6.7’’ x 1.35’’
Inputs, Outputs & Controls
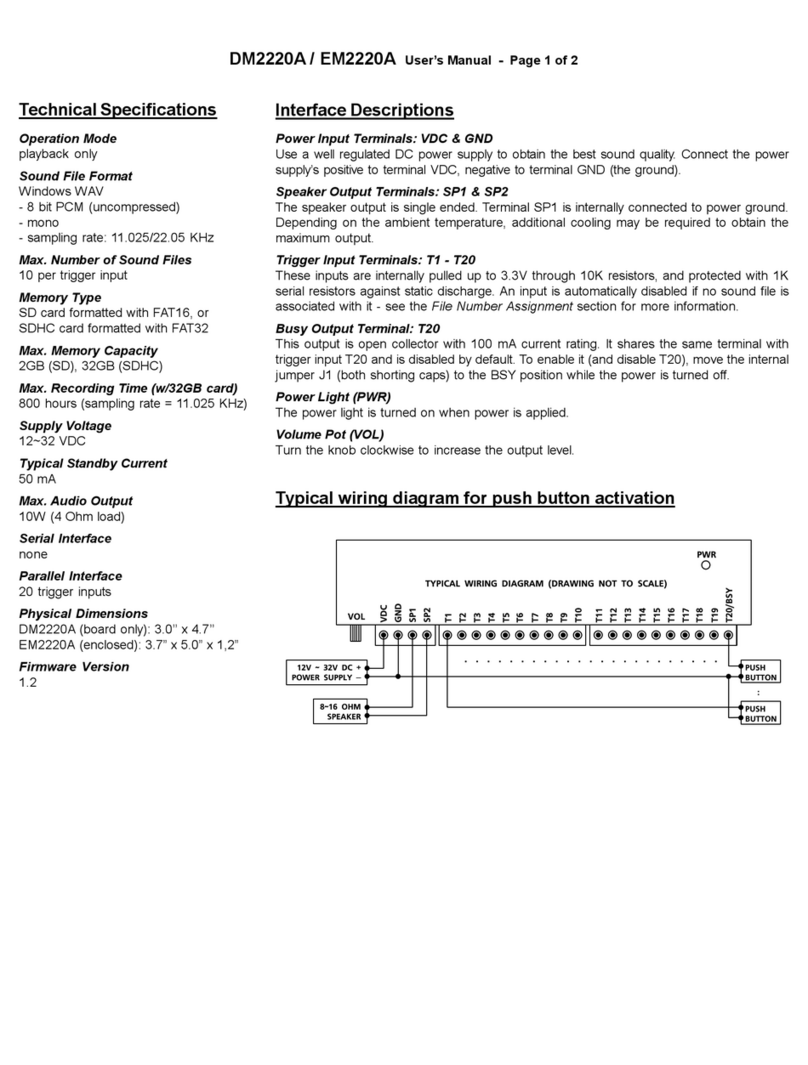
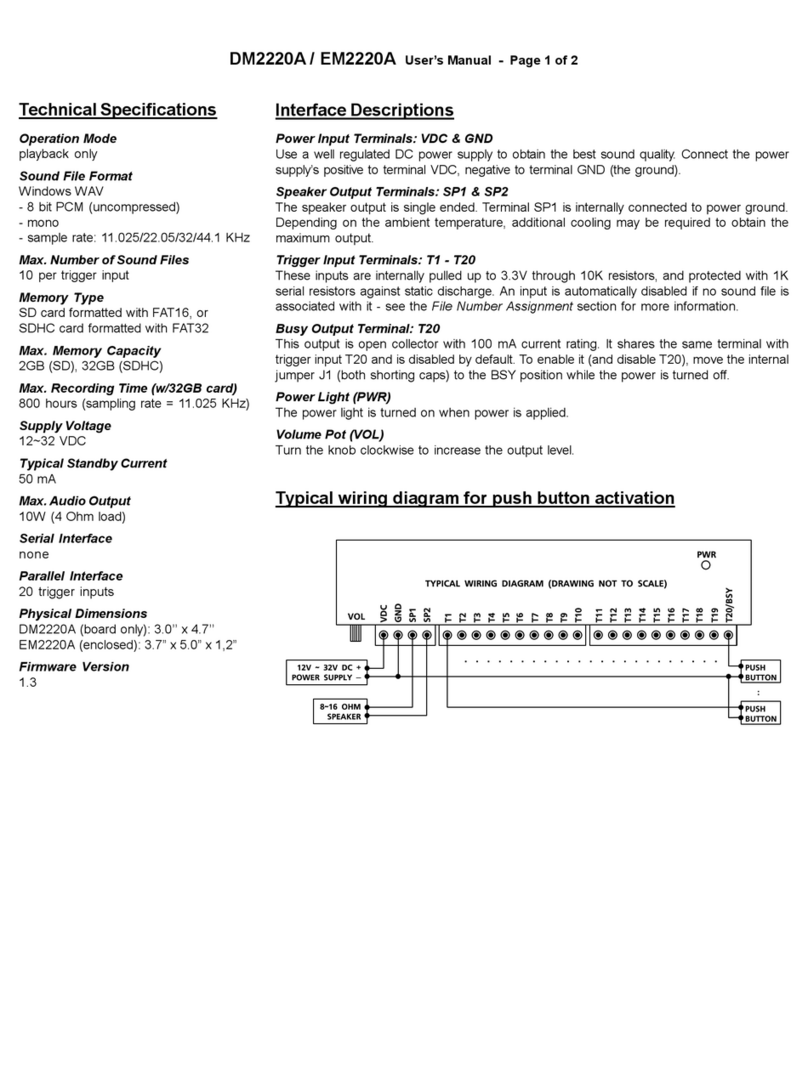
Power Light (PWR)
The power light is turned on when power is applied.
Trigger Inputs Terminals: T1 - T8, GD
Unused.
Reset Input Terminal: RS
Pull this input down to the ground momentarily to reset the unit. Min. duration is 100 ms.
Busy Output Terminal: BY
This open collector output is automatically turned on while playing audio, with a maxi-
mum sink current of 200 mA.
Power Input Terminals: V+, GD
Use a well regulated DC power supply to obtain the best sound quality. Power can also be
supplied via the 2.1mm center positive coaxial jack.
Line Output (LINE): 1/8” Stereo Phone Jack
This jack provides single ended line output.
Balance Knob (BAL)
This knob adjusts the output balance between the two channels. It should be set at the
middle (center detent) if the unit is configured for BTL (bridge tied load) mono out.
Volume Knob (VOL)
This is the hardware volume control. Turn this knob clockwise to increase the audio
volume. It affects both the speaker and the line out.
The Modbus protocol also provides software based volume control. The audio level
goes through the software control first, then the hardware control.
Serial Port (DB9 Female)
The serial port supports both RS232-MODBUS (default) and 2W-MODBUS interfaces.
To select 2W-MODBUS, the internal jumper JP1 must be moved to the “485” setting.
Relay Output Terminals (EM38AR-M & EM38AX-M)
Three terminals are provided for each relay output: NC (Normally Closed), NO (Nor-
mally Open) and Common. The contact is rated at 12A/120VAC or 10A/24VDC.
Speaker Connections
Regular Stereo Virtual Surround Stereo
The left channel is internally inverted therefore the left speaker must be connected back-
wards for regular stereo output. The inversion can be disabled if needed - see System
Configuration File.
Regular Mono BTL Mono (4X Output Booster)
BTL mono is used to boost output at low supply voltage - don’t use speakers lower than
8 Ohms to avoid overloading the power amp.

EM38A-M / EM38AR-M / EM38AX-M User’s Manual Page 2 of 3
Modbus Interface
EM38A-M is a Modbus slave and supports both RS232-MODBUS
(default) and 2W-MODBUS interfaces. To select 2W-MODBUS, the
internal jumper JP1 must be moved to the “485” setting.
The pin assignment on the female DB9 connector is:
RS232-MODBUS Pin Assignment
Pin 2 = RX
Pin 3 = TX
Pin 5 = Ground
2W-MODBUS Pin Assignment
Pin 1 = D1 (D-)
Pin 9 = D0 (D+)
Pin 5 = Ground
Note that the 2W-MODBUS pin assignment is not Modbus compli-
ant. This can be remedied, if necessary, by using the optional DB9
Breakout Board that converts DB9 to screw terminals.
Communication Protocol & Parameters
Protocol = RTU, TCP (if equipped with Ethernet converter)
Baud Rate = 19200 (default) or 9600/14400/28800/38400/57600
Data Bit = 8
Parity = None
Stop Bit = 1
Flow Control = None
Supported Commands
Read Holding Registers (0x03)
* Only single register read is supported.
Write Single Register (0x06)
Device Address Assignment
Each device must be assigned with a unique adress ranging from
1 to 247. To make the assignment, simply create a text file named
MODE on the SD card and put in it the 3-digit decimal address
such as 007 or 168. The device reads this information every time it
powers up. If MODE is missing or contains invalid data, the default
address (1) will be used.
Baud Rate Configuration
Add the baud rate to the MODE file in the following manner:
device_id,baud_rate
For example: 007,57600
Baud rate configuration is optional. The default value is 19200.
Sound Files & Playlist
For identification purposes, each sound file must be assigned with
a unique 3-digit decimal number ranging from 000 to 999. To make
the assignment, simply add the file number at the beginning of the
filename such as “001 original_filename”.
In order to maximize the number of files that can be stored on the
SD card, the filename should contain:
- 8 characters or less (including the file number)
- only numbers and capital letters
The audio playback is playlist-based instead of file-based. A playlist,
containing one or more consecutively numbered files, is defined
by the first file number and the last file number. The first file num-
ber should always be equal to or smaller than the last file number.
These two file numbers should be the same if there is only one file
in the playlist.
Holding Registers
Register R1 - Playback Control (R/W)
Write to issue a command. Read 0 after command execution. Be
sure to load registers R2 & R3 before issuing Start Play command.
Bit 15 ~ 8: Unused
Bit 7 ~ 4: Play Count (for Start Play only)
0 = Forever
1 = 1 time
........
15 = 15 times
Bit 3 ~ 0: Command
0 = None
1 = Start Play
2 = Stop Play
3 = Pause Play
4 = Resume Play
5 ~ 15 = unused
Register R2 - First File Number (R/W)
Read/write to get/set the playlist’s first file number. Can also be
used to play a single file (instead of a playlist) immediately.
Bit 15 ~ 12: Play Count
0 = load R2 without playing
1 = start playing file 1 time
........
9 = start playing file 9 times
10 = start playing file forever
11 ~ 15 = Unused
Bit 11 ~ 0 = file number (0 ~ 999)
* R3 will also be written with this value autmatically if Play Count is
1 ~ 10. R3 will not be affected if Play Count is 0.
Register R3 - Last File Number (R/W)
Read/write to get/set the playlist’s last file number.
Bit 15 ~ 0 = file number in binary form (0 ~ 999)
Register R4 - Volume (R/W)
Read/write to get/set the software output volume.
Bit 15 ~ 8: Right Channel, 0 (silent) ~ 255 (loudest)
Bit 7 ~ 0: Left Channel, 0 (silent) ~ 255 (loudest)
The actual output volume is a combination of this value and the
physical volume knob.
Register R5 - Relay (R/W)
Read/write to get/set relay states.
Bit 15 ~ 8: Unused
Bit 7 ~ 0: Relay State
Bit 0 = relay #1 (0: OFF, 1: ON)
........
Bit 7 = relay #8 (0: OFF, 1: ON)
Register R6 - Playback Status (R/O)
Read to get the playback status.
Bit 15 ~ 8: Unused
Bit 7 ~ 0: Playback Status
0 = idle
1 = playing
2 = paused
Register R7 - Current File Number (R/O)
Read to get the file number of the file currently playing or pausing.
Bit 15 ~ 0 = file number (0 ~ 999)

Modbus Command Examples
* Numbers preceded with 0x are in hex format.
Play file 020.mp3 one time
R2 Write = 0x1014
OR
R2 Write = 0x0014
R3 Write = 0x0014
R1 Write = 0x0101
Loop file 020.mp3 ~ 026.mp3 forever
R2 Write = 0x0014
R3 Write = 0x001A
R1 Write = 0x0001
Stop playback
R1 Write = 0x0002
Pause playback
R1 Write = 0x0003
Resume playback
R1 Write = 0x0004
Set volume to 0xD2 (left) and 0xE3 (right)
R4 Write = 0xE3D2
This sets the software volume only. There is also a physical knob
that sets the hardware volume. The actual output volume is a mul-
tiplication of both volumes.
Set relay #1 & #3 on, others off
R5 Write = 0x0005
Modbus Tester Example
The following screen shot shows how a typical Modbus tester pro-
gram is used to test the unit. This particular program is a third party
app which can be downloaded freely from the web.
The SD card in the test unit must contain an audio file named
001.mp3, while the configuration file (MODE.txt) is not required as
the Slave ID on the app is set to 1 (the device default). Configure
the settings accordingly and enter 1011 as the hex value for writing
and click the Write button. The unit should play the 001 file once.
EM38A-M / EM38AR-M / EM38AX-M User’s Manual Page 3 of 3
Relay Controls
EM38AR-M & EM38AX-M are equipped with internal relays that
can be used to control electrical devices such as solenoids, lamps,
and motors. Note the relays do not output power for the devices,
they switch power instead. Therefore one relay can be used for
switching a 110V AC lamp while another for switching a 24V DC
solenoid. Power being switched must be provided externally.
Each relay has three terminals for connection: NO (normally open),
NC (normally closed), and COM (common).
When the relay is OFF:
NC and COM are connected via the relay.
NO is open.
When the relay is ON:
NO and COM are connected via the relay.
NC is open.
EM38AR-M (basic control)
The basic control allows internal relays to be set/reset at any time,
although it is very hard to precisely synchronize the relay states to
the audio.
EM38AX-M (advanced control)
The advanced control allows internal relays to synchronize to the
audio precisely. Instead of being controlled via Modbus in real time,
the relay cues are pre-programmed into the audio file by using the
Windows based QSAplay software. When the pre-programmed
audio file plays back, the relays will toggle automatically without
any Modbus control.
Trouble Shooting Guide
1. Communications error.
a. Device address is not assigned properly in MODE.TXT.
b. Device address conflicts with another device on the same bus.
c. Incorrect communications parameters such as baud rate.
d. Incorrect and/or loose wiring.
e. The system would not work if the SD card is inserted when the
power is on. Re-insert the SD card with the power off.
2. No communications error but cannot play any file.
a. File numbers are not assigned properly.
b. Playlist is not set up properly.
c. The software and/or hardware volume may be too low.
3. Noisy playback.
The speed of the flash card is too slow. Use a faster flash card or
convert the file to a lower bit rate.

EM38A-M / EM38AR-M / EM38AX-M User’s Manual Appendix
TCP Models
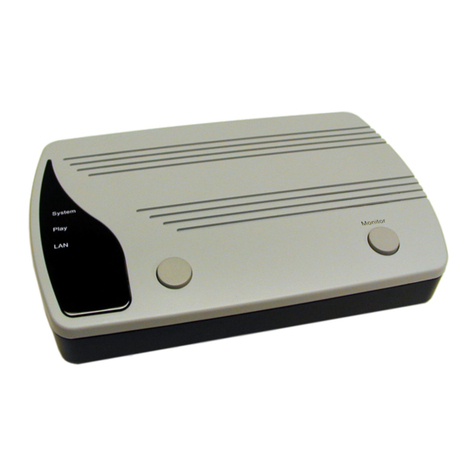
TCP models are equipped with an external Ethernet-serial adaptor
(called “the adaptor” from now on) as shown in the picture above.
They can be controlled over the Internet via the TCP protocol, us-
ing the same command set as that of the Serial Interface.
Connection
Simply connect the adaptor to the serial port (with the default RS-
232 setting), and the Ethernet cable to the adaptor. No additional
power supply is needed as the adaptor draws power from the player.
IP Address Configuration
There are two ways to configure the IP address for the adaptor:
auto (DHCP) and manual.
Auto (DHCP)
The Ethernet-serial adaptor, by default, will try to auto-config the IP
address via DHCP. If DHCP is enabled on the router, simply find
the IP address for the device named QUIKWAVE_LAN from the
router’s list of connected devices.
Manual
If DHCP is disabled on the router or the adaptor is connected to a
PC directly, the IP address must be manually configured. The adap-
tor has a default IP address of 169.254.1.1, and a default subnet
mask of 255.255.0.0. If this default setting is not usable, go to the
following link on a PC:
http://169.254.1.1
Enter admin as both the username and password. Then go to De-
vice Management > System Configuration > WAN Settings and
configure all settings properly.
TCP Test
Install and run a third party network test program such as NetAssist
with the following settings:
Protocol: TCP Client
Remote Host Addr: enter the IP address of the adaptor
Remote Host Port: 9000
Recv Options: ASCII
Send Options: ASCII
Now enter F001 in the Data Send section and click the Send but-
ton. If the player starts to play file 001 then the test is successful.
IP Address Recovery
The adaptor’s IP address, if forgotten, can be found by using the
QuikWave IP Finder program which can be downloaded from:
http://www.eletech.com.cn/download/download.html
This manual suits for next models
5
Other Eletech Media Player manuals
