KEEP WORKiNG
Keep Working
KEEP WORKiNG
08
CSvM760
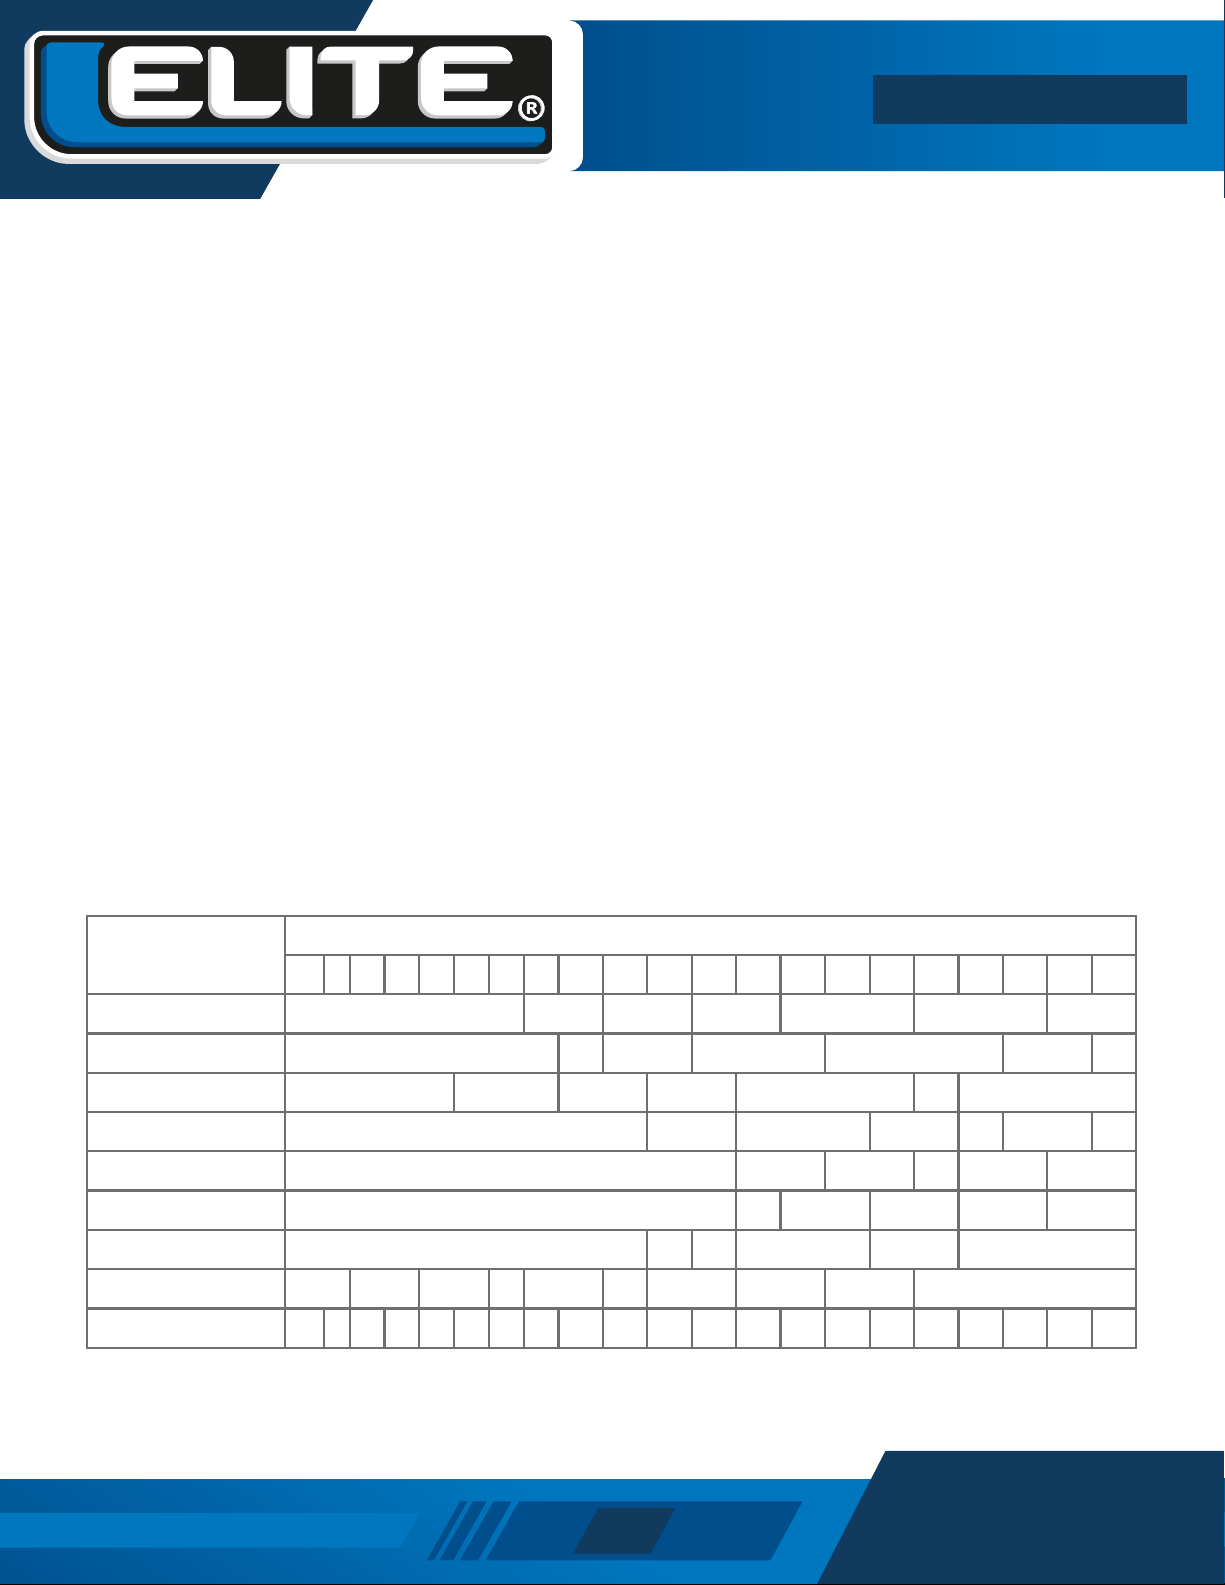
TIEMPOS DE GARANTÍA
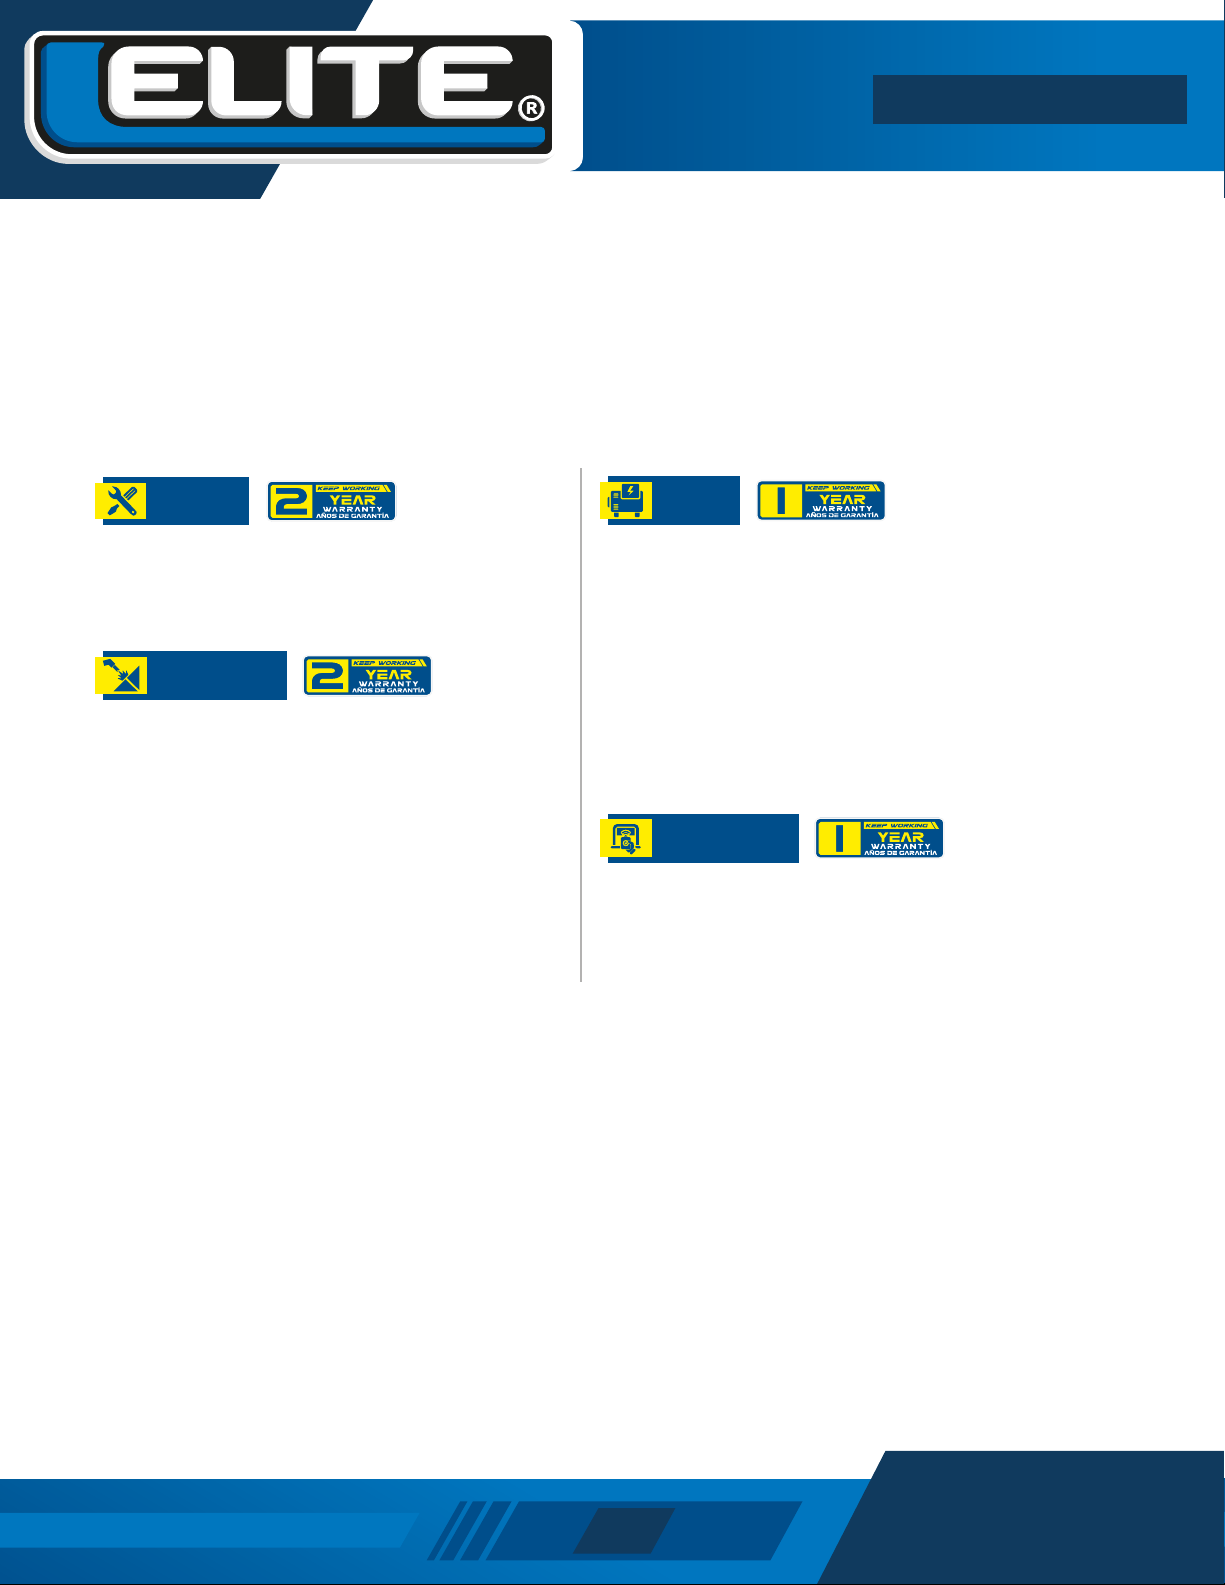
CONSIDERACIONES ESPECIALES
- Sila herramienta espara alquiler la garantía es de 3 meses.*
- El tiempo de garantia se gozará a partir de la fecha de compra del consumidor final.
Si este producto Elite falla debido a un defecto de material o de fabricación dentro del plazo de un año a partir de la
fecha de compra, devuélvalo a cualquier tienda de distribución autorizada Elite, Centros de Servicio Corporativo,
Autorizado u otro punto de venta Elite para que sea reparado gratuitamente (o reemplazado si la reparación
resulta imposible).
PLANTAS
ELÉCTRICAS
SISTEMAS PUERTAS
AUTOMÁTICAS
CARETAS Y EQUIPOS
DE SOLDADURA
HERRAMIENTAS
ELÉCTRICAS
Esta garantía NO APLICA por mantenimiento inapropiado,
la vida de un motor depende de las condiciones en las que
es operado y el cuidado que reciba. En algunas
aplicaciones como en construcción y trabajo continuo en
campamentos, las plantas eléctricas son usualmente
utilizadas en medios donde hay polvo e impurezas, lo que
puede causar un desgaste prematuro.
Tal desgaste, cuando es causado por impurezas, polvo,
residuos de la limpieza, o cualquier otro material abrasivo
que haya entrado en el motor por causa de un
mantenimiento inapropiado no es cubierto por la garantía
La garantía incluye en el mismo tiempo partes mecánicas
como electrónicas siempre y cuando no se incurra en una
negación de garantía.
* Para que la garantía sea efectiva durante 2 años, se
debe efectuar una revisión de mantenimiento anual,
antes de finalizar cada año en curso de uso del
equipo, en esta revisión se realizará una evaluación
del equipo y se le entregará un visto bueno al equipo
para prolongar la garantía durante 1 año más.
La garantía podrá no ser renovada si el equipo se
encuentra muy deteriorado. La revisión del primer año,
no tiene costo en mano de obra para el usuario /
propietario del equipo. Esta revisión no incluye los
elementos que deben ser sustituidos por desgaste y/o
mal uso.*
* Se excluye de este tiempo de garantía
generadores, compresores, hidrolavadoras y
aspiradoras de marca ELITE, los cuales gozarán
de 1 año de garantía*
- Las baterías son consideradas piezas de desgaste y no las cubren los 3 años de garantía, pero ante cualquier
falla otorgamos un tiempo de 90 días a partir de la compra para que se acerque a cualquier Centro de Servicio
corporativo o autorizado de nuestra marca para la respectiva revisión.
- Las herramientas que son trabajadas en ambientes de polvo y alta contaminación por partículas que tengan contami-
nación interna, se recomienda su eliminación con aire comprimido (máx. 3 bares).
- Incluye un mantenimiento preventivo gratuito durante el primer año de garantía, el mantenimiento no incluye piezas
de desgaste.
NOTA: