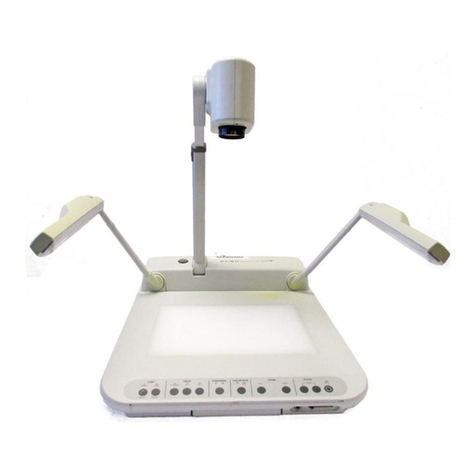
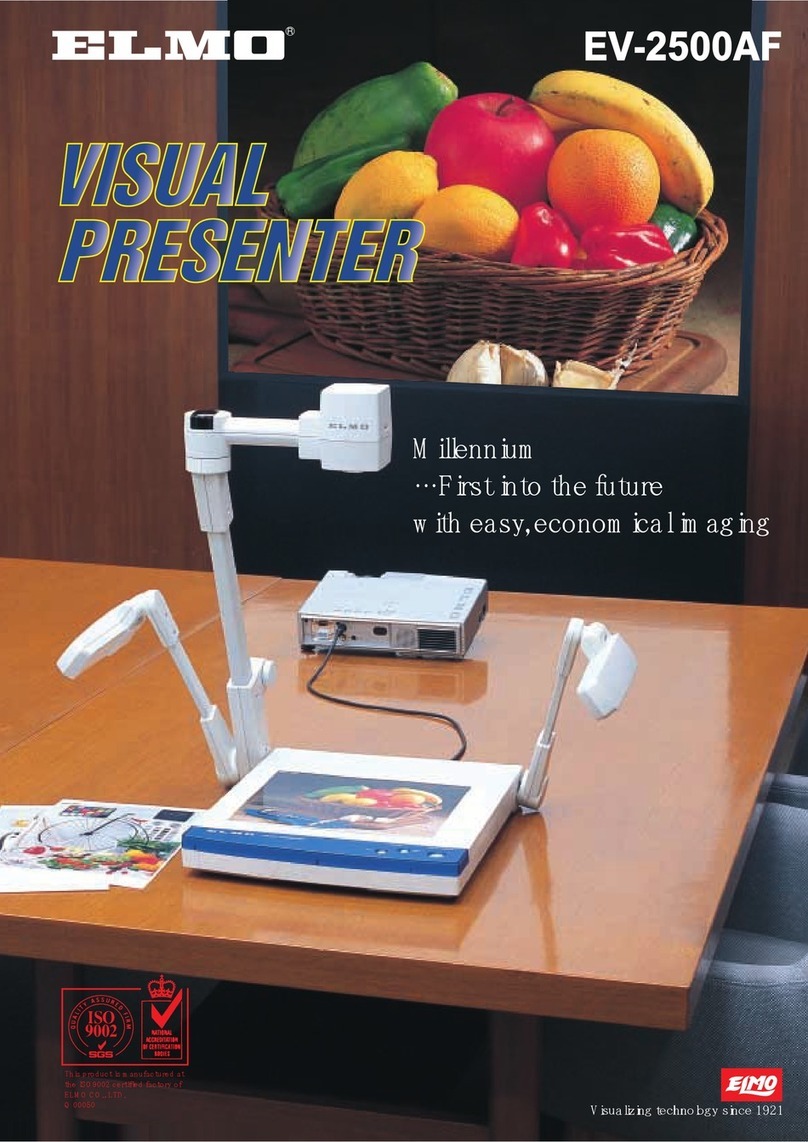
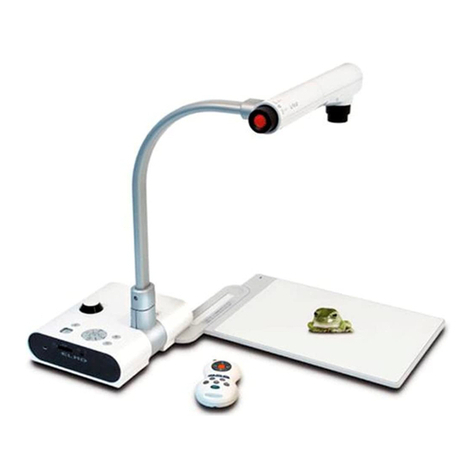
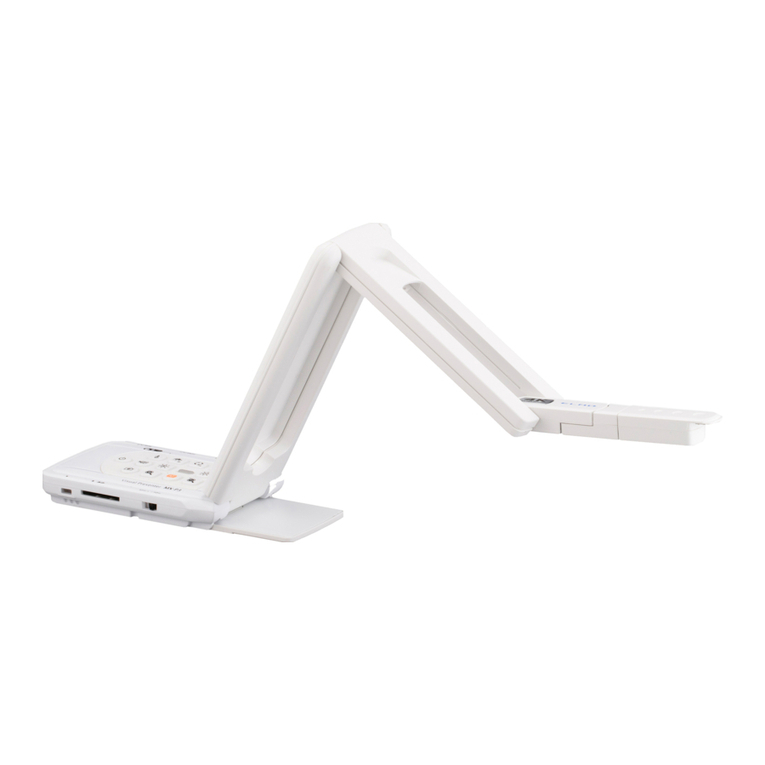
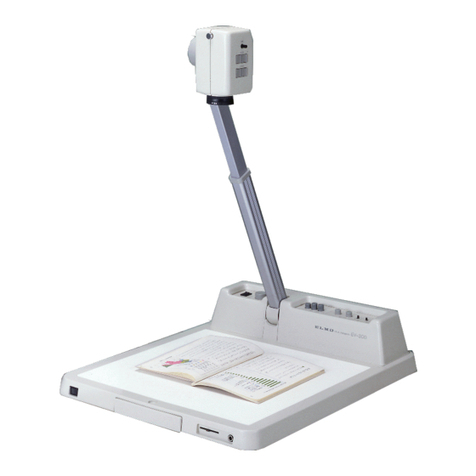
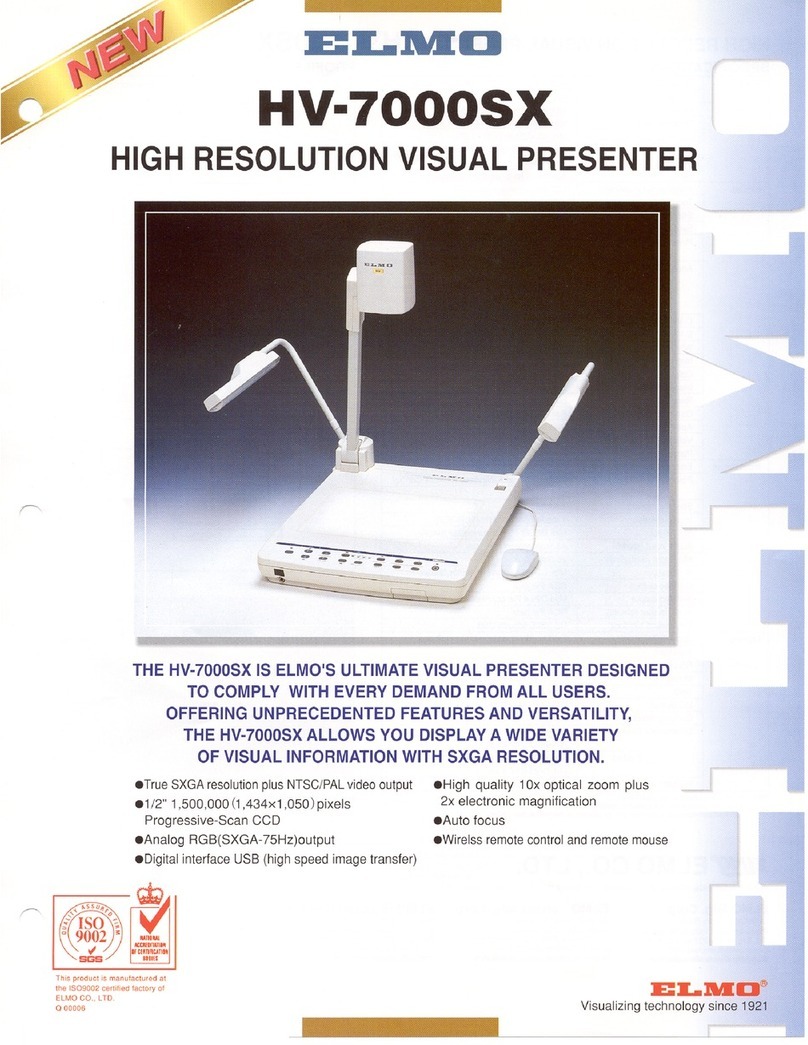
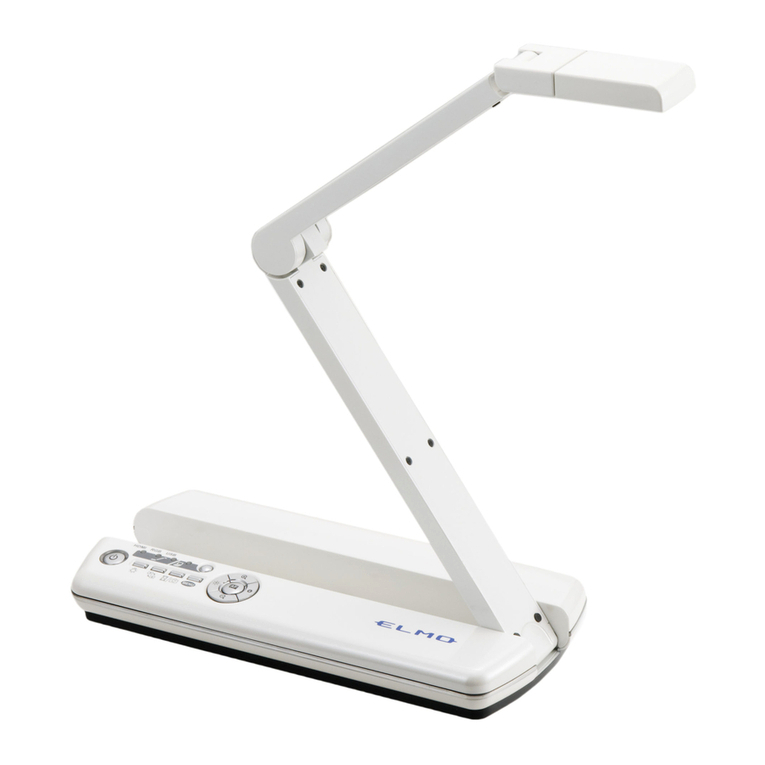
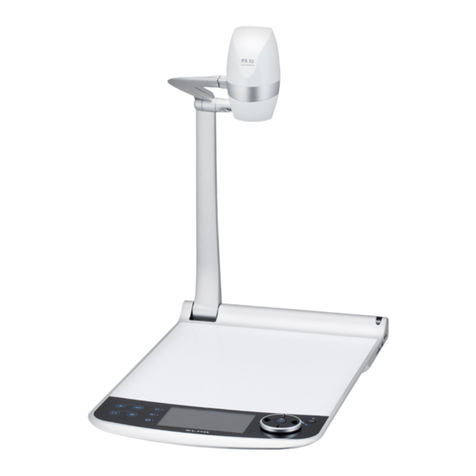
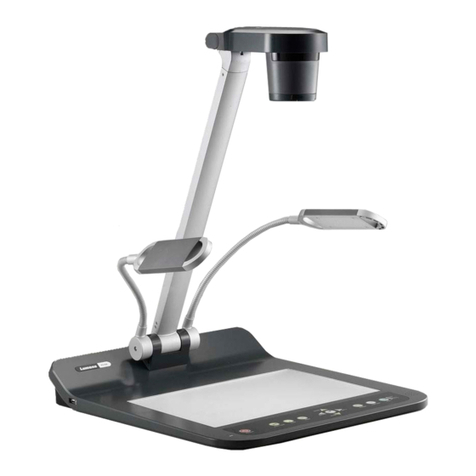
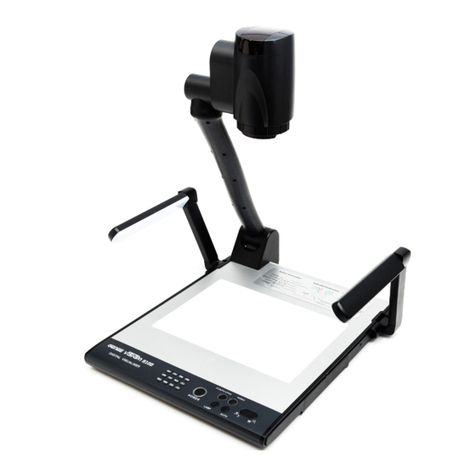
Elmo HV-8500SX User manual

INSTRUCTION MANUAL
VISUAL PRESENTER
Please read this instruction manual carefully before using this Visual Presenter and
keep it for future reference.
VISUAL PRESENTER
HV-8500SX cev.fr

- 6 -
CONTENTS
1. PART NAMES AND FUNCTIONS .................................................... 8
Appearance.................................................................................................. 8
Front Panel .................................................................................................. 8
Operation Panel .......................................................................................... 9
Rear Panel .................................................................................................. 10
Wireless Remote Contro ............................................................................. 12
2. WIRELESS REMOTE CONTROL ................................................... 13
Preparation .................................................................................................. 13
3. MOUSE ........................................................................................... 14
4. SETTING UP ................................................................................... 15
Connection to the monitor and the projector ............................................... 16
Connection to the analogue RGB-in terminal ........................................ 16
Connection to the composite video-in terminal ...................................... 16
Connection to the S video-in terminal .................................................... 17
Analogue RGB signal .................................................................................. 17
Signal allocation ..................................................................................... 17
Pin assignment ...................................................................................... 17
5. STORING THE PRESENTER ......................................................... 18
6. OPERATION PROCEDURES ......................................................... 19
Simple steps for presenting printed material ............................................... 19
Simple steps for showing transparent material, such as overhead
transparencies or slide film .......................................................................... 20
7. VARIOUS FUNCTIONS .................................................................. 21
Lighting ........................................................................................................ 21
Zoom ........................................................................................................... 22
Input selection ............................................................................................. 22
Table of Video- and Audio-in/out Terminal Selections ........................... 23
Output to the monitor ................................................................................... 23
Table of Corresponding Signals ............................................................ 24
Electronic enlargement ................................................................................ 25
Color/B&W selection ................................................................................... 25
Posi/Nega conversion ................................................................................. 26
Image rotation ............................................................................................. 26
Pause .......................................................................................................... 26
Contrast ....................................................................................................... 27
White Balance ............................................................................................. 27
Iris ................................................................................................................ 28
Focus ........................................................................................................... 29
Auto Focus ............................................................................................. 29
Powered Manual Focus ......................................................................... 30
About the preset and move operation ......................................................... 30
LCD monitor bracket socket ........................................................................ 31
Connecting to the LCD monitor out terminal ............................................... 31
PC link software “Image Mate” .................................................................... 32

- 7 -
8. OSD (On-Screen Display) ............................................................. 33
Main menu ................................................................................................... 33
When the white balance is set ..................................................................... 34
When the gamma is set ............................................................................... 34
When the microphone volume is set ........................................................... 34
When the IP address is displayed ............................................................... 34
9. NETWORK FUNCTIONS ................................................................ 36
Preparation for connection .......................................................................... 36
Preparation before setting up ................................................................ 36
Connection to the network ..................................................................... 37
Setting up of the network ....................................................................... 37
Initialization of the network settings ....................................................... 39
Web server functions ................................................................................... 39
Display of quasi-moving images ............................................................ 40
Display of static images ......................................................................... 40
Operation of remote control ................................................................... 41
FTP client function ....................................................................................... 41
Setting up ............................................................................................... 42
Operation ............................................................................................... 43
FTP server functions ................................................................................... 43
telnet server functions ................................................................................. 43
Appendix ..................................................................................................... 44
Setting items of the network .................................................................. 44
Setting items of the FTP client ............................................................... 44
Specifications of the FTP server ............................................................ 45
10. RS-232C SPECIFICATIONS ......................................................... 46
Setting up .................................................................................................... 46
Cable connection ......................................................................................... 46
Table of the communication commands ...................................................... 47
Data format specifications ........................................................................... 48
Trasnmission Command (PC Visual Presenter) ................................. 49
Responce data format (Visual Presenter PC) .................................... 49
Transmission specifications ........................................................................ 50
Connection .................................................................................................. 50
11. TROUBLESHOOTING HINTS ...................................................... 51
Replacement of fluorescent lamp ................................................................ 51
12. SPECIFICATIONS ........................................................................ 52
General .................................................................................................. 52
Network Specifications .......................................................................... 52
Main camera .......................................................................................... 53
Lighting .................................................................................................. 54
Supplied accessories ............................................................................. 54
Options .................................................................................................. 54

- 8 -
1. PART NAMES AND FUNCTIONS
Appearance
12. Infrared Sensor 3. Camera Head
5. Lighting Unit
6. Lighting Unit Arm
2. Column
13. Mic Jack (MIC)
14. Wireless Remote Control
8. Operation Panel
7. Front Panel
15. Scroll Mouse
10. LCD Monitor
Bracket Socket
11. Power Switch
1. Stage
4. Column Lock
Rerease Button
9. Carryng Handle
Press this button
to raise/fold the
column.
Usually, this panel is kept inside the main body.
When the PUSH part is pushed, this panel becomes
ready for operation.
6. Lighting Unit Arm
5. Lighting Unit
Front Panel
18. Auto Focus Button
Name Function
Reference Page
16. P.20, P.21Lamp Buttons
Zoom Buttons
Auto Focus Button
To turn ON/OFF the lighting.
To change the image size.
To focus automatically (One-shot auto focus).
(FOCUSFREE)
17.
18.
P.19, P.29
P.19, P.29
17. Zoom Buttons
16. Lamp Buttons

- 9 -
Operation Panel
20. Monitor Output Buttons
19. Input Selection Buttons
21. Magnification Button 27. White Balance
Button
22. Color/B&W Selection Button 29. Iris Buttons
23. Posi/Nega Conversion Button
24. Image Rotation Button 26. Image Transfer Button
28. Contrast Button
30. Focus Buttons25. Freeze Button
Input Selection Buttons
19.
20.
21.
22.
23.
24.
25.
26.
27.
28.
30.
29.
To change the input line.
Monitor Output Buttons
To select the signal for outputting to the NTSC/PAL monitor.
Magnification Button To double the image size.
Color/B&W Selection Button
To present black-and-white material, such as documents.
Posi/Nega Conversion Button
To show negative films.
Image Rotation Button
To rotate the image. Every time this button is pressed,
the image rotates counterclockwise by 90°.
Freeze Button To freeze the image temporarily.
White Balance Button
Auto/ One-Push To change the mode between AUTO and
ONE-PUSH.
Contrast Button To make characters in documents, etc. visible clearly.
Iris Buttons To adjust the brightness of the screen.
Focus Buttons To adjust focus (powered).
Image Transfer Button
P.22
P.23
P.25
P.25
P.20, P.26
P.26
P.26
P.27
P.27
P.28
P.29, P.30
P.43
To save the static image file in the host (e.g., PC)
on the network.
Name Function Reference
Page

- 10 -
AC IN
RS-232C
DC12V
Ethernet MOUSE INPUT
S-VIDEO
VIDEO L AUDIO R
AUDIO
(L/R)1
AUDIO
(L/R)2
ABCD
RGB OUT RGB2
RGB1
OUTPUT
ON
OFF
POWER
31. Power Cord
Receptacle
[AC IN]
32. Power Switch
[POWER]
33.
12VDC Out Terminal
[DC12V]
34. Mouse Terminal [MOUSE]
39.
Vide-out Terminal
[OUTPUT.S-VIDEO/VIDEO]
S-Video (mini DIN 4P), Composite video (RCA pinjack)
36. Ethernet Terminal
[Ethernet]
40. Audio-out Terminal
41. Video-in Terminal 1
42. Video-in Terminal 1
38. Analogue RGB-out Terminal
[OUTPUT.RGB OUT]
43.
Audio-in Terminal 1
44. Audio-in Terminal 2
45. DIP Switch
37. USB Terminal [USB]
35.
RS-232C Terminal
[RS-232C]
USB
Name Function Reference
Page
Power Cord Receptacle [AC IN]
Connected to the power cord connector.
Power Switch [POWER]
12VDC Out Terminal
[
DC12V]
To turn ON/OFF the power supply.
Mouse Terminal [MOUSE]
To connect the mouse (supplied accessory).
Vide-out Terminal
[OUTPUT.S-VIDEO/VIDEO]
S-Video (mini DIN 4P)
Composite video (RCA pinjack)
Image is output when these terminals are connected
to the NTSC/PAL monitor (e.g., TV monitor).
Ethernet Terminal [Ethernet]
To connect the Ethernet cable when the network function is used.
Analogue RGB-out Terminal
[OUTPUT.RGB OUT]Image is output when this terminal is connected to RGB input
equipment (e.g., liquid crystal projector, multi-sync monitor).
USB Terminal
[
USB]
To connect the USB cable (attached) to transfer the image or
control the main unit with the CD-ROM “Image Mate” (attached).
RS-232C Terminal
[
RS-232C]
P.19
P.19
P.31
P.14
P.23
P.37
P.23
P.32
P.46
31.
32.
33.
34.
39.
36.
38.
37.
35. To connect the RS-232C cable when controlling the
main unit from the PC.
To output 12VDC and the image. Can be connected to
the LCD monitor (LM-5011N) (option) by using
the LCD monitor connection cable (attached).
Note: This terminal cannot be used when the USB terminal
is used to control the main unit.
Note: Do not connect the equipment other than LM-5011N.
Note: This terminal cannot be used when the RS-232C is
used to control the main unit.
Audio-out Terminal Audio signal is output when this terminal is connected
to audio-in equipment. P.2340.
Rear Panel

- 11 -
0A
SXGA
Key alignment and functions:
XGA NTSC
PAL
Over scan
Under scan
Normal operation
Initialization
BC D
1
DIP Switch The functions can be switched as follows:
[A]key:
To switch the resolution of video output through the RGB-out terminal [RGB OUT].
. SXGA . XGA
[B]key: To switch the TV output.
. NTSC . PAL
[C]key: To switch the screen size of the TV output.
. Over scan . Under scan
[D]key: To initialize the setting of the network function to its factory setting.
. Normal operation . Initialization
45.
Name Function
Video-in
Terminal 1 Video signal from this terminal is output through the analogue
RGB-out terminal when the input selection is set at RGB1.
Video-in
Terminal 2 Video signal from this terminal is output through the analogue
RGB-out terminal when the input selection is set at RGB2.
Audio-in
Terminal 1 Audio signal from this terminal is output through the audio-out
terminal when the input selection is set at RGB1.
Audio-in
Terminal 2 Audio signal from this terminal is output through the audio-out
terminal when the input selection is set at RGB2.
P.22, P23
P.22, P23
P.22, P23
P.22, P23
41.
42.
43.
44.
Reference
Page
Note: Before switching the DIP switch key, be sure to turn OFF the power supply to
the Presenter.

- 12 -
46. [IRIS OPEN]
47. [IRIS CLOSE]
48. [IRIS NORMAL]
49. [FOCUS NEAR]
51. [ZOOM TELE]
53. [INPUT]
54. [LAMP]
55. [MOVE]
56. [PRESET]
50. [FOCUS FAR]
52. [ZOOM WIDE]
57. [AF]
IRIS OPEN
IRIS CLOSE MOVE
IRIS NORMAL
PRESET
FOCUS NEAR
INPUT
FOCUS FAR
LAMP
TELE WIDE
AF
ZOOM
Button Name Function Reference
Page
46. P.28IRIS OPEN To open the AUTO iris.
47. P.28IRIS CLOSE To close the AUTO iris.
48. P.28IRIS NORMAL To reset the AUTO iris to the initial value.
49. P.29, P.30FOCUS NEAR To move the focus near.
50. P.29, P.30FOCUS FAR To move the focus far.
51. P.19, P.22,
P.29
ZOOM TELE To zoom in.
52. P.19, P.22ZOOM WIDE To zoom out.
53. P.22INPUT To change the input system.
54. P.20, P.21LAMP To turn ON/OFF the lamp.
55. P.30MOVE To call the operating status of the Presenter
saved in [PRESET].
56. P.30PRESET To save the operating status of the Presenter.
57. P.19, P.29AF To focus automaticaly.
Wireless Remote Control

- 13 -
30
30
30
30
30
30
30
30
Point the infrared emitting part of the wireless remote control unit at the infrared sensor
of the Visual Presenter, located on the top of the column, and press the button for the
desired function.
The receivable range may be narrowed when the Presenter is placed under sunlight,
near an inverter fluorescent lamp or in any other unfavorable surroundings. Depending
on the conditions of fluorescent lamps, etc. the sensor may fail to receive the infrared
light. In such a case, relocate the Presenter, or take other countermeasures.
Receivable range
Distance : Approx. 7 m (23 ft.) or less from the light receiving area to the front of
the wireless remote control
Angle : Approx. 30° degrees or less from the light receiving area to the front of
the wireless remote control rightward, leftward, upward and downward,
respectively
2. WIRELESS REMOTE CONTROL
Preparation
Remove the battery case cover by pressing downward on the [ OPEN] mark part in
the direction as indicated by the arrow. Install 2 pcs of batteries (type R03, AAA) into
the case in the direction as indicated there.
Note: Install the batteries with the right polarity.
Note: Change the batteries once a year.
Note: The batteries supplied with the Presenter are only for use in initially confirming
the operation of the Presenter. It is not guaranteed that these batteries can
work effectively for the indicated period.

- 14 -
Connect the mouse to the mouse terminal on the rear
panel.
The mouse can control the display and operation of
the OSD Menu screen, mouse pointer and the
Electronic enlargement.
When the left button of the mouse is clicked, the OSD
menu and the pointer are displayed. Set each function
with the mouse.
The mouse is operated as follows:
• Left button........................ To display or clear the pointer and menu alternately by
clicking.
To set each item on the OSD menu while the menu is
in display. When the image is in electronic
enlargement, the image scroll function is activated by
dragging the mouse while holding down this button.
• Mouse wheel ............... To scroll the enlarged screen up/down when the image is in
electronic enlargement.
• Right button.....................
When this button is clicked when the pointer is in
display, the electronic image enlargement function is
activated with the position indicated by the pointer as a
center.
Note: When the right button is clicked on the OSD menu, the menu functions are
given priority.
Reference Page ·Electronic enlargement P.25
Note: When using the mouse, connect the mouse before turning ON the power supply
to the Presenter.
Note: Use the attached mouse.
If a mouse on the market is used, the normal operation cannot be guaranteed.
Note: The OSD display is assumed to be used for large projection sizes with a
projector or the like. Therefore, the display on a monitor or a TV on hand may
not be hard to see.
3. MOUSE
Right button
Left button
Center button
Mouse wheel
Click
The pointer
is displayed The pointer
is cleared
Click The menu
is displayed The menu
is cleared
Click Click
Mouse

- 15 -
4. SETTING UP
(1) Unfold the lighting unit arms fully
until they come to the deadend.
Unfold arm 1 and then arm 2 as
illustrated.
(2) Press the column lock release button,
and raise the column until the column
lock release button returns to the
original position. Make sure that the
column has been completely locked.
(3) Turn the main camera head as
illustrated until it is stopped.
(4) Turn the main camera head until the
lens faces to the stage.
(5) Plug the power cord into the power
cord receptacle of the Presenter and
the AC outlet.

- 16 -
Connection to the composite video-in terminal
Use the supplied RCA video/audio cable or a BNC cable available on the market.
AC IN
DC12V
MOUSE INPUT
S-VIDEO
VIDEO L AUDIO R
AUDIO
(L/R)1
AUDIO
(L/R)2
RGB OUT RGB2
RGB1
OUTPUT
ON
OFF
POWER
USBEthernet
RS-232C
Monitor
AC IN
DC12V
Ethernet MOUSE INPUT
S-VIDEO
VIDEO L AUDIO R
AUDIO
(L/R)1
AUDIO
(L/R)2
RGB OUT RGB2
RGB1
OUTPUT
ON
OFF
POWER
USB
RS-232C
Liquid crystal projector
Monitor
Connection to the analogue RGB-in terminal
Connect the analogue RGB-out terminal [OUTPUT·RGBOUT] to the equipment
having an analogue RGB-in terminal with the analogue RGB cable (attached) or a
connection cable available on the market.
At this time, the position of the display may be deviated from the center. If deviated,
manually adjust the horizontal and vertical positions on the connected equipment side.
Also, vertical stripes may appear on the screen of the liquid crystal projector. That can
be alleviated by manually adjusting the dot clock frequency on the projector side.
Connection to the monitor and the projector
Note: Be sure to turn OFF the power supply to all equipment before making any
connections to protect the Presenter and all the connected equipment.
Note: When switching the I/O selection switch key, be sure to turn OFF the power
supply to the Presenter beforehand.
Note: Hold the cable plug when connecting or disconnecting the cables.
The following settings of the Presenter can be switched with the DIP switch. Switch the
settings according to the connection environment. The factory settings are as shown in
the following table:
Key
A
B
C
D
To switch the image output
To switch the TV output method
To switch the TV output screen size
To initialize the network function settings
Function Key selection
Initial setting
0 SXGA output
NTSC
Over scan
Normal operation
0
0
0
Content

- 17 -
Analogue RGB signal
10 9 8 7 6
54321
15 14 13
DSUB 15P shrink terminal (Female)
Pin No. Name
1Video signal (Red)
2Video signal (Green)
3Video signal (Blue)
4N.C
5GND
12 11
Signal allocation
Pin assignment
Video signal
Horizontal synchronized signal
Vertical synchronized signal
Analogue 0.7V(p-p) 75 terminated
TTL level (positive/negative polarity)
Pin No. Name
6GND (Red)
7GND (Green)
8GND (Blue)
9N.C
10 GND
Pin No. Name
11 GND
12 N.C
13 Horizontal synchronized signal
14 Vertical synchronized signal
15 N.C
AC IN
MOUSE INPUT
S-VIDEO
VIDEO L AUDIO R
AUDIO
(L/R)1
AUDIO
(L/R)2
RGB OUT RGB2
RGB1
OUTPUT
ON
OFF
POWER
USBEthernet
RS-232CDC12V
Monitor
Connection to the S video-in terminal
Connect the S video-out terminal (mini DIN 4P) of the Presenter to the S video-in
terminal of the TV/video monitor. For the S video mode, use an S video connection
cable available on the market. If the equipment to be used is provided with a Y/C
separate connector, a conversion adapter is necessary.

- 18 -
5. STORING THE PRESENTER
(1) Turn OFF the power switch, and
unplug the power cord and the video
cable.
(2) Turn the main camera head as
illustrated until it is stopped.
Note: Be sure to set the camera head
in the illustrated position before
storing. Storing the main camera
head in any other position may
damage the stage surface or the
lens.
(3) Press the column lock release button,
and fold down the main column.
Note: The illustration shows the right
storage position of the column.
Never apply excessive force to
the column.
(4) Fold down the lighting unit arms 5
and 6. Be sure to fold down arm 5
first as per the illustration.

- 19 -
6. OPERATION PROCEDURES
(1) Turn ON the power switch.
Note: Before turning ON the power
switch, connection to the
monitor should have been
completed.
Note: When the power switch is
turned ON, the lighting unit
lights up.
Note: If the power switch is turned
ON immediately after being
turned OFF, the Presenter may
not operate. For restarting,
turn OFF the Presenter and
wait several seconds then turn
ON.
(2) Place the object on the stage. Adjust
the image size according to the
object size using the zoom buttons
([TELE] / [WIDE]) on the front
panel or the zoom buttons ([TELE]
/ [WIDE]) on the wireless remote
control, while watching the image
on the TV monitor.
(3) Press the auto focus button [AUTO
FOCUS] on the front panel or the
auto focus button [AF] on the
wireless remote control.
Note: The auto focus function works
up to a height of approx. 10cm
(3.9 in) above the stage
surface when the zoom button
[TELE] is set to the maximum.
Simple steps for presenting printed material
INPUT AF
TELE WIDEZOOM
Front panel
Wireless remote control
Front panel
Wireless remote control

- 20 -
(1) Press the base button [BASE] on
the front panel or the lamp button
[LAMP] on the wireless remote
control to light up the base light
(transparent lighting unit) built in
the stage.
(2) To present a nega film, press the
posi/nega conversion button [POSI
/ NEGA] on the operation panel to
change the mode to [N] (Negative).
(3) To turn OFF the base light, press
the base button [BASE] on the
front panel or the lamp button
[LAMP] on the wireless remote
control again.
IRIS OPEN LAMP
Wireless remote control
Front panel
Operation panel
Simple steps for showing transparent material, such as overhead
transparencies or slide film
IRIS OPEN LAMP
Wireless remote control
Front panel

- 21 -
The upper lighting unit for presenting
material such as printed matter and 3-D
objects, and the baselight for presenting
transparent material, such as slide, and
negative films, are built in to the
Presenter.
When the lamp button [LAMP]
( [UPPER] / [BASE] ) on the front
panel or the lamp button [LAMP] on the
wireless remote control is pressed, the
fluorescent lamp lights up in 1 to 3
seconds.
Every time the lamp button [LAMP] on
the wireless remote control is pressed,
lighting is switched in a cycle of the
lighting unit lights up the base
light lights up the base light
goes out.
The lighting unit lights up when the
power supply is turned ON.To turn OFF
the lamp, press the button for the
respective lamp.
Lighting
7. VARIOUS FUNCTIONS
IRIS OPEN LAMP
Front panel
Wireless remote control
Note: It is impossible to have the upper lighting unit and the baselight lit up together.
Note: To obtain a sharp image with good color rendering, it is sometimes necessary to
use the upper lighting unit.

- 22 -
The respective images from two different
sources such as a PC and an Elmo
Presenter "HV-100XG" can be alternately
presented on a TV by selecting the source
by pressing the desired input selection
buttons without changing the cable
connections. The input can be switched
by pressing the input select button
[RGB1] or [RGB2] on the operation
panel or the input select button [INPUT]
on the wireless remote control. The
lighting of the indicator lamp indicates
which input is now selected.
Every time the input selection button
[INPUT] on the wireless remote control
is pressed, input is switched in a cycle of
the Main RGB1 RGB2.
Input selection is possible as shown in the
following table:
INPUT AF
Operation panel
Wireless remote control
Input selection
TELE WIDEZOOM
Front panel
Wireless remote control
TELE WIDEZOOM
Front panel
Zoom
Wireless remote control
Press the zoom button [TELE] on the
front panel or wireless remote control,
and the image will gradually be enlarged.
Press the zoom button [WIDE] on the
front panel or
wireless remote control, and the image
will gradually be reduced.

- 23 -
Video-out TerminalOutput signal
Main camera video signal
Microphone
Microphone
External video signal 1
External audio signal 1
Monaural
Monaural
RGB1
Stereo 1 (L/R)
Microphone
External video signal 2
External audio signal 2 Monaural
RGB2
Stereo 2 (L/R)
Main camera video signal
Input
Main
Unit
RGB1
RGB2
Audio-out Terminal
RGB
LR
Table of Video- and Audio-in / out Terminal Selections
Note: The input signals to the external input terminal RGB1 and RGB2 can be output
to the NTSC/PAL monitor if their frequencies are among the listed in the table at
the next page.
Operation panel
Select the signal to be output to the
NTSC/PAL monitor. When the monitor
output button [RGB1] or [RGB2] on the
operation panel is pressed while [RGB1]
or [RGB2] is selected for the input
selection, the indicator lamp lights up,
and the image from the equipment
connected to the external input terminal
[RGB1] or [RGB2] is presented on the
NTSC/PAL monitor. When the [MAIN]
button of the monitor output on the
control panel is pressed, the indicator
lamp lights up, and the image from the
main camera is presented on the
NTSC/PAL monitor.
Output to the monitor

- 24 -
Signal Frequency Resolution
(Number of lines) Polarity of
the synchronized signal
(P: Positive, N: Negative)
Mode name
VGA1
VGA2
VGA3
VGA@60Hz
VGA@72Hz
VGA@75Hz
VGA@85Hz
SVGA@56Hz
SVGA@60Hz
SVGA@72Hz
SVGA@75Hz
SVGA@85Hz
XGA@60Hz
XGA@70Hz
XGA@75Hz
XGA@85Hz
SXGA1
SXGA2
SXGA3
SXGA@60Hz
SXGA@75Hz
SXGA@85Hz
UXGA@60Hz
UXGA@65Hz
UXGA@70Hz
UXGA@75Hz
UXGA@85Hz
Mac 13
Mac 16
Mac 19
Mac 21
PC98
37.861
37.861 85.080
85.039
59.940
72.809
75.000
85.008
56.250
60.317
72.188
75.000
85.061
60.004
70.069
75.029
84.997
75.000
60.000
85.002
60.020
75.025
85.024
60.000
65.000
70.000
75.000
85.000
66.667
74.550
74.927
75.062
56.420
37.972
31.469
37.861
37.500
43.269
35.156
37.879
48.077
46.875
53.674
48.363
56.476
60.023
68.677
67.500
60.000
85.938
63.981
79.976
91.146
75.000
81.250
87.500
93.750
106.250
35.000
49.725
60.241
68.682
24.825
85.080 31.500
31.500
35.500
25.175
31.500
31.500
36.000
36.000
40.000
50.000
49.500
56.250
65.000
75.000
78.750
94.500
108.000
108.000
148.500
108.000
135.000
157.500
162.000
175.500
189.000
202.500
229.500
30.240
57.283
80.000
100.000
21.052
640
640
720
640
640
640
640
800
800
800
800
800
1024
1024
1024
1024
1152
1280
1280
1280
1280
1280
1600
1600
1600
1600
1600
640
832
1024
1152
640
350
400
400
480
480
480
480
600
600
600
600
600
768
768
768
768
864
960
960
1024
1024
1024
1200
1200
1200
1200
1200
480
624
768
870
400
P / N
N / P
N / P
N / N
N / N
N / N
N / N
N / N
N / N
P / P
P / P
P / P
P / P
P / P
P / P
P / P
P / P
P / P
P / P
P / P
P / P
P / P
P / P
P / P
P / P
P / P
P / P
P / P
N / N
N / N
N / N
N / N
kHz Hz MHz
Horizontal Vertical Horizontal Vertical HV
Pixel clock
Table of Corresponding Signals
Table of contents
Other Elmo Document Camera manuals

Elmo
Elmo HV-3000XG User manual

Elmo
Elmo P100HD User manual

Elmo
Elmo TT-12 Setup guide

Elmo
Elmo Visual Presenter HV-7100SX User manual

Elmo
Elmo TT-02S User manual

Elmo
Elmo TT-02RX User manual

Elmo
Elmo P100N User manual

Elmo
Elmo HV-100XG User manual

Elmo
Elmo EV-8000AF User manual

Elmo
Elmo HV 5100 XG User manual

Elmo
Elmo HV-5000XG User manual

Elmo
Elmo EV-400AF User manual

Elmo
Elmo Document Camera P30S User manual

Elmo
Elmo HV-5100XG User manual

Elmo
Elmo TT-12 User manual

Elmo
Elmo P10S User manual

Elmo
Elmo Document Camera P30S User manual

Elmo
Elmo EV-2000AF User manual

Elmo
Elmo TT-02RX User manual

Elmo
Elmo L-12id User manual