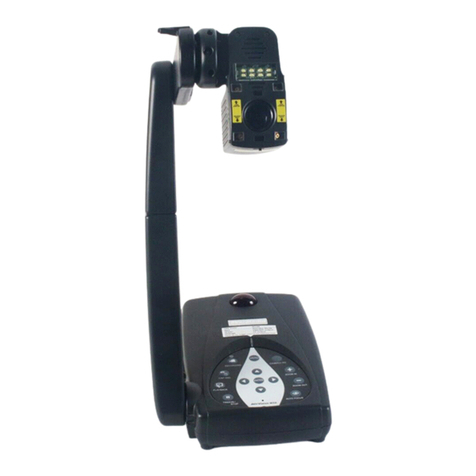
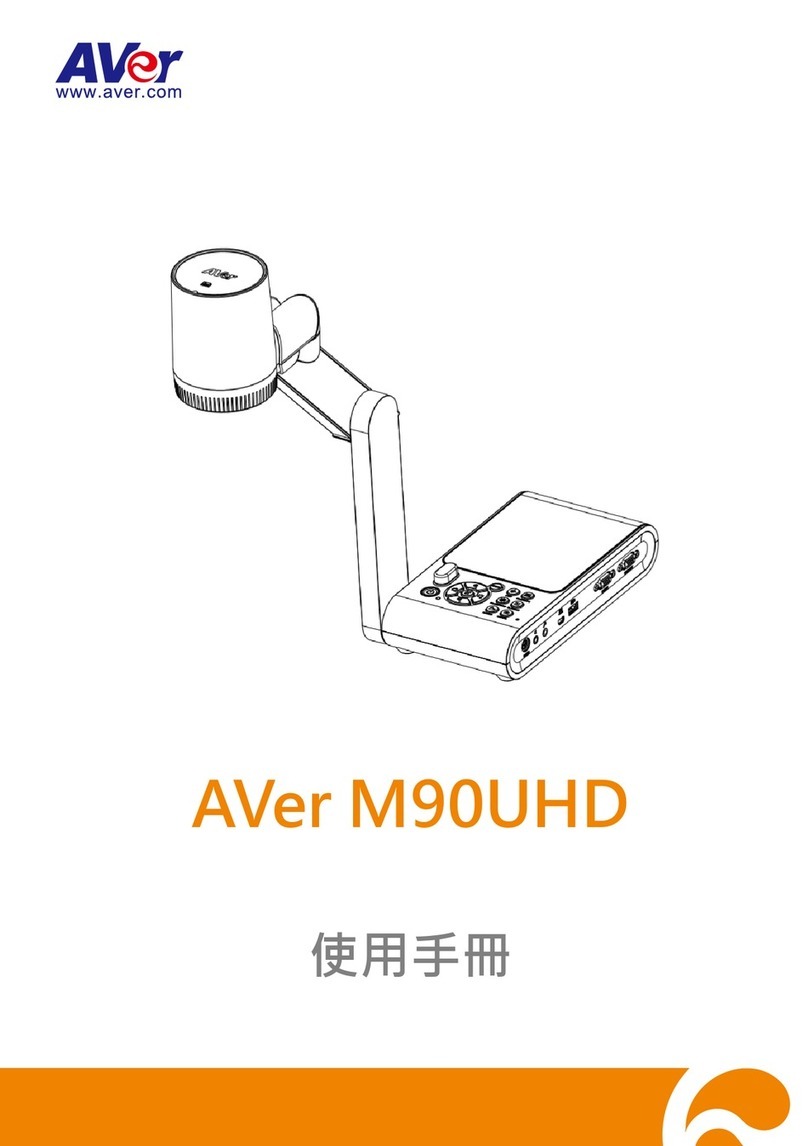
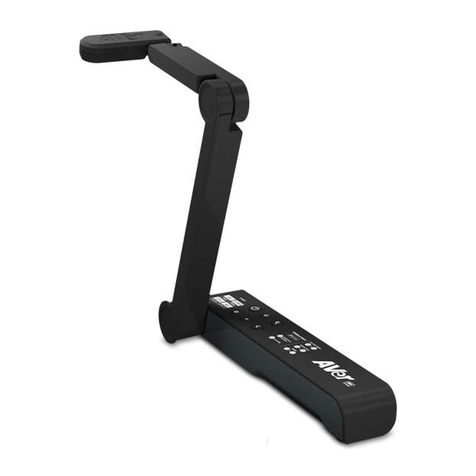
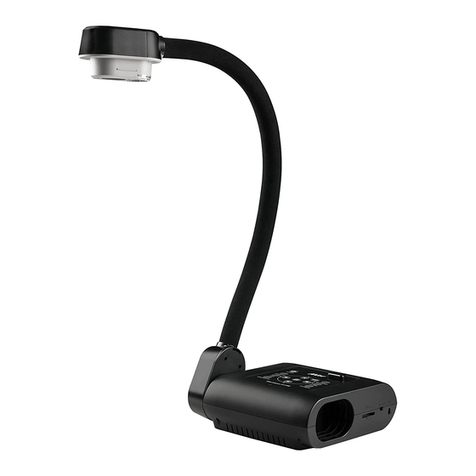
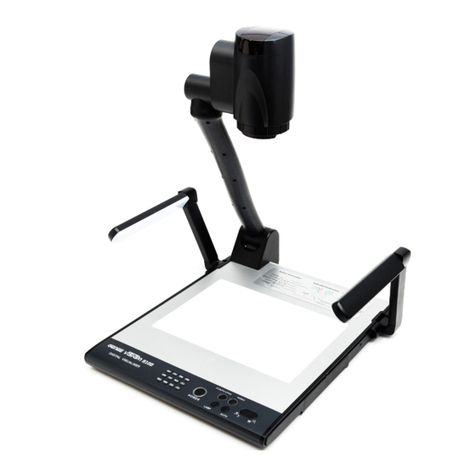
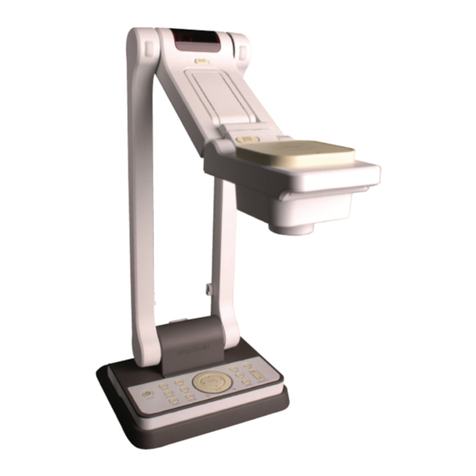
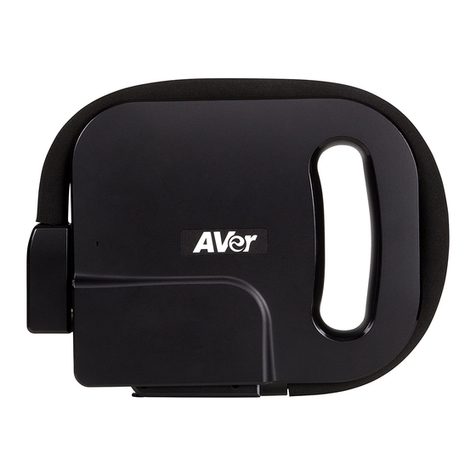
AVer M90UHD User manual

M90UHD
Quick Guide│クイック・ガイド
快速安裝指南│Schnellanleitung
Guide Rapide│Guía rápida
Guida rapida

English……..……………………………………………………….….....1
繁體中文……………………………………………………………….….8
日本語…..……………………………..………………………………...16
Deutsch...........................................................................................23
Français…………………………………………………..……….........30
Español...……………………………………………..……….…….…..37
Italiano..........…………………………….….……………..…...….…...44

English-1
Package Contents
The items below are included with this product. If any item is missing, contact the dealer from whom
you purchased this product.
M90UHD Unit Remote Control Power Adapter
Power Cord* USB Cable
VGA Cable Software and
Manual CD AAA Batteries Warranty Card Quick Guide
*The power cord will vary depending on the standard power outlet of the country where it is sold.
Optional Accessories
Carrying Bag
Anti-glare Sheet
RS232 Cable
Connecting Plate
Microscope Adapter
(28mm and 34mm Rubber Coupler are included)

English-2
Overview
1
3
2
4
510
11
1213
9
78
614 15 16 17
18
1. Camera Head
2. LED Lighting
3. Arm
4. IR Sensor
5. Control Panel
6. Built-in MIC
7. RS232 Port(optional)
8. Line Out Port
9. MIC Port
10. Mini USB Port
11. USB Port
12. VGA In Port
13. VGA Out Port
14. HDMI In Port
15. HDMI Out Port
16. DC Power Jack
17. Anti-theft Slot
18. SD Card Slot
LED Indicator
Name
Status indicator
Power Solid green: Power on
No light: Power off
Solid red:
Standby mode

English-3
Control Panel
(1) (11)(12)(13) (10) (15)
(9)
(8)
(7)(5)
(2)
(4)
(3)
(14)
Name
Function
(1) POWER
Turn the unit
on/off/standby
(2) Decrease the
brightness.
Name
Function
(3) - Make a selection in Playback mode and OSD menu.
- Start/Pause video playback.
- Adjust the focus automatically.
(4) Increase the image magnification in the camera and picture playback
mode.
(5) MENU
Open and exit the OSD menu and submenu.
(6) FREEZE/STOP - Pause or resume image display in Camera mode.
- Stop audio & video playback in Playback mode.
(7) LAMP Turn the overhead light on/off.
(8) CAMERA / PC Switch the video signal between camera or computer from the VGA or
HDMI In port.
(9) PLAYBACK View & playback captured still images and video files.
(10) CAP/DEL - Capture picture in Camera mode. In continuous capture mode,
press this button again to stop.
- Delete the selected picture/video in Playback mode.
(11) RECORDING Start/Stop audio & video recording. Audio and video recording can be
saved on an SD card or a USB Flash drive only. See External
Memory Storage section in user manual.
(12) Increase the brightness.
(13) Decrease the image magnification in camera and picture playback
mode.
(14) ▲,▼,◄, & ► - Pan and zoom-in image (above digital zoom level) in live mode.
- Select options in OSD menu.
- Use ▲&▼ to increase and decrease the video playback volume.
- Use ◄&► to play the video backward and forward.
(15) Built-in MIC Record audio when recording a video clip. The recorded sound will be
in monophonic.

English-4
Device Connection
Power Connection
USB Connection
1
Plug in power adapter and press “Power” button on control panel to turn on the
M90UHD.
[Note] The power supply is 5V3A.
1
1 Connect M90UHD to laptop/PC with USB port.
[Note] Use the USB cable included in package.

English-5
HDMI Out and In Connection
1
Connect M90UHD to HDMI display with HDMI output port.
2
Connect M90UHD to laptop/PC with HDMI input port.

English-6
VGA Out and In Connection
More Help
For FAQs, technical support, software and user manual download, please visit:
Global: https://www.aver.com/download-center
US: https://www.averusa.com/education/support/
Contact Information
Global
AVer Information Inc.
www.aver.com
8F, No.157, Da-An Rd.
Tucheng Dist.
New Taipei City 23673,
Taiwan
Tel: +886 (2) 2269 8535
1
Connect M90UHD to VGA display with VGA output port.
Connect M90UHD to VGA display with VGA output port and VGA input source device
with VGA input port.
2
USA
AVer Information Inc.
www.averusa.com
668 Mission Ct
Fremont, CA 94539, USA
Toll
-free: 1(877)528-7824
Local: 1(408)263
-3828
Technical
support:
Support.usa@aver.com
Europe B.V.
AVer Information Inc.
www.aver.com
Westblaa
k 140, 3012KM
Rotterdam, Netherland
Tel: +31(0)10 7600 550
Technical support:
EU.RMA@aver.com

English-7
WARNING
To reduce the risk of fire or electric shock, do not expose this appliance to rain or moisture. Warranty will be
void if any unauthorized modifications are done to the product.
Do not drop the camera or subject it to physical shock.
Use the correct power supply voltage to avoid the damaging camera.
Do not place the camera where the cord can be stepped on as this may result in fraying or damage to the
lead or the plug.
Hold the bottom of the camera with both hands to
move the camera. Do not grab the lens or flexible
arm to move the camera.
Do not pull the mechanical arm and camera part
in the opposite direction.
Do not move the camera head over 110° to avoid
camera head wear.
Do not pull the mechanical arm lower than 60° to
avoid camera wear.
FEDERAL COMMUNICATIONS COMMISSION
NOTE: This equipment has been tested and found to comply with the limits for a Class A digital device, pursuant to part
15 of the FCC Rules. These limits are designed to pro-vide reasonable protection against harmful interference when the
equipment is operate din a commercial environment. This equipment generates, uses, and can radiate radiofrequency
energy and, if not installed and used in accordance with the instruction manual, may cause harmful interference to radio
communications. Operation of this equipment in a residential area is likely to cause harmful interference in which case
the user will be required to correct the interference at his own expense.
FCC Caution: Any changes or modifications not expressly approved by the party responsible for compliance could void
the user's authority to operate this equipment.
This device complies with part 15 of the FCC Rules.
Operation is subject to the following two conditions:
(1) This device may not cause harmful interference, and
(2) this device must accept any interference received, including interference that may cause undesired operation.
Warning:
This is a class A product. In a domestic environment this product may cause radio interference in which case the user
may be required to take adequate measures.
COPYRIGHT
©2020 AVer Information Inc. All rights reserved.
繁體中文-8
包裝內容物
本產品包含下列物品,如果發現物品短缺,請逕洽購買經銷商。
M90UHD 遙控器 變壓器
電源線* USB 連接線
VGA 連接線 軟體及使用手冊 CD AAA 電池 保固卡 快速指南
*電源線規格會依購買產品時所在國家標準而異。
選購配件
提袋
防眩光保護膜
RS232 連接線
連接盤
顯微鏡轉接頭
(包含 28mm 及34mm橡膠聯軸器)

繁體中文-9
硬體介紹
1
3
2
4
510
11
1213
9
78
614 15 16 17
18
1.
攝影機鏡頭 2.
LED 燈3.
伸縮臂
4. 紅外線感測器
5. 控制面板
6. 內建麥克風
7.
RS232 端口(選配) 8.
音源輸出端口 9.
麥克風插口
10. Mini USB 端口
11. USB 端口
12. VGA 輸入端口
13.
VGA 輸出端口 14.
HDMI 輸入端口 15.
HDMI 輸出端口
16. 直流電源插座
17. 防盜插槽
18. SD 卡槽
LED 指示燈
名稱 狀態顯示
電源 穩定綠光:開機
熄滅無光:關機
穩定紅光: 待機模式

繁體中文-10
控制面板
(1) (11)(12)(13) (10) (15)
(9)
(8)
(7)(5)
(2)
(4)
(3)
(14)
名稱 功能
(1) 電源 產品開機/關機/待機
(2) 降低亮度。
名稱 功能
(3) - 可選擇播放模式或螢幕顯示選單。
- 開始/暫停播放影片。
- 自動調整焦距。
(4) 放大相機或是播放模式中的圖片。
(5) 選單 打開或離開螢幕顯示選單或子選單。
(6) 凍結/停止 - 暫停或繼續播放相機模式中的圖片。
- 停止播放音訊和影片。
(7) 照明 打開或關閉頂燈。
(8) 相機 / 電腦 切換相機或電腦從 VGA 或HDMI 端口輸入的影片信號。
(9) 播放 觀看及播放攝得的照片和影片。
(10) 快照 / 刪除 - 在相機模式中拍攝照片。在連拍模式中,再次按下這個按鍵即可停止拍
攝。
- 刪除在播放模式中已選擇的圖片/影片
(11) 錄影 開始/停止錄音或錄影。音訊和影片只能儲存在SD卡或USB隨身碟中。請參
見使用手冊中有關外部儲存裝置的部分。
(12) 增加亮度
(13) 縮小相機或播放模式中的圖片
(14) ▲,▼,◄, & ► - 移動和放大實時模式中的圖片(高於數位變焦等級)
- 選擇螢幕顯示選單中的選項
- 使用▲&▼ 來提高或降低影片播放音量
-
使用
◄
&
►
來快轉或倒退影片
(15) 內建麥克風 錄製影片時,並錄下聲音。該錄音為單音。

繁體中文-11
裝置連接
電源連接
USB 連結
1
插上電源,按下控制面板上的「電源」鍵來開啟 M90UHD。
[注意] 電源供應為 5V3A。
1
1 使用 USB 端口將 M90UHD 連接至筆電或桌上型電腦。
[注意] 請使用隨附的 USB 連接線。

繁體中文-12
HDMI 輸入和輸出連接
1
使用 HDMI 輸出端口將 M90UHD 連接至 HDMI 顯示器。
2 使用 HDMI 輸入端口將 M90UHD 連接至筆電或桌上型電腦。

繁體中文-14
警語
為降低起火或觸電的風險,請勿將本產品暴露在雨中或潮濕處。如果對產品進行未經授權的修
改,將導致保固失效。
請勿摔落相機,或使相機受到碰撞衝擊。
請使用正確的電源電壓,以免損壞相機。
請勿將電源線放在會遭人踩踏之處,否則恐導致電源線或是插頭磨損或損壞。
移動相機時,請用雙手握住相機底端,請勿
抓住鏡頭或是伸縮臂。
請勿以相反方向拉扯機械手臂和相機。
請勿將鏡頭移動超過 110°,以避免磨損。
機械手臂使用角度勿低於 60 度,以免磨損鏡
頭。
遙控器電池安全資訊
- 請將電池存放在涼爽與乾燥的位置。
- 不要將電量用盡的電池棄置在家庭廢棄物中。請將電池棄置在特定回收處,或送回原購買的商店。
- 如果長時間不使用電池,請將其取出。電池漏液與腐蝕可能會損壞遙控器,請以安全方式棄置電池。
- 不可混用新舊電池。
- 不可混用不同類型的電池:鹼性、標準(碳鋅)或可充電(鎳鎘)電池。
- 不可將電池棄置於火源中。
- 請勿嘗試讓電池端子短路。

繁體中文-15
警告使用者
這是甲類的資訊產品,在居住的環境中使用時,可能會造成射頻干擾,
在這種情況下,使用者會被要求採取某些適當的對策
版權聲明
©2020 AVer Information Inc. 保留所有權利.
單元Unit
限用物質及其化學符號
鉛Lead
(Pb)
汞
Mercury
(Hg)
鎘
Cadmium
(Cd)
六價鉻
Hexavalent
chromium
(Cr+6)
多溴聯苯
Polybrominated
biphenyls
(PBB)
多溴二苯醚
Polybrominated
diphenyl ethers
(PBDE)
電路板及零組件(電子料或電機
料…等) -○○○○○
塑膠組件(外殼或導電泡棉…等) ○○○○○○
金屬組件(鐵殼或鐵條或螺柱…
等) -○○○○○
配件(電源供應器或遙控器或電
纜線…等) -○○○○○
紙製品及包裝件(紙盒或手冊或
泡殼…等) ○○○○○○
備考 1.〝超出 0.1 wt %〞及〝超出 0.01 wt %〞係指限用物質之百分比含量超出百分比含量基準值。
Note 1:“Exceeding 0.1 wt %” and “exceeding 0.01 wt %” indicate that the percentage content of the
restricted substance exceeds the reference percentage value of presence condition.
備考 2.〝○〞係指該項限用物質之百分比含量未超出百分比含量基準值。
Note 2:“○” indicates that the percentage content of the restricted substance does not exceed the
percentage of reference value of presence.
備考 3.〝-〞係指該項限用物質為排除項目。
Note 3:The “−” indicates that the restricted substance corresponds to the exemption.

日本語-16
パッケージ内容
以下のアイテムがパッケージに含まれていることを確認してください。
M90UHD 本体
リモコン
電源アダプタと
電源コード*
USB ケーブル
VGA ケーブル
ソフトウェアと
マニュアル CD
単4形電池
保証書
クイック・ガイド
*電源コード、販売する国のコンセントによって異なります。
オプション販売品
キャリング・バッグ
反射防止シート
RS232 ケーブル
連結プレート
顕微鏡アダプタ
(28 ㎜と 34 ㎜のゴム・カプラーが含まれています。)

日本語-17
概要
1
3
2
4
510
11
1213
9
78
614 15 16 17
18
1. カメラ・ヘッド 2. LED ライト 3. アーム
4. リモコン受光部 5. コントロール・パネル 6. 内蔵マイクロホン
7. RS232(オプション使用) 8. スピーカー出力 9. マイクロホン入力
10. ミニ USB ポート 11. USB ポート 12. VGA 入力
13. VGA 出力ポート 14. HDMI 入力 15. HDMI 出力
16. DC 電源ジャック 17. 盗難防止スロット 18. SD カード・スロット
LED インジケーター
名称
状態インジケーター
電源
緑色点灯:
電源オン
消灯:
電源オフ
赤色点灯:
待機モード

日本語-18
コントロール・パネル
(1) (11)(12)(13) (10) (15)
(9)
(8)
(7)(5)
(2)
(4)
(3)
(14)
名称
機能
(1) 電源 本体の電源をオン/オフ、または待
機モード
(2) 映像の明るさを調整(ー)
名称
機能
(3) オートフォーカス
-
再生モードと OSD メニューで選択を行う
- ビデオ再生を開始/一時停止
- フォーカスを自動的に調整
(4) ズーム・イン カメラおよび画像再生モードで画像の倍率を調整(+)
(5) メニュー OSD 面ニューとサブ・メニューを開くまたは終了
(6) フリーズ/停止 - カメラ・モードで画像表示を一時停止または再開
- 再生モードでオーディオとビデオの再生を停止
(7) 照明 LED ライトをオン/オフ
(8) カメラ/PC VGA 入力ポートまたは HDMI 入力ポートからカメラまたはコンピューター間で
ビデオ信号を切り替え
(9) 再生 撮影した静止画像とビデオ・ファイルを表示および再生
(10) 撮影/削除 - カメラ・モードで写真を撮影します。連続撮影モードでこのボタンをもう一度
押すと撮影を停止
- 再生モードで選択した画像/ビデオを削除
(11) 録画 オーディオとビデオの録画を開始/停止します。オーディオとビデオの録画
は、SDカードまたはUSBフラッシュ・ドライブにのみ保存できます。
外部メモリ・
ストレージ
を参照してください
(12) 映像の明るさを調整(+)
(13) ズーム・アウト カメラおよび画像再生モードで画像の倍率を調整(ー)
(14) ▲,▼,◄, & ► - ライブ・モードでの画像のパンとズーム・イン(デジタル・ズーム・レベルより
上)
- OSD メニューでオプションを選択
- ▲と▼を使用してビデオ再生ボリュームを調整
- ◄と►を使用して、ビデオを早送りまたは逆再生
(15) 内蔵マイク 録画の際に、録音をします。録音された音声はモノラルになります
Other manuals for M90UHD
3
Table of contents
Languages:
Other AVer Document Camera manuals

AVer
AVer M90UHD User manual

AVer
AVer TabCam User manual

AVer
AVer AVerVision M70 User manual

AVer
AVer Vision F50+ User manual

AVer
AVer M15-13M User manual

AVer
AVer AVerVision300AFHD User manual

AVer
AVer AVerVision M17-13M User manual

AVer
AVer AVerVision F50 User manual

AVer
AVer AVerVision F70W User manual

AVer
AVer AVerVision M70 User manual

AVer
AVer AVerVision300AF+ User manual

AVer
AVer AVerVision U15 User manual

AVer
AVer AVerVision U50 User manual

AVer
AVer AVerVision F50 User manual

AVer
AVer M15-13M User manual

AVer
AVer M5 User manual

AVer
AVer AVerVision U70i User manual

AVer
AVer AVerVision F70W User manual

AVer
AVer Vision F50 User manual

AVer
AVer AVerVision M70 User manual