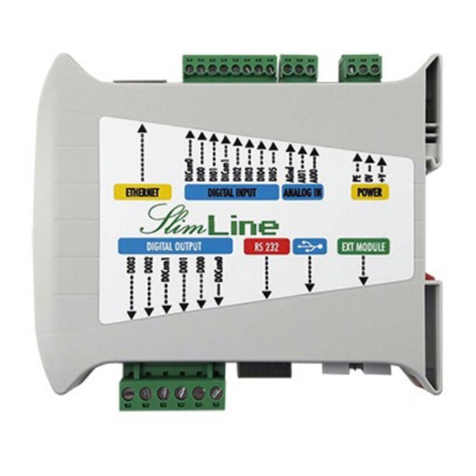
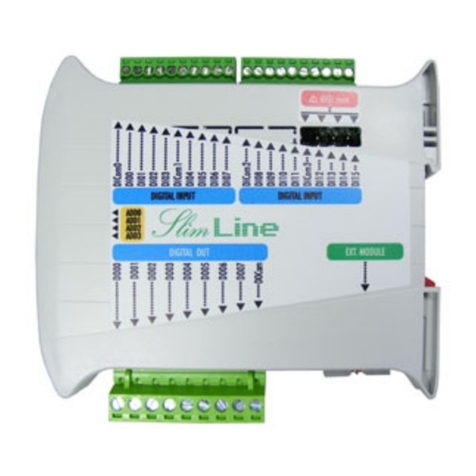
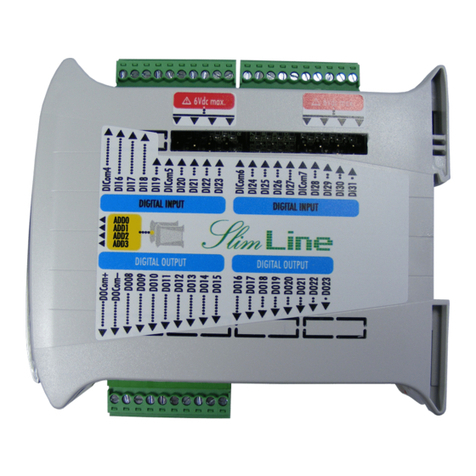
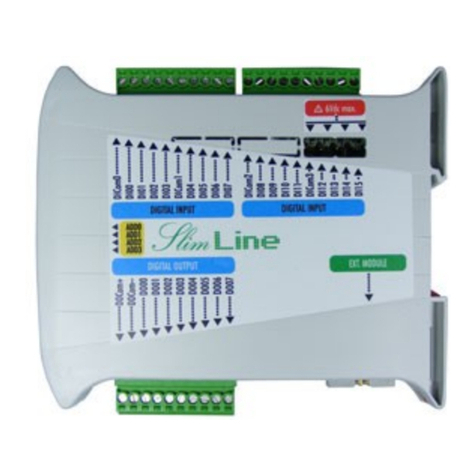
Elsist SlimLine Cortex M7 User manual

7 Identificazione prodotto
Product identification
LBL052E000
Code:
M P S 0 5 4 * *0 0
Serial Nr:
00348
MPS054***0
Livello modulo
Module release
Lite version = 0
RS485 version =
CAN version = 2
Basic version = 0
Extended version =
Bus 1-Wire (P11) Bus I2C (P7)
Pin Si nal Pin Si nal Pin Si nal
-Wire +5Vdc 6 GND
2 GND 2 +5Vdc 7 SCL
3 +5V (Aux) 8 GND
4 +5V (Aux) 9 SDA
5 RDYO-N 0 GND
9
4 Alimentazione
Power Supply
Via G. Brodolini, 5 (Z.I.) 5033 CASALE M.TO (AL) ITALY
Phone +39-0 42-45 987 Fax +39-0 42-45 988
Internet: http://www.elsist.it email: [email protected]
SlimLine
SlimLine
Cortex M7
Cortex M7
CPU Module
CPU Module
Hardware
Hardware
Manual
Manual
MNL 84E 00
CPU Status
LED Function
PWR
(Green)
ON=Power OK
OFF= Power
fault
RUN
(Yellow)
Regular Blink =
System OK
RDY
(Green)
ON=System
Ready
OFF=System Not
Ready
DO0X Digital out status
LK9
ON Chip Erase
OFF Normal operation
Attenzione! LK9 ON cancella la memoria processore
Warnin ! LK9 ON erases the processor memory
6
6
Field Bus (P2) RS232 (COM0 P4, COM1 P5)
CAN RS485 (COM2) Pin Si nal Pin Si nal
Pin Si nal Pin Si nal N.C. 6 TX (Out)
CAN H D+ 2 N.C. 7 CTS (In)
2 CAN L 2 D- 3 DTR (Out) 8 RTS (Out)
3 Field GND 3 Field GND 4 GND
LK4 ON= Line Terminated ( 20Ω) 5 RX (In)
Porte RS232 e bus di campo
RS232 Ports and Field bus
8
Stato CPU – SD Card
CPU Status – SD Card
10 Colle amento moduli di espansione
Extension modules connection
35 Dimensioni
Dimensions
9mm 22,5mm
0 mm
Ethernet (P6)
Pin Si nal Pin Si nal
ETH 5 N.C.
2 ETH2 6 ETH6
3 ETH3 7 N.C.
4 N.C. 8 N.C.
LED Yellow Link activity
LED Green Speed 00Mbs
DHCP enabled
1
8
P6
Porta Ethernet
Ethernet port
USB Host/Device (J1)
Pin Si nal
Vcc (5V 1A Max.)
Short circuit
protected
2 D-
3 D+
4 ID
5 GND
2 USB Host/Dev
Host/Dev USB
I/O Di itali e Analo ici
Di ital and Analo I/Os
6
P 0
3
P9
P6
J
3
P9
P8
+
-
~
~
~
=
Fuse AT
Vmax=30Vdc
Tenere corto e distante
da fonti di disturbo
Keep it short and away
from noise sources
2,5mmq
2AWG
Messa a terra pulita
Clean GND
3
!
Bus 1-Wire e Bus espansione
1-Wire and Extension bus
9
0 2
P P7
8 8
3
LK4 P5 P4P2 P
6 5 4 3 2
DICom
DI0
DOCom
DO0
DO00
+/-
-/+
Vmax=30Vdc
Fuse 250mAFF
0,025A2s
PLC FIELD
P10
DI00
PLC FIELD
P9
23
++
AI0
AGnd
AI00
Voltage 0- 0V
!
USB SD CARD
R U N
CPU
I/O Module
I/O Module
USB SD CARD
P3
LK9
ON
OFF

Technical Specifications
Device Code MPS054*000 MPS054*100 MPS054*110 MPS054*200 MPS054*210
Power Supply 0-30Vdc ,4W ( ) 0-30Vdc ,7W ( )
Power to exp. bus 5Vdc 2.6A max.
Processor RISC 32bit Cortex M7 300MHz, 2MB FlashEPROM, 384 kB SRAM
Program memory
3 kB user program (2)
(Option 262kB)
262 kB user program
(2)
3 kB user program
(2)
(Option 262kB)
262 kB user program
(2)
FlashEPROM Min. data retention 0Years
Mass memory 398 kBytes FlashEPROM of 4MBytes available for user data(2)
Data backup memory 6kBytes FRAM of 32kBytes available for user data(2)
Data memory 2kB SRAM of 384kB available for user data (2)
(Option 20 kB)
20kB SRAM of 384kB
available for user data
(2)
2kB SRAM of 384kB
available for user data
(2) (Option 20 kB)
20kB SRAM of 384kB
available for user data
(2)
SD-Card Slot Yes, micro SD (card is optional)
Real Time Clock
Yes, Backup Timekeeping optional Yes, Backup
Timekeeping 5 years
Yes, Backup
Timekeeping optional
Yes, Backup
Timekeeping 5 years
SNTP and daylight saving time supported
USB I/F none
x micro-USB AB
(Host/device mode
supported)
none
x micro-USB AB
(Host/device mode
supported)
Digital Input 2 Optoisolated PNP/NPN 5-30Vdc, 5mA@24V
(DI00 can be used as a counter input with Fmax= 0kHz)
Analog Input none
2*0- 0Vdc common
mode or differential
mode ( 2bit resolution)
none
2*0- 0Vdc common
mode or differential
mode ( 2bit resolution)
Digital Output 2 OptoMOS 0.25A@40Vdc/ac, Vmin 0V, ON state resistance Ohm max
TOn 0,75mS max, TOff 0,2mS max
Ethernet I/F RJ45 0/ 00base-T(x) Auto-MDIX
Field bus none Insulated Fail Safe High impedance RS485 Insulated CAN Bus 2.0B compatible, ISO 898-
Expansion bus I2C™ High-Speed
-Wire bus none Yes none Yes
RS232 I/F 2 * DTE on RJ45 connectors
Status indicators Power, RUN, READY, USB, Digital Output Status
Environment
Operating temperature: from -20 to +70°C
Storage temperature: from -40° to +80°C
Relative Humidity: Max. 90%
Dimensions and weight
Dimensions: 22.5 mm L x 0 mm W x 20 mm H
Weight: 50g
Approvals CE, RoHS
Notes ( ) Worst case
(2) Firmware depending
Connessioni
La CPU SlimLine Cortex M7 (LogicLab) è dotata di morsetti
estraibili per la connessione dell’alimentazione, I/O e Bus di campo,
connettore IDC per il collegamento dei moduli di espansione,
connettori RJ45 per il collegamento delle porte RS232 e della porta
Ethernet e di un connettore microUSB-AB.
Alimentazione (Fi . 4)
Il modulo deve essere alimentato con una tensione continua
nel range 0-30V. La connessione della alimentazione deve essere
effettuata in accordo alla Fig. 4.
La presenza della tensione di alimentazione è segnalata dal
LED verde “PWR”.
ATTENZIONE! Il superamento del valore massimo di
tensione indicato può provocare il danne iamento
irreversibile dell’apparato.
Colle amento di terra (Fi . 4)
Il dispositivo deve essere collegato direttamente a terra
mediante l'apposito morsetto del connettore di alimentazione (Fig.
4).
Il collegamento deve essere eseguito mediante una cordina
avente sezione di almeno 2.5mm2, ad una barra equipotenziale di
rame di adeguata sezione.
Al fine di garantire una buona rejezione ai disturbi, è
necessario che questo collegamento sia mantenuto il più corto
possibile e non ven a fatto passare con altri cavi.
In ressi Di itali e Analo ici (Fi . 3)
Il modulo è provvisto di 2 ingressi digitali e 2 ingressi analogici
(ove previsti). Gli ingressi digitali sono galvanicamente isolati dal
sistema e possono essere utilizzati indifferentemente in modalità
PNP o NPN.
L'ingresso DI00 può essere utilizzato come counter con
Fmax= 0KHz.
Gli ingressi analogici (laddove previsti) non sono isolati dal
sistema ed accettano tensioni di ingresso da 0 a + 0Vdc.
Il modulo accetta due ingressi a modo comune oppure un
ingresso in differenziale.
ATTENZIONE! Per il colle amento de li in ressi
analo ici utilizzare ESCLUSIVAMENTE cavi schermati,
avendo cura di evitare passa i vicino a fonti di
rumore.
Uscite Di itali (Fi . 3)
Il modulo è provvisto di 2 uscite digitali statiche optomosfet,
galvanicamente isolate dal sistema.
Le uscite possono essere indifferentemente di tipo PNP o NPN.
ATTENZIONE! Eventuali cortocircuiti sulle uscite
di itali possono provocare il danne iamento
irreversibile dell'apparato. E' consi liabile inserire un
fusibile extra rapido 250mAFF in serie al comune Out
(es. Ferraz G084002P).
Bus di espansione e 1-Wire (Fi . 9)
Il bus di comunicazione con i moduli di espansione sfrutta
l’interfaccia I2CTM Fast Speed ed è disponibile su connettore P7. I
moduli di espansione devono essere collegati in cascata tramite gli
appositi cavetti CBL045**00/CBL074*000. In Fig. 0 è
schematizzato il collegamento dei moduli di espansione.
Al modulo CPU possono essere collegati fino a 6 moduli di
espansione (previa verifica assorbimenti massimi).
ATTENZIONE! Prima di colle are al modulo CPU i
moduli di espansione, accertarsi che questo non sia
alimentato. In caso contrario i dispositivi potrebbero
essere irrimediabilmente danne iati.
Il dispositivo può essere dotato di bus -WireTM (P ),
attraverso il quale è possibile l'acquisizione di dispositivi i-ButtonTM,
quali TAG di identificazione personale, sensori di temperatura e
molto altro.
Porte seriali RS232 (Fi . 8)
Il modulo dispone di due porte seriali di tipo “DTE” (Data
Terminal Equipment). Il collegamento con altri dispositivi DTE, quali
personal computer o terminali operatore in genere, deve essere
eseguito con un cavo di tipo Null-Modem della lunghezza massima
di 5 mt, come prescritto dalle specifiche EIA.
Le porte RS232, non sono galvanicamente isolate dal sistema,
quindi è opportuno verificare, prima di collegare tra di loro
dispositivi RS232 diversi, che il loro potenziale di massa sia lo
stesso.
ATTENZIONE! Differenze di potenziale eccessive tra
punti di massa diversi, possono causare
danne iamenti irreversibili ai dispositivi.
Bus di campo (Fi . 8)
Il modulo può essere dotato di bus di campo RS485 o CAN
Bus (vedi identificazione prodotto Fig. 7), isolato galvanicamente
dal sistema. Per il collegamento del bus attenersi alla figura a lato.
Attraverso il jumper LK4 può essere inserita la resistenza di
terminazione 20 Ohm o meno.
Il modulo viene fornito con LK4 inserito (bus terminato).
Rimuovere il ponticello in funzione della installazione (vedi
schema di connessione).
Porta Ethernet (Fi . 1)
Il modulo è dotato di una porta ethernet 0/ 00-Base T(x)
disponibile sul connettore RJ45 (P6); le connessioni, evidenziate in
Fig. , sono compatibili con lo standard ethernet IEEE 802.3 00-
Base T. Per l’inserimento in una rete ethernet possono essere
utilizzati cavi UTP Cat. 5 RJ45 ed uno switch, mentre, per un
collegamento punto-punto, è sufficiente utilizzare un cavo patch
RJ45 senza utilizzo di altri dispositivi. Il dispositivo è dotato di Auto-
MDIX, quindi non è necessario disporre di cavo cross per il
collegamento diretto a PC.
Su P6 sono disponibili due LED di segnalazione dello stato
della connessione ethernet:
Il LED Verde segnala, quando acceso, che la rete sta
funzionando a 00Mb/s.
Il LED Giallo segnala l’attività del link ethernet.
Il modulo viene fornito con DHCP abilitato e, in caso di
mancanza di un server DHCP, l’indirizzo IP può essere assegnato
con l’utility Toolly.
ATTENZIONE! Il modulo viene fornito con credenziali
utente Admin: User “Admin” e password “Admin”.
E’ fortemente raccomandato il cambiamento prima
della installazione.
Porta USB Host/Device (Fi . 2)
Il modulo può essere dotato di una porta microUSB-AB in
grado di supportare sia la modalità Host che Device.
Slot SD Card (Fi . 6)
Il modulo è dotato di uno slot mini-SD Card. La card può
essere utilizzata sia per funzioni di archiviazione del programma
utente, che per funzioni di storicizzazione dati durante il
funzionamento. La card deve essere ordinata separatamente.
Se nalazioni stato (Fi . 6)
Il modulo è dotato di LED per la segnalazione dello stato di
funzionamento, in particolare è segnalato lo stato di:
·PWR (LED Verde)
Indica la presenza dell’alimentazione
·RUN (LED Giallo)
Lampeggiante regolare indica che il sistema è in funzione,
·RDY (LED Verde)
Acceso indica che il sistema è pronto e gestisce i moduli
I/O. La mancanza di RDY resetta lo stato delle uscite dei
moduli di espansione eventualmente connessi al sistema.
·DO0x (LED Rossi)
Acceso indica che l'uscita digitale corrispondente è attiva.
I2CTM è un marchio registrato di NXP Semiconductors
Connections
The SlimLine Cortex M7 (LogicLab) CPU module is provided of
extractable TB to connect Power, I/Os and Field bus, IDC connector
to connect the extension modules, RJ45 connectors for RS232
COM ports and the Ethernet port, and one microUSB-AB connector.
Power supply (Fi . 3)
The module can be powered with a DC source within the range
0-30Vdc. The power connection must be done according to the
Fig. 2.
The power is signalized by the green LED “PWR”.
WARNING! Values reater than the maximum allowed
may dama e the device seriously.
Ground connection (Fi . 2)
The device must be connected directly to Ground using the
terminal block on the power supply connector (Fig. 2).
The connection must be performed through a wire with section
at least of 2.5mm2, to a copper equipotential bar of adequate
section.
To guarantee a good noise rejection, keep this connection as
short as possible and take care to place it far away to the other
cables.
Di ital and Analo Inputs (Fi . 3)
The module is provided of 2 digital input and 2 analog input (If
any) The digital inputs are galvanically insulated from the system
and may be used as PNP or NPN as for your convenience.
The digital Input DI00 may be used as a counter input with
Fmax= 0KHz.
Analog inputs (where provided) aren’t insulated from the
system and accept voltage from 0 to + 0Vdc.
The module accepts two common mode analog input or,
alternatively, one in differential mode.
WARNING! To connect analo inputs use
EXCLUSIVELY screened cables and be careful to place
them away from noise sources.
Di ital Outputs (Fi . 3)
The module is provided of 2 Optomosfet static digital outputs,
galvanically insulated from the system.
The outputs may be used either as PNP or NPN as for your
convenience.
WARNING! Shorts on the outputs may dama e
permanently the device. It's suitable to place an extra
rapid fuse 250mAFF in series of the output common
(i.e. Ferraz G084002P).
Extension bus and 1-wire bus (Fi . 9)
The communication bus with the extension modules uses the
Fast I2C™ interface and it’s available on the IDC 0 connector (P7).
The extension modules must be cascade connected through the
special cables CBL045**00/CBL074*000.
The Fig. 0 is an example of extension modules connection.
Up to 6 extension modules may be connected to the CPU.
(after checking the maximum current needed)
WARNING! Before to connect the extension modules
to the system, be sure that it’s powered off. Missin
this rule may produce failures in the modules.
The device may be equipped with a -WireTM bus (P ),
through it you can acquire i-ButtonTM devices, such as TAG for
personal identification, temperature sensors and other devices.
RS232 Serial ports (Fi . 8)
The device is provided of two serial ports DTE (Data Terminal
Equipment). The connection between DTEs, such as Personal
Computers, Operator Terminals etc., must be done through a Null-
modem cable of maximum cable length of 5 mt, according to EIA
specifications.
These ports aren’t galvanically insulated from the system, it is
recommended to verify, before to connect together different
devices, the difference of potential on the ground.
WARNING! An excess of difference of potential on
round loop may cause dama es to the devices.
Field bus (Fi . 8)
The module may be provided of a RS485 or CAN field bus (see
product identification Fig. 7), in both cases the bus is galvanically
insulated from the system. To connect the field bus please see
Figure on side.
Through the LK4 jumper may be connected or not the 20
Ohm termination resistor.
Ethernet port (Fi . 1)
The module is provided of an Ethernet 0/ 00-Base T(x)
available on the RJ45 connector P6; the connection, shown in Fig.
, is compatible with the standard Ethernet IEEE 802.3 00-Base T.
To connect the device in an Ethernet network can be used UTP
Cat. 5 cable RJ45, connected to a switch, while to made a point to
point connection it’s enough to use an RJ45 patch cable alone. The
device is Auto-MDIX, so no cross cable is needed to connect it to a
PC directly.
On P6 are available two LED for Ethernet status signaling:
The green LED signals, when on, that the network is running at
00Mb/s speed.
The yellow LED signals the Ethernet link activity.
The module is supplied with DHCP enabled and, in case of
lack of a DHCP server, the IP address can be assigned with the
Toolly utility.
WARNING! The module is supplied with Admin user
credentials: User “Admin” e password “Admin”.
It is stron ly recommended to chan e them before
installation.
USB Host/Device port (Fi . 2)
The module may be equipped of a microUSB-AB port able to
be used as host or device mode.
Slot SD Card (Fi . 6)
The module is provided of a slot mini-SD Card. The card may
be used for archive functions or for data history functions during
normal running. The card must be ordered separately.
Status si nalin (Fi . 6)
The device is provided of some LEDs to signal its status:
·PWR (Green LED)
Indicates that device is powered
·RUN (Yellow LED)
Regularly blinking indicates that the system is running,
·RDY (Green LED)
When light indicates that the system is ready and it
manages the I/O modules according to the user program.
When it's off it resets the output status on extension
modules eventually connected to the system.
·DO0x (Red LEDs)
When light indicate that the corresponding digital output is
activated.
I2CTM is a trade mark of NXP Semiconductors
Colle amento Half-Duplex (solo RS485)
•La distanza massima tra il primo e l’ultimo dei
dispositivi non deve superare i 1200 mt (RS485)
•La resistenza di terminazione deve essere sempre
inserita sul primo e sull’ultimo dei dispositivi.
•Il cavo deve essere schermato e twistato.
Half-Duplex connection (RS485 only)
•The maximum distance between the first and the last
device does not exceed 4000 feet (RS485).
•The termination resistor must be always connected on
the first and on the last device.
•The cable must be shielded and twisted paired.
Note tecniche per connessione CAN
Le specifiche del Bus CAN sono regolate dalla norma ISO
898. La velocità max di trasmissione è pari ad Mbit/s riferita ad
un cavo di lunghezza max. 40mt. Nella tabella sotto sono riportate
le velocità max in funzione della lunghezza del cavo.
Technical notes for CAN connection
The technical specification for CAN bus are given by the ISO
898 Standard. The maximum bus speed is Mbit/s for a cable
length of 30ft. In the table below are listed the allowed speed
function of cable length.
Massima velocità in funzione della lun hezza bus (CAN)
Max speed function of bus len th (CAN)
Lun hezza del bus
Bus Len th
Velocità trasmissione
Transmission speed
Lun hezza del bus
Bus Len th
Velocità trasmissione
Transmission speed
00 meters (330 ft) 500 kbit/s 500 meters ( 600 ft) 25 kbit/s
200 meters (650 ft) 250 kbit/s 6 kilometers (20000 ft) 0 kbit/s
Schema di connessione
Drawing connection
Colle amento Bus di campo
Field bus connection
!
!
!
!
!
!
!
!
!
LK4
P2
LK4
P2
LK4
P2
3 3
Togliere
Remove
!
!
!
Other Elsist Control Unit manuals
Popular Control Unit manuals by other brands
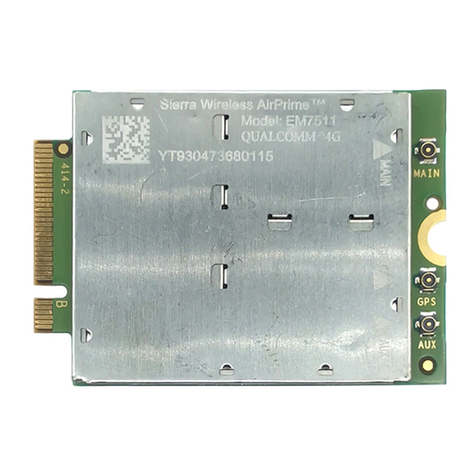
Sierra Wireless
Sierra Wireless AirPrime EM7511 Hardware integration guide
DH Instruments
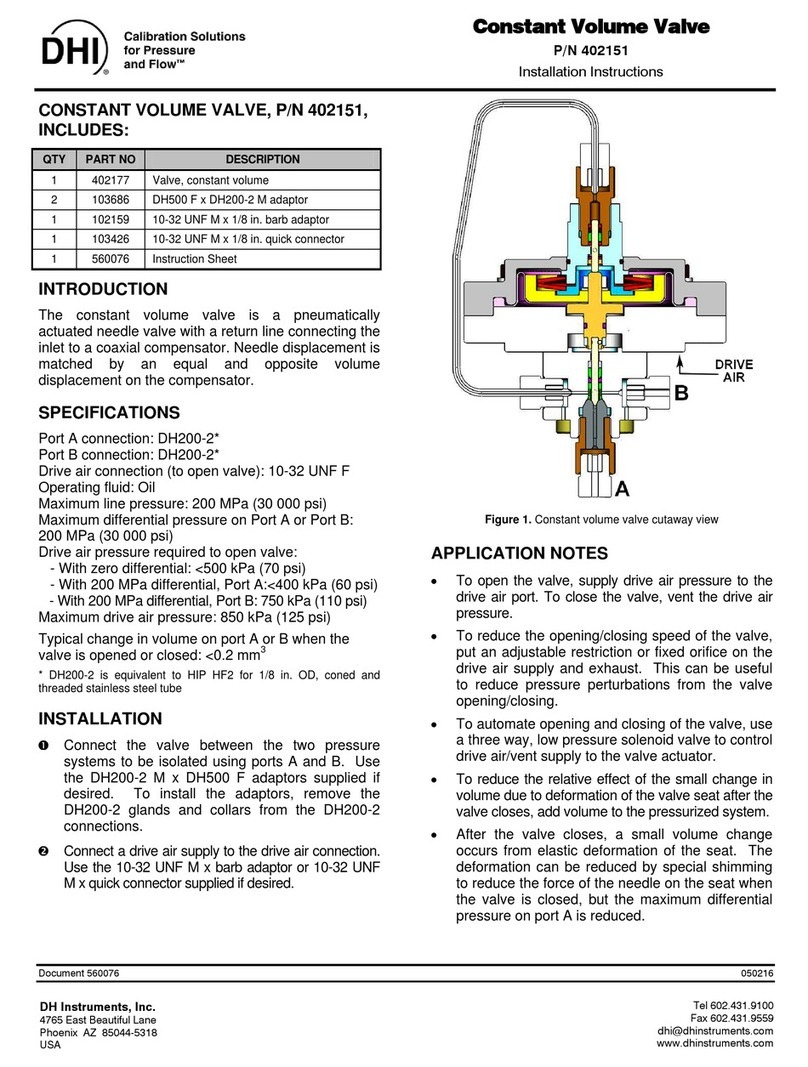
DH Instruments CONSTANT VOLUME VALVE installation instructions

Beninca
Beninca CELL.P manual
Texas Instruments
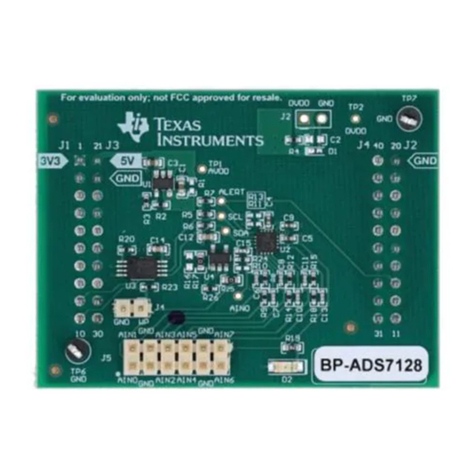
Texas Instruments BoosterPack BP-ADS7128 user guide
Allen-Bradley
Allen-Bradley ControlNet 1786-RPFS installation instructions

Siemens
Siemens 3VL92 Series operating instructions
