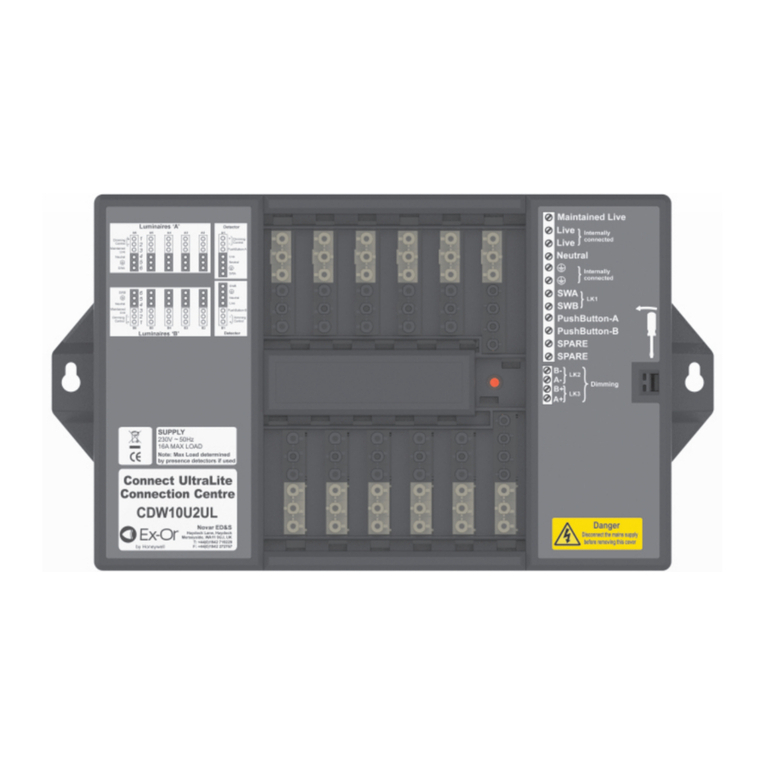
The unit must always be grounded to earth. Earth connection will have to be done using either
the screw or the faston terminal located near the power supply terminal block. Also connect
to ground the terminal 3 on the power supply terminal block.
Das Gerät muss immer geerdet werden. Erdungsanschluss muss getan werden, entweder
mit der Schraube oder die faston Terminal in der Nähe der Stromversorgung Klemmenblock .
Schließen Sie auch das Terminal 3 an der Stromversorgung Klemmenblock zu erden.
L’appareil doit toujours être mis à la terre. Prise de terre devra être fait en utilisant soit la vis ou
la borne faston situé à proximité du bornier d’alimentation. Connectez également à la terre la
borne 3 sur le bornier d’alimentation.
La unidad debe estar siempre conectado a tierra. Toma de tierra tendrá que ser hecho utilizando
el tornillo o el terminal faston ubicada cerca del bloque de terminales de alimentación. También
conecte a tierra el terminal 3 en el bloque de terminales de alimentación.
L’unità deve essere sempre collegata a terra. Il collegamento a terra dovrà essere effettuato
utilizzando la vite o il terminale faston situato vicino al blocco terminale di alimentazione.
Collegare a terra anche il terminale 3 sul morsetto di alimentazione.
!Ensure that the power supply has enough power capacity for the operation
of the equipment.
Stellen Sie sicher, dass die Spannungsversorgung genügend Leistungskapazität
für den Betrieb des Gerätes aufweist.
Assurez vous que votre alimentation possède sufsament de puissance pour
le pupitre.
Asegúrese que la fuente de alimentación tiene suciente capacidad para operar
con el equipo.
Vericare che l’alimentatore sia in grado di erogare la potenza necessaria per il
corretto funzionamento dell’apparecchiatura.
6DISPOSE OF BATTERIES/ BATTERIE-ENTSORGUNG/ ÉLIMINATION DES
PILES/ ELIMINACIÓN DE LA BATERÍA/ SMALTIMENTO DELLA BATTERIA
!Dispose of batteries according to local regulations.
Akkus müssen ordnungsgemäß entsorgt werden.
Les batteries doivent être jetées conformément à la réglementation locale.
Deshágase de las baterías conforme a las normativas locales
Smaltire le batterie rispettando le normative locali.
!This device cannot be disposed of as a domestic waste but according
to WEEE European Directive 2012/19/EU
Dieses Gerät darf nicht als Hausmüll entsorgt werden, sondern gemäß
der WEEE-Richtlinie 2012/19/EU
Cet appareil ne peut pas être éliminé en tant que déchet domestique,
mais conformément à la directive européenne DEEE 2012/19/UE
Este dispositivo no se puede tirar como un desecho doméstico, pero
de acuerdo con la Directiva Europea RAEE 2012/19/UE
Questo dispositivo non può essere smaltito come riuto domestico in
accordo alla Direttiva Europea RAEE 2012/19/UE
The products have been designed for use in an industrial environment in compliance with
the 2014/30/EU directive / Diese Produkte wurden für die industrielle Nutzung hergestellt. Ihr
Betrieb erfüllt die folgenden Bestimmungen 2014/30/EU / Ces pupitres ont été conçus pour
utilisation dans un environnement industriel. Ils répondent aux normas 2014/30/UE / Estos
productos están diseñados para su instalación en ambientes industriales cumpliendo con
las norma 2014/30/UE / I prodotti sono stati progettati per l’impiego in ambiente industriale
in conformità alla direttiva 2014/30/UE
The products have been designed in compliance with:
Die Produkte wurden konform den geltenden Normen und Standards erstellt:
Les produits ont ete designes en conformite’ aux normes:
El producto ha sido diseñado en conformidad con:
I prodotti sono stati progettati in conformità alle norme:
EN 61000-6-4 EN 55011 Class A
EN 61000-6-3 EN 55022 Class B
EN 61000-6-2 EN 61000-4-2
EN 61000-6-1 EN 61000-4-3
EN 61000-4-4
EN 61000-4-5
EN 61000-4-6
EN 61000-4-8
Software available in this product is based on OpenSource. Visitoss.exorint.netfor more
details.
Die in diesem Produkt verfügbare Software basiert auf OpenSource. Besuchen Sie oss.
exorint.net für weitere Details.
Le logiciel disponible dans ce produit est basé sur OpenSource. Visitez oss.exorint.net
pour plus de détails.
El software disponible en este producto se basa en OpenSource. Visite oss.exorint.net
para más detalles.
Il software disponibile in questo prodotto si basa su OpenSource. Visita oss.exorint.net
per maggiori dettagli. Reproduction of the contents of this copyrighted document, in whole or part, without
written permission of Exor International S.p.A., is prohibited.
Dieses Dokument ist urheberrechtlich geschützt. Das vervielfältigen in Auszügen oder
im Ganzen darf nicht ohne die schriftliche Zustimmung von Exor International S. p. A.
vorgenommen werden.
Il est interdit de reproduire ou transmettre tout ou partie de ce manuel, a quelques ns que
ce soit, sans l’autorisation expresse de Exor International S.p.A.
Se prohibe la reproducción de cualquier parte de éste manual sin el permiso escrito de
Exor International S.p.A.
Nessuna parte di questo manuale puo’ essere riprodotta senza il preventivo permesso
scritto di Exor International S.p.A.
User Manual available on/ Benutzerhandbuch verfügbar auf/ Manuel de l’utilisateur disponible sur/
Manual de usuario disponible/ Manuale utente disponibile su:
www.exorint.com
MANESMA107BU001 V.1.02 06.05.2021
©2014-2021 Exor International S.p.A
Exor International S.p.A. - San Giovanni Lupatoto VR, Italy
www.exorint.com


