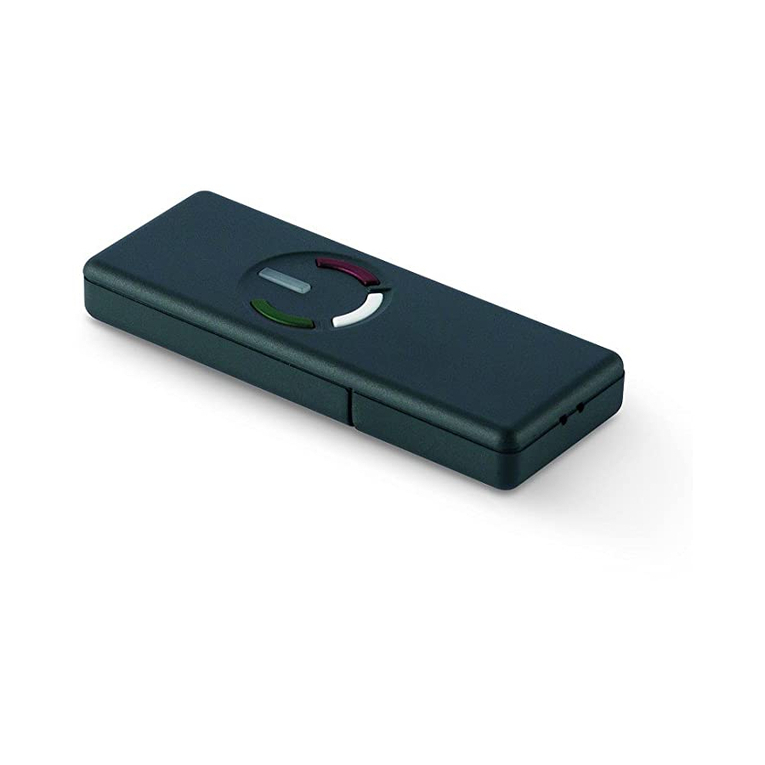
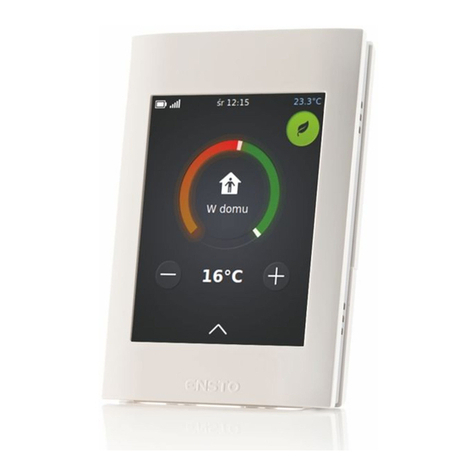
elsner elektronik Solexa II Instruction Manual

Solexa II
Rad io control system
Operation
Item numbers 10144 (Display), 10150 (Set)
Technical support: +49 (0) 70 33 / 30 945-250
Elsner Elektronik GmbH Control and Automation Engineering
Sohlengrund 16
Germany Fax +49 (0) 70 33 / 30 945-20 www.elsner-elektronik.de
EN

2
Solexa II Control • from software version weather station 1.3, display 2.1 • Version: 11.05.2017
Technical changes and errors excepted.
This document describes how to operate the device during normal
operation.
The complete manual can be found in www.elsner-elektronik.de in the
"Service/Downloads" menu area.
This manual is subject to change and will be brought into line with new software releases.
The change status (software release and date) can be found in the footnote.
If you have a device with a later software release, please check on www.elsner-elek-
tronik.de in the "Service" menu area whether a more up-to-date version of this document
is available.
Key to the symbols
Installation, testing, operational start-up and troubleshooting of the unit
should only be performed by an electrician (accredited according to VDE
0100).
Safety information.
Safety information for working on electrical connections, compo-
nents, etc.
DANGER! ... indicates an immediately hazardous situation which will lead to
death or severe injuries if it is not avoided.
WARNING! ... indicates a potentially hazardous situation which may lead to
death or severe injuries if it is not avoided.
BEWARE! ... indicates a potentially hazardous situation which may lead to
trivial or minor injuries if it is not avoided.
ATTENTION! ... indicates a situation which may lead to damage to property if it is
not avoided.

3 Contents
Solexa II Control • from software version weather station 1.3, display 2.1 • Version: 11.05.2017
Technical changes and errors excepted.
1. Operating the display ........................................................................... 5
1.1. Charging the battery ............................................................................ 5
1.2. Maintenance and care .......................................................................... 5
1.3. Display and operating options on the start screen .............................. 6
1 – Mode ......................................................................................................... 6
2 – Battery charging status ............................................................................ 6
3 – Time, day of the week .............................................................................. 7
4 – Settings menus ........................................................................................ 7
5 – Room temperature and weather data .................................................... 7
6 – Time reception (weather station) ............................................................ 7
7 – Active output functions ........................................................................... 7
8 – Rocker switch for manual operation ...................................................... 8
1.3.1. Meaning of the functional symbols (automatic mode status) .................. 8
Shading (shutters, awnings, blinds) ............................................................. 8
Window ........................................................................................................... 9
Light .............................................................................................................. 10
Heating .......................................................................................................... 10
Roof gutter heating ...................................................................................... 10
1.4. Beeps .................................................................................................. 11
1.5. Error messages .................................................................................. 11
1.6. Table: Memory locations for the outputs and inputs ......................... 11
2. Operating the weather station ........................................................... 13
2.0.1. Maintenance of the weather station .......................................................... 13

4 Contents
Solexa II Control • from software version weather station 1.3, display 2.1 • Version: 11.05.2017
Technical changes and errors excepted.

5 Operating the display
Solexa II Control • from software version weather station 1.3, display 2.1 • Version: 11.05.2017
Technical changes and errors excepted.
1. Operating the display
1.1. Charging the battery
The display has a fixed, integrated battery that cannot be removed. The "Battery" sym-
bol displays the battery charging status:
Charging status very good, device is ready for use.
Charging status good, device is ready for use.
Charging status low, charge the battery.
+ Beep every 15 minutes. Charging status very low, charge the battery.
Both SOC bars flashing. Battery faulty. Consult technical service of the man-
ufacturer.
Charge the display before initial start-up. To charge, connect the display via a USB
socket with a mains socket charging device or a PC. The charging device must have a
charging current of 200 mA (or more).
If the device is not charged in time, the display switches off. If a weather station is being
used in the system, then the automation is not affected. The automation continues to
run without the indoor temperature function.
1.2. Maintenance and care
Fingerprints on the display and the housing are best removed with a cloth moistened
with water or a microfibre cloth. Do not use an abrasive cleaning agent or aggressive
cleansing agents.
Dispose of the used battery correctly – empty batteries should
not be thrown away in household refuse.
Ill. 1
The USB charging socket is at the lower
edge of the display.

6 Operating the display
Solexa II Control • from software version weather station 1.3, display 2.1 • Version: 11.05.2017
Technical changes and errors excepted.
1.3. Display and operating options on the start
screen
The display has various areas in which information and functions can be called up.
Loading data.
1 – Mode
The actual mode of the selected output is displayed.
Tap in the area of the symbol to change mode (Automatic/Manual).
Press in the area of the (Automatic/Manual) symbol to set all outputs to automatic si-
multaneously (press until the high beep "button held down" sounds).
Automatic mode. Automatic functions for the selected output are active.
Manual mode. Output was operated manually or switched to manual mode.
After an output has been operated manually, it remains in manual mode. Auto-
matic mode is inactive. Set an automatic mode reset so that the output switches back
to automatic, once a day or after a certain time after being operated manually (see Gen-
eral settings chapter: Automatic reset in the manual and automatic reset in the individ-
ual automatic descriptions in the manual).
2 – Battery charging status
Observe the chapterCharging the battery, page 5.
9Selected output
5Temperature/
weather
8Rocker switch:
Change output and
operate manually
Outputs 9
(Type, display
position)
4To the
Settings
Charging status
Battery 23Time
Mode 1
Weekday 3
7Functions selected
output
6Time-reception

7 Operating the display
Solexa II Control • from software version weather station 1.3, display 2.1 • Version: 11.05.2017
Technical changes and errors excepted.
3 – Time, day of the week
The time can be displayed in 12- or 24-hour mode. Further information on setting the
clock can be found in the Setting the time chapter in the manual.
4 – Settings menus
Tap to access the automatic settings or
hold down for 3 seconds to access the default settings.
The automatic settings are described in the Automatic chapter in the manual.
The default settings are described in the Default setting chapter in the manual.
5 – Room temperature and weather data
In this area, the indoor temperature value is displayed and, if a weather station is being
used, the outdoor/weather data also. In this case, tap on the area with the values to
switch between the "Temperature" display and the "Brightness/Wind" display.
Temperature display:
• Current outdoor temperature
(only if a weather station is being used)
• Current indoor temperature
Brightness/wind display
(only if a weather station is being used):
• Current brightness (light intensity)
• Current wind speed
Further information on the values for brightness and wind is in the manual, chapter
Units for sun and wind, page 178.
6 – Time reception (weather station)
If the radio symbol is displayed in the start screen, the controller has, within the last 5
minutes, received the actual time from the GPS receiver integrated into the weather
station.
If no radio symbol is displayed, then the time has not been received for over 5 minutes.
The controller's internal clock continues to run.
7 – Active output functions
The right-hand edge of the display indicates the selected output functions, i.e. auto-
matic mode status. There is a more precise description in the Meaning of the functional
symbols (automatic mode status), page 8 chapter.

8 Operating the display
Solexa II Control • from software version weather station 1.3, display 2.1 • Version: 11.05.2017
Technical changes and errors excepted.
8 – Rocker switch for manual operation
9 – Outputs
You use the rocker switch to drive or switch the individual outputs manually. The out-
puts are visible at the lower edge of the display with the display position number and
type symbol. The selected output is marked by a frame around the display position
number.
Please note that at this position only outputs are displayed for which the display has
been activated (see manual, Display position chapter in the descriptions of the default
settings for Motor control units (RF-MSG, weather station), for Relay (RF-Relay, RF-HE)
and for Dimmer (RF-L).
Change output.
Operate or switch selected output manually.
Selected output is blocked for manual operation (alarm function active).
1.3.1. Meaning of the functional symbols (automatic mode
status)
The symbols show the automatic mode status for the selected output and the alarm
functions valid for the manual mode. A function is only displayed if it has been activat-
ed for the output.
Shading (shutters, awnings, blinds)
Please note that for an action such as "extend shading" a number of conditions must
be fulfilled. The functions are listed here in the sequence of their priority. This means
that the sun protection function is only executed if all previously named functions for
the shading have been released.
The detailed description of the automatic functions is in the Shading - automatic mode
chapter in the manual.
Alarm functions:
Alarm functions have the highest priority and prevent manual operation of the output.
Wind alarm. Retracted shading.
In automatic mode, manual operation can again be activated, even if the auto-
matic functions are blocked by wind alarm.
Frost alarm (combination of precipitation and low outdoor temperature).
Retracted shading.
Rain alarm.
Retracted shading.
+

9 Operating the display
Solexa II Control • from software version weather station 1.3, display 2.1 • Version: 11.05.2017
Technical changes and errors excepted.
Time and night functions:
Timed closure or timed opening active.
Dropping below the threshold value for twilight/night.
Night closure is executed.
Indoor and outdoor temperature:
Indoor temperature is OK. Shading is released.
If the not symbol is displayed, the indoor temperature block is active.
Outdoor temperature is OK. Shading is released.
If the not symbol is displayed, the outdoor temperature block is active.
Retraction delay is running. Shading is blocked because indoor temperature is
too low.
Sun direction:
The sun is in the shading zone (compass direction). Shading is released.
Sun protection function:
Brightness threshold value for shading has been exceeded, extension delay is
running. After the delay time has expired the shading is extended, if all other
conditions are OK.
Brightness threshold value for shading has been exceeded.
Shading is performed if all other conditions are OK.
Brightness below threshold value for shading, retraction delay is running.
Shading is retracted after the delay time has expired.
Brightness below threshold value for shading.
Sun protection automatic inactive.
Window
Please note that for an action such as "Ventilate according to indoor temperature" a
number of conditions must be fulfilled. The functions are listed here in the sequence
of their priority. This means that the temperature-dependent ventilation function is
only executed if all previously named functions for the ventilation have been released.
The detailed description of the automatic functions can be found in the Windows-Ven-
tilation-Automatic mode chapter in the manual.
Alarm functions:
Alarm functions have the highest priority and prevent manual operation of the output.
Wind alarm. Window closed.
Manual mode: Manual operation blocked. Automatic mode: Output can be oper-
ated if the wind automatic block is running.

10 Operating the display
Solexa II Control • from software version weather station 1.3, display 2.1 • Version: 11.05.2017
Technical changes and errors excepted.
Frost alarm (combination of precipitation and low outdoor temperature).
Window closed.
Rain alarm.
Depending on the setting, the window is either closed or in the rain position.
Timer functions:
Timed closure or timed opening active.
Outdoor temperature:
Outdoor temperature is OK. Ventilation is released.
If the not symbol is displayed, the outdoor temperature block is active.
Ventilation function:
Indoor temperature for ventilation has been exceeded.
Ventilation is performed if all other conditions are OK.
Light
The detailed description of the automatic functions is in the Light - Automatic mode
chapter in the manual.
Values below twilight threshold value. Lights are switched on after a delay of
1 minute. If a lighting time period has also been set, the lights are only switched
on during this period.
Lighting time period active. If twilight switching has also been set, the lights are
only switched on in twilight.
Heating
The detailed description of the automatic functions is in the Heating - Automatic mode
chapter in the manual.
Day mode. Only the day temperature value set is valid.
Night mode (night period). Only the night temperature value set is valid.
Currently valid reference temperature value not reached. Heating is turned on.
Roof gutter heating
The detailed description of the automatic functions can be found in the Roof gutter
heating - Automatic mode chapter in the manual.

11 Operating the display
Solexa II Control • from software version weather station 1.3, display 2.1 • Version: 11.05.2017
Technical changes and errors excepted.
Outdoor temperature in the set range. Heating is turned on.
1.4. Beeps
If a button or a touch sensitive area is actuated, a beep sounds. If a button has been
held down, then a higher beep sounds as confirmation that the button has been recog-
nised as held down. This is, for example, valid for the settings button in order to access
the default settings or the SET button to save.
Shortly before the display battery is flat, a warning signal sounds every 15 minutes
(combination of high and low beeps).
1.5. Error messages
If, instead of a sensor value, ER error is displayed then the wireless connection
to the weather station is disrupted or the sensor is defective.
Check whether the weather station is powered (fuse). Have the device checked by an
electrician if the problem continues.
Installation, testing, operational start-up and troubleshooting of the unit
should only be performed by an electrician (accredited according to
VDE 0100).
1.6. Table: Memory locations for the outputs and
inputs
In the table you can enter the devices that have been taught and the functions for the
individual memory location and note keywords for automatic mode set.
Memory
location
Type Display
position
Room Keyword

12 Operating the display
Solexa II Control • from software version weather station 1.3, display 2.1 • Version: 11.05.2017
Technical changes and errors excepted.
Memory
location
Type Display
position
Room Keyword

13 Operating the weather station
Solexa II Control • from software version weather station 1.3, display 2.1 • Version: 11.05.2017
Technical changes and errors excepted.
2. Operating the weather station
2.0.1. Maintenance of the weather station
WARNING!
Risk of injury caused by components moved automatically!
The automatic control can start system components and place people in
danger (e.g. moving windows/awnings if a rain/wind alarm has been
triggered while cleaning).
• Always isolate the device from the mains for servicing and cleaning.
The device must regularly be checked for dirt twice a year and cleaned if necessary. In
case of severe dirt, the sensor may not work properly anymore.
ATTENTION
The device can be damaged if water penetrates the housing.
• Do not clean with high pressure cleaners or steam jets.
This manual suits for next models
2
Table of contents
Other elsner elektronik Remote Control manuals
elsner elektronik
elsner elektronik RF-MSG User manual
elsner elektronik
elsner elektronik Remo KNX RF User manual
elsner elektronik
elsner elektronik Remo KNX Guide

elsner elektronik
elsner elektronik Remo 8 User manual
elsner elektronik
elsner elektronik Arexa User manual

elsner elektronik
elsner elektronik Remo 8 User manual
