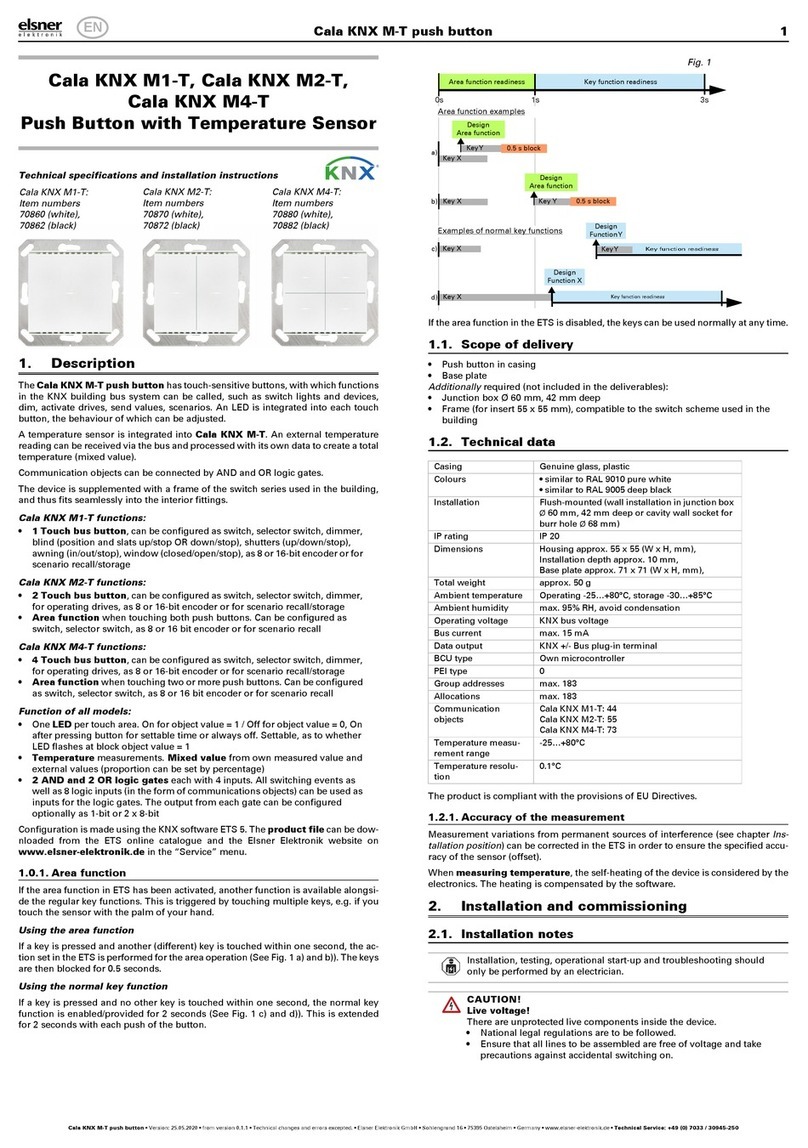
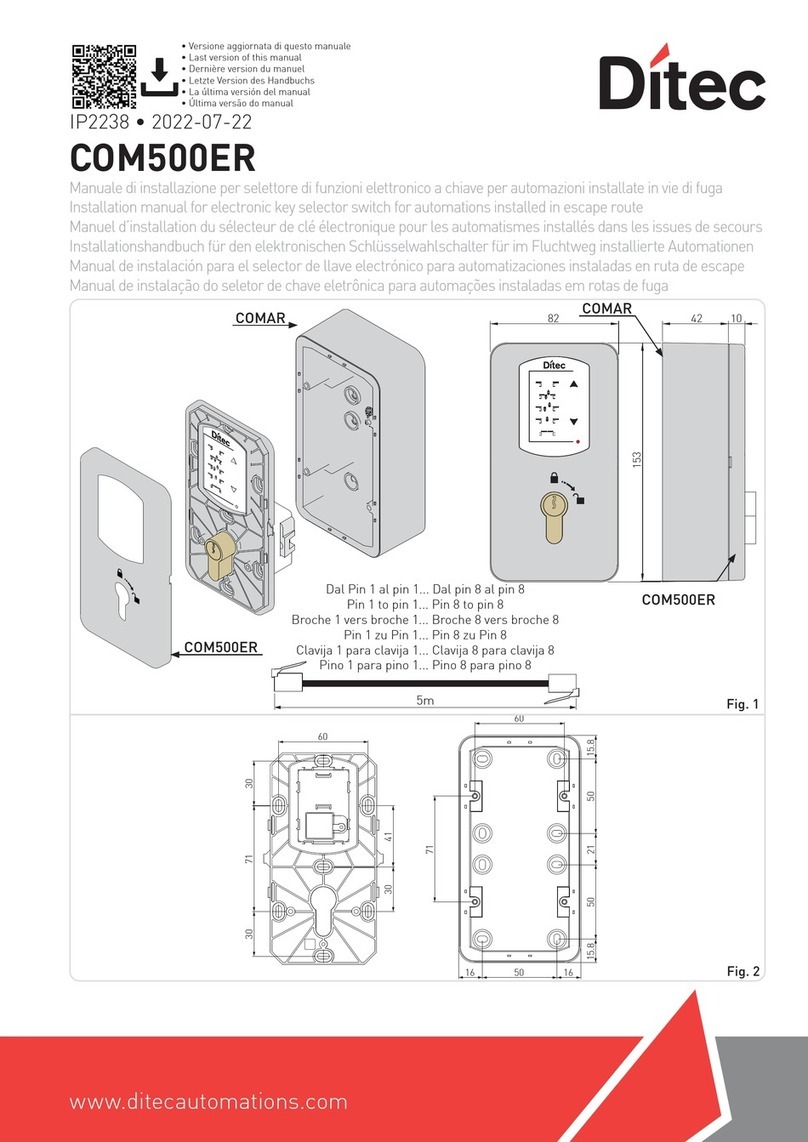
Elsner KNX eTR M1 User manual

KNX eTR M push button 1
KNX eTR M push button • Version: 26.10.2020 • Technical changes and errors excepted. • Elsner Elektronik GmbH • Sohlengrund 16 • 75395 Ostelsheim • Germany • www.elsner-elektronik.de • Technical Service: +49 (0) 7033 / 30945-250
EN
KNX eTR M1, KNX eTR M2,
KNX eTR M4
Push Button with Temperature Sensor
Technical specifications and installation instructions
1. Description
The KNX eTR M push button has touch-sensitive buttons, with which functions
in the KNX building bus system can be called, such as switch lights and devices,
dim, activate drives, send values, scenarios. A white LED is integrated into each
touch button, the behaviour of which can be adjusted.
A temperature sensor is integrated into KNX eTR M. An external temperature rea-
ding can be received via the bus and processed with its own data to create a total
temperature (mixed value).
Communication objects can be connected by AND and OR logic gates.
KNX eTR M1 functions:
•1Touch bus button, can be configured as switch, selector switch, dimmer,
blind (position and slats up/stop OR down/stop), shutters (up/down/stop),
awning (in/out/stop), window (closed/open/stop), as 8 or 16-bit encoder or for
scenario recall/storage
KNX eTR M2 functions:
•2 Touch bus button, can be configured as switch, selector switch, dimmer,
for operating drives, as 8 or 16-bit encoder or for scenario recall/storage
•Area function when touching both push buttons. Can be configured as
switch, selector switch, as 8 or 16 bit encoder or for scenario recall
KNX eTR M4 functions:
•4 Touch bus button, can be configured as switch, selector switch, dimmer,
for operating drives, as 8 or 16-bit encoder or for scenario recall/storage
•Area function when touching two or more push buttons. Can be configured
as switch, selector switch, as 8 or 16 bit encoder or for scenario recall
Function of all models:
•OneLED per touch area. On for object value = 1 / Off for object value = 0, On
after pressing button for settable time or always off. Settable, as to whether
LED flashes at block object value = 1
•Temperature measurements. Mixed value from own measured value and
external values (proportion can be set by percentage)
•2 AND and 2 OR logic gates each with 4 inputs. 8 logic inputs (in the form
of communications objects) can be used as inputs for the logic gates. The
output from each gate can be configured optionally as 1-bit or 2 x 8-bit
Configuration is made using the KNX software ETS 5. The product file can be dow-
nloaded from the ETS online catalogue and the Elsner Elektronik website on
www.elsner-elektronik.de in the “Service” menu.
1.0.1. Area function
If the area function in ETS has been activated, another function is available alongsi-
de the regular key functions. This is triggered by touching multiple keys, e.g. if you
touch the sensor with the palm of your hand.
Using the area function
If a key is pressed and another (different) key is touched within 0.2 seconds, the ac-
tion set in the ETS is performed for the area operation (See Fig. 1 a) and b)). The keys
are then blocked for 0.5 seconds.
Using the normal key function
If a key is pressed and no other key is touched within 0.2 seconds, the normal key
function is enabled/provided for 5 seconds (See Fig. 1 c) and d)). This is extended
for 5 seconds with each push of the button.
If the area function in the ETS is disabled, the keys can be used normally at any time.
1.0.2. Scope of delivery
• Push button with mounting
• 4 screw anchors 4 × 20 mm, 4 flat head screws 3 × 25 mm
1.1. Technical data
The product is compliant with the provisions of EU Directives.
1.1.1. Accuracy of the measurement
Measurement variations from permanent sources of interference (see chapter Ins-
tallation position) can be corrected in the ETS in order to ensure the specified accu-
racy of the sensor (offset).
When measuring temperature, the self-heating of the device is considered by the
electronics. The heating is compensated by the software.
2. Installation and commissioning
2.1. Installation notes
Installation, testing, operational start-up and troubleshooting should
only be performed by an electrician.
CAUTION!
Live voltage!
There are unprotected live components inside the device.
• National legal regulations are to be followed.
• Ensure that all lines to be assembled are free of voltage and take
precautions against accidental switching on.
• Do not use the device if it is damaged.
• Take the device or system out of service and secure it against
unintentional use, if it can be assumed, that risk-free operation is
no longer guaranteed.
The device is only to be used for the intended purpose described in this manual. Any
improper modification or failure to follow the operating instructions voids any and
all warranty and guarantee claims.
After unpacking the device, check it immediately for possible mechanical damage.
If it has been damaged in transport, inform the supplier immediately.
KNX eTR M1:
Item numbers
71110 (white),
71112 (black)
KNX eTR M2
Item numbers
71120 (white),
71122 (black)
KNX eTR M4
Item numbers
71130 (white),
71132 (black)
Casing Genuine glass, plastic
Colours • similar to RAL 9003 signal white
• similar to RAL 9005 deep black
Installation on-wall (directly or with a socket Ø60 mm,
resp. cavity wall socket for hole Ø68 mm)
Degree of protection IP 10
Dimensions housing approx. 81,5 x 81,5 (W x H, mm),
mounting depth approx. 12 mm
Total weight approx. 70 g
Ambient temperature Operating 0…+55°C, storage -30…+85°C
Ambient humidity 5...95% RH, avoid condensation
Operating voltage KNX bus voltage
Bus current max. 10 mA
Data output KNX +/- Bus plug-in terminal
Group addresses max. 183
Allocations max. 183
Communication
objects
KNX eTR M1: 44
KNX eTR M2: 55
KNX eTR M4: 73
Temperature measu-
rement range
0…+55°C
Temperature resolu-
tion
0.1°C
Key function readiness
Key function readiness
Fig. 1
0s 0.2s 5.2s
Key Y
Key X
Key X
Design
FunctionY
Key function readiness
Area function
Examples of normal key functions
0.5 s block
Key X
Design
Area function
KeyY
Design
Function X
a)
b)
c)
d)
Key X
KeyY 0.5 s block
Design
Area function
Area function examples
readiness

KNX eTR M push button 2
KNX eTR M push button • Version: 26.10.2020 • Technical changes and errors excepted. • Elsner Elektronik GmbH • Sohlengrund 16 • 75395 Ostelsheim • Germany • www.elsner-elektronik.de • Technical Service: +49 (0) 7033 / 30945-250
The device may only be used as a fixed-site installation; that means only when as-
sembled and after conclusion of all installation and operational start-up tasks and
only in the surroundings designated for it.
Elsner Elektronik is not liable for any changes in norms and standards which may
occur after publication of these operating instructions.
2.2. Installation location
The KNX eTR M push button is made for wall mounting. The device can be moun-
ted directly on plaster or on a socket (Ø 60 mm).
May be installed and operated in dry interior rooms only.
Avoid condensation.
When selecting an installation location, please ensure that the measurement results
are affected as little as possible by external influences. Possible sources of interfe-
rence include:
• Direct sunlight
• Drafts from windows and doors
• Draft from ducts which lead from other rooms or from the outside to the
junction box in which the sensor is mounted
• Warming or cooling of the building structure on which the sensor is mounted,
e.g. due to sunlight, heating or cold water pipes
• Connection lines and ducts which lead from warmer or colder areas to the
sensor
Measurement variations from permanent sources of interference can be corrected
in the ETS in order to ensure the specified accuracy of the sensor (offset).
2.3. Device structure
2.3.1. Casing
2.4. Mounting
Prepare the device
Remove the front panel from the mounting. Release the lock by moving the front pa-
nel a few millimetres upwards. The two parts can then be easily separated (Fig. 4).
Screw the mounting onto the wall or socket. The connecting wires (bus line +/-) are
led through the opening in the mounting.
Installation directly on the wall
The wires are pushed into the connection openings.
Installation on a socket
To avoid falsifying the temperature value, use a wind-proof socket and also seal the
inlet pipes against draughts.
Finish mounting
Snap the front panel into place on the mounting (see Fig. 4): Place it slightly above
the centre position, hook it in and slide it downwards.
The mounting must be installed so that the large opening faces downwards (see Fig.
4). This is necessary for a correct temperature measurement and for KNX eTR M2
and KNX eTR M4 also for button allocation.
2.5. Notes on mounting and commissioning
Never expose the device to water (e.g. rain) or dust. This can damage the electro-
nics. You must not exceed a relative humidity of 95%. Avoid condensation.
After the bus voltage has been applied, the device will enter an initialisation phase
lasting a few seconds. During this phase no information can be received or sent via
the bus.
3. Addressing the device
The device is delivered ex works with the bus address 15.15.255. You program a dif-
ferent address in the ETS by overwriting the address 15.15.255 or teach the device
using the programming button.
The programming button is located at the bottom outer side of the front panel of the
device and is recessed. Use a thin object to reach the button, e. g. a 1.5 mm² wire.
When the button is pressed, the LEDs on the front flash.
4. Maintenance and care
Fingerprints on the glass panel are best removed with a cloth moistened with water
or a microfiber cloth. Do not use an abrasive cleaning agent or aggressive cleansing
agents.
5. Disposal
After use, the device must be disposed of or recycled in accordance with the legal
regulations. Do not dispose of it with the household waste!
Fig. 2: Front view
1 Touch areas with LEDs
1
1
1
1
11
2
3
4
Fig. 3
Back view with mounting
2/3Screw holes for different sockets. Fas-
tening with 2 screws is sufficient. For
wall mounting, use a fixing material
suitable for the ground!
4 KNX bus terminal +/- for connection
when mounted on a socket
5 Spring-loaded terminals KNX bus for
mounting directly on the wall
2
22
33
3
5
Fig. 4
Back view without mounting
4 KNX bus terminal +/- for connection
when mounted on a socket
5 Spring-loaded terminals KNX bus for
mounting directly on the wall
6 Programming LED
7 Programming button (recessed) for
teaching device
8 Temperature sensor
PRG key is accessible from below/outside
when the device is mounted (see chapter
Addressing the device).
4 576 8
Fig. 5 Locking of front panel and mounting
Remove the red-black KNX bus terminal, it
is not required.
Connect the bus +/- connecting wires to the
spring-loaded terminals on the front panel.
Fig. 6 Spring-loaded terminals
To pull it out, press the spring down, e.g.
with a screwdriver.
If there is a cavity behind the device, e.g.
when using a socket, you can use the red/
black KNX bus terminal for connection.
PRG
Fig. 7
View from bottom
Temperature sensor
This manual suits for next models
8
Other Elsner Switch manuals
