Elsner Suntracer KNX-GPS Guide

Item number 3093
EN
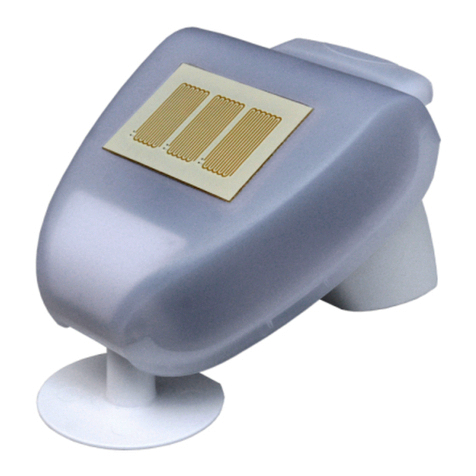
Suntracer KNX-GPS
Weather Station
Installation and Adjustment


1 Contents
Elsner Elektronik GmbH • Sohlengrund 16 • D-75395 Ostelsheim • Germany
Weather Station Suntracer KNX-GPS • from software version 1.00, ETS programme version 1.0
Status: 05.06.2018 • Subject to technical changes. Errors excepted.
1. Description ........................................................................................... 5
1.1. Technical data ........................................................................................................... 5
2. Installation and commissioning ........................................................... 7
2.1. Installation notes ...................................................................................................... 7
2.1.1. Installation position ...................................................................................... 7
2.2. Mounting the weather station ................................................................................. 9
2.2.1. Attaching the mount ..................................................................................... 9
2.2.2. Rear view and drill sketch .......................................................................... 10
2.2.3. Weather station layout ............................................................................... 11
2.2.4. Connection of the weather station ............................................................ 12
2.2.5. Layout of the circuit board ......................................................................... 13
2.2.6. Mounting the weather station ................................................................... 13
2.3. Notes on mounting and commissioning .............................................................. 14
3. Maintenance ....................................................................................... 15
4. Transmission protocol ....................................................................... 16
4.1. List of all communications objects ....................................................................... 16
5. Parameter setting .............................................................................. 25
5.1. Behaviour on power failure and restoration of power ........................................ 25
5.2. General settings ..................................................................................................... 25
5.3. GPS Settings ........................................................................................................... 26
5.4. Location ................................................................................................................... 27
5.5. Rain .......................................................................................................................... 28
5.6. Night ........................................................................................................................ 29
5.7. Temperature ........................................................................................................... 29
5.7.1. Temperature threshold value 1 / 2 / 3 / 4 .................................................. 30
5.8. Wind ........................................................................................................................ 31
5.8.1. Wind threshold value 1 / 2 / 3 .................................................................... 32
5.9. Brightness ............................................................................................................... 34
5.9.1. Brightness threshold value 1 / 2 / 3 / 4 ...................................................... 34
5.10.Twilight ................................................................................................................... 37
5.10.1. Twilight threshold value 1 / 2 / 3 ................................................................ 37
5.11.Shading ................................................................................................................... 39
5.11.1. Classifying the facades for the control unit .............................................. 39
5.12.Shade settings ........................................................................................................ 40
5.13.Facade settings ...................................................................................................... 41
5.13.1. Shadow edge tracking ................................................................................ 44
5.13.2. Slat tracking ................................................................................................. 45
5.13.3. Shadow edge tracking and slat tracking ................................................... 45
5.13.4. Orientation and inclination of the facade ................................................. 47
5.13.5. Slat types and determination of width and distance ............................... 47
5.13.6. Slat position with horizontal slats ............................................................. 48
5.13.7. Slat position with vertical slats .................................................................. 49
5.14.Facade actions ........................................................................................................ 51
5.15.Calendar time switch ............................................................................................. 54

2 Contents
Elsner Elektronik GmbH • Sohlengrund 16 • D-75395 Ostelsheim • Germany
Weather Station Suntracer KNX-GPS • from software version 1.00, ETS programme version 1.0
Status: 05.06.2018 • Subject to technical changes. Errors excepted.
5.15.1. Calendar clock Period 1 / 2 / 3 .................................................................... 54
5.15.2. Calendar clock period 1 / 2 / 3, Sequence 1 /2 .......................................... 54
5.16.Weekly time switch ................................................................................................ 55
5.16.1. Weekly clock Mo, Tu, We, Th, Fr, Sa, Su 1 … 4 ........................................ 55
5.16.2. Use of weekly clock .................................................................................... 55
5.17.Logic ........................................................................................................................ 56
5.17.1. AND Logic 1 / 2 / 3 / 4 / 5 / 6 / 7 / 8 .............................................................. 56
5.17.2. Use of the AND logic .................................................................................. 58
5.17.3. Connection inputs of the AND logic .......................................................... 58
5.17.4. OR Logic ...................................................................................................... 62
5.17.5. Connection inputs of the OR logic ............................................................. 62

3 Clarification of signs
This manual is amended periodically and will be brought into line with new software
releases. The change status (software version and date) can be found in the contents footer.
If you have a device with a later software version, please check
www.elsner-elektronik.de in the menu area "Service" to find out whether a more up-to-
date version of the manual is available.
Clarification of signs used in this manual
Installation, inspection, commissioning and troubleshooting of the device
must only be carried out by a competent electrician.
Safety advice.
Safety advice for working on electrical connections, components,
etc.
DANGER! ... indicates an immediately hazardous situation which will lead to
death or severe injuries if it is not avoided.
WARNING! ... indicates a potentially hazardous situation which may lead to
death or severe injuries if it is not avoided.
CAUTION! ... indicates a potentially hazardous situation which may lead to
trivial or minor injuries if it is not avoided.
ATTENTION! ... indicates a situation which may lead to damage to property if it is
not avoided.
ETS In the ETS tables, the parameter default settings are marked by
underlining.

4 Clarification of signs

5 Description
Weather Station Suntracer KNX-GPS • Status: 05.06.2018 • Errors excepted. Subject to technical changes.
1. Description
The Weather Station Suntracer KNX-GPS measures temperature, wind speed and
brightness. It recognises precipitation and receives the GPS signal for time and loca-
tion. In addition, using location coordinates and the time, it calculates the exact posi-
tion of the sun (azimuth and elevation).
All values can be used for the control of threshold value-dependent switching outputs.
States can be linked via AND logic gates and OR logic gates. The compact housing of
the Suntracer KNX-GPS accommodates the sensors, evaluation circuits and bus-
coupling electronics.
Functions:
•Brightness and position of the sun: The current light intensity is measured
by a sensor. In addition the Suntracer KNX-GPS calculates the position of the
sun (azimuth and elevation) using time and location
•Shade control for up to 6 facades with slat and shadow edge tracking
•Wind measurement: The wind strength measurement takes place
electronically and thus noiselessly and reliably, even during hail, snow and
sub-zero temperatures. Even turbulent air and anabatic winds in the vicinity of
the weather station are recorded
•Precipitation recognition: The sensor surface is heated, so that only drops
and flakes are recognised as precipitation, but not mist or dew. When the rain
or snow stops, the sensor is soon dry again and the precipitation warning ends
•Temperature measurement
•Weekly and calendar time switch: The weather station receives the time
and date from the integrated GPS receiver. The weekly time switch switches up
to 4 different periods per day. With the calendar time switch up to 3 additional
time periods can be defined, in which up to 2 On/Off switches take place. The
switching outputs can be used as communications objects. The switch times
are set via parameters.
•Threshold values can be adjusted per parameter or via communication
objects
•8 AND and 8 OR logic gates with 4 for each input. All switching events as
well as 16 logic inputs (in the form of communications objects) can be used as
inputs for the logic gates. The output of each gate can be optionally configured
as 1-bit or 2 x 8-bit
Configuration is made using the KNX software ETS. The product file can be down-
loaded from the Elsner Elektronik website on www.elsner-elektronik.de in the “Ser-
vice” menu.
1.1. Technical data
Housing Plastic
Colour White / Translucent
Mounting Surface-mounted
Protection rating IP 44

6 Description
Weather Station Suntracer KNX-GPS • Status: 05.06.2018 • Errors excepted. Subject to technical changes.
The product conforms with the provisions of EU directives.
Dimensions approx. 96 × 77 × 118 (W × H × D, mm)
Weight approx. 170 g
Ambient temperature Operation -30…+50°C, storage -30…+70°C
Auxiliary voltage 12…40 V DC, 12…28 V AC.
An appropriate power supply unit can be obtained from
Elsner Elektronik.
Auxiliary current max. 185 mA at 12 V DC,
max. 81 mA at 24 V DC,
Residual ripple 10%
Bus current max. 8 mA
Data output KNX +/- Bus connector terminal
BCU Type own microcontroller
PEI Type 0
Group addresses max. 254
Assignments max. 255
Communication objects 254
Heater rain sensor approx. 1,2 W
Measurement range tem-
perature
-30…+80°C
Resolution (temperature) 0,1°C
Accuracy (temperature) ±1°C at -10…+85°C,
±1,5°C at -25…+150°C
Measurement range wind 0…35 m/s
Resolution (wind) 0,1 m/s
Accuracy (wind) at ambient temperature -20…+50°C:
±22% of the measurement value when incident flow is
from 45…315°
±15% of the measurement value when incident flow is
from 90…270°
(Frontal incident flow corresponds to 180°)
Measurement range
brightness
0…150.000 Lux
Resolution (brightness) 1 Lux at 0…120 Lux
2 Lux at 121…1.046 Lux
63 Lux at 1.047…52.363 Lux
423 Lux at 52.364…150.000 Lux
Accuracy (brightness) ±20% at 0 lx … 10 klx
±15% at 10 klx … 150 klx

7 Installation and commissioning
Weather Station Suntracer KNX-GPS • Status: 05.06.2018 • Errors excepted. Subject to technical changes.
2. Installation and commissioning
2.1. Installation notes
Installation, testing, operational start-up and troubleshooting should
only be performed by an electrician.
CAUTION!
Live voltage!
There are unprotected live components inside the device.
• National legal regulations are to be followed.
• Ensure that all lines to be assembled are free of voltage and take
precautions against accidental switching on.
• Do not use the device if it is damaged.
• Take the device or system out of service and secure it against
unintentional use, if it can be assumed, that risk-free operation is no
longer guaranteed.
The device is only to be used for its intended purpose. Any improper modification or
failure to follow the operating instructions voids any and all warranty and guarantee
claims.
After unpacking the device, check it immediately for possible mechanical damage. If it
has been damaged in transport, inform the supplier immediately.
The device may only be used as a fixed-site installation; that means only when assem-
bled and after conclusion of all installation and operational start-up tasks and only in
the surroundings designated for it.
Elsner Elektronik is not liable for any changes in norms and standards which may occur
after publication of these operating instructions.
2.1.1. Installation position
Choose an installation position in the building where wind, rain and sun can be meas-
ured unhindered by the sensors. The weather station must not be installed underneath
any structural parts from which water can still drip onto the rain sensor after it has
stopped raining or snowing. The weather station must not be shaded by anything,
such as building structures or trees.
At least 60 cm of clearance must be left all round the weather station. This facilitates
correct wind speed measurement without eddies. The distance concurrently prevents
spray (raindrops hitting the device) or snow (snow penetration) from impairing the
measurement. It also does not allow birds to bite it.
Please take note that an extended awning does not shade the device from sun and
wind.

8 Installation and commissioning
Weather Station Suntracer KNX-GPS • Status: 05.06.2018 • Errors excepted. Subject to technical changes.
Temperature measurements can also be affected by external influences such as by
warming or cooling of the building structure on which the sensor is mounted, (sun-
light, heating or cold water pipes). Temperature variations from such sources of inter-
ference must be corrected in the ETS in order to ensure the specified accuracy of the
sensor (temperature offset).
Magnetic fields, transmitters and interfering fields from electricity consumers (e.g. flu-
orescent lamps, neon signs, switched-mode power supplies etc.) can interfere with or
even cut out reception of the GPS signal.
Fig. 1
There must be at least 60 cm of space below,
to the sides and in front of the weather station
left from other elements (structures, con-
struction parts, etc.).
60 cm
Fig. 2
The weather station must be mounted on a
vertical wall (or a pole).
Wall
or
pole
Fig. 3
The weather station must be mounted in the
horizontal transverse direction (horizontally).
Horizontal

9 Installation and commissioning
Weather Station Suntracer KNX-GPS • Status: 05.06.2018 • Errors excepted. Subject to technical changes.
2.2. Mounting the weather station
2.2.1. Attaching the mount
The weather station comes with a combination wall/pole mount. The mount comes ad-
hered by adhesive strips to the rear side of the housing.
Fasten the holder vertically to the wall or pole.
Fig. 4
For installation in the northern hemisphere,
the weather station must be aligned to face
south.
For installation in the southern hemisphere,
the weather station must be aligned to face
north.
North
South
Fig. 5
For wall mounting: Flat side to the wall, crescent
moon-shaped crosspiece facing up.
Collar
Fig. 6
For pole mounting: curved side to the pole,
crosspiece facing down.
Collar

10 Installation and commissioning
Weather Station Suntracer KNX-GPS • Status: 05.06.2018 • Errors excepted. Subject to technical changes.
2.2.2. Rear view and drill sketch
Fig. 7
Different mounting arms are available from Els-
ner Elektronik as additional, optional accessories
for flexible installation of the weather station on
a wall, pole or beam.
Example of the use of a mounting arm: Due to
flexible ball joints, the sensor can be brought
into ideal position.
Fig. 8
Example use of the hinge arm mounting:
With the hinge arm mounting, the weather sta-
tion projects from beneath the roof overhang.
Sun, wind and precipitation can act upon the
sensors without hindrance.
Fig. 9
Example use of the hinge arm mounting:
Fitting to a pole with worm drive hose clips
Oblong hole 7,5 x 5 mm
Fig. 10 a+b
Drill sketch.
Dimensions of the rear side of the housing with
holder, dimensions in mm. Divergences are
possible for technical reasons.

11 Installation and commissioning
Weather Station Suntracer KNX-GPS • Status: 05.06.2018 • Errors excepted. Subject to technical changes.
2.2.3. Weather station layout
Fig. 11
1 Cover
2 Cover snaps
3 Bottom part of housing
4 Temperature sensor
5 Wind sensor
6 Brightness sensor
7 Rain sensor
2
3
Unsnap cover
and remove upwards 1
4
5
6
7

12 Installation and commissioning
Weather Station Suntracer KNX-GPS • Status: 05.06.2018 • Errors excepted. Subject to technical changes.
2.2.4. Connection of the weather station
The weather station lid with the rain sensor latches into place on the lower edge to the
right and left (see figure). Remove the lid from the weather station. Proceed carefully
to avoid tearing off the cable connection between the circuit board in the lower section
and the rain sensor in the lid (cable with plug).
Lead the cable for the voltage supply and bus connection through the rubber seals on
the bottom of the weather station and connect Voltage and Bus +/- to the terminals pro-
vided.
Fig. 12
Remove the cable shielding under the circuit
board and only feed the connector cables
upwards through the openings in the circuit
board.

13 Installation and commissioning
Weather Station Suntracer KNX-GPS • Status: 05.06.2018 • Errors excepted. Subject to technical changes.
2.2.5. Layout of the circuit board
2.2.6. Mounting the weather station
Close the housing by putting the cover back over the bottom part. The cover must snap
in on the left and right with a definite “click”.
1
2
5
3
46
7
Fig. 13
1 Spring-force auxiliary voltage termi-
nal. Suitable for solid conductor up to
1.5 mm² or fine wire conductor. Ter-
minal configuration independent
from polarity (+/- or -/+).
2 Slot for cable connection to the pre-
cipitation sensor in the casing lid
3 GPS antenna
4 Signal LED
5 KNX terminal +/-
6 Program button for setting up device
7 Program LED

14 Installation and commissioning
Weather Station Suntracer KNX-GPS • Status: 05.06.2018 • Errors excepted. Subject to technical changes.
To remove it, the weather station can be simply pulled upwards out of the mount,
against the resistance of the fastening.
2.3. Notes on mounting and commissioning
Do not open weather station if water (rain) might ingress: even some drops might
damage the electronic system.
Observe the correct connections. Incorrect connections may destroy the weather sta-
tion or connected electronic devices.
Please take care not to damage the temperature sensor (small blank at the bottom part
of the housing.) when mounting the weather station. Please also take care not to break
away or bend the cable connection between the blank and the rain sensor when con-
necting the weather station.
Remove all existing protection labels after installation.
The measured wind value and thus all other wind switching outputs may only be sup-
plied 60 seconds after the supply voltage has been connected.
After the auxiliary voltage has been applied, the device will enter an initialisation phase
lasting a few seconds. During this phase no information can be received or sent via the
bus.
Addressing of the device at the bus
Fig. 14
Make sure the cover and bottom part are
properly snapped together! This picture is
looking at the closed sensor from under-
neath.
Fastening
Fig. 15
Push the housing from above into the fas-
tened mount. The bumps on the mount must
snap into the rails in the housing.

15 Maintenance
Weather Station Suntracer KNX-GPS • Status: 05.06.2018 • Errors excepted. Subject to technical changes.
The device is supplied with the bus address 15.15.250. You can program another ad-
dress into the ETS by overwriting the 15.15.250 address or by teaching via the pro-
gramming key on the circuit board inside the housing.
3. Maintenance
WARNING!
Risk of injury caused by components moved automatically!
The automatic control can start system components and place people
in danger (e.g. moving windows/awnings if a rain/wind alarm has been
triggered while cleaning).
• Always isolate the device from the mains for servicing and
cleaning.
The device must regularly be checked for dirt twice a year and cleaned if necessary. In
case of severe dirt, the sensor may not work properly anymore.
ATTENTION
The device can be damaged if water penetrates the housing.
• Do not clean with high pressure cleaners or steam jets.

16 Transmission protocol
Weather Station Suntracer KNX-GPS • Status: 05.06.2018 • Errors excepted. Subject to technical changes.
4. Transmission protocol
Units:
Temperatures in degrees Celsius
Brightness in lux
Wind in metres per second
Azimuth and elevation in degrees
4.1. List of all communications objects
Abbreviations Flags:
C Communication
R Read
WWrite
T Transfer
UUpdate
Nr. Name Function DPT Flags
0 Signal LED Input 1.002 C R W
1 GPS date Input / Output 11.001 C R W T
Date Input / Output 11.001 C R W T
2 GPS time Input / Output 10.001 C R W T
Time Input / Output 10.001 C R W T
3 Date and time request Input 1.017 C R W
4 GPS malfunction
(0 = OK | 1 = NOT OK)
Output 1.002 C R T
5 Location eastern longitude [°] Output (DPT
14.007)
14.007 C R T
6 Location northern latitude [°] Output (DPT
14.007)
14.007 C R T
7 Rain: Switching output 1 Output 1.002 C R T
8 Rain: Switching output 2 Output 1.002 C R T
9 Rain: Switching delay to rain Input 9.010 C R W
10 Rain: Switching delay to no rain Input 9.010 C R W
11 Night: Switching output Output 1.002 C R T
12 Night: Switching delay to night Input 9.010 C R W
13 Night: Switching delay to non-night Input 9.010 C R W
14 Temperature measurement value Output 9.001 C R T
15 Temperature measurement value
requirement min./max.
Input 1.017 C R W

17 Transmission protocol
Weather Station Suntracer KNX-GPS • Status: 05.06.2018 • Errors excepted. Subject to technical changes.
16 Temperature measurement value
minimum
Output 9.001 C R T
17 Temperature measurement value
maximum
Output 9.001 C R T
18 Temperature measurement value
reset min./max.
Input 1.017 C R W
19 Temperature sensor malfunction
(0 = OK | 1 = NOT OK)
Output 1.002 C R T
20 Temperature TV 1: Absolute value Input / Output 9.001 C R W T U
21 Temperature TV 1:
Change (1:+ | 0: -)
Input 1.002 C R W
22 Temperature TV 1: Switching delay
from 0 to 1
Input 9.010 C R W
23 Temperature TV 1: Switching delay
from 1 to 0
Input 9.010 C R W
24 Temperature TV 1: Switching
output
Output 1.002 C R T
25 Temperature TV 1: Switching
output block
Input 1.002 C R W
26 Temperature TV 2: Absolute value Input / Output 9.001 C R W T U
27 Temperature TV 2:
Change (1:+ | 0: -)
Input 1.002 C R W
28 Temperature TV 2: Switching delay
from 0 to 1
Input 9.010 C R W
29 Temperature TV 2: Switching delay
from 1 to 0
Input 9.010 C R W
30 Temperature TV 2: Switching
output
Output 1.002 C R T
31 Temperature TV 2: Switching
output block
Input 1.002 C R W
32 Temperature TV 3: Absolute value Input / Output 9.001 C R W T U
33 Temperature TV 3:
Change (1:+ | 0: -)
Input 1.002 C R W
34 Temperature TV 3: Switching delay
from 0 to 1
Input 9.010 C R W
35 Temperature TV 3: Switching delay
from 1 to 0
Input 9.010 C R W
36 Temperature TV 3: Switching
output
Output 1.002 C R T
37 Temperature TV 3: Switching
output block
Input 1.002 C R W
38 Temperature TV 4: Absolute value Input / Output 9.001 C R W T U
39 Temperature TV 4:
Change (1:+ | 0: -)
Input 1.002 C R W
Nr. Name Function DPT Flags

18 Transmission protocol
Weather Station Suntracer KNX-GPS • Status: 05.06.2018 • Errors excepted. Subject to technical changes.
40 Temperature LV 4: Switching delay
from 0 to 1
Input 9.010 C R W
41 Temperature LV 4: Switching delay
from 1 to 0
Input 9.010 C R W
42 Temperature TV 4: Switching
output
Output 1.002 C R T
43 Temperature TV 4: Switching
output block
Input 1.002 C R W
44 Wind measurement Output 9.005 C R T
45 Wind measurement value
requirement max.
Input 1.017 C R W
46 Maximum wind measurement
value
Output 9.005 C R T
47 Wind measurement value reset
max.
Input 1.017 C R W
48 Wind Sensor Malfunction
(0 = OK | 1 = NOT OK)
Output 1.002 C R T
49 Wind TV 1: Absolute value Input / Output 9.005 C R W T U
50 Wind TV 1: Change (1:+ | 0: -) Input 1.002 C R W
51 Wind TV 1: Switching delay
from 0 to 1
Input 9.010 C R W
52 Wind TV 1: Switching delay
from 1 to 0
Input 9.010 C R W
53 Wind TV 1: Switching output Output 1.002 C R T
54 Wind TV 1: Switching output block Input 1.002 C R W
55 Wind TV 2: Absolute value Input / Output 9.005 C R W T U
56 Wind TV 2: Change (1:+ | 0: -) Input 1.002 C R W
57 Wind TV 2: Switching delay
from 0 to 1
Input 9.010 C R W
58 Wind TV 2: Switching delay
from 1 to 0
Input 9.010 C R W
59 Wind TV 2: Switching output Output 1.002 C R T
60 Wind TV 2: Switching output block Input 1.002 C R W
61 Wind TV 3: Absolute value Input / Output 9.005 C R W T U
62 Wind TV 3: Change (1:+ | 0: -) Input 1.002 C R W
63 Wind TV 3: Switching delay
from 0 to 1
Input 9.010 C R W
64 Wind TV 3: Switching delay
from 1 to 0
Input 9.010 C R W
65 Wind TV 3: Switching output Output 1.002 C R T
66 Wind TV 3: Switching output block Input 1.002 C R W
Nr. Name Function DPT Flags
Other manuals for Suntracer KNX-GPS
1
Table of contents
Other Elsner Weather Station manuals
Elsner
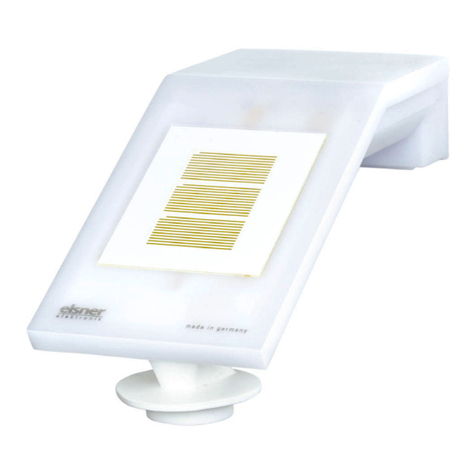
Elsner Suntracer KNX sl Guide
Elsner
Elsner Suntracer KNX-GPS User manual
Elsner
Elsner P03 3 User manual
Elsner
Elsner Suntracer KNX sl Guide
Elsner
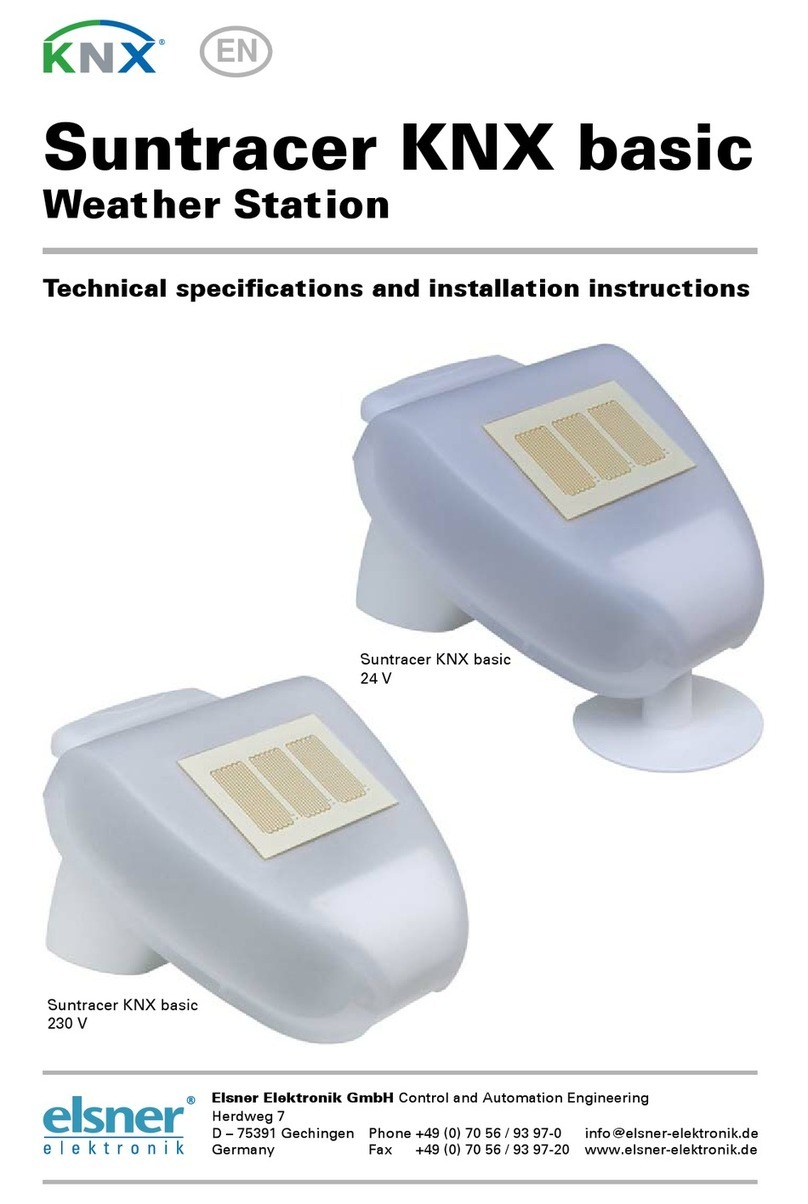
Elsner Suntracer KNX basic Series User manual
Elsner
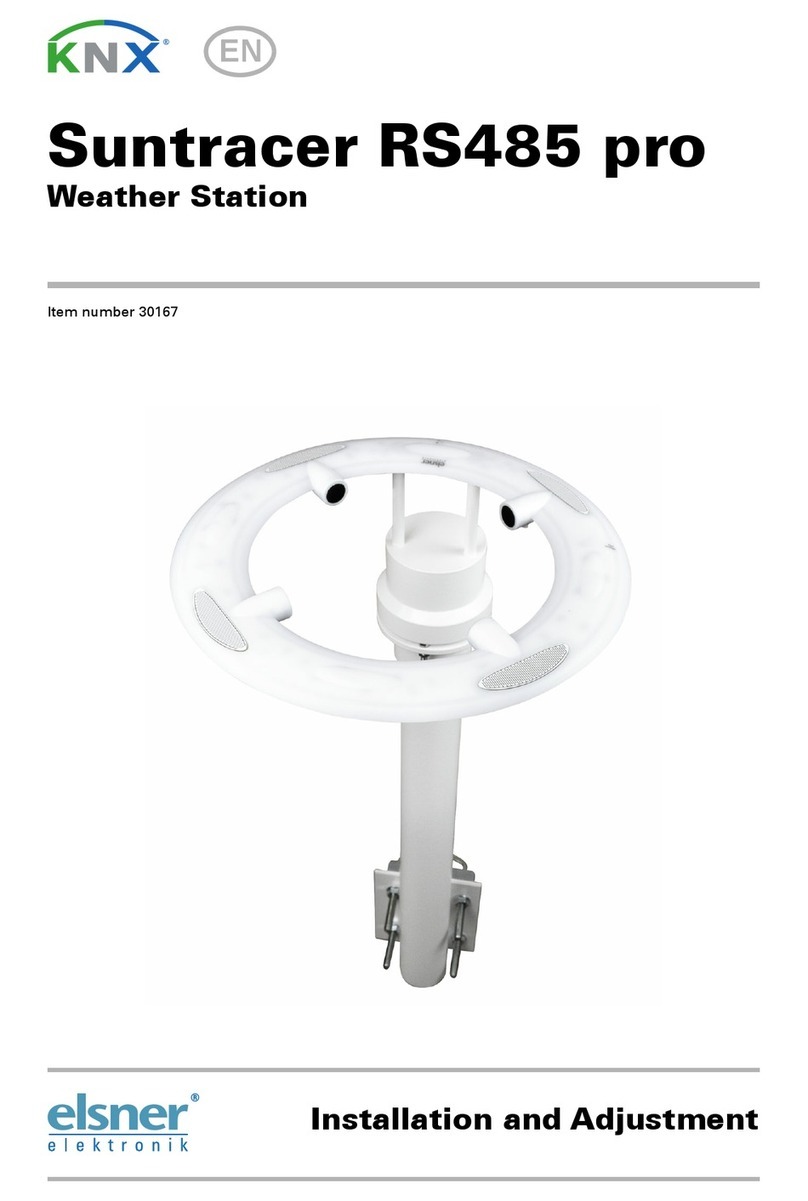
Elsner KNX Suntracer pro Guide

Elsner
Elsner P03/3 User manual
Elsner
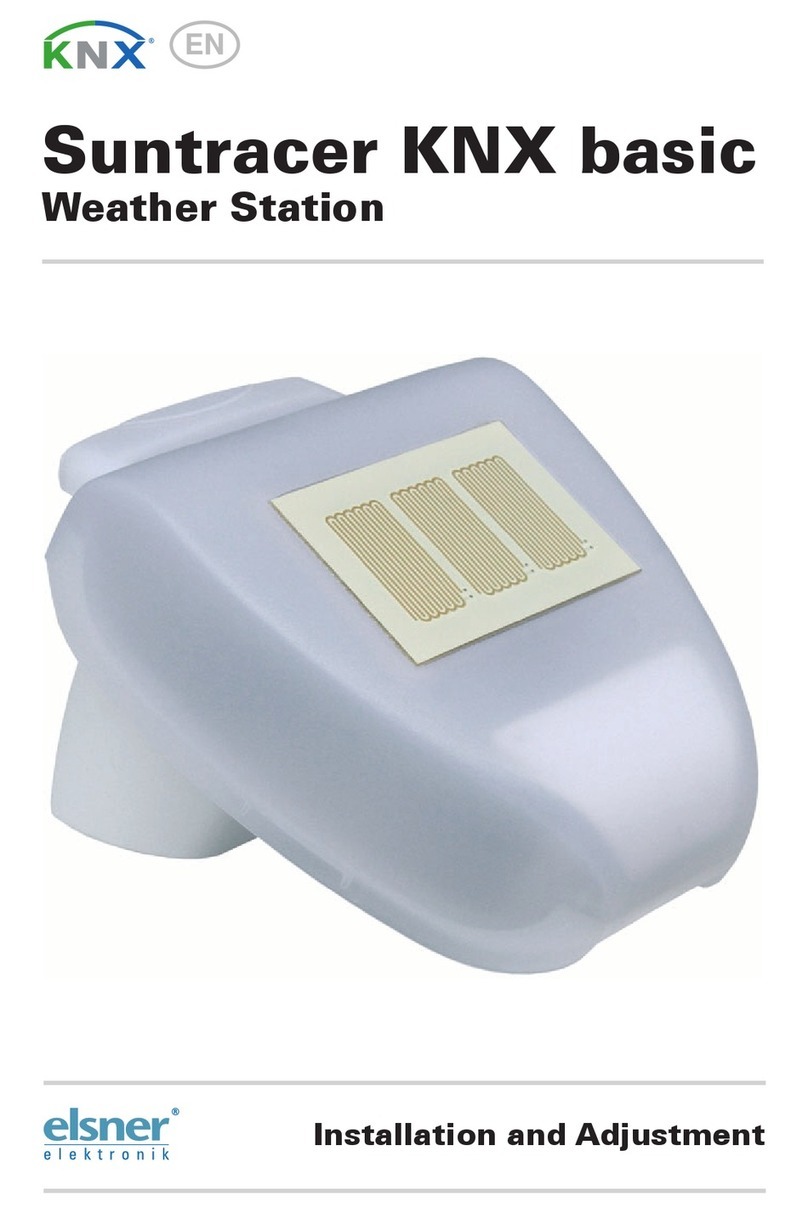
Elsner Suntracer KNX basic Guide
Elsner
Elsner Suntracer KNX basic Guide
