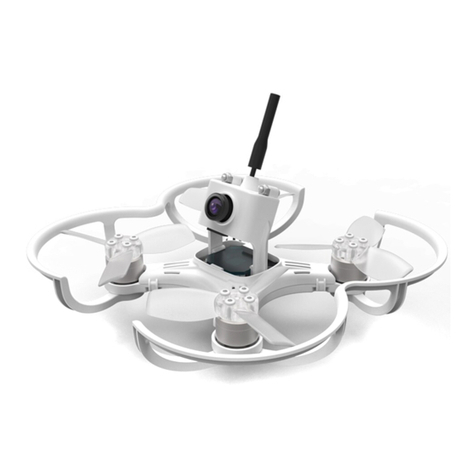
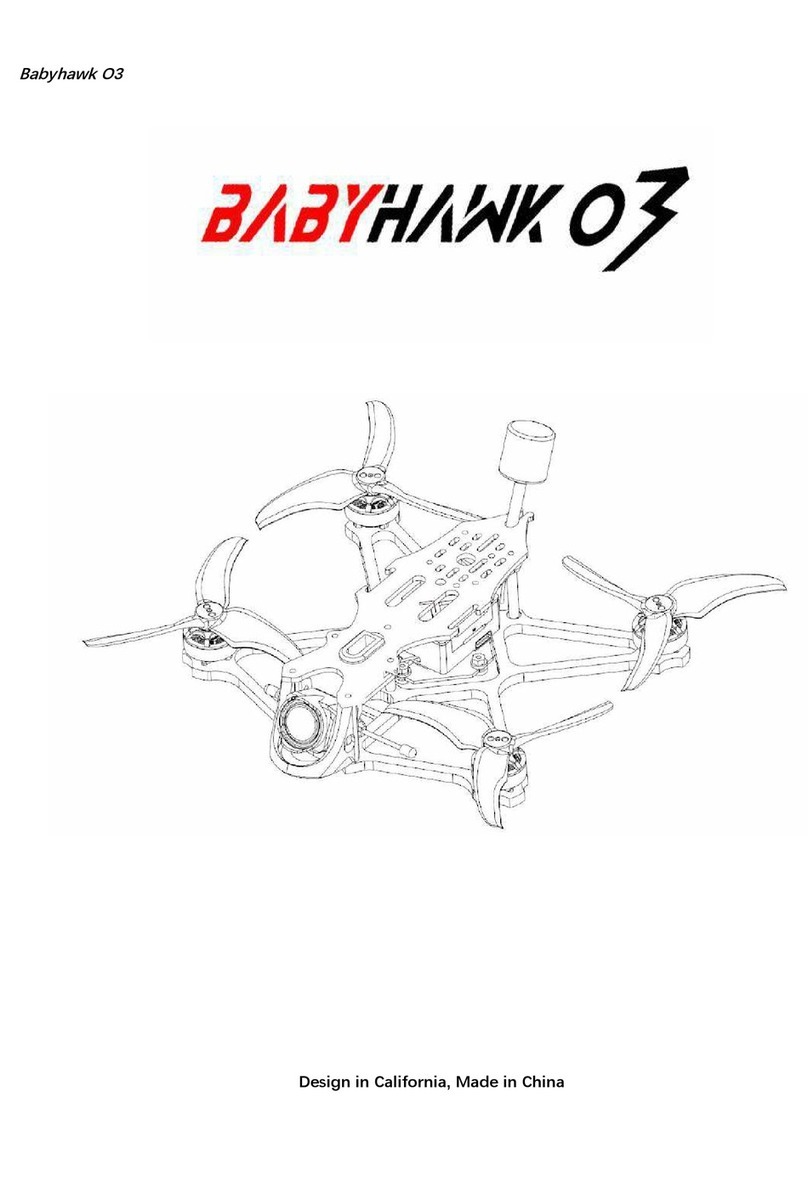
Emax Babyhawk User manual

Thanks for purchasing the Babyhawk. Please follow the instruction manual to install and
configure your Babyhawk.
After completing the instruction manual, use the configurator GUI to configure flight
controller settings for the Babyhawk. Please refer to this link to learn more:
https://www.emaxmodel.com/babyhawk-85mm-brushless-drone-pnp.html
Babyhawk User Manual

Disclaimer
Please read the disclaimer carefully before using this product. By using this product, you
hereby agree to this disclaimer and signify that you have read them carefully and
completely. This product is not suitable for people under the age of 18. Adult supervision
is highly recommended for kids under the age of 18.
Our Babyhawk features open-source flight controller and Electronic Speed Controllers
to satisfy the FPV enthusiasts' need to update/upgrade their software and hardware.
Please read the instruction manual and warnings carefully. Before every flight, make
sure the battery is fully charged and power connections are secure. DO NOT fly around
crowds, children, animals or objects. EMAX ACCEPTS NO LIABILITY FOR
DAMAGE(S) OR INJURIES INCURRED DIRECTLY OR INDIRECTLY FROM THE USE
OF THIS PRODUCT.
Precautions
1. Please follow the instructions to correctly guide the assembly and operation of this
product.
2. Pilots: Do not use this product if you have physical or mental illness, dizziness,
fatigue, or are under influence of alcohol or drugs.
3. Please fly in a safe location away from people and animals.
4. Do not modify or use parts and accessories not approved by EMAX.
5. Do not use this product in harsh environments (such as winds, rain, lightning, snow,
etc.).
6. Do not use this product in a strong electromagnetic environment.

Product specification
Instruction Manual for FrSky XM Plus
Specifications
Dimension:21.5*12*3.5mm (L × W × H)
Weight:1.6g
Number of Channels:Up to 16CH from SBUS (CH1~CH5 for PWM, CH16 RSSI for FC)
With RSSI output on board:PWM voltage output (0~3.3V)
Operating Voltage Range:3.7~10V
Operating Current:30mA@5V
Operating Range:full range
Firmware Upgradable
Compatibility:FrSky D16 mode
Version
Size and Weight
Diagonal Wheelbase (without propeller)
Package Size
Maximum Size of Aircraft (without
antenna, cable)
Camera Integrated with VTX
Propeller
Flight Control
Motor
ESC
Weight of Aircraft (without batteries)
PNP
87mm
225mm x 145mm x 69mm
132mm x 132mm x 48mm
CMOS 800TVL _25-200MW
adjustable frequency 40CH
2345 Tri-blade Propeller
F3 Femto
1104 5250KV
Bullet 6A (BLHeli_S)
68.5g

Binding Procedure
Binding is the process of uniquely associating a particular receiver to a transmitter
module. A transmitter module can be bound to multiple receivers (not to be used
simultaneously). A receiver can only be bound to one transmitter module.
Follow the steps below to finish the binding procedure.
1. Turn on the transmitter while holding the F/S button on the module (please refer to the
module instruction manual for switch positions). Release the button. The RED LED on
the Module will flash, indicating the transmitter is ready to bind to the receiver.
2. Connect battery to the XM Plus receiver while holding the F/S button on the receiver.
The LED on the receiver will flash, indicating the binding process is completed.
3. Turn off both the transmitter and the receiver.
4. Turn on the transmitter and connect the battery. The GREEN LED on the receiver
indicates the receiver is receiving commands from the transmitter. The receiver/trans-
mitter module binding will not have to be repeated, unless one of the two is replaced.
Failsafe
Failsafe is a useful feature in which all controls move to a preset position whenever the
control signal is lost for a period of time. XM Plus supports failsafe function for all
channels. Follow the steps below to set failsafe positions for each channel:
1. Bind the receiver first and turn on both the transmitter and the receiver;
2. Move the controls to the desired failsafe position for all channels;
3. Press briefly the F/S button on the receiver (less than 1 second). The Green LED will
flash twice, indicating the failsafe position has been set in the receiver.
To disable the failsafe function, re-bind the receiver.
Failsafe is recommended to set when system is firstly used, or receiver has been
re-bound.
Note: If failsafe is not set, failsafe default will hold last position
before signal is lost. In this case, there exists risk that your
model will fly away or cause injury.
FrSky is continuously adding features and improvements to our products. To get the
most from your product, please check the download section of the FrSky website
www.frsky-rc.com for the latest update firmware and manuals
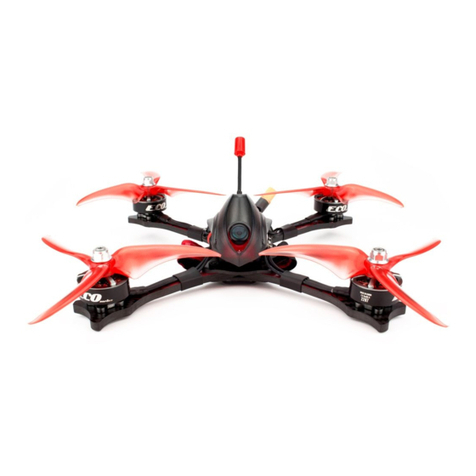
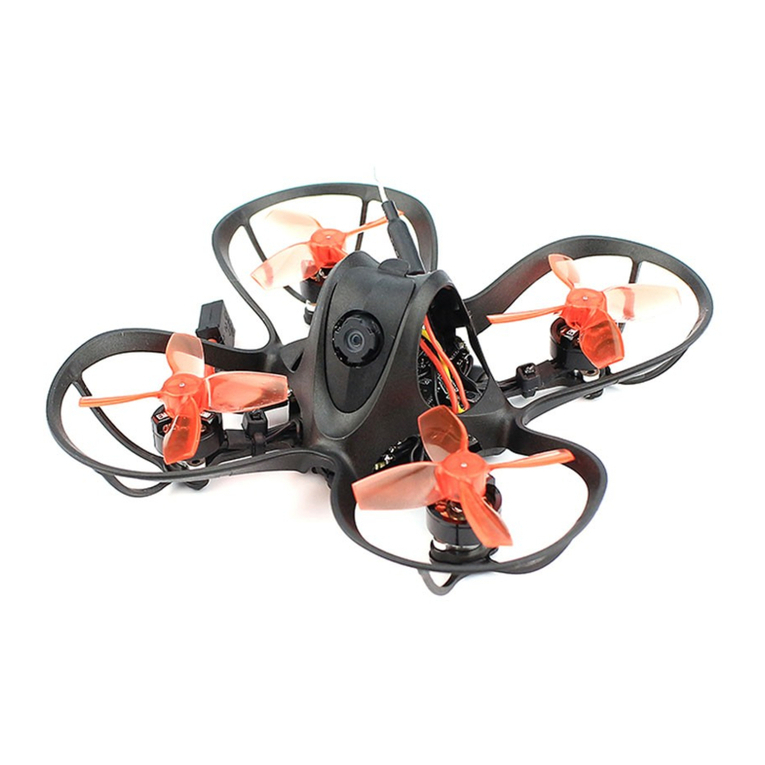
Product List
1. Babyhawk quadcopter * 1set
2. 2345 Tri-blade Propeller CW and CCW * 4pcs each
3. Battery*1pcs (optional)
4. FrSky receiver (optional)
5. Remote control * 1pcs, receiver * 1pcs (optional package)
6. Manual * 1set

VTX frequency chart
Channel selection button is located on the back of the camera housing
(1) Long press 2 seconds into the Band selection mode
(2) Short press in this frequency group to select F, R, A or B Bands, long press 2
seconds exit frequency selection
(3) Short press in the current band to select the 1-8 channels.
(4) Long press 10 seconds for the size of power selection (high-power digital tube
decimal point ON, low-power digital tube decimal point OFF)
(5) Camera support P / N standard switch (the toggle switch on VTX_CAM)
Instructions for using ESC
This product uses EMAX Bullet 6A BLHeli_S ESC integrated hardware
For more information, go to "https://www.emaxmodel.com/babyhawk-85mm-brush-
less-drone-pnp.html" to download and check.
Thank you for using EMAX products!
For EMAX Babyhawk accessories, please visit the official EMAX website (www.emax-
model.com).
BAND/CH CH
CH1 CH2 CH3 CH4 CH5 CH6 CH7 CH8
BAND
FR1(F) 5740 5760 5780 5800 5820 5840 —— ——
FR2(R) —— —— 5732 5769 5806 5843 —— ——
FR3(A) —— 5845 5825 5805 5785 5765 5745 5725
FR4(B) 5733 5752 5771 5790 5809 5828 5847 ——
Warning:
REMINDER! Please pay attention to safety of your surrounding.
Not recommended for persons under 18 years of age!
We wish you happy flying!

感谢您购买本产品,请严格按照本手册的要求对您的飞行器进行安装和调试。
本手册需要与调参软件配合使用,更多详情请参考调参说明。需要升级及进阶的用户请
参考资料链接:“http://www.yinyanmodel.com/ch/DownList.asp”
使用手册

免责声明
用户在使用本产品前,请认真阅读本声明,一旦使用本产品,即视为对本声明全部内容的
认可与接受。未满18周岁的未成年人不适合使用本产品。
本产品是专门为爱好者进行FPV穿越飞行而设计的一款多旋翼飞行器,使用开源的飞控
固件和电调固件,满足中高级用户的不断升级及进阶。具有自身姿态稳定、反应灵敏、机
动灵活的特点,根据用户使用配置和参数设置的不同,即可进行小空间的穿越探索飞行,
还可以进行急速暴力的3D飞行。因此,在使用本产品时,请认真阅读使用说明书及注意事
项,飞行时确保供电系统良好和接线正确,并远离人群(不小于2500平方米范围),如造
成人生伤害,财产损失等(直接或间接损害),我司不承担任何民事及法律责任。
注意事项
1.请按说明书正确指引组装和操作本产品。
2.飞行员不要在喝酒,吸毒,药物麻醉,头晕,乏力等身体或精神状态不佳的情况下使用
本产品。
3.一定要在安全领域进行飞行(不小于2500平方米范围)。
4.不要自行改装和超配置要求使用其他零件和配件。
5.不要在恶劣环境下(如大风、雨天,闪电,下雪等)使用本产品。
6.不要在电磁强的环境下使用本产品。
产品认证
本产品已通过CE、RoHs、FCC认证。
产品规格
版本
尺寸与重量
对 角 轴 距(不 含 桨)
包装尺寸
飞机最大外观尺寸(不含天线,,扎带)
摄像头_图传
螺旋桨
飞控
电机
电调
飞 机 重 量(不 含 电 池)
PNP
87mm
225mm x 145mm x 69mm
132mm x 132mm x 48mm
CMOS 800TVL _25-200MW可调频率40CH
2345 三叶桨
F3 Femto 整机版
1104 5250KV
Bullet 6A(BLHeli_S)
68.5g

XM Plus 说明书
产 品 信 息:
尺寸:21.5*12*3.5mm(长*宽*高)
重 量:1 . 6 g
通道数:SBUS口最大16通道输出(1-15通道为信号输出,通道16为飞控的RSSI信号)
电 压 范 围:3 . 7-1 0 V
电流:30mA@5V
操 作 距 离:全 距
RSSI信号输出:模拟0-3.3V
固件可升级
兼容:FrSky D16模式
对码过程:
对码就是将一个特定的接收机和传送模块连接在一起的过程。一个传送模块可以绑定多
个接收机(不可以同时使用)。一个接收机只可以绑定一个传送模块。
1.打开遥控器的同时按住模块上的F/S键(请根据开关说明书设置模块开关位置),然后
松开F/S键。模块上的红色LED灯开始闪烁,表示发射模块已准备与接收机进行对码。
2.给XM Plus连接电池并同时按住接收机上F/S键,接收机上的LED灯开始闪烁,表示对
码过程完成。
3.关掉遥控器和接收机。
4.打开遥控器并连接电池。接收机上的绿色LED灯表示正在接收遥控器上的命令。遥控
器、模块与接收机之间的对码不需要重复操作,除非您更换了其中任意一件产品。
PNP
87mm
225mm x 145mm x 69mm
132mm x 132mm x 48mm
CMOS 800TVL _25-200MW可调频率40CH
2345 三叶桨
F3 Femto 整机版
1104 5250KV
Bullet 6A(BLHeli_S)
68.5g

产品清单
1.BabyHawk 整机 × 1
2.说明书 ×1
3.2345桨 正反 × 4
4.电 池(套 装 可 选)
5.FrSky接收机(套装可选)
6.遥控器×1,接收机×1 (套装可选)
Failsafe功能:
Failsafe功能是无论在何时您丢失了您的控制信号,此功能能将所有的控制信号转移到
预设的位置。XM Plus接收机对所有的通道支持Failsafe功能。请根据以下步骤为每一个
通道设置Failsafe位置。
1.首先进行对码,然后打开遥控器和接收机。
2.为每个通道,将控制信号转移到所需的Failsafe位置。
3.短按接收机上的F/S键,绿色LED灯会闪烁2下,表示Failsafe位置已经在接收机上设置
完成。
要禁用Failsafe功能,需要重新对码,FrSky建议在您第一次使用产品,或重新绑定接收机
时设置Failsafe功能。
注意:如果Failsafe没有设置,那么Failsafe会在信号丢失以前默认
保留最后位置。在这种情况下,您的飞行器可能会丢失或造成损害。
FrSky会为产品持续改进并添加新的特性。请关注FrSky官网下载版块的对于产品固件以
及说明书的最新更新

图传发射频点对照表
图传频道选择按钮在飞机尾部图传发射位置
(1)长按2秒进入频组选择
(2)短按在此频组内选择FRAB频组,长按2S退出频点选择,短按在当前频组内选择
1-8频点。长按10秒进行大小功率选择(大功率数码管小数点亮,小功率数码管小数
点灭)
(3)摄像头支持P/N制式切换(VTX_CAM上面的拨动开关)
电调使用说明
本产品电调使用的是EMAX Bullet 6A 电调集成硬件
有关电调的更多详情请到“http://www.yinyanmodel.com/ch/Downlist.asp”进行下
载查看。
CH
CH1 CH2 CH3 CH4 CH5 CH6 CH7 CH8
FR1(F) 5740 5760 5780 5800 5820 5840 —— ——
FR2(R) —— —— 5732 5769 5806 5843 —— ——
FR3(A) —— 5845 5825 5805 5785 5765 5745 5725
FR4(B) 5733 5752 5771 5790 5809 5828 5847 ——
BAND/CH
BAND

飞控使用说明
本产品飞控使用的是基于F3的Femto F3飞控硬件
有关Femto F3飞控的跟多详情请到“http://www.yinyanmodel.com/ch/Downlist.asp”
进行下载查看。
相关的飞控调参说明请到“http://www.yinyanmodel.com/ch/Downlist.asp”进行下
载查看。
感谢用户使用银燕产品!
如 需 配 件,请 至 银 燕 官 方 淘 宝 购 买
微信公众号
警 示:
再 次 提 醒,一 定 注 意 飞 行 周 围 安 全,年 满 1 8 岁 以 下人 员 严 禁 使 用!
预 祝 您 飞 行 愉 快!
Other manuals for Babyhawk
1
Table of contents
Other Emax Drone manuals

Emax
Emax Hawk 5 Sport User manual

Emax
Emax TinyHawk Freestyle User manual

Emax
Emax Hawk 5 PRO User manual

Emax
Emax Tinyhawk II Race User manual

Emax
Emax TINYHAWK III User manual

Emax
Emax Tinyhawk II User manual

Emax
Emax Babyhawk II HD User manual

Emax
Emax Buzz User manual

Emax
Emax Babyhawk O3 User manual

Emax
Emax Nanohawk 1S BNF FrSky User manual