08
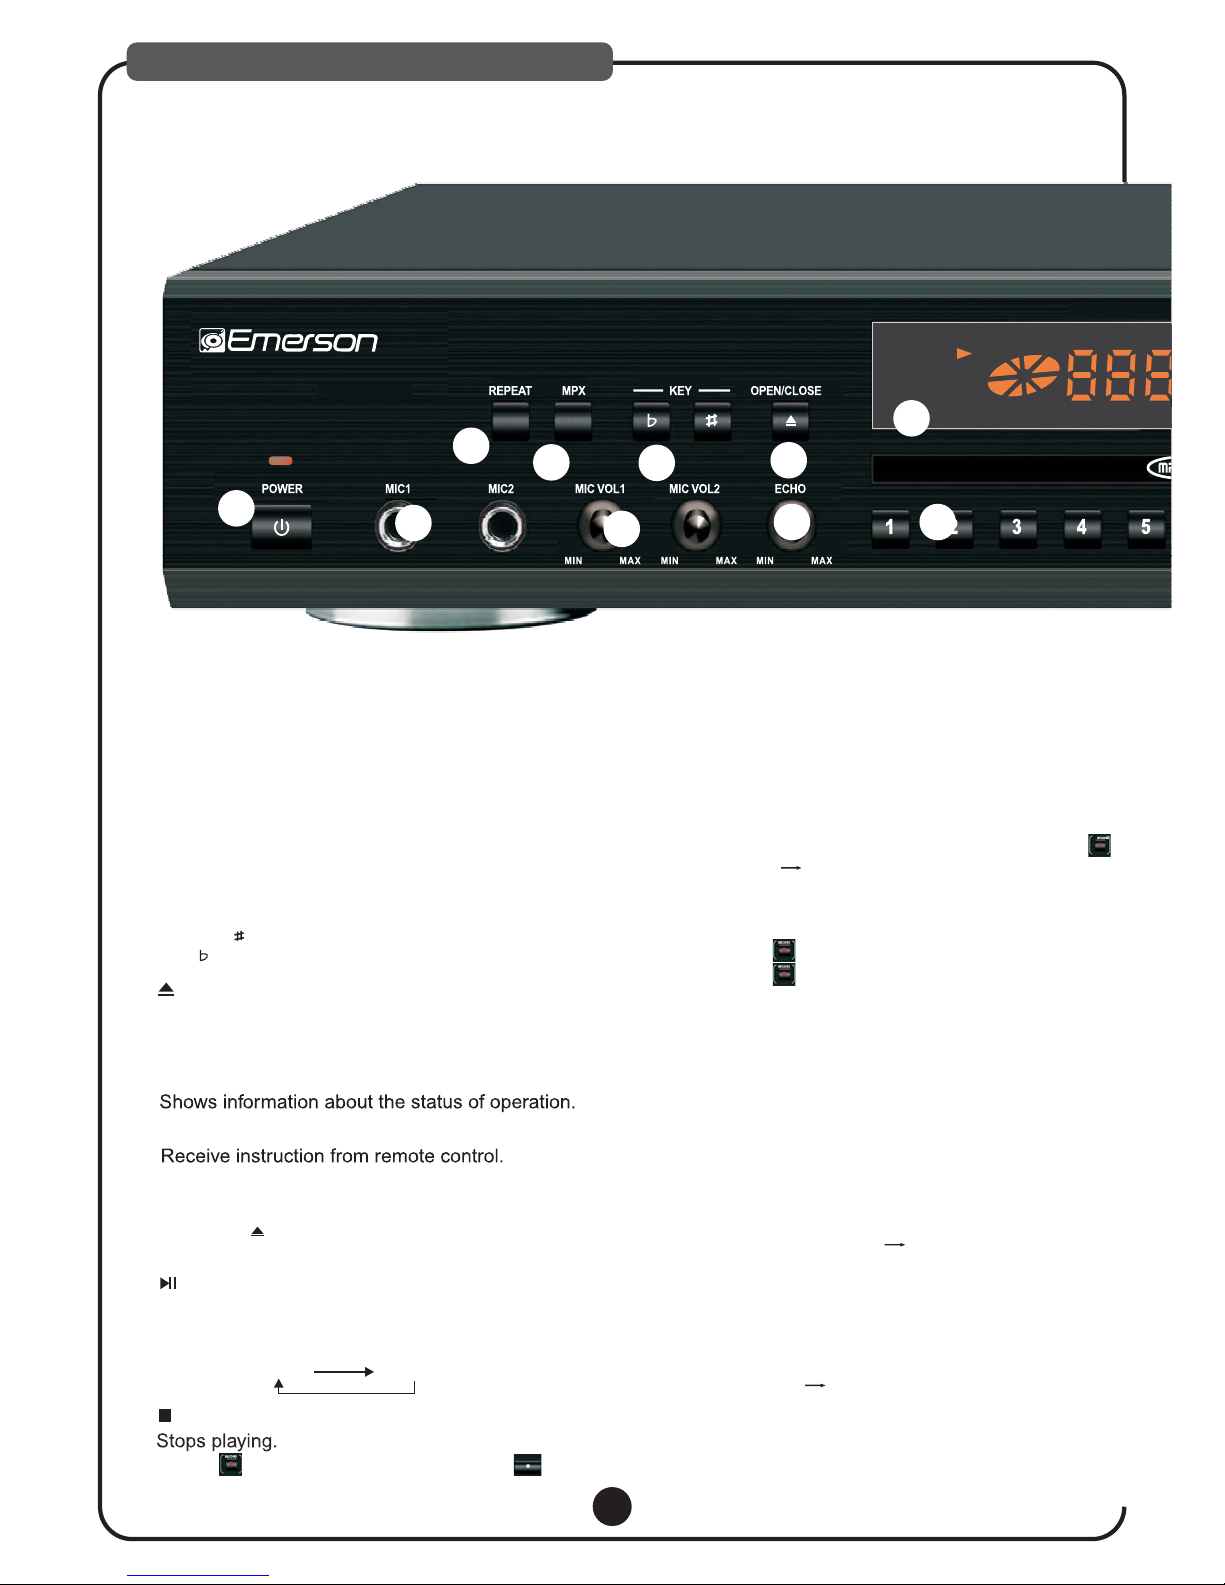
DESCRIPTIONS & FUNCTIONS
Used for navigation within a selection menu.
13. DIRECTION( )
Press SETUP to get into SETUP menu.
14. SETUP
Temporarily suspends playing. Video motion
freezes and audio reproduction stops.
15. II PAUSE
Press to mute and cancel muteness.
16. MUTE
3D Sound effect button.
18. 3D
Used to open and close disc tray.
19. EJECT
Used to specify a track number for playing,
changing, or programming.
In PBC function operation, the number keys are
additionally utilized for the selection of menu items.
20. NUMBER KEYS(1 to 9,0)
Allow you to program a specific order. You can use up
down left right to select the position where you edit,
Press PLAY can play the specified program. And
pressing CLEAR can clear all input number. You also
can move HIGHLIGHT to the position of PLAY and
CLEAR, and them you can use“SELECT” to execute
its function.
21. PROGRAM
To view a scene in slow motion.
22. SLOW
You can set up the strictness pf score displayed
on screen in advance.
Note: If you turn off score function, scoring function will not
support.
23. SCORE
Activates the Automatic voice cancel function.
26. AVC
Transposes the music key.
DOWN button: used to flatten by a half tone.
UP button: used to sharpen by a half tone.
24. KEY CONTROL BUTTONS
25. MPX
Activates the multiplex function, which switches
to NORMAL (stereo), L-ch monaural and R-ch
monaural.
Utilized for operation with the PBC function.
This button is used to return to a menu screen
during play.
27. RETURN
Confirm your selection.
28. ENTER
For Video-CD version 2.0 or higher. The PBC
function may differ by disc. with PBC ON, you
can select items in the menu list using the
PREVIOUS/NEXT keys and numeral keys.
When PBC OFF, you cannot select items in the
menu list but you can use the numeral keys
directly or the PREVIOUS and NEXT keys.
For disc, you main menu, the menu
function may differ by disc.
can enter
29. MENU
Starts to play the disc with/without the playback
control function.
30. PLAY
33. N/P
Change TV mode between NTSC PAL.
Press REV/FWD to go into fast forward/fast
reverse status.
17. REV AND FWD
a. Press [DISC/SD/USB] button to select USB
or SD CARD mode screen will show Read
USB or SD CARD, then loading File;
b. Select [RECORDED SONG] then press [ENTER]
all Track#!
c. Pick the identical Track Number when the Song
Vocal was recorded, follow by [PLAY] to play
back the recorded track.
The other HOT FUNCTION is [RECORDED
PLAYBACK] function. After recording, press
[RECORDED PLAYBACK], screen will show all
your recorded songs then automatically play
latest recorded song.
Play Back The Recorded File:
1).FOLDER ACCESS
2). DIRECT ACCESS
Note: If USB and SD CARD are inserted, record file saved at SD
card automatically.
/
12. DISC/USB/SD
Press to change MEDIA (DISC SD USB).
31. STOP
Stop playing.
*Press to stop recording, don’t press *.
STOP
32. PREV AND NEXT
Press to skip to next or previous track.