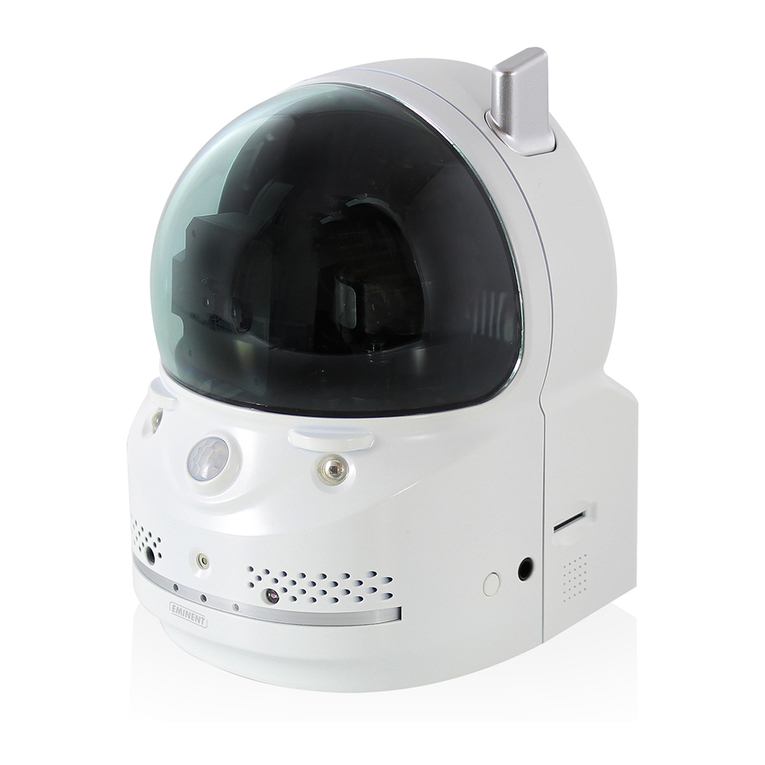
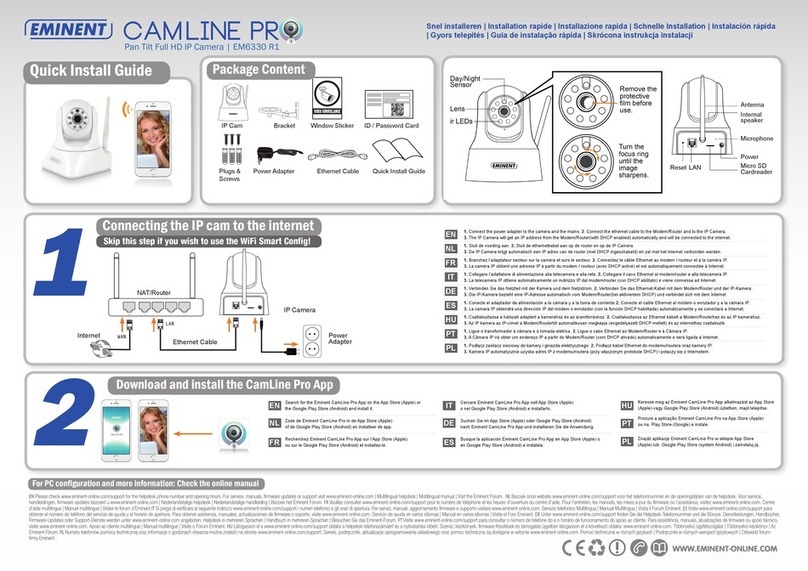
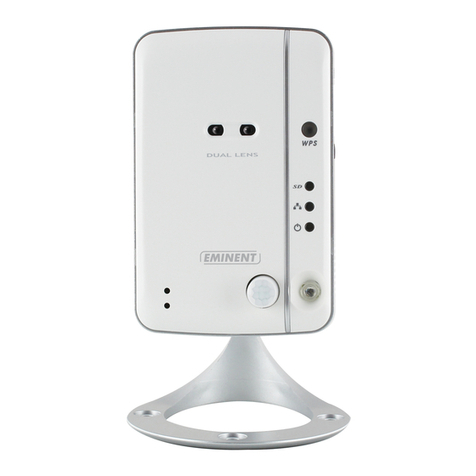
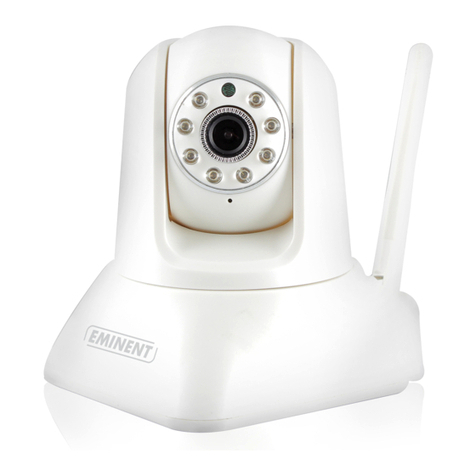
Eminent EM6275 User manual

EM6275
Easy Pro View HD Pan/Tilt IP Camera

2|ENGLISH
EM6275 –Easy pro view HD Pan/Tilt IP camera
Table of contents
1.0 Introduction ...........................................................................................................4
1.1 Packaging contents...........................................................................................4
1.2 Requirements to access the camera..................................................................5
1.3 Major hardware components. ............................................................................5
2.0 Installing the camera .............................................................................................7
2.1 Connecting the camera to your network using a network cable..........................7
2.2 Which App should I install?................................................................................8
2.3 Installing the Easy Pro View App on an Android device.....................................8
2.4 Installing the Easy Pro View App on an Apple device ........................................9
2.5 Installing the software and camera on a PC or notebook (Windows)................11
2.6 Installing the software and camera on a MAC..................................................12
2.7 Adding the camera to a wireless network.........................................................16
2.7.1 Connecting to Wi-Fi using the WiFi QR code scanner................................16
2.7.2 Connecting to Wi-Fi using the WPS button................................................17
2.7.3 Connecting to Wi-Fi using the App.............................................................18
2.7.4 Connecting to Wi-Fi using the PC (windows). ............................................18
2.7.5 Connecting to Wi-Fi using the MAC...........................................................18
2.8 Micro SD-Card installation...............................................................................20
2.9 Mounting the camera on the wall or ceiling......................................................20
3.0 Viewing images ...................................................................................................21
3.1 On your smartphone/tablet (Android, iPhone, iPad).........................................21
3.2 On your PC (Windows) in a remote location. ...................................................21
3.3 Alarm-notification recording (micro SD-Card)...................................................21
3.4 Via the Internet using the web portal................................................................21
4.0 Easy Pro View for iPhone/iPad/Android...............................................................22
4.1 The Layout of Easy Pro View...........................................................................22
4.2 See the live video............................................................................................23
4.3 Pan/Tilt control ................................................................................................25
4.4 Delete camera.................................................................................................29
4.5 Camera adjustment.........................................................................................30
4.6 Alarm notification.............................................................................................31
4.7 Stream settings................................................................................................33
4.8 Video settings..................................................................................................35
4.8.1 Video.........................................................................................................36
4.8.2 Control.......................................................................................................37
4.8.3 Night mode control ....................................................................................38
4.8.4 Camera info...............................................................................................40
4.9 Camera Settings..............................................................................................41
4.9.1 Information ................................................................................................42
4.9.2 Network.....................................................................................................43
4.9.3 Schedule...................................................................................................48

3|ENGLISH
4.10 Admin............................................................................................................56
4.10.1 Date/time.................................................................................................57
4.10.2 Upgrade ..................................................................................................58
4.10.3 Reboot.....................................................................................................58
4.11 SD-Card Playback.........................................................................................59
4.12 Local Search .................................................................................................61
4.13 Information ....................................................................................................63
5.0 The webpage of the camera................................................................................64
5.1 Login to the webpage ......................................................................................64
5.2 Information......................................................................................................65
5.3 Network...........................................................................................................65
5.3.1 Wired Network...........................................................................................66
5.3.2 Wi-Fi security.............................................................................................67
5.3.3 Advanced ..................................................................................................69
5.4 Video...............................................................................................................70
5.4.1 Video Display ............................................................................................70
5.4.2 Video Settings...........................................................................................71
5.4.3 Mobile Video settings.................................................................................73
5.4.4 Night mode Control....................................................................................74
5.5 Schedule.........................................................................................................74
5.5.1 E-mail/FTP alarm.......................................................................................75
5.5.2 Speaker Alarm...........................................................................................77
5.5.3 NAS settings..............................................................................................78
5.5.4 SD-Card settings.......................................................................................81
5.5.5 Scheduling.................................................................................................82
5.6 Admin..............................................................................................................83
5.6.1 Admin login................................................................................................84
5.6.2 LED Display Control ..................................................................................84
5.6.3 Date/Time..................................................................................................85
5.6.4 Upgrade ....................................................................................................86
5.6.5 Reboot.......................................................................................................88
5.6.6 Set to factory default..................................................................................89
6.0 Dropbox...............................................................................................................90
6.1 Configure the camera to record to your Dropbox account................................90
6.1.1 Android......................................................................................................90
6.1.2 iPod/iPhone...............................................................................................91
6.1.3 iPad...........................................................................................................91
6.2 Configure the APP to get access to the Dropbox recordings............................92
6.2.1 Android......................................................................................................92
6.2.2 iPod/iPhone/iPad.......................................................................................92
6.3 Playback of Dropbox recordings......................................................................93
6.3.1 Android......................................................................................................93
6.3.2 iPod/iPhone/iPad.......................................................................................93
6.4 Changing the recording settings ......................................................................94
6.4.1 Login to the webpage ................................................................................94
6.4.2 Video Settings...........................................................................................95
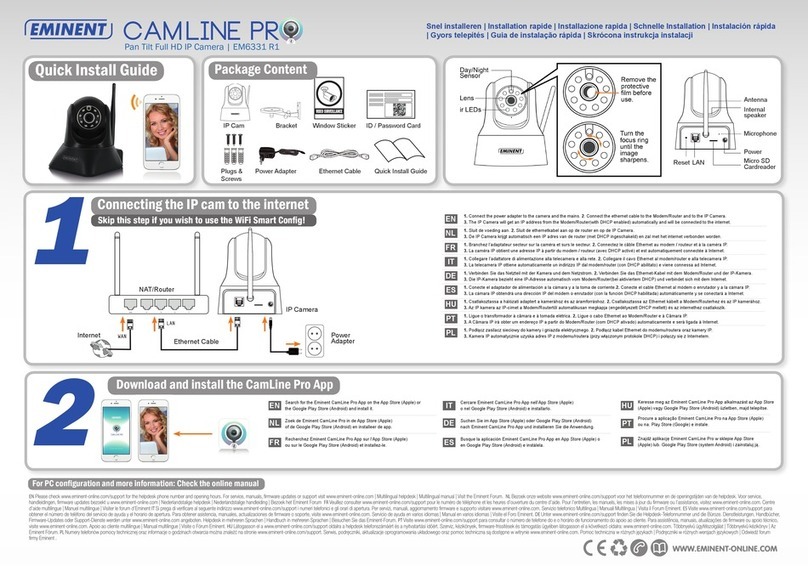
4|ENGLISH
7.0 Frequently Asked Questions and other related information..................................97
8.0 Service and support.............................................................................................97
9.0 Warning and points of attention ...........................................................................98
10.0 Warranty conditions...........................................................................................99
1.0 Introduction
Congratulations with the purchase of this high-quality Eminent product! This product
has undergone extensive testing by Eminent’s technical experts. Should you
experience any problems with this product, you are covered by a five-year Eminent
warranty. Please keep this manual and the receipt in a safe place.
Register your product now on www.eminent-online.com and receive product updates!
1.1 Packaging contents
The following parts need to be present in the packing:
EM6275 Easy pro view HD Pan/Tilt IP camera
Power supply
Quick install guide
Network cable
Mounting bracket
Screws and plugs
CD-ROM with software and wizard
ID/Password card

5|ENGLISH
1.2 Requirements to access the camera.
It is very easy to access the video images of the EM6275 on your smartphone, tablet
or PC. You only need the ID and password that is written on your ID/Password card
and download the application for your device. You do not need to remember or setup
the configuration of your modem/router to be able to access the camera.
1.3 Major hardware components.
The components on the front of the EM6275 are:
Microphone –for receiving the audio/voice. Effective distance is about 5 meters.
Light detector –for light intensity detection to be able to switch automatically
between Day and Night
Lens –the lens is inside the camera body and the focus of the lens is fixed, you
do not need to spend time to adjust the focus, the effective focus range is from
30cm to infinity. There are two lens for day and night usage separately.
IR LED –for the Infra-Red lighting of the night mode usage.
WPS button –this is to automatically synchronize the Wi-Fi settings with a WPS
capable Wi-Fi router.
Reset button –this is the button to reset the EM6275 to default factory settings.
You need to use a small stick like pencil or tooth stick to press the reset button for
more than 3 seconds to enable the reset function. Usually when you forgot the
administrator account, you will probably need to do this reset action to reset to the
default factory settings. Please refer to section 5.6.6 for more details.
Internal Speaker –for two way audio and speaker alarm usage.

6|ENGLISH
The components on the top of the EM6275 are:
Micro-SD card indication LED(yellow) –this LED is to indicate the status of the
Micro-SD card recording, it will be on when the Micro-SD card is inserted and will
blink during recording.
Ethernet indication LED (blue) –this LED is to indicate if the Ethernet link is ok
and packet traffic is sending/receiving. When the Ethernet cable is connected, the
LED is on. When there is packet sending/receiving, the LED is blinking blue light.
Status indication LED (red) –this LED is to indicate the Internet connection status.
When the Internet connection is connected, the LED will be constant red light. If
there is any Internet connection problem, the LED will be blinking red light.
Micro-SD card slot –for inserting the Micro-SD Card. (support up to 32G bytes)
The components on the back of the EM6275 are:
Power jack –this is the place to plug in the power adapter. The power needed for
this EM6275 is 12V/1.0A or 5V/1A, please make sure you are using the correct
power adapter.
Ethernet jack –this is the place to plug in the RJ45 Ethernet cable. When the
Ethernet link is ok, the Ethernet indication LED on the front side will be blue light.

7|ENGLISH
The components on the bottom of the EM6275 are:
Bracket screw hole –this is the position to screw in a universal mounting bracket
(not included) for cameras.
Bracket slots –This is used to mount the device to the wall or ceiling using the
enclosed mounting bracket.
2.0 Installing the camera
A few short and simple steps are necessary to connect and assign the camera, and to
enjoy the use of the camera. Use the following steps to connect the camera.
2.1 Connecting the camera to your network using a
network cable
We advise to connect the camera first with a network cable. Once the camera works
correctly, you can use your wireless network.
1. Connect the camera to a power outlet using the supplied power adapter.
2. Connect the camera to your router or switch using the supplied network cable.

8|ENGLISH
2.2 Which App should I install?
Choose the right App for your preferences/device
Feature
Description
Easy Pro
View
Easy Pro
View HD
Easy Pro
View
Platform
Support device
iPhone/iPod
iPad only
Android
CAMID/Password
ID/Password Access
YES
YES
YES
Remote Live viewing
Remote Live video viewing
YES
YES
YES
Video Recording & Playback
Video record and playback on device
YES
YES
YES
PUSH Notification
Motion/Audio alert directly to
smartphone
YES
YES
YES
Remote SD card Video
Playback
Retrieve video data from SD card
remotely
YES
YES
YES
Advance Video setting
Wi-Fi Scan, test and other advanced
settings
YES
YES
YES
Local device Auto‐search
Local device scan and auto‐search
YES
YES
YES
Motion Detection Push Alert
Push notification on motion detection
YES
YES
YES
Audio Detection Push Alert
Audio notification on motion
detection
YES
YES
YES
Cost
Retail Price at App Store
FREE
FREE
FREE
For this manual we use Easy Pro View on iPod/iPhone.
2.3 Installing the Easy Pro View App on an Android device
Before you can view the video of the camera, you need to download and install the
app “Easy Pro View” from the “Play Store”.
If you already have installed the APP, please make sure you have installed the latest
version of the APP.
1. Download and install the app “Easy Pro View” from the “Play Store”.
2. Open Easy Pro View.
3. Select the “+” button to add the camera to the App.
4. A new window opens to enter the data of the camera.
5. Enter the following fields:
Camera name: Enter a description of the camera (example: front door)
CamID: Enter the ID provided on the ID/Password card.
Password: Enter the 4 digit password provided on the ID/Password card.
Optional: Enable Dynamic icon update to get an update of the camera icon
every time you have connected to the camera.
Enable the option “Save admin password” to save the admin password.
6. Select “OK” to add the camera.

9|ENGLISH
2.4 Installing the Easy Pro View App on an Apple device
Before you can view the video of the camera, you need to download and install the
app “Easy Pro View” from the “App Store”.
If you already have installed the APP, please make sure you have installed the latest
version of the APP.
1. Download and install the app “Easy Pro View”* from the “App Store”.
2. Open Easy Pro View.
3. Select the “+” button to add the camera to the App.
4. A new window opens to enter the data of the camera.
5. Enter the following fields:
Camera name: Enter a description of the camera (example: front door)
CamID: Enter the ID provided on the ID/Password card.
Password: Enter the 4 digit password provided on the ID/Password card.
Optional: Enable Dynamic icon update to get an update of the camera icon every
time you have connected to the camera.
Enable the option “Save admin password” to save the admin password.
6. Select “DONE” to add the camera.
10000000
1234

10 |ENGLISH
*For iPad download and install Easy Pro View HD this adds the possibility to view
more IP-Cams in one screen and the screen is adjusted to use in landscape mode.
Click to select trigger
source for alarm
notification (section 4.6)
Switch ON/OFF to save
admin password
Switch ON/OFF for
dynamic icon update

11 |ENGLISH
2.5 Installing the software and camera on a PC or
notebook (Windows).
Before you can view the video of the camera, you need to install the software” Easy
Pro View” from the CD-ROM.
1. Insert the CD in the CD-ROM.
2. If auto-run is enabled the Wizard should start.
3. Run the wizard to install the application Easy Pro View/Play.
4. There are 2 applications installed on the PC: Easy Pro View and Easy Pro Play
5. Open Easy Pro View. (If prompted with a screen about the firewall click always
allow).
6. If the computer and the EM6275 is connected to the same network, The CAM ID
will be displayed in the “Auto Search” list. You can double click the “Auto
Search” to search all the connected IP CAMs any time. The only thing left right
now for seeing the video is to double click the CAM ID item in the “Auto Search”
list. A window asking for password input will pop up. Please enter the password
displayed on your ID/Password card into this field and click “OK”. The video will
then be displayed on the window.
7. If the EM6275 is not in the same network as the computer you can add the
EM6275 by right clicking the mouse button on “Camera List” and select “new
Camera”.

12 |ENGLISH
8. Camera name: Enter a description of the camera (example: front door)
9. CamID: Enter the ID provided on the ID/Password card.
10. Password: Enter the 4 digit password provided on the ID/Password card.
11. Select “OK” to add the camera.
With the toolbar you can select how and the amount of video feeds you would like to
view on your monitor from 1 to 36 screens.
2.6 Installing the software and camera on a MAC.
Before you can view the video of the camera, you need to install the software” Easy
Pro View” from the CD-ROM.
1. Insert the installation CD-ROM in the CD- or DVD-ROM drive, or download the
driver from our website.
2. Open Finder.
3. Go to the CD-ROM.
4. Open the folder ‘software/MAC’.
5. Launch the .dmg file.
6. the following “DISK IMAGE” virtual disk will be appeared on the Desktop of your
Mac OSX system. (This “DISK IMAGE” virtual disk will be auto-removed after
rebooting Mac OSX system.)
10000000
1234

13 |ENGLISH
7. Drag and drop the EasyProView.app icon to the “Applications” folder.
8. The application is now successfully installed on your MAC
9. Open Easy Pro View.
10. If the computer and the EM6275 is connected to the same network, use the
search button to find the camera in your local network. The CAM ID will be

14 |ENGLISH
displayed in the list.
11. Click the corresponding CAM ID you wish to add. The only thing left right now for
seeing the video is to enter the password displayed on your ID/Password card
into the password field and click “OK”.
12. Now if you click the button you will be able to drag and drop the desired CAM

15 |ENGLISH
ID into a empty window to view the video stream on your MAC.
13. If the EM6275 is not in the same network as the computer you can add the
EM6275 by clicking the button next to the text “Camera List”.
14. Now click “New camera”.
15. Name: Enter a description of the camera (example: front door)

16 |ENGLISH
16. ID: Enter the ID provided on the ID/Password card.
17. Password: Enter the 4 digit password provided on the ID/Password card.
18. Select “OK” to add the camera.
With the toolbar you can select how and the amount of video feeds you would like to
view on your monitor from 1 to 6 screens.
2.7 Adding the camera to a wireless network
There are 3 options to connect the EM6275 to your wireless network. First option is to
use the WPS button (Modem/router needs to support the WPS option). The second
option is to use the software installed on your PC (windows). Third option is to
configure the settings by using the App.
2.7.1 Connecting to Wi-Fi using the WiFi QR code scanner
With this new feature you are now able to setup your WiFi fast and simple on the Easy
Pro View cameras.
Notice: If you have a Dual-band modem/router please make sure your
smartphone/tablet is not connected to a 5Ghz WiFi connection. The Easy Pro View
cameras do not support 5Ghz WiFi connections.
First make sure your Android or Apple Smartphone/Tablet is connected to the
same Wireless network as you wish to connect your Easy Pro View camera to.
Open the APP.
Select at the bottom the button “WiFi setup”.
You will first get an explanation on your screen how this feature works and what
steps need to be taken.
When you have seen the explanation and you have removed the network cable
from the camera press the “Next” button.
You will be prompted to enter the password for your WiFi network enter the
correct password for this WiFi network.
Press “OK”.
There will appear a QR code on the screen of your Smartphone/Tablet.
10000000
1234

17 |ENGLISH
Now press the “WPS”button on your Easy Pro View camera and check if the
Status LEDs are blinking.
Now lineup the QR-code displayed on the screen of your Smartphone/Tablet
facing the camera with a distance between 10~20cm.
Once the QR code is accepted the status LEDs will light up (the EM6250HD,
EM6270 and the EM6275 will also confirm with a beep).
The camera will now reboot and connect to your WiFi network.
If the camera ID has not yet been added to the camera list of the APP you will be
prompted to add the camera to the camera list (if preferred you can change the
camera name in the pop-up screen).
2.7.2 Connecting to Wi-Fi using the WPS button.
1. Disconnect the Ethernet cable from the camera.
2. Press the WPS button on the camera.(1 second)
3. Press the WPS button on your modem/router.(please refer to the manual of the
modem router for information about how to start WPS synchronization)
4. The blue LED will start blinking (Camera is synchronizing the wireless encryption
settings with your modem/router). The synchronization is ready when the Blue
status LED continuously lit.

18 |ENGLISH
2.7.3 Connecting to Wi-Fi using the App.
1. Ensure the camera is connected to the network with a Ethernet cable.
2. Start the App “Easy Pro View”.
3. Select the “Camera settings” menu by pressing the arrow next to the camera you
would like to configure.
4. (if prompted Login with username: (default “admin”)
Password: (default “leave blank”)
5. Select “Network”
6. “Wi-Fi Network”
7. “Enable”Wi-Fi
8. A list of available wireless networks will be displayed.
9. Select the wireless network you want to connect to (if not displayed press
“Refresh”)
10. Enter the wireless encryption key and press “OK”
11. Disconnect the Ethernet cable to connect to the wireless network.
2.7.4 Connecting to Wi-Fi using the PC (windows).
1. Ensure the camera is connected to the network with a Ethernet cable.
2. Install the software on the CD-ROM
3. Start “Easy Pro View”
4. Right click on camera ID in the “Auto search”list and click “Web configure”
5. Login with username: (default “admin”)
Password: (default “leave blank”)
6. Click “Network”
7. Click “WiFi security”
8. A control panel will appear for your Wi-Fi settings
9. Select “Enable WiFi function”(to activate he WiFi module)
10. Now you can use 2 different ways to configure the camera to connect to the Wi-Fi
network; manually or you can use the software to AutoDetect your Wi-Fi network.
11. Click “WiFi scan” to search for available wireless networks.
12. Select the Wireless network you want to connect to.
13. Enter the Encryption settings and the WPA-PSK key of the wireless network and
click “Save & Apply”.
14. Disconnect the Ethernet cable to connect to the wireless network.
2.7.5 Connecting to Wi-Fi using the MAC.
1. Ensure the camera is connected to the network with a Ethernet cable.
2. Install the software on the CD-ROM
3. Start “Easy Pro View”
4. Click the button next to the “Camera ID”
5. Click “Camera settings”
6. Login with username: (default “admin”)
Password: (default “leave blank”)
7. Click “Network”
8. Click “WiFi network”

19 |ENGLISH
9. A control panel will appear for your Wi-Fi settings
10. Select the Wi-Fi checkbox “Enabled” (to activate the Wi-Fi module)
11. Now you can use 2 different ways to configure the camera to connect to the Wi-Fi
network; manually or you can use the software to AutoDetect your Wi-Fi network.
12. Select the Wireless network you want to connect to from the list or select “Other”

20 |ENGLISH
to manually configure the Wi-Fi connection.
13. Enter the Encryption settings and the WPA-PSK key of the wireless network and
click “Update”.
14. Disconnect the Ethernet cable to connect to the wireless network.
2.8 Micro SD-Card installation
To be able to automatically record the video stream you will need to install a Micro
SD-Card (not included) into the micro SD-Card reader/writer of the EM6275 (max.
32GB micro SD-Card).
2.9 Mounting the camera on the wall or ceiling
1. Once the camera is connected correctly with your computer, you can mount the
camera on a wall or ceiling.
2. Mark the holes at the location where you want to mount the camera.
3. Drill the holes and fill the holes with the supplied plugs and screws.
4. Mount the supplied mounting bracket to the wall or ceiling.
5. Mount the camera on to the mounting bracket.
6. Connect the power supply into the wall socket and connect the power tip to the
camera.
7. Connect additionally the Ethernet cable into the Router and the camera (not
necessary if the camera is connected via Wi-Fi).
Table of contents
Other Eminent Security Camera manuals

Eminent
Eminent CamLine Pro EM6331 User manual

Eminent
Eminent EM6220 User manual

Eminent
Eminent EM6355 User manual

Eminent
Eminent CAMLINE PRO EM6331 R1 User manual

Eminent
Eminent Easy Pro View EM6260 User manual

Eminent
Eminent EM6027 User manual

Eminent
Eminent CamLine Pro EM6325 User manual

Eminent
Eminent EM6325 R1 User manual

Eminent
Eminent EM6270 User manual

Eminent
Eminent EM6050 User manual