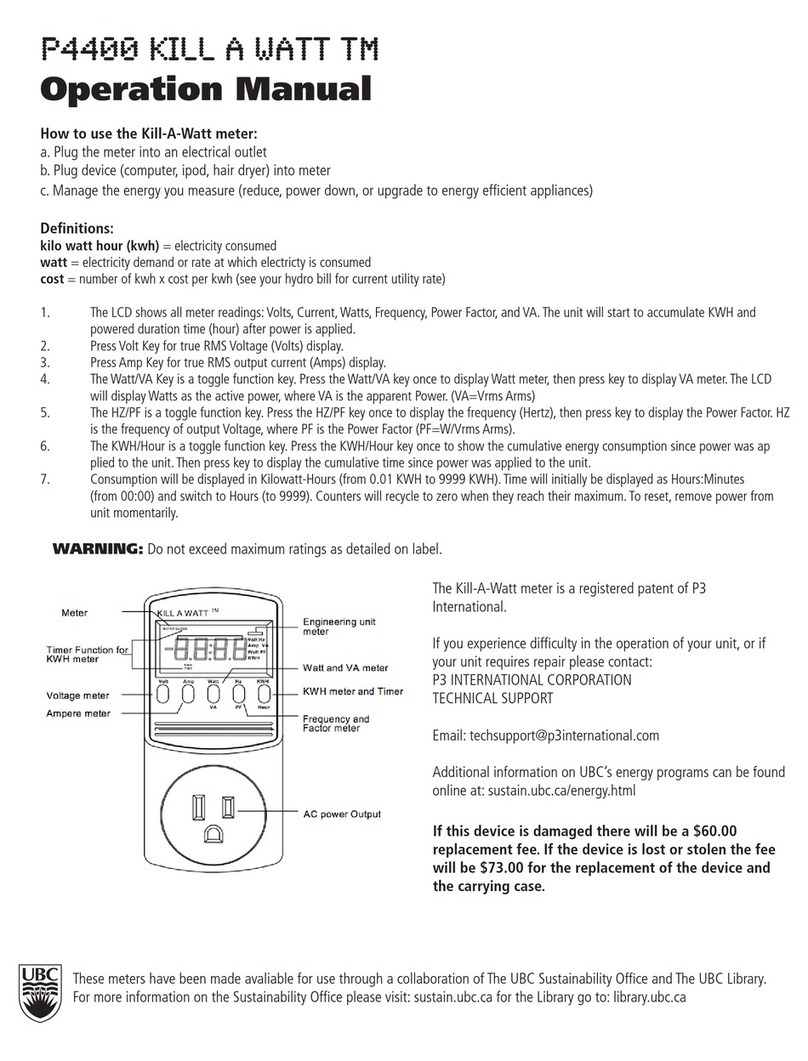
EMIT eScan2 User manual

USERS MANUAL
eScan2
(c) Emit 12th of May 2021
Emit AS Tel: +47 22 91 03 00
Bedriftsvn. 10 Web: www.emit.no

eScan2 is Emit's new tag reader, which reads all types of Emit e-cards and
emi ags, as well as barcodes. he contents of the tags are simultaneously
transferred to a PC and to the included wireless printer. eScan2 has a
graphical display, a built-in LED, speaker and vibrator, that indicates that
the tag is read. eScan2 has rechargeable batteries, which are charged via
the USB cable.
eScan2 comes with the following equipment included:
• EPR3 - wireless printer with battery charger
• USB extension cable
• «Emergency charger» - extra battery pack
• Two rolls of thermal paper
Batteries and charging
eScan2 has two ickel Metal Hydride ( iMH) 2000 mAh rechargeable batteries
built-in. The batteries are charged with an USB cable, either using the included
charger, a connected PC or the emergency charger. Charging the batteries takes
a maximum of 5 hours, if the batteries were empty at the start of charging. When
the batteries are fully charged, they should last for over 16 hours of use.
Keypad
In addition to the numeric keypad, eScan2 has the following keys:
• 'Clear / O ' - turns eScan2 on / off, deletes the last character or exits the menu
• 'Scan' - reads emiTags or barcodes
• 'Menu' - enters menu mode or skips one step backwards in the menu
• 'Enter' - confirms selection
• In addition, the red arrow keys are used to move around in the menus

Connections/ports
eScan2 has two connection ports, as well as a slot on the end of the device:
The port on the left is a serial port, which is used for connecting various external
equipment, such as serial printer, starter gate, photocells, etc. The port in the
middle is used to connecting an USB cable - to transfer data to PC with suitable
results program, and for charging eScan2. The slot on the right is used for
reading QR codes and barcodes.
Starting eScan2
eScan2 is started by pressing the key marked 'Clear / O '. The LED at the top
left lights up in quick succession green, red and blue and a welcome sound is
played. The Emit logo appears briefly on the display, before the current settings
are shown:
Code=250
Passings=527
Sn=857200002
ESCAN2 v1.00 r595
The first line shows which code eScan2 is set to (250). Second line shows how
many passes / readings, that are registered for this event. The third line shows
the serial number of the eScan2 and the fourth line shows which firmware
version is used.
After about 3 seconds, the display switches to operating mode, showing the
current time at the top line, as well as the battery status. If BLE is activated, the
text «BLE» will flash between current time and battery status on the top line.
Similarly, if the printer is activated, a printer icon appears on the top line,
between “BLE” and the battery status.
eScan2 is now ready for use.
Key lock
eScan2 has a key lock feature, which turns on automatically if eScan2 has not
been used for one minute. This is to avoid accidental touching any of the keys
while using eScan2. Turn off the key lock by pressing the '7' key for two seconds.
It is possible to change the key lock settings in the menu system.

Reading emi ags
To read an emiTag, press the key marked 'Scan' while the eScan2 is held an
inch or two away from the tag. When a tag is successfully read eScan2 will
vibrate and emit a sound, as well as showing the tag number on the second top
line of the display (the line below the running time). If the printer is
connected, it will produce a printout, which looks like this:
Normal printout emiTags
Printout Explanation
Tag: 4161048 Tag nu ber
Version: 01.12 Tag's version nu ber
Date: 05.02.2021 Ti e: 12:49:50 Date and ti e for printout
e iTag II Type of e iTag
0 00:00:00 00:00:00 0 Start
1 00:01:37 00:01:37 116 Control no.1, split ti e fro
start to first control, used
ti e, control code for the
first control
2 00:03:33 00:05:10 133 Control no.2, split ti e fro
first to second control, used
ti e, control code for the
second control
3 00:08:29 00:13:39 146 Control no.3, split ti e fro
second to third control, used
ti e, control code for the
third control
…
8 00:01:24 00:50:05 90 Finish, ti e fro last control
to finish, finish ti e,
control code for the finish
control
Total ti e: 00:50:05
Reading e-cards
To read an e-card, place it on top of the eScan2, inside the field that is
marked with a thin red line. Upon successfullly reading, the eScan2 will vibrate
and emit a sound, as well as showing the e-card number on the second top line
of the display (the line below the running time). If the printer is
connected, it will produce a printout, which looks like this:
Normal printout e-cards
Utskrift Forklaring
Tag: 503806 Tag nu ber
Date: 05.02.2021 Ti e: 12:49:50 Date and ti e for printout
Production: Week 12 Year 17 Production week and year
E it EPT V6.00 Type of e-card
0 00:00:00 00:00:00 0 Start
01 00:01:37 00:01:37 116 Control no.1, split ti e fro
start to first control, used
ti e, control code for the
first control
02 00:03:33 00:05:10 133 Control no.2, split ti e fro
first to second control, used
ti e, control code for the
second control
03 00:08:29 00:13:39 146 Control no.3, split ti e fro
second to third control, used
ti e, control code for the
third control
… Up to 48 controls

8 00:01:24 00:50:05 90 Finish, ti e fro last control
to finish, finish ti e,
control code for the finish
control
Total ti e: 00:50:05
Reading barcodes
eScan2 can be used to read barcodes and QR-codes.
To read barcodes, point with eScan2 at the barcode that should
read, and press the key marked 'Scan'. A white LED lights up
the barcode, at the same time as the built-in barcode reader projects a red light
on the barcode. If the barcode can be read, the start number will be shown on
the display of eScan2, while eScan2 vibrates and emits a sound. If
the barcode cannot be read, the text «Error CRC» appears in the display and
eSacn2 beeps. "Incorrect CRC" means that the barcode is of the wrong type.
urn off eScan2
eScan2 automatically turns off if it has not been used for one hour. It can also be
turned off manually,by pressing the 'Clear / O ' key for two seconds.
MENU SYS EM
The menu system is used to customize different settings for eScan2. In this
section we will go through all the menu items and explain how they work. Press
the 'Menu' button to enter the main menu. By pressing 'Menu' again, you will
return to operating mode. By pressing 'Clear' you always return to operating
mode. Use the red arrow keys (2, 4, 6 and 8) to maneuver in the menus and
'Enter' to confirm selection.
1: New race
This function resets the counter for registered tags/e-cards. This is
recommended to do before each new race / event!
2: Code
eScan2 can be set to four different “reading codes”, in addition to an optional
code, if it is not to be used to read tags/e-cards. Choose between code A (250),
code B (251), code C (252), code D (253) and the optional code. If you select an
optional code, you must enter three digits and the code must be less than 250.
3: Competitor
In the competitor menu you can enter name, start number and up to two tags/e-
cards per competitor. Select the function ' ew' to add a new competitor. The
name of the competitor is written using the number keys with letters (as on old
mobile phones). For example, you get the name "Ola" by pressing the 6 key
three times, the 5 key three times and the 8 key once. The 0 key is used for
spaces, and the 'Enter' key to confirm the entered value. By holding down the
'Menu' button for at least two seconds, you can switch between uppercase and
lowercase letters, as well as numbers. Then you register the competitor's start
number and tag/e-card number(s).
The 'Search' function allows you to search for a competitor among those who
have been entered. Enter the name, or parts of the name, of the competitor you

are looking for and press 'Enter'. The 'List' function shows the names of all
registered competitors. Use the arrow keys to scroll through the list, and the
'Enter' key to display additional information (start number, tag/e-card number(s)
of the relevant competitor. The 'Edit' function is used when you want to change
some of the information entered on a competitor. Use the arrow keys to scroll
down to the competitor you want to change, and press the 'Enter' key to display
the competitor's information. When you get to what you want to change (name,
start number, tag/e-card number), the 'Clear / O ' key is used to delete the
values entered, and the correct value is entered - in the same way you do when
you enter to a new competitor. 'Delete' is used when you want to delete a
competitor, while 'Delete all' deletes all competitors. This menu selection must be
confirmed with 'Enter'.
4: Information
The information menu is divided into three submenus. Use the arrow keys to
navigate between the different submenus.
4.1: General
General information about eScan2. The first line shows which code eScan2 is set
to. The second line shows how many passes have been registered for the event
in question. The third line shows the eScan2 serial number.
4.2: Power
The current menu shows current information about the batteries in eScan2. The
first line shows how many volts the battery has. Second line shows the charging
voltage, while third line shows the level of the battery (10 = fully charged, 1 =
almost empty battery)
4.3: Version
The first line shows which firmware version is running on eScan2. The second
line shows which version of BLE is used.
5: Settings
The settings menu has a number of submenus, which allow the user to change
the layout of eScan2. Use the arrow keys to scroll through the submenus and
confirm the desired selection with 'Enter'.
5.1: Set clock:
Select this menu option to change the time and / or date. ew time (in the format
TT: MM: SS) is entered with the number keys and you acknowledge with the
'Enter' key when the clock is exactly equal to ¨second equal to the time you have
tested. ew date is entered in the same way (in the format DD / MM / YYYY).
5.2 ACK:
Turn off or 'ack' (acknowledgment) for emiTags. If ack is on, eScan2 confirms
that the chip has been read, so that the chip does not send the same message
several times. If 'ack' is off, emiTag sends all messages three times. Default
choice is that 'ack' is on.

5.3 Printer:
In the printer menu, you have three options. Select 'printer' to decide whether the
printer should be turned off, whether you want to connect a serial printer, or
whether you want to connect a wireless printer. The 'Read / Scan' menu option
allows you to search for a wireless printer (remember to turn on the printer), while
the lower menu option, ' ame' allows you to name the printer, if you want an
easier-to-read name. When the printer is enabled, a printer icon appears on the
top line, between the current time and the power icon.
5.4 Save all:
This menu selection determines which emiTags to store in eScan2. If you choose
to turn on 'Save All', eScan2 will save all emiTags that are registered, regardless
of which code the emiTag registered. If you have this menu option turned off
(which is the default), only emiTags that have been read with eScan2's own code
will be registered.
5.5 Reset alt:
Selecting this menu option resets all passes and readings, as well as all
participant data. In addition, eScan2 is set to the default settings.
5.6 Protocol:
Select protocol (for transferring data to PC):
•Normal: Default values (default setting)
•Short: Sends 34 bytes. Used with some external devices.
•Ext dump: Sets an extended information protocol, which is used to read
emiTags.
5.7 Font:
Choose from three font sizes; small, medium or large. Large is the default
choice.
5.8 Language:
eScan2 supports six different languages; orwegian, English, Swedish, Finnish,
French and German. English is the factory default setting.
5.9 BLE:
BLE is used to send data to Emit's online server, via a mobile phone. An app
(which is not yet fully developed) is installed on the user's mobile phone and
ensures that reading data from eScan2 is forwarded to the Emit's online server.
5.10 Barcode:
eScan2 can read a variety of barcodes and QR codes. Select 'On' if you want to
activate barcode reading, or 'Off' if you do not want to read barcodes.
5.11 Sounds:
This menu option allows you to select which sounds to play at the following
events; reading of eCard and reading of emiTag, as well as if you want key
sound. Choose whether you want sound 'On' or 'Off', as well as which sound you
want for the various readings.

5.12 Power saving:
To save power, eScan2 has a power saving feature, which turns off the display if
eScan2 has been idle for a while. You can choose between the following options;
5 min, 10 min, 30 min, 1 hour, 2 hours, or never.
5.13 Lock keyboard:
Choose whether you want the key lock to turn on after 1 minute or not. The
default choice is that the key lock is on.
Connection of external equipment:
The serial port on the back of the eScan2 uses an RJ11 connector with six
contact points, which are connected as follows
Synchronization of E S2 and / or ESD2:
eScan2 can be used to synchronize the clock to ETS2 or ESD2. After setting the
clock on eScan2, a positive pulse is sent for 100 ms between pin5 (ground) and
pin6 (output). If you have connected ETS2 or ESD2, the clock in the connected
device will be synchronized with eScan2.
Uploading start list
It is possible to enter the name, start number and chip number of the participants
under menu option 3 - participants. However, it is also possible to transfer a
participant list from the registration system, if this supports transfer to Emit ET6.
In that case, use the utility 'EmitET6', which can be downloaded from
www.emit.no, for this purpose. However, eScan2 does not support transfer of
classes and start times - only name, start number and tag number.
Upgrading eScan2
eScan2 can be upgraded to the latest firmware version using the eUpgrade
program, which can be downloaded from www.emit.no. USB drivers for eScan2
are usually installed automatically, but if you have problems with the
communication between eScan2 and PC, you can download the latest version of
the USB driver from https://ftdichip.com/drivers/vcp-drivers/
Table of contents
Other EMIT Test Equipment manuals
EMIT
EMIT SmartLog V5 Service manual
EMIT
EMIT SmartLog V4 Installation and operating instructions
EMIT
EMIT 50512 Service manual

EMIT
EMIT 50557 Installation guide

EMIT
EMIT SmartLog V5 Installation and operating instructions

EMIT
EMIT TB-6568 Installation guide
EMIT
EMIT Limit Comparato User manual

EMIT
EMIT ESD Glove Test Fixture Installation and operating instructions
Popular Test Equipment manuals by other brands

ATEQ
ATEQ BH SENS DT41 user manual
WIKA
WIKA DELTA-comb DPGS40TA operating instructions
Inficon
Inficon VORTEX operating manual

IKONIX
IKONIX Associated Research HYAMP III Operation and service manual

WATTECO
WATTECO NETW'O quick start guide
DARKSTAR TECHNOLOGIES
DARKSTAR TECHNOLOGIES T Spanner T1 Guide to Operation
