Enabling Devices 2296 User manual

Bubble Column #2296
50 Broadway
Hawthorne, NY 10532
Tel. 914.747.3070 / Fax 914.747.3480
Toll Free 800.832.8 97
www.enablingdevices.com

A must for your sensory space!
This color changing Bubble Column is perfect for your sensory room. Soothing colors
and fun bubbles attract everyone. It’s easy to assemble – only 2 pieces – the acrylic
trunk and base. Just add water. LED technology in the base illuminates the trunk.
Colors include red, blue, green, warm white, lime, aqua and purple. Colors can rotate or
stay on. Bubble speed is adjustable. Size: 4"D x 'H. Requires AC Transformer
(included). Weight: 13 lbs.
OPERATION:
Setup:
You will first need to place your Bubble Column in the location where it will be used;
these factors must be present for proper operation. One the Bubble Column must be
placed on a flat secure level surface, e.g. floor or very sturdy table, do not place the
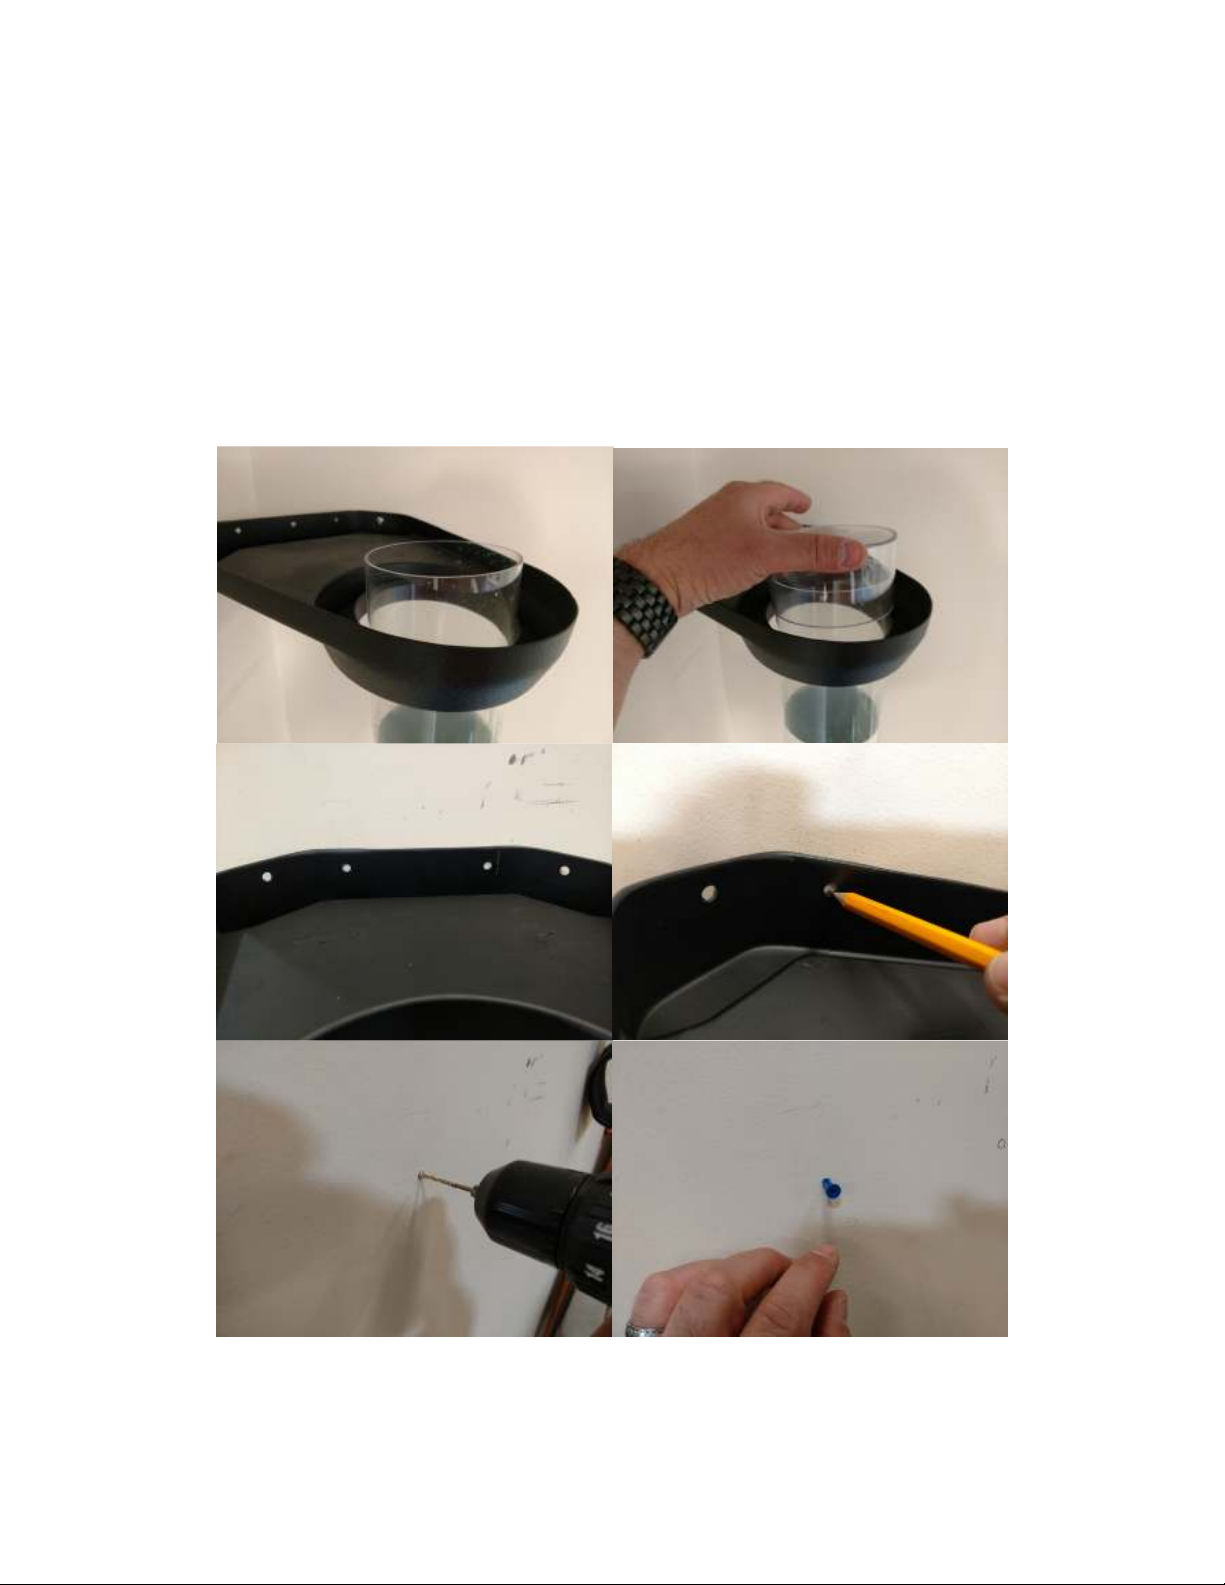
Bubble Column on any type of folding table or unstable, unleveled surface. (Wall
mounting strap included.) The Bubble Column weighs 30 Lbs. when filled with
approximately 2.25 gallons of (Distilled Water), do not use tap or spring water. Second
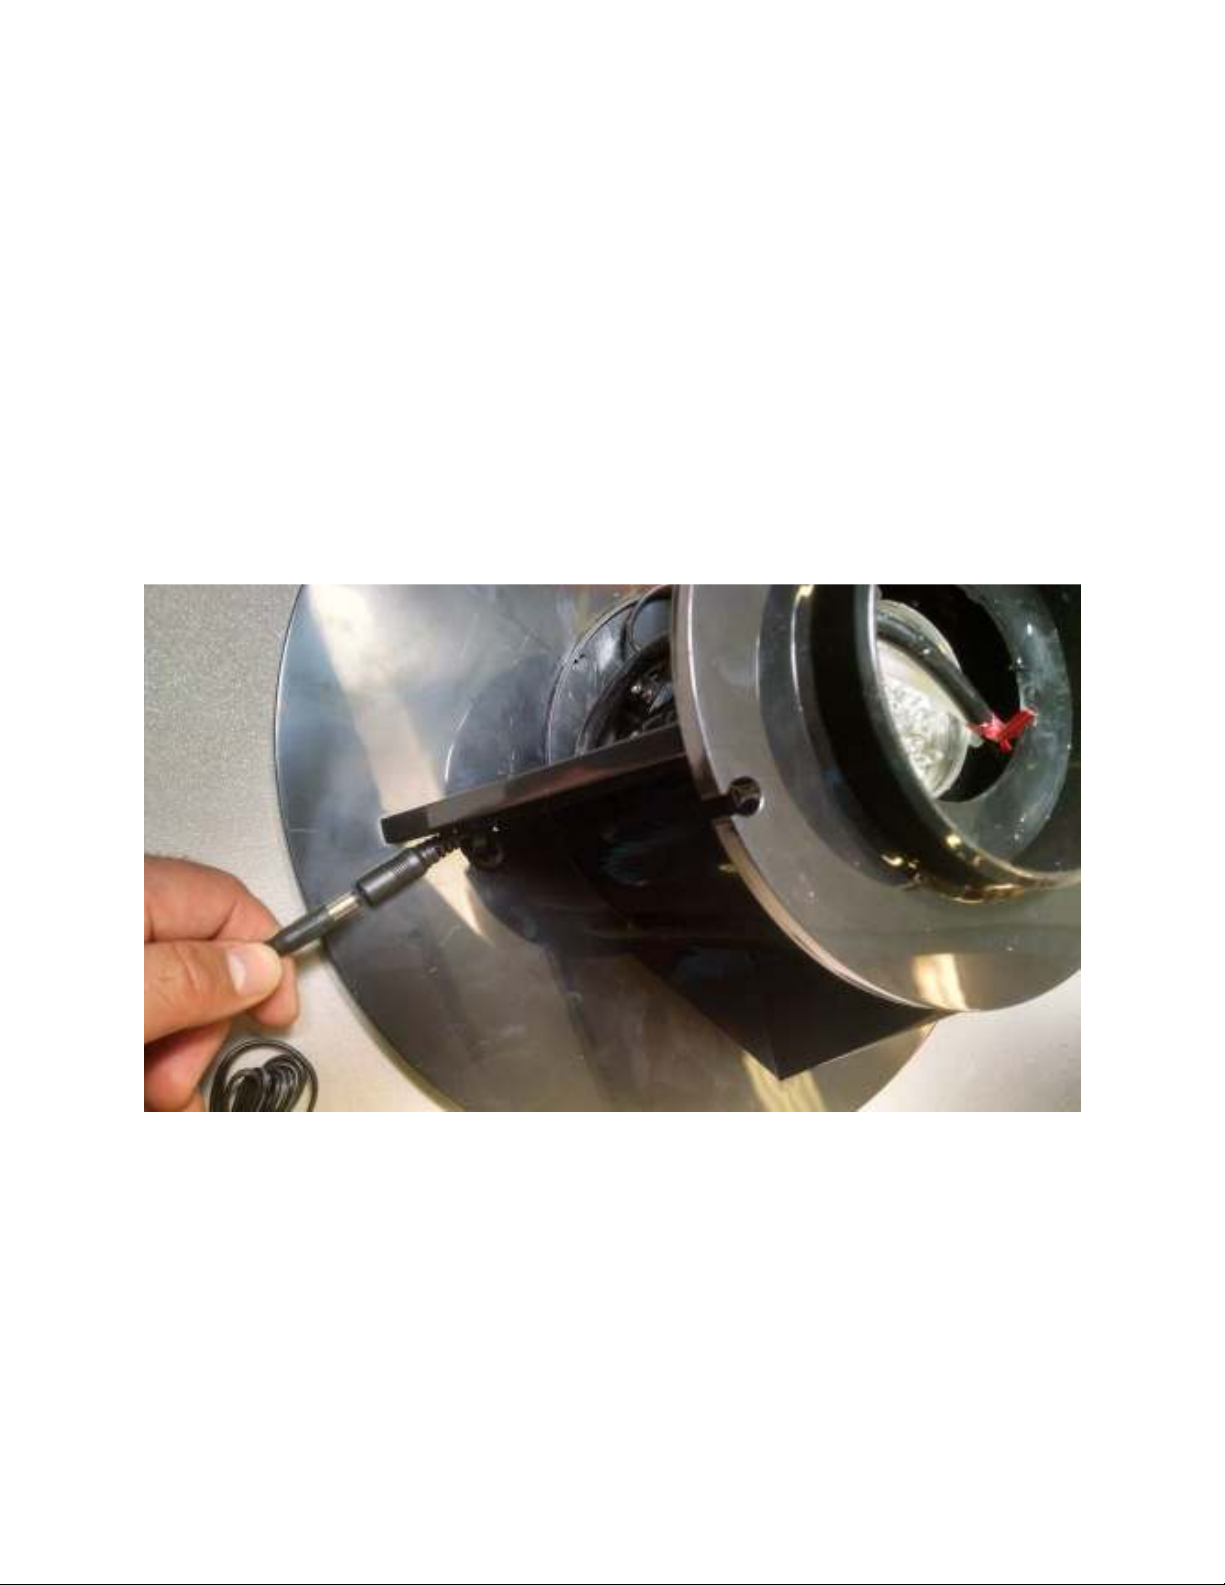
the Bubble Column requires a 120 Volt wall outlet AC power source. Please Note: If
placing the Bubble Column on the floor the power cord and any extension cords if used
should be taped down to prevent any of its users from tripping on the cords.
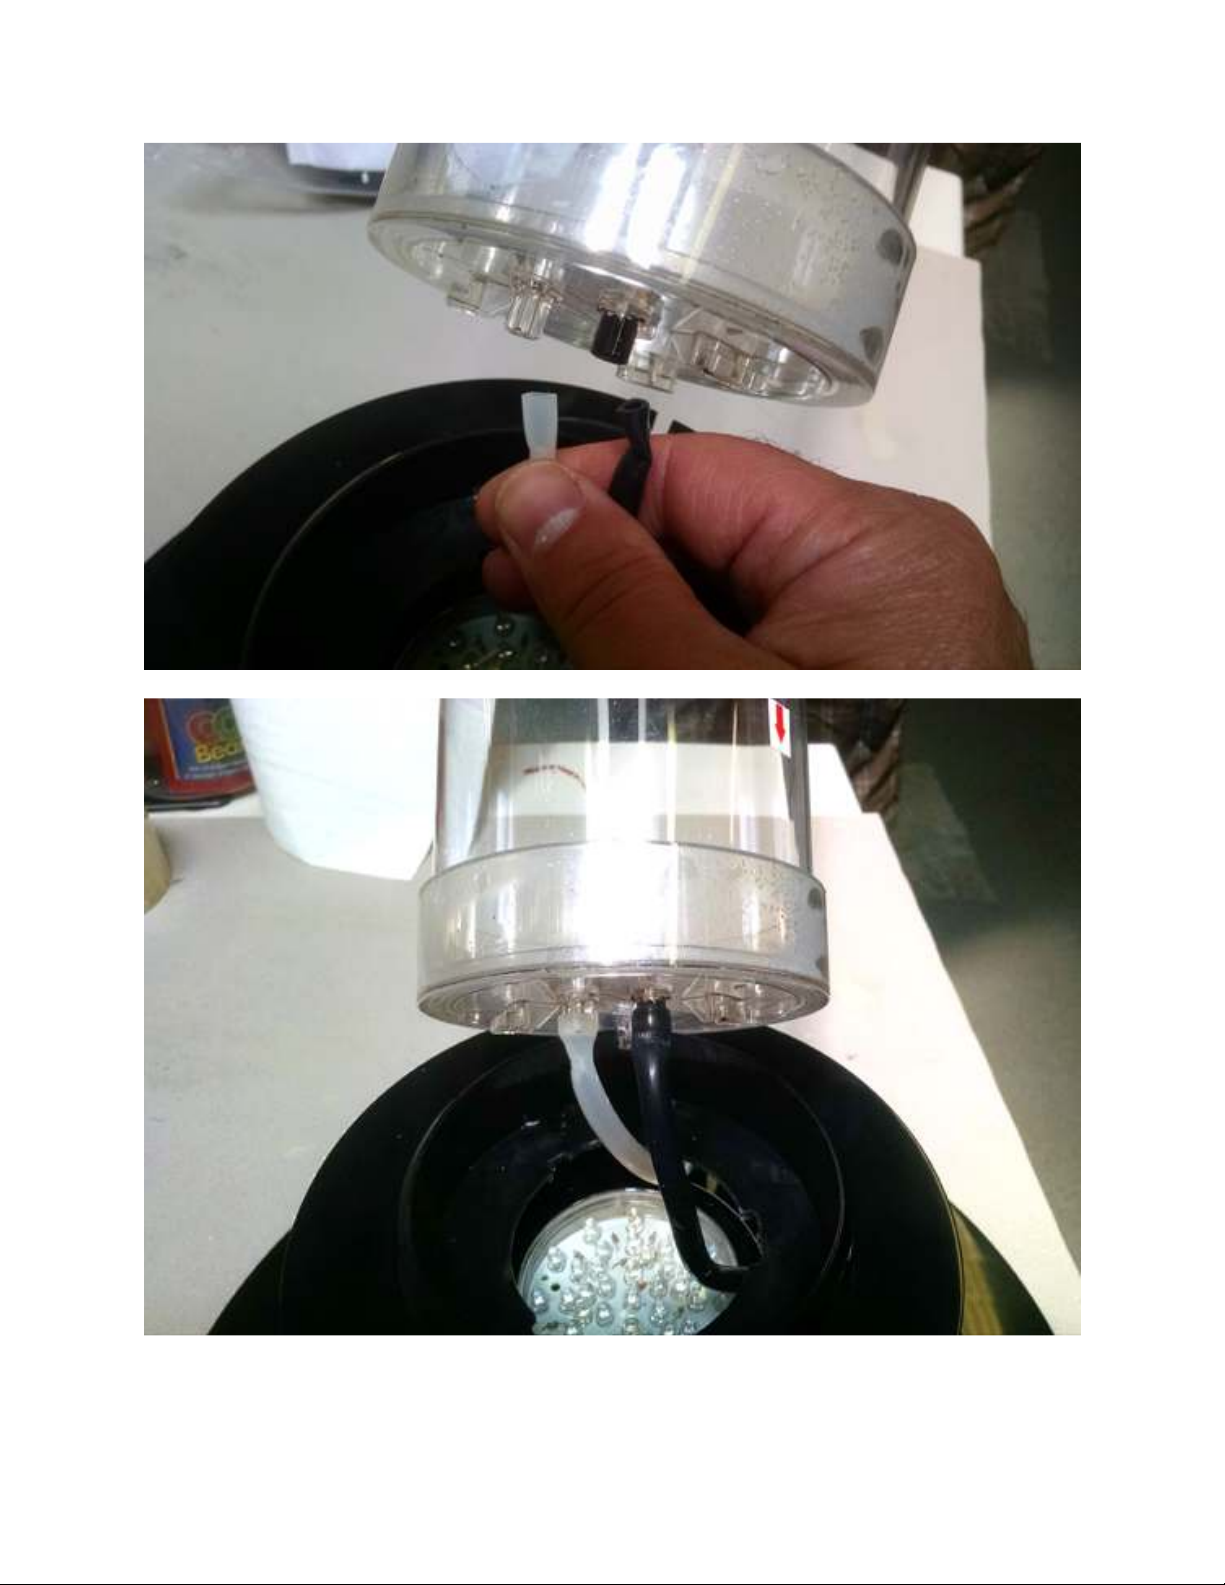
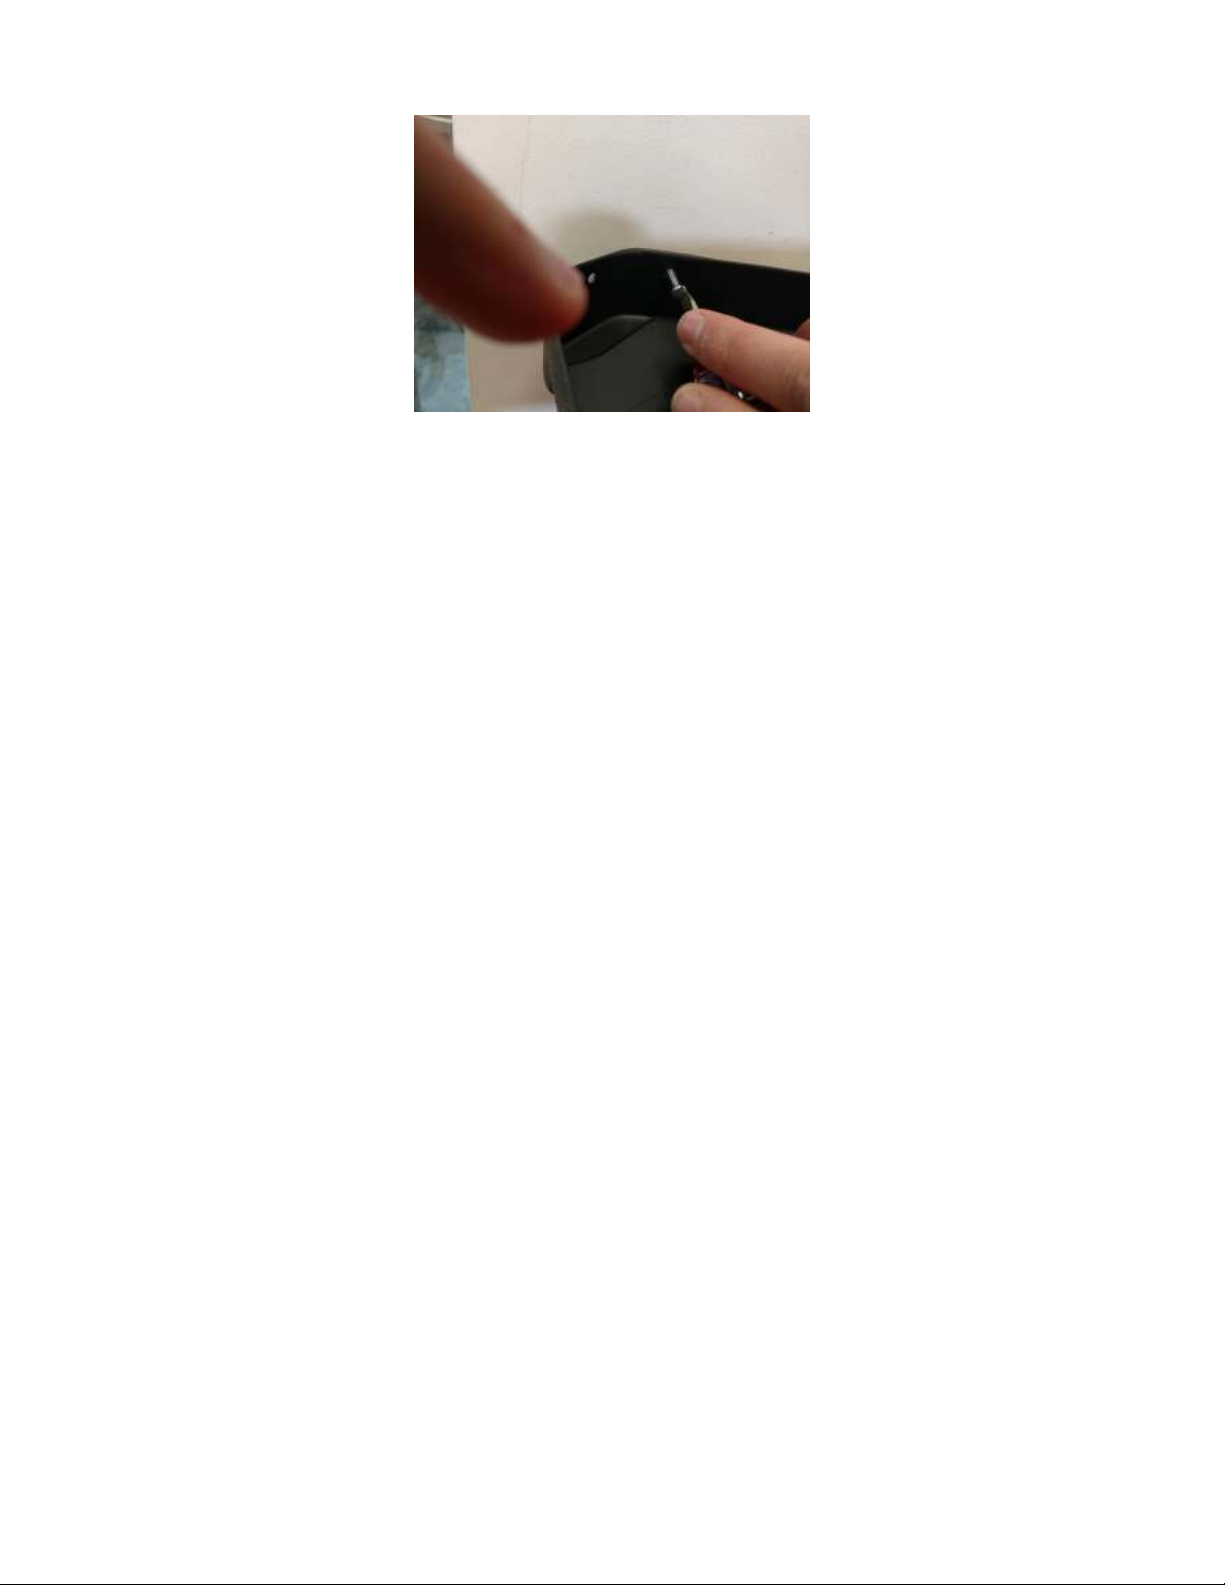
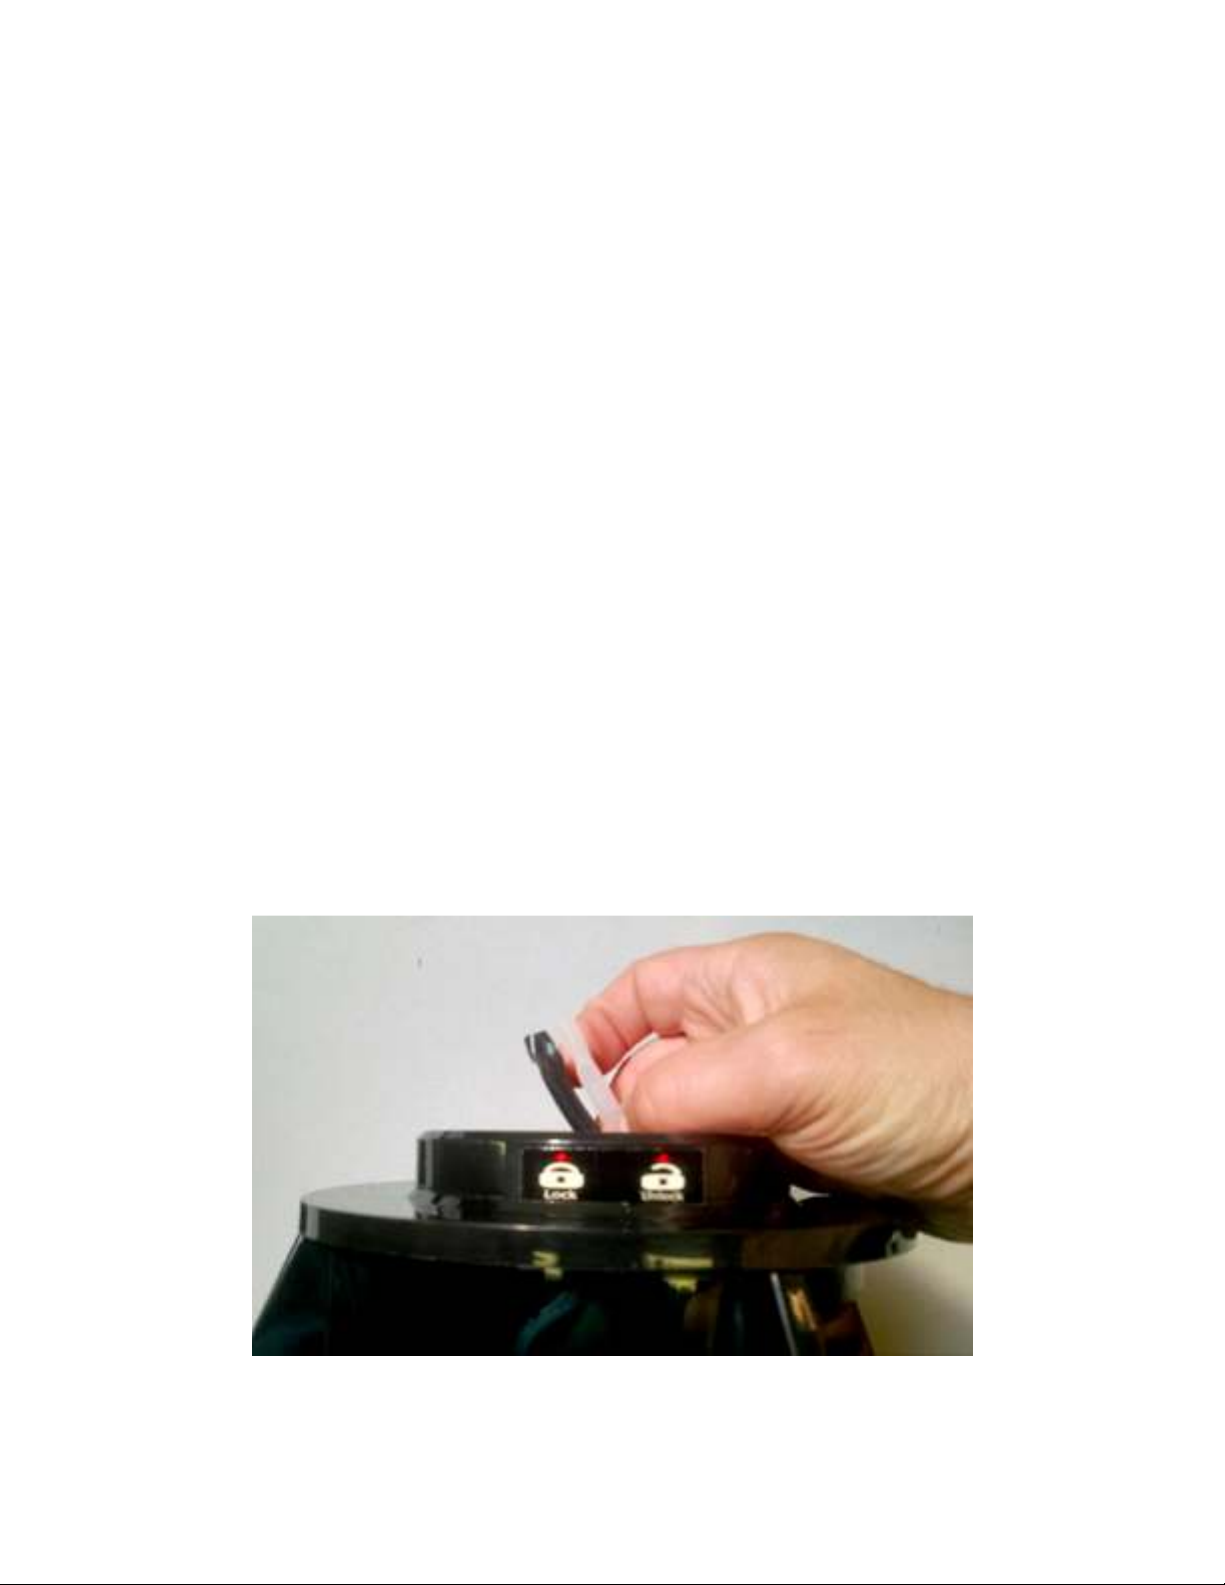
Unpack the Bubble Column and identify all parts. The base unit, AC Wall Transformer
the Bubble Tube and Bubble Tube Cap. Locate the clear air tube and the black drain
tube at the top of the base. Attach the clear hose to the clear inlet at the bottom of the
Bubble Tube. Attach the black drain hose to the black outlet at the bottom of the Bubble
Tube. (See Photos).
Page No.1

Page No.2

Next align the red arrow on the bottom side of the Bubble Tube with the unlock symbol
on the base. Slide the Bubble Tube into the top of the base, and then turn the Bubble
Tube clockwise into the lock position (As Shown).
Page No.

Test Procedure:
Before filling the Bubble Tube all the way the following test procedure should be done
for water tightness is recommended.
Fill the Bubble Tube up with about 3 cups of distilled water. Be careful not to spill water
during this process. Inspect the base for any leakage. If no water leakage is apparent
proceed to step #4. If there is water leaking from the base double check all connections
from step #2.
Note: The Bubble Column is not designed for outdoor setup. For best results place the
Bubble Column in a location that is away from direct sunlight or a bright light source.
Supply Power to the Bubble Column:
Plug the AC Wall Transformer into the base and into any standard wall outlet.
Wall Anchor:
We recommend that you use the included wall anchor to help secure the Bubble
Column for safety reasons. There are two ways the anchor can be used. One up
against a flat wall surface, or it can be used to corner mount against two walls. The
included mounting hardware is meant to be used for sheetrock/drywall. If you have
other wall surfaces such as wood or concrete block consult your building maintenance,
contractor or hardware store associate for the proper mounting hardware.
Page No.4

First pick the location where the Bubble Column will be placed. Next take the wall mount
bracket and place it over the top of the Bubble Column. The height placement should be
where the inside ring lines up with the bottom of the Bubble Column’s tube cap. Mark
your two holes for drilling the wall mounting screw anchors. Use a 3/1
th
size drill bit for
the holes. Next tap in the two wall plugs into the wall with the back of a screwdriver or a
hammer. Tap lightly as to prevent damage to the wall. Secure with screws. See photos
below.
Please Note:
Using the wall anchor is no substitute for adult supervision, especially when young
children are around the Bubble Column.
Page No.5

Fill the Tube:
Before filling the Bubble Tube with Distilled water rotate the “Bubble Flow Control” knob
all the way to the maximum setting or in the farthest clockwise position.
Fill the Bubble Tube with Distilled water leaving between 1 to 2 inches of space from the
top of the tube.
Bubble Tube Operation:
The Bubble Column has multiple light setting that can be adjusted by the LED Light
Control switch on the base. The light colors can be selected to shine with a single solid
color or can rotate from color to color automatically. The last color indicator position will
rotate the Bubble Tube light from color to color automatically while the other positions
are programed for a single color only. The Bubble Tube will not illuminate with lights
when the Light Control switch is in the off position, however this setting does not turn off
the bubbles.
Bubble Adjustment:
The Bubble Adjustment knob allows you to control the intensity of the bubbles. Turning
it clockwise increases the bubble flow, counter-clockwise decreases the bubble flow.

Take Down:
Note: Take down is easiest with two people.
If the Bubble Tube needs to be moved or you want to change the water and or clean the
Tube you will need to drain the water out. Locate the drain tube inside the access
panel on the base.
• Unscrew the drain valve and empty the water into a bucket and discard.
• Remove the Tube from the base by securing the base and rotating the Bubble
Tube counter clockwise until the red arrow on the side of the base matches up
with the unlock symbol on the base.
• Pull the Bubble Tube strait up.
• Gently separate the black drain tube and the clear air tube from the base.
• Let the Bubble Tube completely dry before packing it and the base away in the
original packaging.
Page No.6

Page No.7

Cleaning the Bubble Tube:
Do not use harsh chemicals or window cleaners to clean the plastic Base and part of
your Bubble Tube. Use only water to clean it. If over time the acrylic has minor
scratches a cleaner such as Novus can be used.
Troubleshooting:
If the unit is not functioning as it is supposed to:
• Check the AC power cord is plugged in the outlet all the way. Try unplugging the
cord and then re-plug it back in.
• Make sure that the AC wall outlet is working.
• Check all your settings.
Problem: The Bubble Column will not bubble.
Solution: Make sure the Bubble Flow Control switch is turned on to maximum setting.
Open the access panel on the base and ensure the air supply tube is not pinched or
kinked in any way.
Problem: The Bubble Tube will not drain.
Solution: Open the access panel on the base and ensure the drain tube is not pinched
or kinked in any way. Draining only occurs when the tube is fully extended from the
base and the drain valve is completely open.
• If you have tried ALL of the above contact our Tech Support Department at ext. 320.
For Technical Support:
Call our Technical Service Department
Monday through Friday, 9 a.m. to 5 p.m. (EST)
1-800-832-8 97
customer_s[email protected]
Rev 4/17/17
Page No.8
Table of contents