manuals.online logo
Brands
  1. Home
  2. •
  3. Brands
  4. •
  5. Enclume
  6. •
  7. Kitchen Appliance
  8. •
  9. Enclume DR4LC User manual

Enclume DR4LC User manual

DR4LC-LOW CEILING
DÉCOR CLASSIC OVAL
Enclosed you will find everything needed for the assembly
and use of your storage rack. Two people make assembly
and installation easier. The parts and hardware included are:
Hardware included:
4 – 5/16” x 1/2” Button Head Screws
4 – 2” Lag Screws (for wood mounting)
1-4 point, 1/4” Toggler Set (for dry wall mounting) 3/16” Allen Wrench
Rack Components included:
4 – Low Ceiling Arms
1 – Rack Body Oval
1 – Hanging Grid
6 – Grid Brackets, EGB
12 – Straight Pot Hooks, EPHS
See REVERSE SIDE for ASSEMBLY and INSTALLATION INSTRUCTIONS
Thank you for choosing Enclume!
Enclume racks are the ultimate quality,
design, strength and function.
WARNING: READ ALL OF THE
INSTRUCTIONS BEFORE
ASSEMBLING AND USING YOUR
RACK
If you need help, please call 1-877-ENCLUME
Enclume Design Products
24 Colwell Street, Port Hadlock, WA 98339
Phone 360-385-6100 Fax 360-385-6156
www.enclume.com
ASSEMBLY and INSTALLATION INSTRUCTIONS for YOUR DR4LC RACK
Rack Assembly and Installation
1) First locate the four low ceiling arms. Using the four 5/16" x 1/2" button head screws attach the arms to the outside of the rack
body oval – as shown in the assembly diagram. Do not fully tighten the button head screws at this time.
2) Now place the rack on a flat surface to level and set the arms to straight -- then tighten all screws to final positions.
3) We recommend that you anchor your rack into the solid wood of ceiling joists or beams. Carefully measure the area where the
rack is to be hung and install the ceiling screw hooks directly into the wood joists. If it is not convenient to hang your rack
directly into wood joists you may use the included DRYWALL anchors enclosed with your rack. See Toggler® brand
manufacturer recommendations for weight limits included in the instructions in the Toggler kit.
Grid Assembly
4) Place the four grid brackets over the sides of the rack, just inside each of the low ceiling arm brackets with the straight end of the
brackets facing towards the inside of the rack. Next place the grid on top of the grid brackets and distribute the hooks on the rack.
Note: The grid should be placed on the grid brackets so that the grid crossbars that extend the width of grid are facing
down. This will help to keep grid from sliding out of position when rack is in use.
5) Hang your heavier items on the straight portion of the rack body or the center of the grid area.
It is important that your rack is assembled and installed correctly. If the unit is assemble
Installed or used incorrectly, it could become unstable and collapse, possibly causing
injury.
WARNING
Limited Warranty: This product is warranted to be free of material defects for a period of five years from the date of purchase. Your exclusive remedy is the
repair or replacement of the defective product and this remedy is subject to the following conditions: (1) receipt of a notice of defect by Enclume within the
warranty period, and (2) your return of the defective product to Enclume Design Products, 24 Colwell St , Port Hadlock, WA 98339, postage prepaid within
20 days following the issuance of a return authorization number to you by Enclume (which may be obtained by telephoning Enclume at the number above).
There are no other warranties, expressed or implied. THERE ARE NO WARRANTIES OF MERCHANTABILITY OR FITNESS FOR A
PARTICULAR PURPOSE. ENCLUME SPECIFICALLY DISCLAIMS ANY AND ALL INCIDENTAL OR CONSEQUENTIAL DAMAGES
ARISING OUT OF THE PURCHASE OR USE OF ENCLUME'S PRODUCTS.
Other Enclume Kitchen Appliance manuals

Enclume DR10 Instruction manual

Enclume

Enclume DR10 Instruction manual

Enclume PR37 Instruction manual

Enclume

Enclume PR37 Instruction manual

Enclume PR22 Instruction manual

Enclume

Enclume PR22 Instruction manual

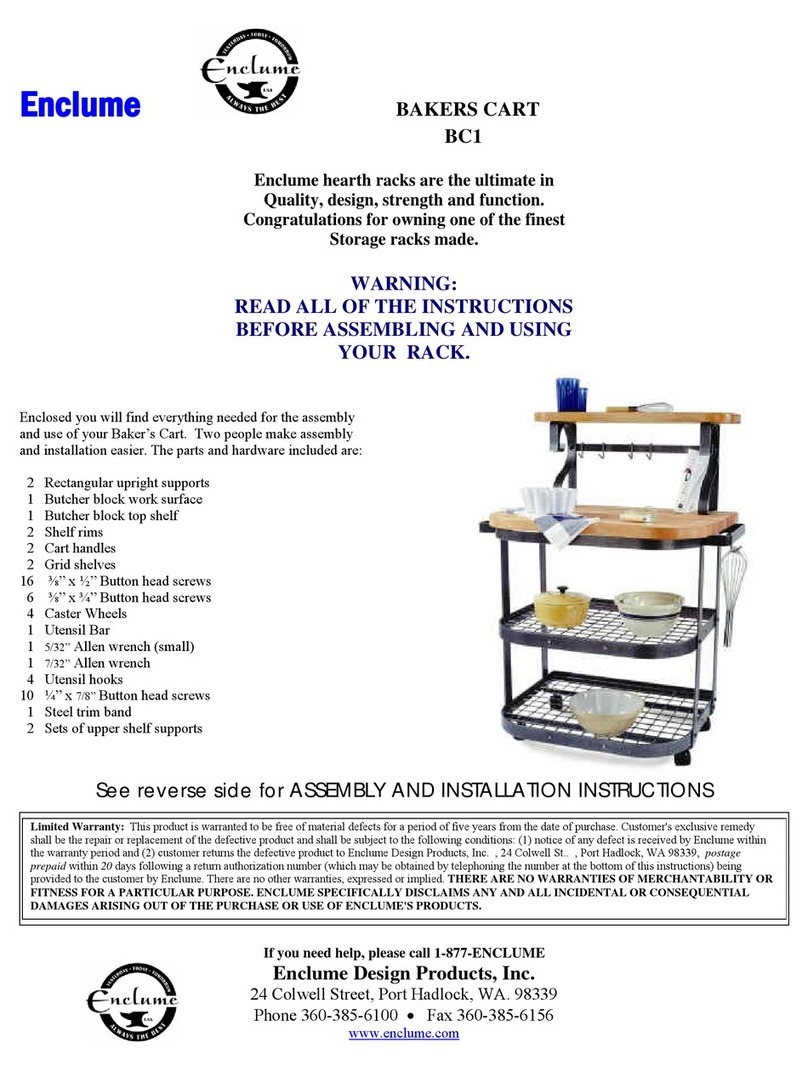
Enclume BC1 Instruction manual

Enclume

Enclume BC1 Instruction manual

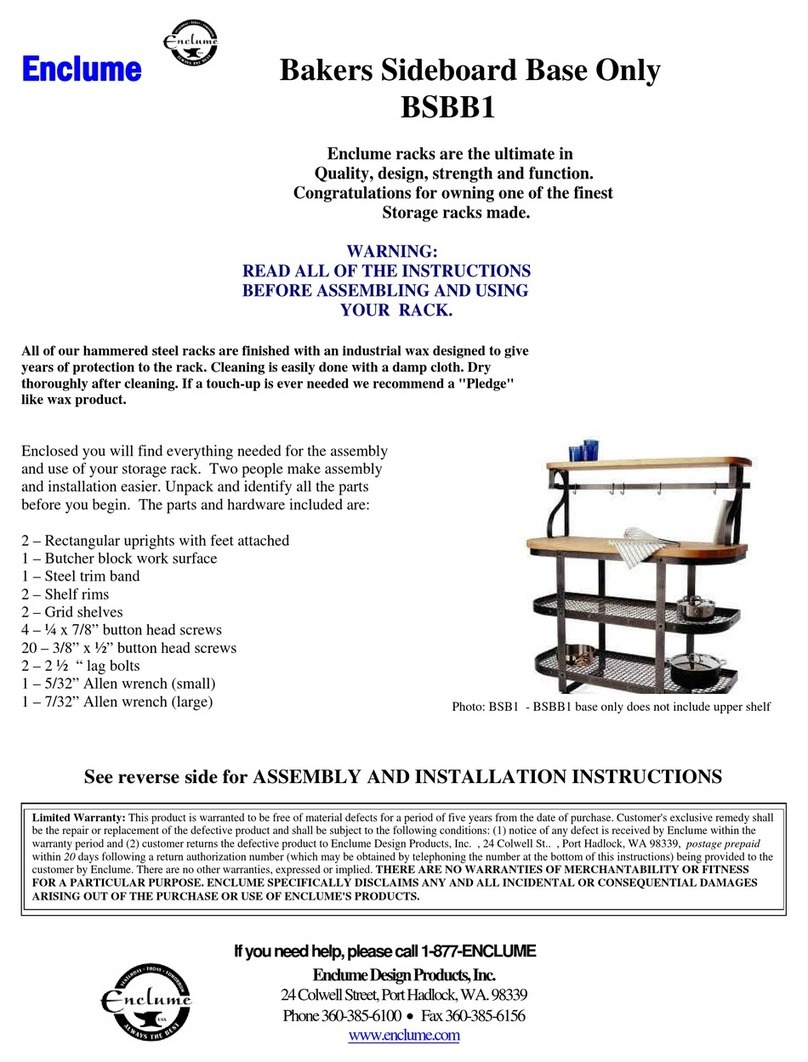
Enclume BSBB1 User manual

Enclume

Enclume BSBB1 User manual

Enclume DR 23 User manual

Enclume

Enclume DR 23 User manual

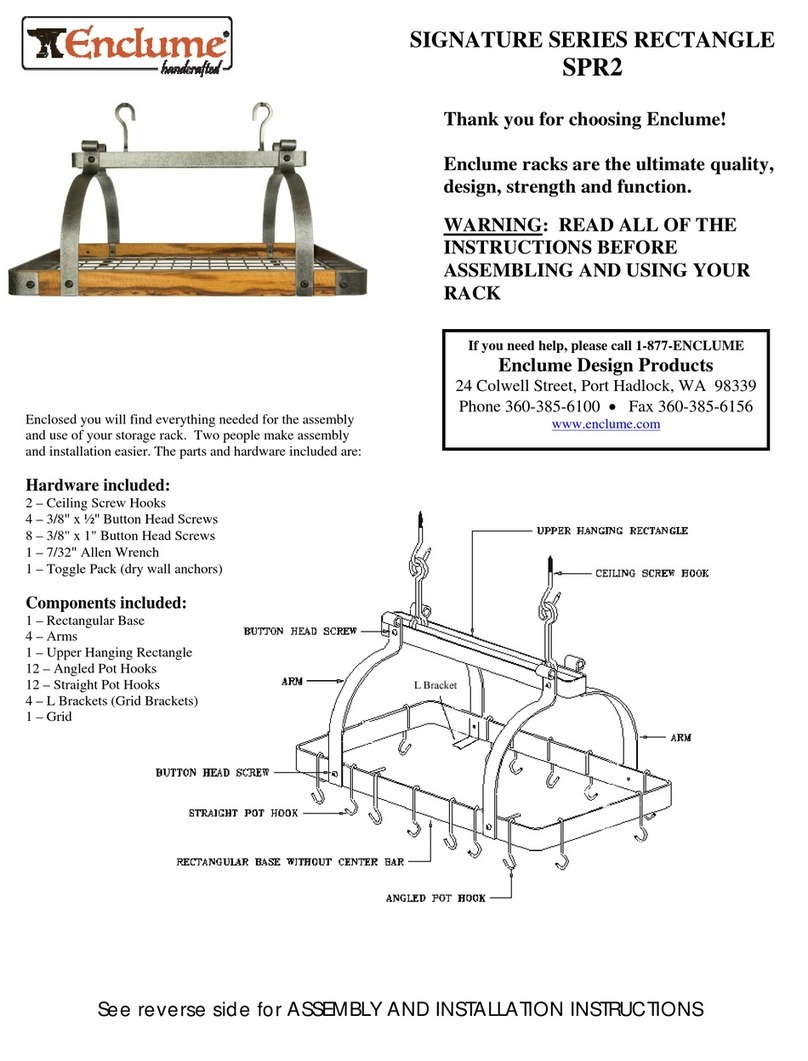
Enclume SIGNATURE Series Instruction manual

Enclume

Enclume SIGNATURE Series Instruction manual

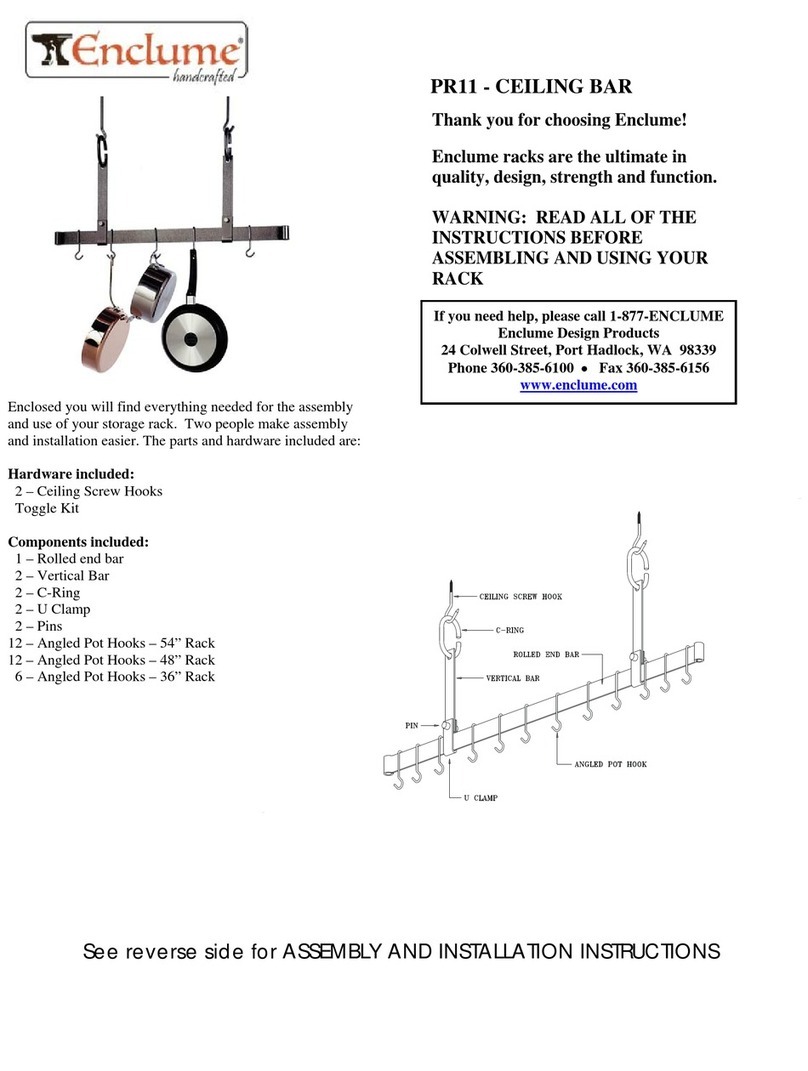
Enclume PR11 Instruction manual

Enclume

Enclume PR11 Instruction manual

Popular Kitchen Appliance manuals by other brands

Presenza QKA051 Installation guide and user's manual

Presenza

Presenza QKA051 Installation guide and user's manual

Klarstein Diavolo user manual

Klarstein

Klarstein Diavolo user manual

Silvercrest 435212 2304 operating instructions

Silvercrest

Silvercrest 435212 2304 operating instructions

Breville VST026X Instructions for use

Breville

Breville VST026X Instructions for use

Adexi Melissa manual

Adexi

Adexi Melissa manual

Proctor-Silex 59738 manual

Proctor-Silex

Proctor-Silex 59738 manual

KitchenAid 5KSM5SSB owner's manual

KitchenAid

KitchenAid 5KSM5SSB owner's manual

Swann SFS102 manual

Swann

Swann SFS102 manual

Lincat PO89X User instruction

Lincat

Lincat PO89X User instruction

TIGMON LAUBEN 550BC user manual

TIGMON

TIGMON LAUBEN 550BC user manual

ETNA FIV760RVS Instructions for use

ETNA

ETNA FIV760RVS Instructions for use

Weston 01-0103-W manual

Weston

Weston 01-0103-W manual

Genius Nicer Dicer Chef instruction manual

Genius

Genius Nicer Dicer Chef instruction manual

Henny Penny CF-941 Operator's manual

Henny Penny

Henny Penny CF-941 Operator's manual

Bestron ASM250G instruction manual

Bestron

Bestron ASM250G instruction manual

Kiwi KPM 7410 instruction manual

Kiwi

Kiwi KPM 7410 instruction manual

Turbosaver Sous Vide TS-SV60WI manual

Turbosaver

Turbosaver Sous Vide TS-SV60WI manual

Nassenheider Fill Up 2 manual

Nassenheider

Nassenheider Fill Up 2 manual

manuals.online logo
manuals.online logoBrands
  • About & Mission
  • Contact us
  • Privacy Policy
  • Terms and Conditions

Copyright 2025 Manuals.Online. All Rights Reserved.