ASSEMBLY INSTRUCTIONS
1) Place the rack components on a firm, flat surface. You can protect the surface with the corrugated shipping box.
2) Identify the four arms and determine the lower end of each arm – this is the section on the arm where a screw hole is
made on a flat area.
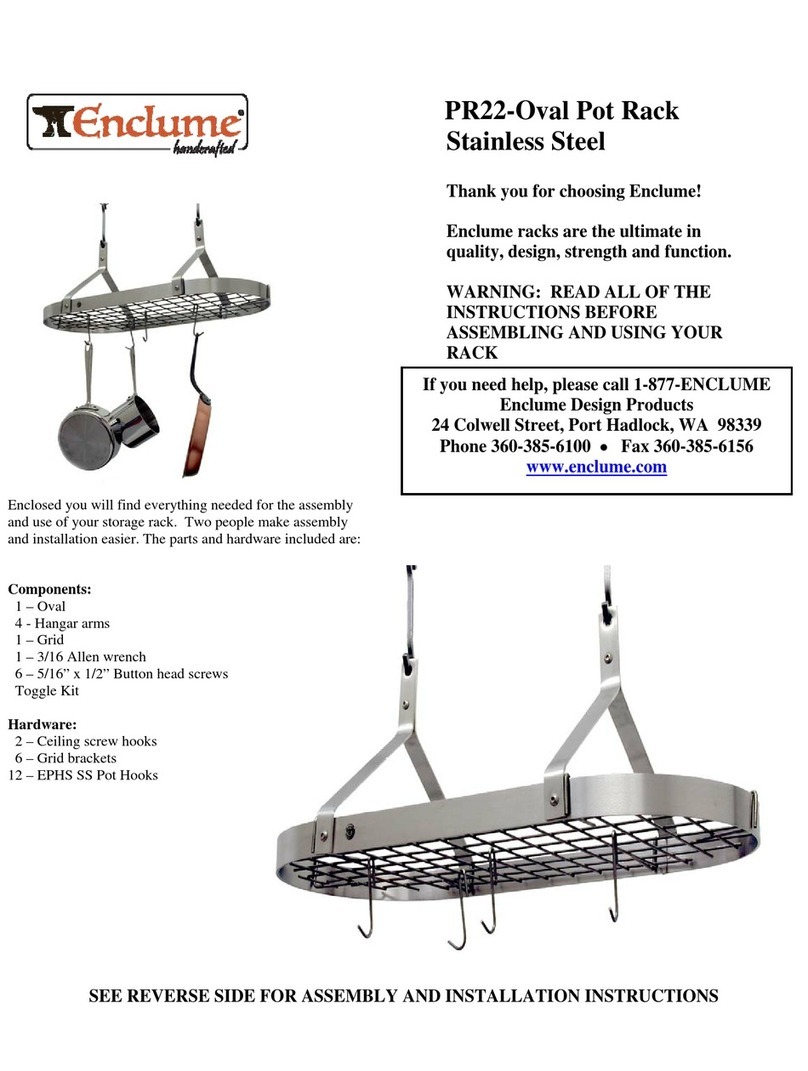
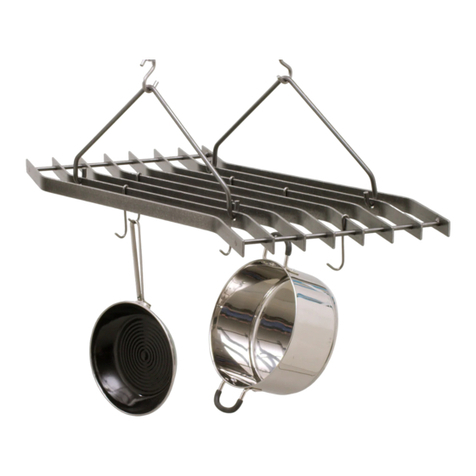
3) Identify the oval rack body. Using four of the ¼” x 3/8” button head screws and the hex key wrench, loosely attach
the lower ends of the four arms, one at a time, to the outside of the oval body as shown in the diagram above.
4) Now locate the upper hang bar (this is the bar with two large and two small holes in it) and the set of two barrel
screws and two barrel nuts. Place the upper hang bar between the tops of the arms (which form two arm pairs) and
insert one barrel nut: 1) through the top hole in one arm, 2) then through the upper hang bar, and finally 3) through the
hole in the other arm of the pair. Holding this assembly in place, insert the barrel screw into the barrel nut and loosely
attach with the hex key wrench.
6) Repeat the process set out in step 4) to attach the other arm pair to the upper hang bar using the remaining barrel nut
and barrel screw.
7) Next locate the two lower side bars. One side of the rack at a time, attach a lower side bar to the inside front of the
lower scrolls of the two arms on one rack side. Attach with two of the ¼ x 3/8 button head screws, inserting the screws
through the outside of the arm scroll and driving them into the lower side bar with the hex key wrench
8) Place your assembled rack on a level surface and square it up. The arms need to be at right angles to the hang bar and
the side bars. Then with a hex key wrench firmly tighten the lower part of the arms to the oval body and tighten the
the arm scrolls onto the lower side bars. Finally, using hex key wrenches on both sides of the barrel bolt, firmly tighten
each arm pair around the upper hang bar.
INSTALLATION and USE INSTRUCTIONS
1) We recommend that you anchor your rack into the solid wood of ceiling joists or beams. Carefully measure the area
where the rack is to be hung and install the ceiling screw hooks directly into the wood joists. If it is not convenient to
hang your rack directly into wood joists you may use the included DRYWALL anchors enclosed with your rack. See
Toggler® brand manufacturer recommendations for weight limits included in the instructions in the Toggler kit.
3) Insert one end of one chain into one of the ceiling screw hooks. Place one end of one "S" hook into the other end of
the chain. Repeat this for the chain and “S” hook at the other end of the rack.
4) Carefully lift your rack into place and attach the two top holes in the upper hang bar to the two “S” hooks at the
lower end of the two chains.
7) Note: Use of the hanging chains is optional; you may choose to not use it and thus raise your rack another six inches.
8) Please take care to distribute and balance heavier items around the rack.
It is important that your rack is assembled correctly. If assembled or used
incorrectly, it could become unstable and collapse, possibly causing injury.
WARNING
Limited Warranty: This product is warranted to be free of defects in material or workmanship for a period of five years from the date of your
purchase. Your exclusive remedy shall be the repair or replacement of the defective product, and shall be subject to the following conditions: (1) you
provide notice of any defect to Enclume within the warranty period, and (2) you return the defective product to Enclume Design Products, (24 Colwell
St., Port Hadlock, WA 98339), postage prepaid within 20 days of obtaining a return authorization number from Enclume (which may be obtained by
telephoning the number at the top of this instructions). There are no other warranties, expressed or implied, applicable to this product. FURTHER,
THERE ARE NO WARRANTIES OF MERCHANTABILITY OR FITNESS FOR A PARTICULAR PURPOSE. ENCLUME
SPECIFICALLY DISCLAIMS ANY AND ALL INCIDENTAL OR CONSEQUENTIAL DAMAGES ARISING OUT OF THE PURCHASE
OR USE OF THIS PRODUCT.
