manuals.online logo
Brands
  1. Home
  2. •
  3. Brands
  4. •
  5. Endura
  6. •
  7. Indoor Furnishing
  8. •
  9. Endura Ultimate Trilennium Astragal User manual

Endura Ultimate Trilennium Astragal User manual

1
Ultimate Trilennium® Astragal
Cut Down Instructions
8817 West Market Street
Colfax, NC 27235 | 800.334.2006
www.enduraproducts.com
Rev. Date: 11.06.2017
©2017 Endura Products, Inc.
U.S. Patents: 9,404,294 and other patents pending
• All cuts should be from the top of the astragal.
• If the trim strip is present, remove from the astragal body.
• The maximum cut down length for the Ultimate Trilennium Astragal is dependent upon the handle height of the lock:
• For 6/8 Astragals, the minimum length of the astragal is the handle height + 38".
• For 7/0 Astragals, the minimum length of the astragal is the handle height + 38" OR a total length of 74" - whichever
is greater.
• For 8/0 Astragals, the minimum length of the astragal is the handle height + 48-3/8" OR a total length of 86" -
whichever is greater.
• Example: For a 6/8 Astragal with a handle height of 36", the minimum astragal length would be 74" (36" + 38" = 74")
Important Notes:
• Pencil/Marker
• Tape Measure
• Chop Saw
Tools Required:
STEP 1: INITIAL PREPARATION
a. Remove the spine assembly
from the upper half of the
astragal body. Set aside for
reinstallation.
b. Remove the orange securing
pin from the upper bolt.
d. Remove the upper trim cap,
and tail cap if present, from the
astragal body.
c. Slide the drive rods out of the astragal body and
lift the upper bolt out of the astragal. Slide the
drive rods back into the astragal body.
Tail Cap
Optional Parts:
2Ultimate Trilennium®Astragal Cut Down Instructions
STEP 2: CUT ASTRAGAL TO SIZE
a.Measure the length of the door panel (X) and the length
of the astragal (Y) on the narrow edge.
Y
X
b. Round the length of the door panel (X) and the length of the astragal (Y) down to the
closest half inch. Subtract the rounded length of the door panel from the rounded length of
the astragal to determine your index number.
Example:
To determine index number:
• If the astragal length is 79-1/4", round it down to 79".
• If the length of the door panel is 75-3/4", round it down to 75-1/2".
• 79" - 75-1/2" = 3-1/2 is the index number.
b. Insert the tail cap onto the narrow side
of the astragal body.
If drive rods are in the way of the cut down, slide further into the astragal or remove temporarily to
avoid damage to them.
!
IF YOU DO HAVE A TAIL CAP AVAILABLE:
X-9/16"
Cut Flush
X-9/16"
a. Starting at the bottom of the astragal and measuring along the wide side, measure and mark (X- 9/16").
Cut the astragal ush at this location.
3Ultimate Trilennium®Astragal Cut Down Instructions
STEP 2 (CONT.): CUT ASTRAGAL TO SIZE
STEP 3: REINSTALL UPPER BOLT
a. Reinstall the upper trim cap. b. Slide the drive rods out to
expose the notches.
c. Replace the upper bolt into the notches on the
driver rod and slide the bolt back into the astragal
body so the end of the bolt sleeve is ush with the
end of the astragal.
d. Replace the orange securing
pin into the hole in the bolt sleeve
that aligns with the holes in the
astragal body.
If drive rods are in the way of the cut down, slide further into the astragal or remove
temporarily to avoid damage to them.
!
b. To renotch the astragal measure 9/16" from the cut end
of the astragal. Using a chop saw, cut at this point, until the
space between the rows of holes in the astragal body. Do not
cut it ush.
9/16"
Cut Flush
X
a. Starting at the bottom of the astragal and measuring along the narrow side, measure
and mark (X) on the astragal. Cut the astragal ush at this location.
X
4Ultimate Trilennium®Astragal Cut Down Instructions
STEP 4: RESIZE AND REINSTALL SPINE ASSEMBLY
STEP 5: CONFIRM FLIP LEVER OPERATION
Engage the ip lever assembly and ensure both the
upper and lower bolts move out smoothly.
a. Before replacing the spine assembly, adjust the length using index number from Step 2.
Example: If index number is 3-1/2", to appropriately resize the spine assembly, remove one 1/2"
spacer and three 1" spacers.
ADJUST 1/2" INCREMENTSADJUST 1" INCREMENTS
Identify the number
of 1" segments
needing to be
removed.
Rotate the identied
segments 90° to
unlock them from
the spine.
Pull the rotated
segments off of the
spine and discard.
Identify the number of
1/2" segments needing
to be removed.
Rotate the spine head
and rst segment to
unlock them from the
spine.
Remove the spine head
and rst segment and
set aside. Rotate the
segments needing to
be removed.
Pull the rotated
segment off of the
spine and discard.
Keeping the spine head
rotated, reconnect
it to the remaining
segments and rotate it
back to snap into place.
b. Install the resized spine assembly into the astragal
body, keeping the long tabs of the spine segments
aligned with each other on the narrow side of the
astragal.
THIS SIDE UP
Long tabs must align with each other on the
narrow side of the astragal body.

Other Endura Indoor Furnishing manuals
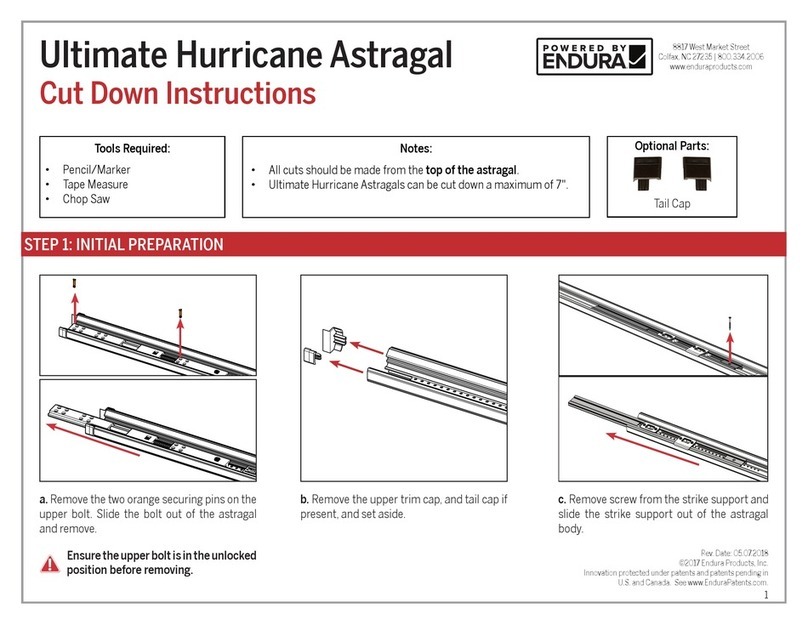
Endura Ultimate Hurricane Astragal User manual

Endura

Endura Ultimate Hurricane Astragal User manual
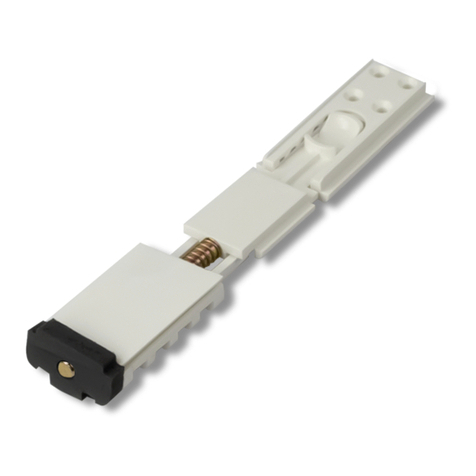
Endura Ultimate Hurricane Astragal User manual

Endura

Endura Ultimate Hurricane Astragal User manual

Endura Ultimate Lite Astragal User manual
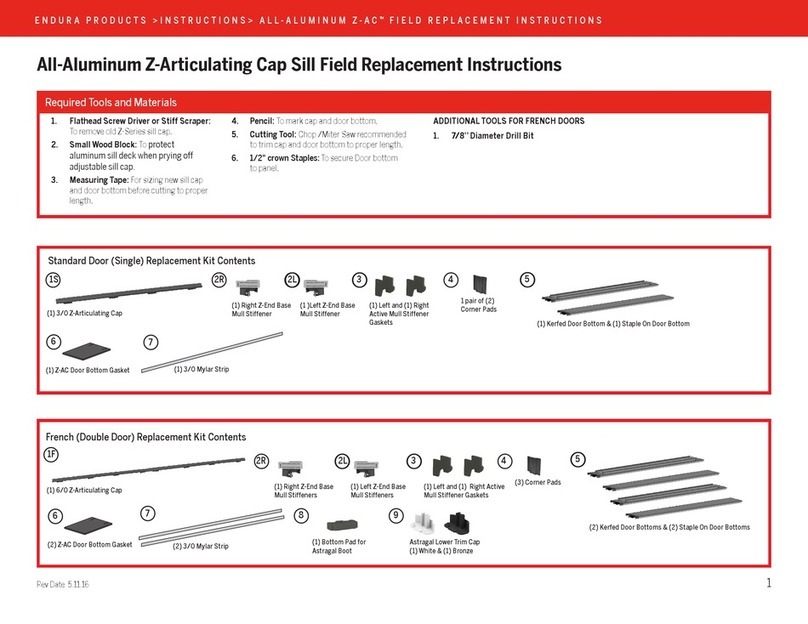
Endura

Endura Ultimate Lite Astragal User manual

Endura All-Aluminum Z-Articulating Cap Sill Series Guide
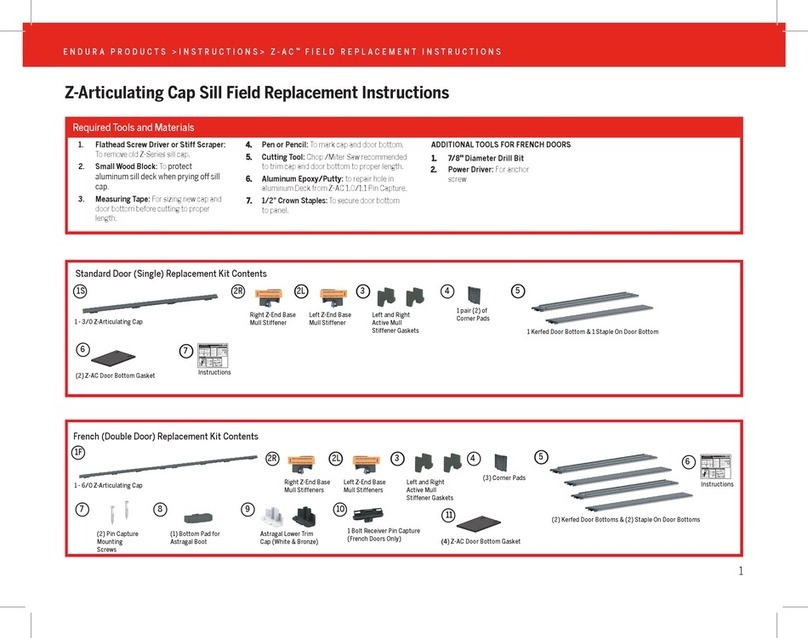
Endura

Endura All-Aluminum Z-Articulating Cap Sill Series Guide

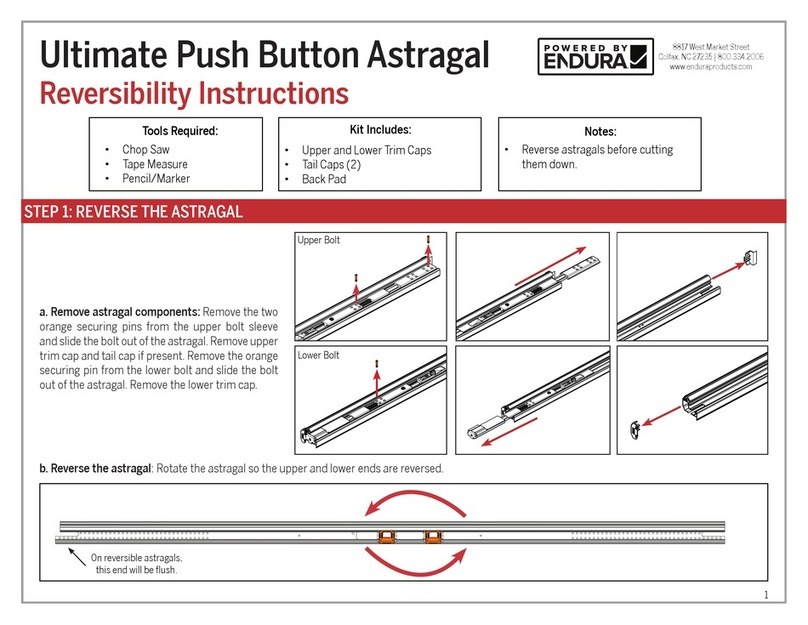
Endura Z-Articulating Cap Sill Series Guide
Endura

Endura Z-Articulating Cap Sill Series Guide

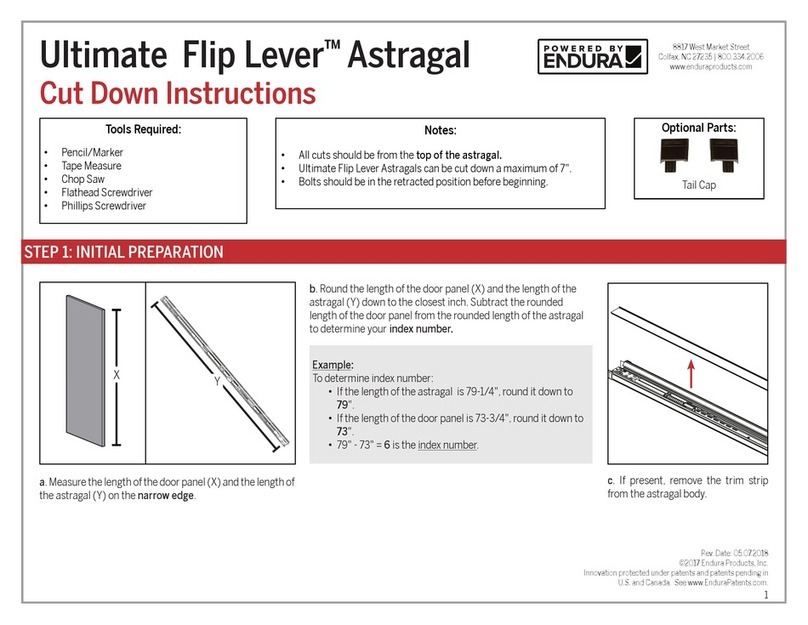
Endura Ultimate Push Button Astragal User manual
Endura

Endura Ultimate Push Button Astragal User manual

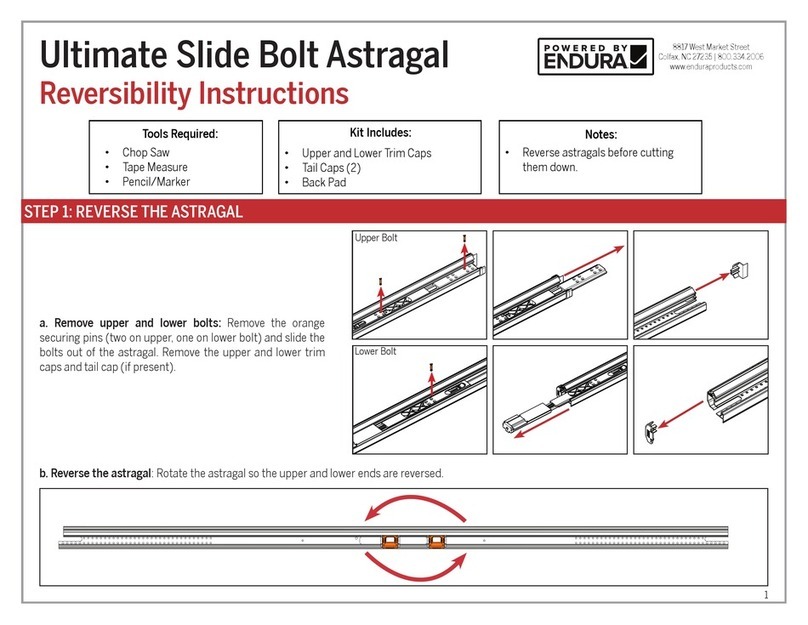
Endura Ultimate Flip Lever Astragal User manual
Endura

Endura Ultimate Flip Lever Astragal User manual

Endura Ultimate Slide Bolt Astragal User manual

Endura

Endura Ultimate Slide Bolt Astragal User manual

Popular Indoor Furnishing manuals by other brands

Walker Edison WQ44CCR Assembly instructions
Walker Edison

Walker Edison WQ44CCR Assembly instructions

IKEA FAKTUM manual

IKEA

IKEA FAKTUM manual

Furniture of America CM7389EK Assembly instructions
Furniture of America

Furniture of America CM7389EK Assembly instructions

READY To ASSEMBLE HEADBOARD Assembly instructions
READY To ASSEMBLE

READY To ASSEMBLE HEADBOARD Assembly instructions

Evocare LM5203T owner's manual

Evocare

Evocare LM5203T owner's manual
Extremis dirk wynants PONTSUN Assembly instructions
Extremis

Extremis dirk wynants PONTSUN Assembly instructions

Suncast MBR3420 owner's manual

Suncast

Suncast MBR3420 owner's manual

IKEA ALVE LAPTOP TABLE instructions

IKEA

IKEA ALVE LAPTOP TABLE instructions

Sensea NEO manual

Sensea

Sensea NEO manual

Enigma Care ENB-301 Series manual

Enigma Care

Enigma Care ENB-301 Series manual

Okamura Sabrina Instructions for use

Okamura

Okamura Sabrina Instructions for use

Astonica 50104074 instruction manual

Astonica

Astonica 50104074 instruction manual

Furniture of America CM7124-C Assembly instructions

Furniture of America

Furniture of America CM7124-C Assembly instructions

Global Correlation Patio Furniture brochure
Global

Global Correlation Patio Furniture brochure

Office Boffins MAC001 Assembly instructions
Office Boffins

Office Boffins MAC001 Assembly instructions

Office Star Products WORK SMART DC430 operating instructions
Office Star Products

Office Star Products WORK SMART DC430 operating instructions

Barbeques Galore MATINO Assembly instructions
Barbeques Galore

Barbeques Galore MATINO Assembly instructions

LDI SAFCO 1850 instructions

LDI

LDI SAFCO 1850 instructions

manuals.online logo
manuals.online logoBrands
  • About & Mission
  • Contact us
  • Privacy Policy
  • Terms and Conditions

Copyright 2025 Manuals.Online. All Rights Reserved.