Energy-Laser PERSONAL-LASER L200 User manual

Quick Guide PERSONAL-LASER - ENG Ver. Akeda Laser 02.2021 – All rights reserved!
Quick Guide
PERSONAL-LASER™
Model: L200 – 200 mW / 660 nm
Model: L400 – 400 mW / 808 nm
Low Level Laser Therapy – LLLT
PhotoBioModulation - PBM
Akeda Laser ApS
Sønderskovvej 12 A
DK-8520 Lystrup
Tlf.: (+45) 8743 0533
info@via-laser.dk - www.via-laser.dk
NOTE: Please read the User Manual thoroughly before use!

PAGE 2 OF 8
Laser therapy for wounds and pain
PERSONAL-LASER™ is developed and designed for home use, for the treatment of pain, muscle,
and joint disorders, and for wounds.
PERSONAL-LASER™ is approved as Laser Class 3B equipment, that is produced and registered as
medical CE approved equipment (CE 2274), and is specially approved for private use for home
treatment!
PERSONAL-LASER™ is the latest generation of powerful LLLT / PBM lasers with the latest technology,
for the benefit of both therapist and patient.
PERSONAL-LASER™ is designed for the treatment of pain, muscle and joint disorders, and for
wounds.
PERSONAL-LASER™ provides a painless treatment and quick results.
PERSONAL-LASER™ is designed for battery operation, with Li-Ion battery technology, which has a
large capacity of energy, up to 3 hours of treatment per fully charged battery.
PERSONAL-LASER™ is with electronic control for overheating.
PERSONAL-LASER™ provides a whole new range of opportunities to work effectively with laser light
in pain, joint and tissue treatment.
Indications for laser treatment includes:
• Musculoskeletal disorders (Pain intensity)
• Chronic nonspecific low back pain (Pain reduction)
• Shoulder tendinopathy (pain relief)
• Knee osteoarthritis (pain reduction)
• Temporomandibular myofascial pain (pain intensity)
• Fixed orthodontic therapy (pain reduction)
• Complication after mandibular third molar surgery (pain reduction)
• Recurrent aphthous stomatitis (pain and wound healing)
PAGE 3 OF 8
General Precautions: LLLT/PBM laser treatment
Always perform clinical assessments before any treatment!
Only use the laser indoors!
The laser may only be operated by an adult!
Do not treat through, or upon, clothing.
Do not activate the laser before it is placed onto the treatment area!
The treatment area should be void for creams and lotions prior to starting therapy!
Treat only on clean skin without tattoos and dark spots.
Lasers are NOT toy and should be kept away from children out of their reach! Always make sure
that the laser equipment is stowed away safely after each session.
Laser equipment used for any purpose other than that intended (namely skin, pain, and healing
treatment) or if incorrectly operated will be the user's responsibility and the possible
consequences thereof.
General Warnings LLLT/PBM laser treatment
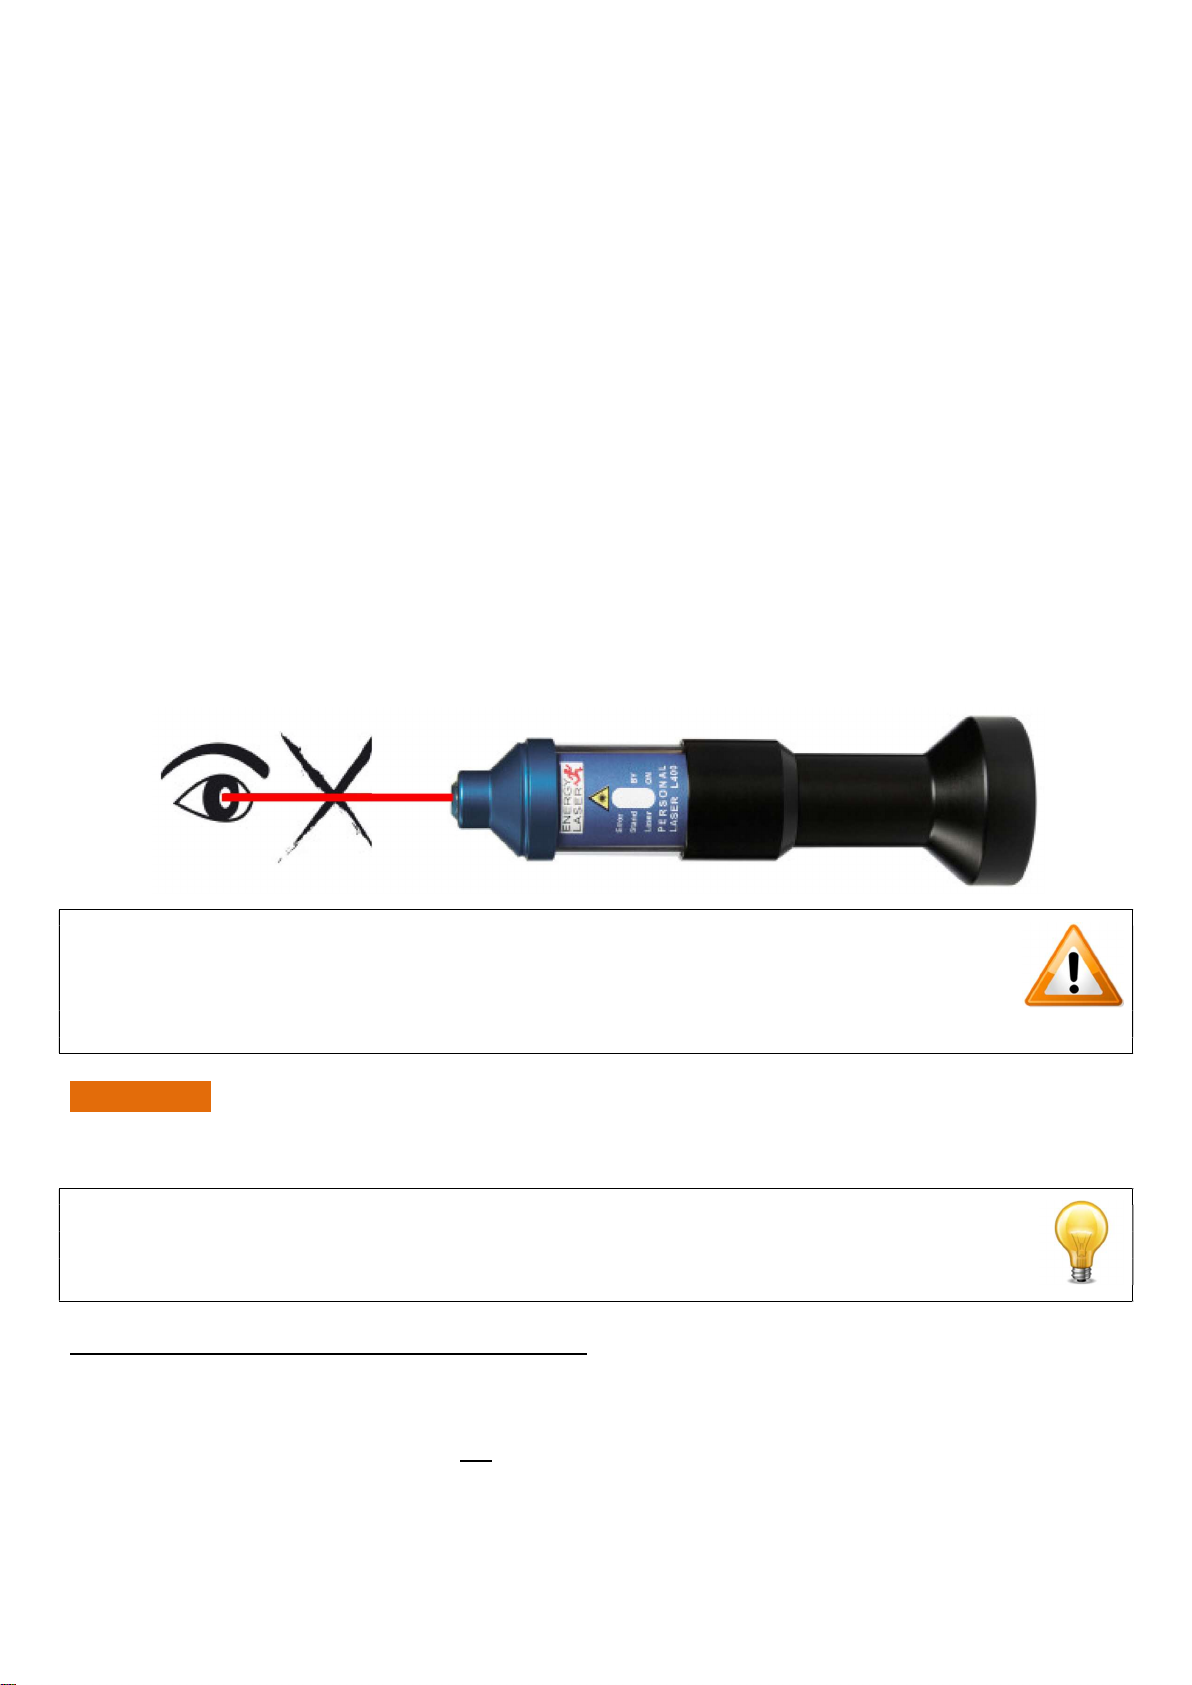
WARNING NOTICE!
- Never look directly into the laser light!
- The sight may be permanently damaged!
- When treating the face with laser light, always use laser safety goggles!
WARNING!
Avoid infection! Always clean the laser and optics before and after use with the recommended
disinfection method!
TIP!
Clear plastic wrap (cling film) can be used as a protective layer on the laser and/or optics,
as to avoid contaminating the laser with biohazardous materials!
Disinfection of laser probe, battery and optics:
Wipe with isopropyl alcohol or pure (100% ethanol) alcohol and then wipe afterwards with
chlorhexidine.
The laser probe and the battery must not be boiled or autoclaved!
Laser and optics are provided non-sterile!

PAGE 4 OF 8
Laser Startup Guide
1. Use a fully charged battery (6.) and twist it clockwise onto the laser probe. Keep twisting until
the laser switches on. 3 short beeps will sound followed by 1 long beep before the laser starts
up. MODE: LASER ON. When the laser is on the LED light is continuously green (4.)
2. The LED light (4.) will be continuously green
Short beep every 10 sec.
The lasers effect = 100%
The laser is active for 300 sec. (5 min) after which the laser stops automatically while giving off
a long beep followed by a high / low beep. This indicates that the laser has automatically gone
into
MODE: STANDBY. The indicator LED light will change from a continuous green (4.) to
flashing a yellow light.
3. To turn the laser off simply unscrew the battery (6.) with a counter-clockwise motion
MODE: LASER OFF.
If you wish to restart the laser reattach the battery to the laser MODE: LASER ON.
IMPORTANT NOTICE!
- Do not fasten the battery (6.) too tightly!
- Only hold onto the bottom laser section (5.), when the battery (6.)
is being screwed on or off!
- Never hold the laser by the cooling piece (2.) when the laser is ON!
- Always remove the battery (6.) from the laser probe (3.) after use!
Device Description PERSONAL-LASER™
1. Laser Optics
2. Laser cooling piece
3. Laser probe
4. LED DISPLAY (green / yellow / red)
5. Bottom laser section
6. Li-Ion battery
LED DISPLAY:
ERROR = RED
STANDBY = YELLOW
LASER ON = GREEN
1
.
3.
4.
6.
5.
2.

PAGE 5 OF 8
The PERSONAL-LASER™ is preprogrammed with the following settings:
Laser: Laser Power mW: Timer: Joule tot.:
(+0-10%) (300 sec.) (+0-10%)
L200 200 mW 5 min. 60 Joule - (10 sec. = 2 J)
L400 400 mW 5 min. 120 Joule - (10 sec. = 4 J)
Error Messages
Low battery
Yellow LED light (4.) flashing slowly MODE: Low battery. Battery must be charged soon.
Yellow LED light (4.) flashing quickly and then switches off MODE: No battery. Battery must be
charged.
High temperature (+ 45C)
Red and yellow LED light (4.) flashes alternatingly MODE: Laser’s temperature is too high. The
laser is programmed to switch off automatically. The laser should stay switched off and cool down
fully before restarting the laser.
Photodiode (Laser Power test)
Red LED light (4.) continuously lit. This indicates that a laser diode error MODE: ERROR.
Contact Customer support: [email protected]
Battery and charger
The Li-Ion batteries are supplied uncharged and should therefore first be charged before use!
1. Connect the AC Adapter to the charger with the USB cable.
The Li-Ion battery is placed with the threaded part down with a little pressure into the charger's
battery holder.
2. Plug the charger into a 130/230 V outlet. This will light up the LED on the charger with red, but
when fully charged the LED light will switch to a light green (or blue).
WARNING NOTICE!
Do not under any circumstances use a different USB adapter or charger other than
is supplied by the manufacturer.
The Li-Ion battery can be seriously damaged if charged incorrectly!
IMPORTANT NOTICE!
Li-Ion batteries should never be exposed to environmental temperature lower than -5C!
Li-Ion batteries should never be exposed to excessive heat or open flame!
Li-Ion batteries should never be exposed to water!
Li-Ion batteries should never be exposed to short circuiting!
Li-Ion batteries should never be exposed to excessive shock or vibration!
Li-Ion batteries which are defective should not be used, thrown away or disposed of!
Li-Ion batteries that are defective should not be used!
Li-Ion batteries that are defective should be returned for recycling or returned to the dealer!

PAGE 6 OF 8
Low Level Laser Therapy / PhotoBioModulation treatment - General
LLLT / PBM is approved as a medical treatment method and is today a recognized and widespread
form of treatment.
Treatment with laser works through the delivery of energy to the cells in the tissue requiring treatment.
The energy emitted by the laser penetrates the skin and triggers cell activity. This increased activity
improves cell function, strengthens the immune system, and increases blood circulation. The positive
effects of laser treatment on the body’s immune system, as well as its ability to accelerate the healing
process, makes it an incredibly therapeutic tool. The mechanism and science supporting ‘laser therapy
efficacy’ makes it a valuable treatment tool in all clinical areas.
Scanning technique
The scanning technique is used with a spread laser lens attached to the laser light.
The scan technique is used when treating the area around the target or when treating larger areas
(wounds, eczema, psoriasis, etc.).
Treatment
Processing is carried out by pressing the optic of the laser onto the skin while the laser is moved in
rectangular or circular movements on and around the affected area.
The laser can also be moved point to point with 1 - 2 cm in between each beep (10 sec.).
When treating sores and eczema the laser should be held at distance of 2-5 cm from the skin. When
reaching skin just outside of the damaged area one can gently press the skin with the laser optics again.
When treating a wound, the wound should be treated with 2-5 joules / cm ² (as shown in FIG. 1).
Inside the wound should be treated with 0,1 - 1,0 Joule / cm ². This is achieved by holding the laser
approx. 2 cm above the wound and moving it every 10 seconds as shown in Fig. 1
Outside the wound in areas with intact skin the laser should be held at a distance of a few millimeters
from the skin. The red mark shows wound and circles shows laser light.
Fig. 1 - Wounds

PAGE 7 OF 8
When treating larger areas relating to tendons, joints and muscles a point-by-point method is used for
treatment.
The laser is systematically beep every 10 seconds. Treat the entire area (as shown in FIG. 2).
The larger the area outside of the damaged area that is treated the better the overall result. This is
motion improves cell function and blood flow and thus faster results are achieved.
In the treatment of pain, the affected area is treated directly over the specific trigger point / area until
pain relief is achieved!
Fig. 2 - Muscles and Tendons
IMPORTANT NOTICE!
If the treated area starts to feel warm, then you should increase the distance to the skin!
PERSONAL-LASER™ dosage
Model: Power mW: Joule/ Sec.: Joule/10 Sec.: Joule/min.: Joule/ 5 min.:
L200
200
0,2
2
12
60
L400
400
0,4
4
24
120
1 Joule = 1 W per sec. / 1000 mW per sec.
PERSONAL-LASER™ emits a beep every 10 seconds.
Remember to change the treatment point by each beep (10 seconds).
Each point is considered 1 cm ²
Treatment frequency
The interval between treatment should be 2 - 3 day with a maximum of one week between each
treatment.
Recent damage/injuries benefit from more frequent treatments and can be treated alternate
days.

PAGE 8 OF 8
Treatment situations with PERSONAL-LASER™
This manual suits for next models
1
Table of contents


