Energyficient Q-Lume User manual
Q-Lume
™
Instruction Manual
products@energyficient.com | energyficient.com | 800-713-3732
1
IMPORTANT SAFETY INSTRUCTIONS
Q-Lume should be installed by a qualified, licensed electrician. Modifying the product or altering the product
voids UL Certification Listing. Failure to follow these instructions could result in death, bodily injury, fire, or
electrical shock.
• Wet location rated only when globe is screwed onto fixture
• For indoor use only
• For use only on walls or ceilings
• Connect fixture to 120 volt, 60 Hz power source. Any other connection voids warranty.
• ETL Listed, Conforms to UL Std. 1598, Certified to CAN/CSA 22.2 #250.0
• The bulb and fixture get hot during use. Disconnect power and allow fixture to cool before changing
bulb or handling fixture.
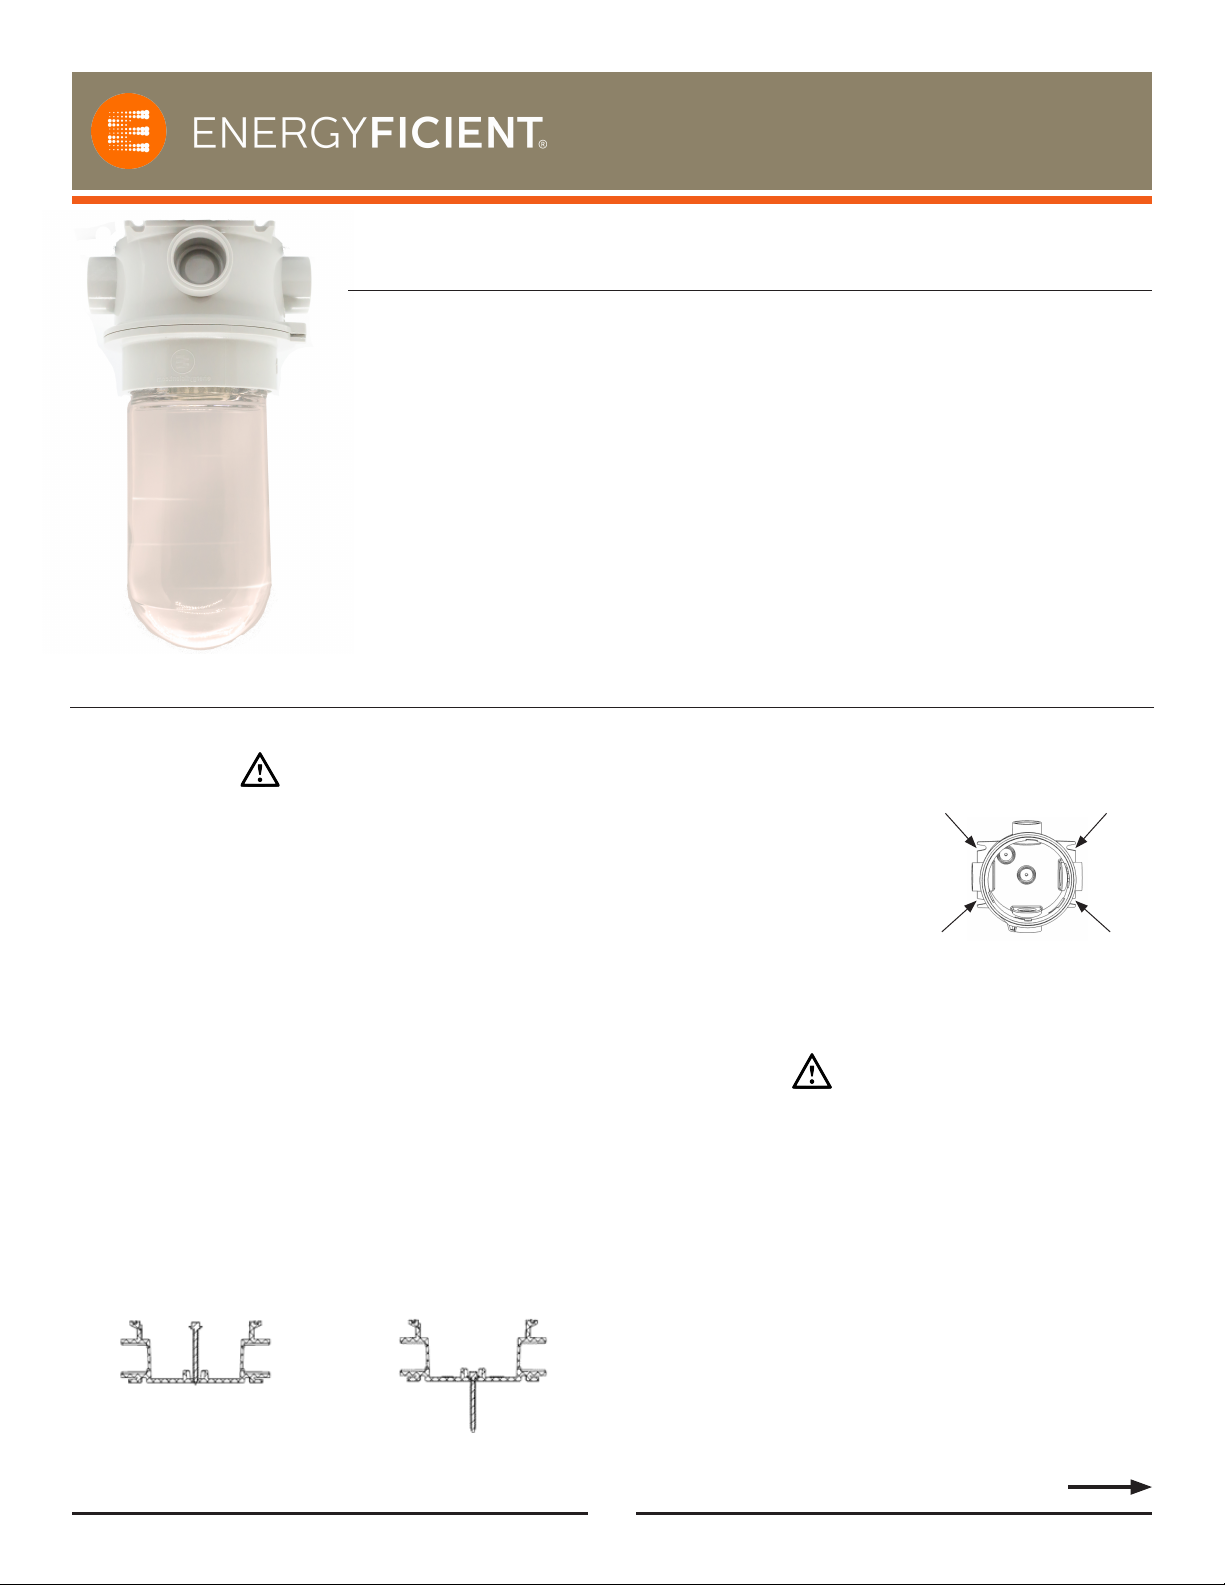
Q-Lume™
Revealing a better way
Tools Needed for Installation:
1/4” Nut driver, Small flat blade screwdriver
1. Ensure bonded washer is present on supplied screw.
2. Position Q-Hub onto mounting surface.
3. Secure Q-Hub to mounting surface by running supplied screw in
until bonded washer is compressed and makes a watertight seal.
4. Ensure screw is properly seated to make a watertight seal as shown
in Figure 1.
5. If desired, a second screw can be used in alternate boss that is
provided inside junction box. When using a second screw, ensure
watertight seal is made either by adding silicone (or equal) or using
screw with bonded rubber washer.
6. If pre-installed mounting screw is removed from box to use
outboard mounting, seal hole in box with appropriate material, such
as silicone, to ensure a watertight seal.
WARNINGS
• Must use supplied mounting screw (#9-15x2”, 1/4” Hi-hex w/shoulder &
EPDM bonded washer, Type S, Shield Coated) or equivalent.
• If using any other screw type, care must be taken to seal around screw
head in interior of junction box with an appropriate sealant to ensure a
watertight seal.
• Failure to follow these instructions voids wet location rating of junction
box and may damage wires.
Inboard Mounting
NOTE: Q-Hub must be attached to a structural part of the building,
such as a rafter
MOUNTING THE QLUME
Outboard Mounting
NOTE: Outboard mounting screws are not provided. Q-Hub must be
attached to a structural part of the building, such as a rafter
1. Position Q-Hub onto mounting
surface.
2. Secure Q-Hub to mounting
surface using locations provided
on Q-Hub as shown in Figure 2.
3. It is recommended to use
an appropriate screw for the
environment, with a shoulder
large enough to avoid any slip
through the mounting locations.
Figure 2 - Outboard
Mounting Locations
Q-Box ships with mounting
screw pre-installed
Mounting screw properly installed
Figure 1 - Inboard Mounting
1. Attach conduit to Q-Hub and pull wire leads to the box. (Refer to
“Conduit Openings” section and “Gluing” section)
2. Connect white supply wire (neutral) to the white fixture wire using a
wire connector (sold separately).
3. Connect the HOT (usually black) supply wire to the black fixture
lead (120V) using a wire connector (sold separately).
4. Connect the supply ground wire to fixture ground wire using a wire
connector (sold separately).
5. Cap and insulate any unused wire leads.
6. Verify that all unused openings on Q-Hub are plugged with UL-
approved adaptor.
WARNINGS
• Risk of electrical shock. Disconnect power at fuse or circuit breaker before
installing or servicing.
• Make certain that the fixture is connected to a 120 volt power source.
• UL-approved wire connectors should be used. Be sure no loose strands of
wire are sticking out from under wire connectors.
Wiring the Q-Lume
Continued

Q-Lume
™
Instruction Manual
products@energyficient.com | energyficient.com | 800-713-3732
2
7. Verify Q-Hub o-ring is in
place and secured in gasket
groove of Q-Hub. Figure 3.
8. Position socket base so
alignment arrows line up.
Alignment arrows are located
directly above locking tab on
socket base and directly to
left of locking hole in Q-Hub.
The socket base should seat
completely into Q-Hub when
lined up as described.
Figure 3.
9. Lock socket base in place by
turning it clockwise until a
click is heard from the socket
base locking in place. Verify
socket base is locked into
place. Figure 3.
10. Verify socket base gasket is securely seated in bottom of socket
base. If this gasket is not in place the wet locations and damp
locations rating is void.
11. Install lamp
12. Thread the glass or poly jar to socket fixture base, ensuring jar is
secured tight enough against gasket to provide a watertight seal.
13. Turn on the main power at the main fuse/breaker box.
O-ring in place & secure
Align Arrows
Turn socket base clockwise
until locked in place
Figure 3 - Attaching Socket Base
Gluing
To ensure proper adhesion and seal, use the approved glues (or
equivalent) listed below:
• Oatey All Purpose Cement #30821 For use with PVC, CPVC & ABS
• Oatey ABS to PVC Green Transition Cement #30900
• Oatey Purple Primer #30756 For use with CPVC & PVC
• Oatey Heavy Duty Gray PVC Cement
• Oatey Rain-R-Shine Medium Blue PVC Cement
WARNING
• Use of an unapproved glue may result in connection failure and voids all
safety certifications
Conduit Openings
Two conduit openings are intentionally left open to provide the fastest
install. If more openings are needed, simply knockout the plug in the
Q-Hub using a screwdriver or another tool, as shown in Figure 4. When
using knockout feature, ensure knockouts are smooth and free of burrs
or other sharp edges that may damage wires.
Nonmetallic fittings can be used in the conduit openings, but they must
be a UL approved fitting. In order to maintain a watertight seal, installing
a watertight UL approved fitting is required. Only glues stated in this
instruction manual (under “Gluing“ section) should be used.
WARNING
• All unused openings must be plugged with a UL Approved adapter.
Figure 4 - Conduit Openings
Cleaning and Maintenance
1. Turn o power at main fuse or circuit breaker before installing or servicing.
2. Clean glass lens with non-abrasive cleaning solution or soap and
water.
3. Always use or replace bulb with the same wattage or lower wattage
than required. Installing a bulb of higher wattage can create a fire
hazard. Using higher wattage bulbs will void the warranty of the
Q-Lume.
WARNING
• Ensure fixture temperature is cool enough to touch. Do not clean or
maintain fixture while fixture is energized.
Wiring the Q-Lume (Continued)
Popular Lighting Equipment manuals by other brands


Eterna
Eterna LED4WH Safety and installation instructions

Robert Juliat
Robert Juliat SUPER KORRIGAN Technical file

BARRON
BARRON Exitronix S900C Series installation instructions

PROEL
PROEL Four Rays Rainbow user manual

Sunblaster
Sunblaster LED STRIP LIGHTS owner's guide

DARAY
DARAY BH200 Operating & installation manual