manuals.online logo
Brands
  1. Home
  2. •
  3. Brands
  4. •
  5. Englefield
  6. •
  7. Indoor Furnishing
  8. •
  9. Englefield VALENCIA User manual

Englefield VALENCIA User manual

1263497-A02-A 29/05/2015
INSTALLATION
INSTRUCTIONS
FURNITURE
VALENCIATM Tower Cabinet
Contemporary design and
quality construction,
providing affordable storage
for bathrooms of any size or
style.
It’s the details that Englefield
cares about - from pioneering
the latest technology, to
innovative design.
BEFORE YOU BEGIN
Please read these instructions carefully to familiarise yourself with the
required tools, materials, and installation sequences. Follow the sections
that pertain to your particular installation. This will help you avoid costly
mistakes. In addition to proper installation, read all operating and safety
instructions.
Prior to installation, inspect cabinet to ensure that no damage has occurred
in transit. If damage has occurred, or a visible defect exists, do not proceed
with installation, and advise your supplier immediately.
Please leave these instructions for the consumer.
They contain important information.
Instructions, drawings, and diagrams contained in this manual present information available
at the time of printing. Although every attempt has been made to keep them up-to-date,
Engleeld reserves the right to implement product changes without further notice.
1
ROUGH-IN
INSTALLATION INSTRUCTIONSVALENCIA
TM
Tower Cabinet
600
200
800
1800
200
350
300
Tower cabinet dimensions Recommended installation when tower cabinet is installed
with a valencia vanity
1000
1600
600
1100
1340
860
520
260
118
For new and existing walls:
- Tower cabinet must be fixed to a stud and or nogs in wall.
- Use a stud finder to locate studs and nogs in finished walls.
- Using a minimum of 6 fixing points is recommended.
- If possible place fixing points just below adjustable shelves. This will help to hide them. (Refer to rough-in)
- Be careful not to place fixing points too close to fixed shelves or cabinet sides as this will make
fixing difficult.
CONSTRUCTION REQUIREMENTS
POSSIBLE INSTALLATION SETUPS:
A height of 200mm
from the floor to the
bottom of the tower
is recommended.
200
Fixing points
200
2ENGLEFIELD
Adjustable
shelves
(Shows lowest
shelf position)
1. Door removal
(a) To make installation easier remove cabinet
doors & shelves. To release a hinge, press
button at rear of hinge and unhook from bracket.
INSTALLATION
TOOLS AND MATERIALS REQUIRED - (Not Supplied)
INSTALLATION INSTRUCTIONSVALENCIA
TM
Tower Cabinet
ENGLEFIELD
5mm drill bit
TOOLS MATERIALS - Not supplied.
Fixing Washers
20mm
10g x 50mm
Pan head
Screws
To suit screws
Hook
Button
3. Shelf position adjustment
(a) Three shelves have adjustable positions.
Once shelves are in position, use plastic clamps
to lock in place.
NOTES: Refer to construction requirements
section before proceeding.
- A minimum of 6 fixing points is recommended
- Screws: Pan head (10g x 50mm).
- Washers: Flat (20mm). (Must be used to spread load).
(a) Choose an appropriate location. Determine
positions of nogs/studs in wall and
check that wall is free of bumps/protrusions.
(b) Using a spirit level, draw a line on wall to mark
location of top of cabinet. 1800mm from floor
is recommended.
(c) Determine locations of fixing points and mark
them on back of cabinet.
NOTE: Make sure fixing points are located
at least 60mm from cabinet edge and away
from fixed shelves, preferably just underneath
adjustable shelves.
(d) Using a 5mm drill bit, drill clearance holes
through cabinet back at marked positions.
(e) Place cabinet in chosen location and support.
Make sure cabinet is plumb using a spirit level.
(f) Fix cabinet to wall
using recommended
screws and washers.
2. Fixing the tower cabinet to the wall
200
POSSIBLE FIXING
POINT LAYOUT
Fixing points
x 6 minimum
Recommended
installed height
Adjustable
shelves
Shelf
Metal pin
Plastic
clamp
3
Stud finder
CONTACT AND WARRANTY INFORMATION
INSTALLATION INSTRUCTIONSVALENCIA
TM
Vanity
CLEANING AND MAINTENANCE INSTRUCTIONS
Please refer to the Owner’s Information Leaflet for cleaning instructions.
(a) Remove the cabinet doors if still attached.
(Refer to section 1)
(b) Remove existing insert by sliding out insert
shelf, then unscrew and remove insert.
(c) Screw new colour insert onto shelf and slide
back into cabinet.
NOTE: The colour insert is optional and can be
purchased separately.
4. Installing the colour insert (Optional)
Colour
insert
Insert
Insert
Shelf
Colour
Insert
5. Replacing doors
(a) Re-install the cabinet doors. Hook the hinges
onto the base plates and press down.
Hook
Base plate
INSTALLATION COMPLETE
ENGLEFIELD
4
NEW ZEALAND
KOHLER NZ LTD
- Please visit our website for warranty and other information.
- Please refer to the Owner’s Information Leaflet for contact information.
www.englefield.co.nz
AUSTRALIA
KOHLER CO.
www.englefield.com

Other Englefield Indoor Furnishing manuals

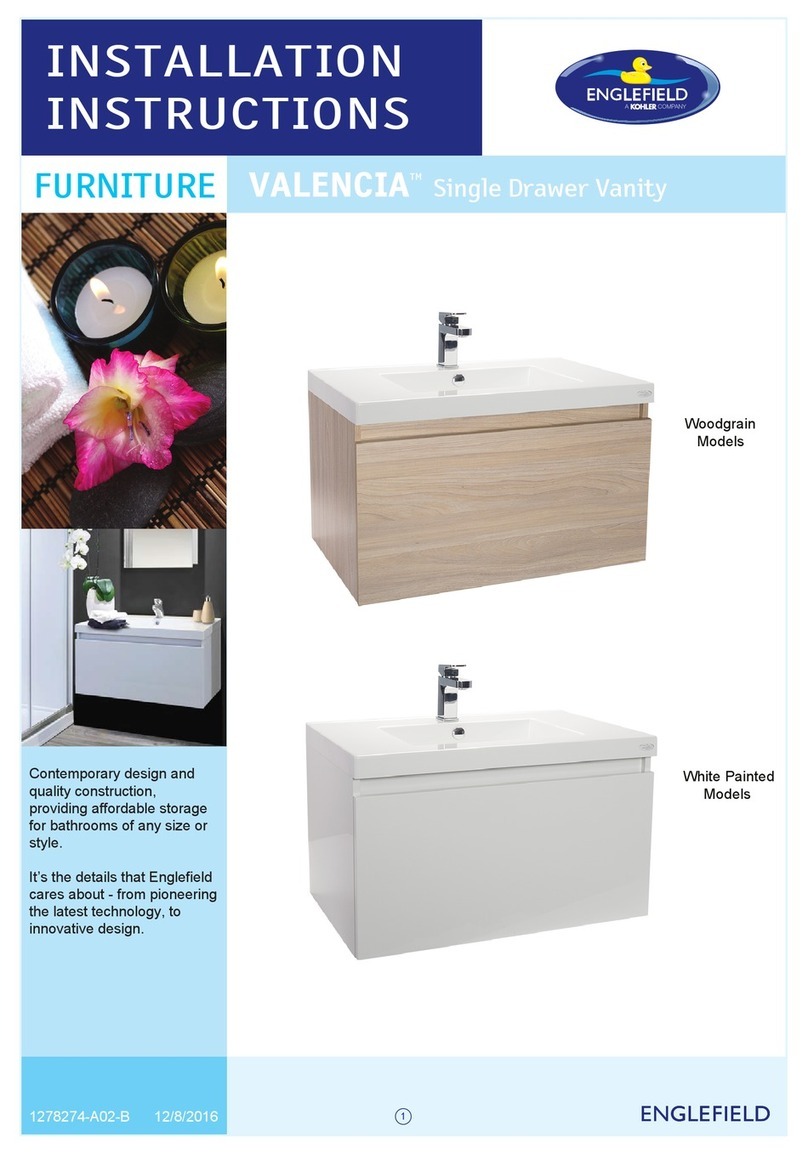
Englefield Valencia Single Drawer Vanity User manual

Englefield

Englefield Valencia Single Drawer Vanity User manual

Englefield SORRENTO Series User manual

Englefield

Englefield SORRENTO Series User manual

Englefield VALENCIA VANITY User manual

Englefield

Englefield VALENCIA VANITY User manual

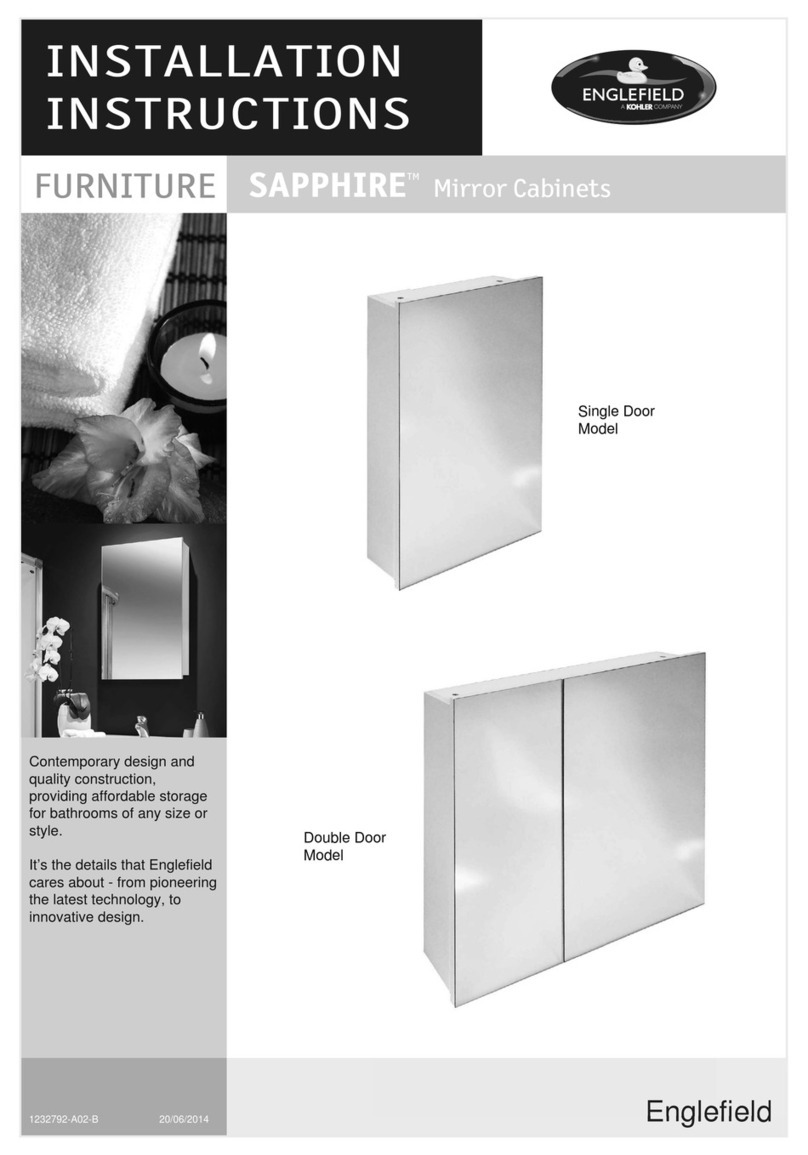
Englefield SAPPHIRE Series User manual

Englefield

Englefield SAPPHIRE Series User manual

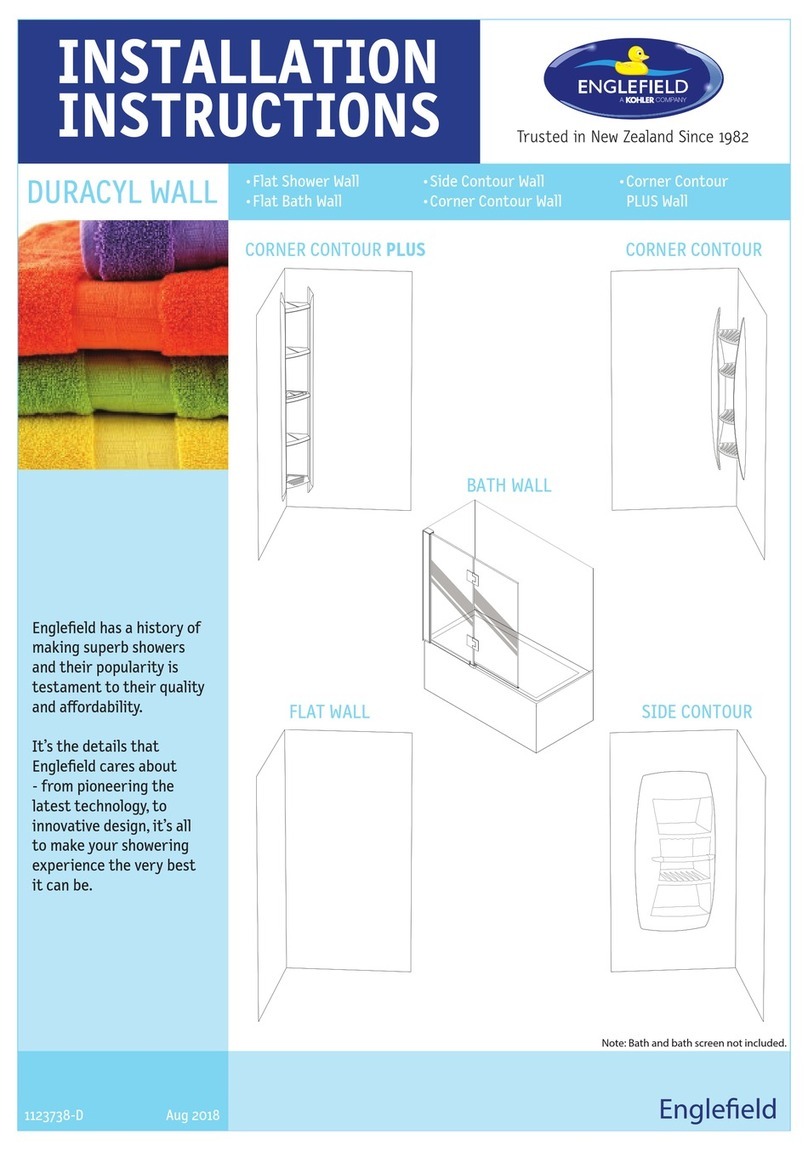
Englefield Flat Shower Wall User manual

Englefield

Englefield Flat Shower Wall User manual

Popular Indoor Furnishing manuals by other brands

Regency LWMS3015 Assembly instructions

Regency

Regency LWMS3015 Assembly instructions

Furniture of America CM7751C Assembly instructions

Furniture of America

Furniture of America CM7751C Assembly instructions

Safavieh Furniture Estella CNS5731 manual

Safavieh Furniture

Safavieh Furniture Estella CNS5731 manual

PLACES OF STYLE Ovalfuss Assembly instruction

PLACES OF STYLE

PLACES OF STYLE Ovalfuss Assembly instruction

Trasman 1138 Bo1 Assembly manual

Trasman

Trasman 1138 Bo1 Assembly manual

Costway JV10856 manual

Costway

Costway JV10856 manual

moss DESIGN Caisson Credenza Assembly instructions

moss DESIGN

moss DESIGN Caisson Credenza Assembly instructions

Aquaglide FULL DECK 15.0 owner's manual

Aquaglide

Aquaglide FULL DECK 15.0 owner's manual

AREBOS AR-HE-SW30 user manual

AREBOS

AREBOS AR-HE-SW30 user manual

Till-Hilft Fulda 87005.330 Assembly instructions

Till-Hilft

Till-Hilft Fulda 87005.330 Assembly instructions

Twoey Outside 2010 quick start guide

Twoey Outside

Twoey Outside 2010 quick start guide

Hettich Easys 200 operating instructions

Hettich

Hettich Easys 200 operating instructions

The bedboss RELAX 404 Series owner's manual

The bedboss

The bedboss RELAX 404 Series owner's manual

Oeseder Möbelindustrie Bern 991 720 Assembly instructions

Oeseder Möbelindustrie

Oeseder Möbelindustrie Bern 991 720 Assembly instructions

Costway HW68469 user manual

Costway

Costway HW68469 user manual

Next ALIX A27743 Assembly instructions

Next

Next ALIX A27743 Assembly instructions

BROSA Hans Assembly guide

BROSA

BROSA Hans Assembly guide

Prodigg MINIKA PBA015T-FUR installation manual

Prodigg

Prodigg MINIKA PBA015T-FUR installation manual

manuals.online logo
manuals.online logoBrands
  • About & Mission
  • Contact us
  • Privacy Policy
  • Terms and Conditions

Copyright 2025 Manuals.Online. All Rights Reserved.