manuals.online logo
Brands
  1. Home
  2. •
  3. Brands
  4. •
  5. Englefield
  6. •
  7. Plumbing Product
  8. •
  9. Englefield QUICK-FIT SHOWER TRAY User manual

Englefield QUICK-FIT SHOWER TRAY User manual

1236457-A02-E 13/01/2020
INSTALLATION
INSTRUCTIONS
SHOWER
Engleeld
QUICK-FIT®SHOWER TRAY
BEFORE YOU BEGIN
NOTE: Building requirements can vary, local regulations must be checked prior to installation.
NOTE: Drawings in this document are not to scale.
®
Low Profile Tray
70mm sill height
SlipSafe Tray
60mm sill height
The tray should be installed in accordance with one of the following recommended methods: Fig 1,2 or 3.
A) SHOWER TRAY & ENGLEFIELD DURACRYL WALL/TILED WALL INSTALLATION OPTIONS
WET AREA WALL BOARD (9-10mm)
SIKA SHOWERBOND ADHESIVE
DURACRYL WALL
SIKASIL NG SILICONE SEALANT
Fig. 1 - Wet Area Wall Board & Englefield Duracryl Wall
TH
®
®
®
Install Duracryl Shower Wall
as per installation instructions
supplied with the wall.
!IMPORTANT
®
TH (Tray height):
Low Profile - 112mm
SlipSafe - 102mm
®
®
Please note: Instructions, drawings, and diagrams contained in this manual present information available at the time of printing. Although
every attempt has been made to keep them up-to-date, Engleeld reserves the right to implement product changes without further notice.
Fig. 2 - Wet Area Wall Board & Tiles - Method 1
INSTALLATION INSTRUCTIONSQUICK-FIT SHOWER TRAY
Wall retainer extrusions or door must be installed prior to tiling.
Please refer to installation instructions provided with shower door.
!IMPORTANT
-2-
Fig. 3 - Wet Area Wall Board & Tiles - Method 2
TILES (max 10 mm)
GROUT
TILE ADHESIVE
SILICONE SEALANT
WATERPROOFING MEMBRANE
WET AREA WALLBOARD (max 6mm)
50 mm
REBATE
10-12 mm
5 mm GAP
WET AREA WALL BOARD (9-10 mm)
TILES
GROUT
WATERPROOFING MEMBRANE
COMPATIBLE BANDAGE / LAP SEAL
SILICONE SEALANT
5 mm GAP
TILE ADHESIVE
MINIMUM 90mm
BANDAGE/LAP SEAL
TIMBER
When installed on a timber floor, the floor board should be supported at not greater than 500mm centres
and the cut-out waste connection kept to a minimum.
CONCRETE
When installed on a concrete slab floor, chases or channels left for plumbing must be completely backfilled.
B) FLOOR CONSTRUCTION
1) Ensure that the wall framing and lining are constructed in accordance with one of the following
illustrations (Fig. 4 or 5).
2) Measure the back and side wall(s). The dimensions of the shower area (measured to the finished
surface of the wall board) must be as shown below. This is particularly important for Alcove (3-sided)
installations where an Englefield Duracryl wall will be installed.
3) Ensure studs are located as shown (dimensions A,B & C) to provide a solid support for the door and
return panels.
C) WALL CONSTRUCTION
INSTALLATION INSTRUCTIONSQUICK-FIT SHOWER TRAY
-3-
®
Fig. 4 - Corner (2 sided) Wall
Fig. 5 - Alcove (3 sided) Wall
B+2
-0
D+2
-0
C+2
-0
C DSHOWER TRAY
884 1164900 X 1200 X 900
750 X 900 X 750 739 864
984 9641000 X 1000 X 1000
884 864
900 X 900 X 900
900 X 750 X 900 885 747
A+2
-0
A BSHOWER TRAY
984 9841000 X 1000 884 884
900 X 900
900 X 750 * 734 884
884 11841200 X 900 *
* Asymmetric trays are handed, eg: 900x750 Right = 750x900 Left
Dimensions are to the finished surface of the wall board
INSTALLATION INSTRUCTIONSQUICK-FIT SHOWER TRAY
INSTALLATION - SHOWER TRAY
Many tradesmen prefer to install trays on a weak cement slurry (approx. 10:1 sand and cement) thus
ensuring complete support over the entire load-bearing area. However this step is not necessary providing
that installation is on a flat, level surface free of bumps and protrusions.
When installed on a concrete slab floor, chases or channels left for plumbing must be completely backfilled.
Building requirements can vary, local regulations must be checked prior to installation.
-4-
A) CEMENT SLURRY
1) With the tray laying upside down, apply a
suitable adhesive, such as Sika Nailbond
PB, to the bottom edges of all feet and the
bottom edge along the front of the tray.
2) Carefully turn tray over and place into position.
Ensure that the tray is level.
3) Leave the tray in place, do not stand or walk on it for
24 hours to allow enough time for adhesive to cure.
B) CONSTRUCTION ADHESIVE
•Shower tray must be installed level!
•Tray must be fully supported!
!IMPORTANT Failure to comply voids warranty.
CONTACT AND WARRANTY INFORMATION
INSTALLATION - SHOWER WASTE
NEW ZEALAND
KOHLER NZ LTD
www.englefield.co.nz
AUSTRALIA
KOHLER AUSTRALIA
www.englefield.com
- For warranty and other information, please visit our website.
- For contact information, please refer to the Home Owner’s Guide.
Install shower waste. Follow instructions supplied with the waste.
INSTALLATION - ENGLEFIELD DURACRYL WALL
Install wall if applicable. Follow instructions supplied with the wall.
®
Bottom edge
of all feet
Bottom edge along
the front of tray
®
!NOTE
Sika Showerbond is not recommended.
Cartridges from ENGLEFIELD adhesive/sealant
packs must not be used for this purpose.
®
Other Englefield Plumbing Product manuals

Englefield MILANO 97516A-CP User manual

Englefield

Englefield MILANO 97516A-CP User manual

Englefield Hi Flow Waste User manual

Englefield

Englefield Hi Flow Waste User manual

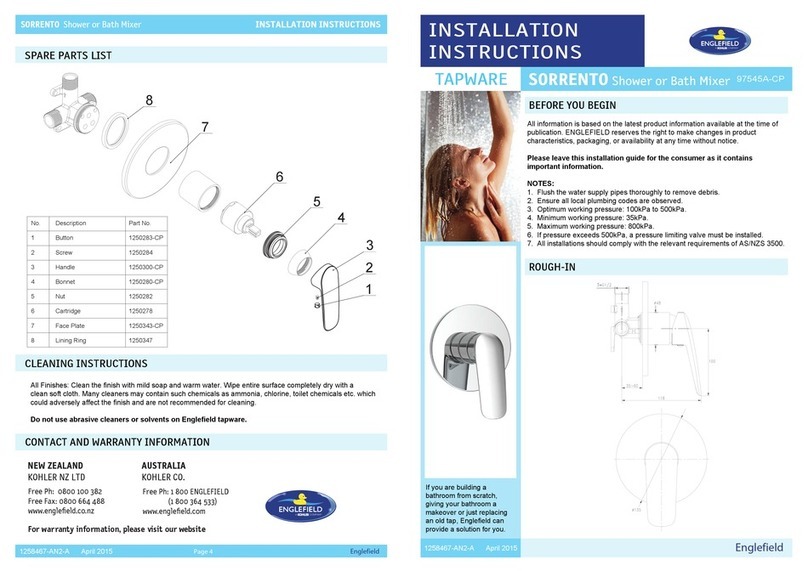
Englefield TAPWARE SORRENTO 97545A-CP User manual

Englefield

Englefield TAPWARE SORRENTO 97545A-CP User manual

Englefield MILANO User manual

Englefield

Englefield MILANO User manual

Englefield STUDIO 97533A-4 User manual

Englefield

Englefield STUDIO 97533A-4 User manual

Popular Plumbing Product manuals by other brands

SFA Saniflo Sanicubic 1 Troubleshooting Quick Guide

SFA

SFA Saniflo Sanicubic 1 Troubleshooting Quick Guide

FORENO EzyFlo EZF2 installation instructions

FORENO

FORENO EzyFlo EZF2 installation instructions

Fisher 34436 Product installation guide

Fisher

Fisher 34436 Product installation guide

Taymor INFINITY 06-8830 installation instructions

Taymor

Taymor INFINITY 06-8830 installation instructions

Joycare JC-350 instruction manual

Joycare

Joycare JC-350 instruction manual

aquabrass Combi 00007 installation guide

aquabrass

aquabrass Combi 00007 installation guide

Pfister Zanna F-529-7ZN3 Quick installation guide

Pfister

Pfister Zanna F-529-7ZN3 Quick installation guide

Haws 1920HO Installation, operation & maintenance instructions

Haws

Haws 1920HO Installation, operation & maintenance instructions

BH SHIATSU 001 Series Consumers manual

BH SHIATSU

BH SHIATSU 001 Series Consumers manual

KWC ACXX2021 Installation and operating instructions

KWC

KWC ACXX2021 Installation and operating instructions

Glacier bay LT2007WWHD quick start guide

Glacier bay

Glacier bay LT2007WWHD quick start guide

Olympia Faucets, Inc. P-2371T installation instructions

Olympia Faucets, Inc.

Olympia Faucets, Inc. P-2371T installation instructions

agape Spoon ACER0700 Assembly instructions

agape

agape Spoon ACER0700 Assembly instructions

Kohler K-45415 Installation and care guide

Kohler

Kohler K-45415 Installation and care guide

KEUCO Edition 400 Series manual

KEUCO

KEUCO Edition 400 Series manual

Helvex LIQUIDA UTV-302 Instruction guide

Helvex

Helvex LIQUIDA UTV-302 Instruction guide

Kallista P22107 installation guide

Kallista

Kallista P22107 installation guide

JADO Glance 831/800 Series installation instructions

JADO

JADO Glance 831/800 Series installation instructions

manuals.online logo
manuals.online logoBrands
  • About & Mission
  • Contact us
  • Privacy Policy
  • Terms and Conditions

Copyright 2025 Manuals.Online. All Rights Reserved.