Operation:
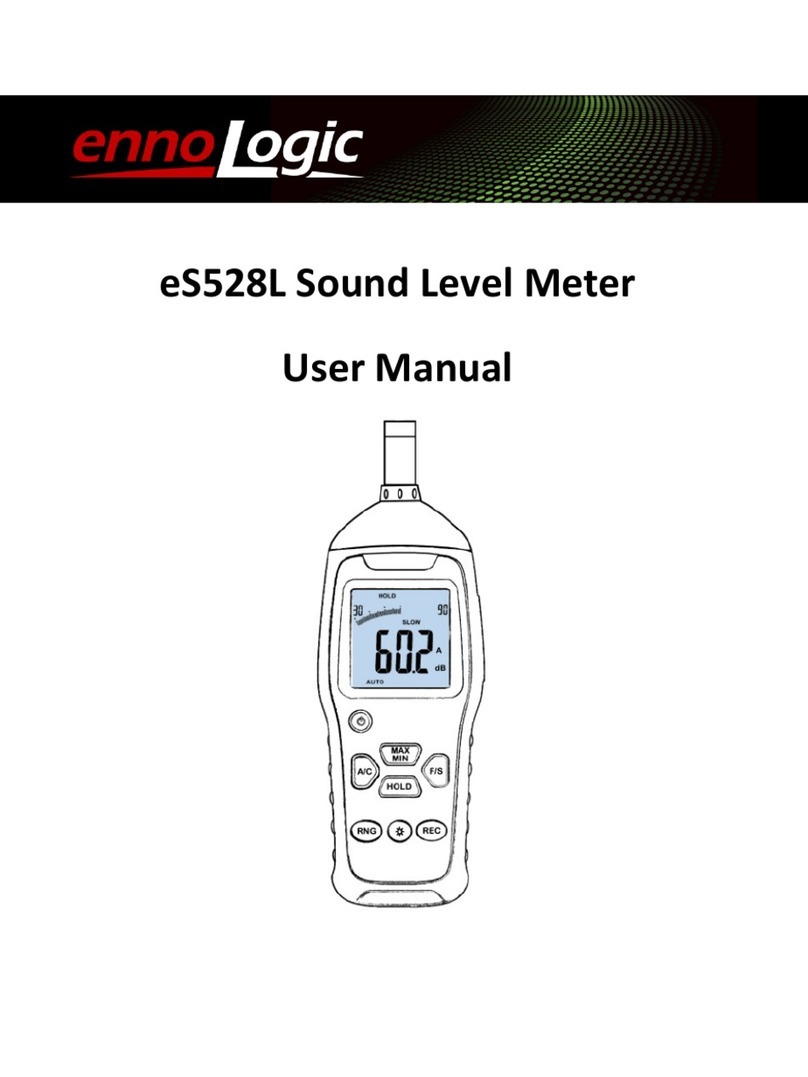
1. Turning the Sound Level Meter On and Off
Press the Power button to turn the meter on. Press it again to turn it off.
After 5 minutes without any operation the meter will automatically power off. To disable the
Auto-Power-Off hold the F/S button down while turning the unit on, then let go of the F/S button.
You will see the Power Symbol appear on the LCD, indicating that the auto-power-off feature is
disabled.
2. A/C Frequency Weighting Selection
Press the A/C button to select frequency weighting A or C (your selection will be displayed to the
right of the sound level value as dBA or dBC). When you turn the meter on it will be in
A-weighting mode.
A-Weighting causes the meter to replicate the frequency filtering process of the human ear. In
A-weighting mode, the sound level meter is less sensitive to very high and very low frequencies.
Applications include environmental measurements, law enforcement and workplace design.
C-Weighting is suitable for flat response measurements with no attenuation of amplitude over the
frequency spectrum. Applications include the sound level analysis of machinery and engines.
3. MAX Value Measurement Function
When measuring sound levels press the MAX button to capture the maximum sound level value.
The reading will remain unchanged until a higher reading is detected. Note that the bar graph will
continue to display the current reading. Press the MAX button again to exit this mode.
4. FAST/SLOW Response Speed Function
When you turn the meter on it will be in fast response mode. Press the F/S button to toggle
between Fast (500ms per reading) and Slow mode (1sec per reading).
5. Backlight
Press the Backlight button to turn the backlight on or off.
6. Date and Time
Press the Date and Time button to switch between date and time display.
To Set Date and Time: Start by turning the meter off. Hold down the A/C button, then briefly
press the Power button and release both Power and A/C buttons at about the same time. This
