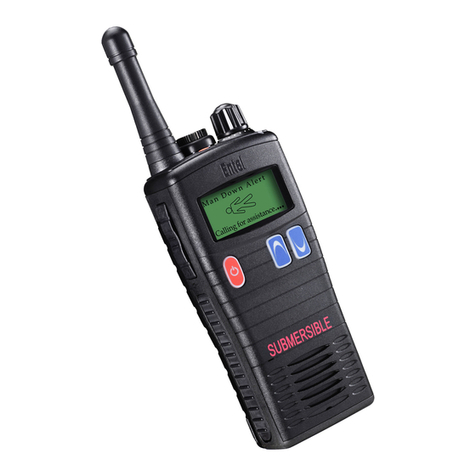
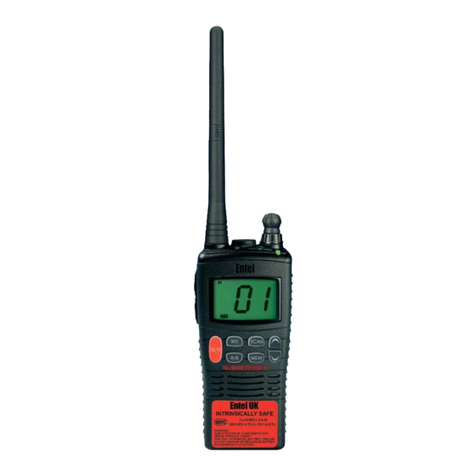
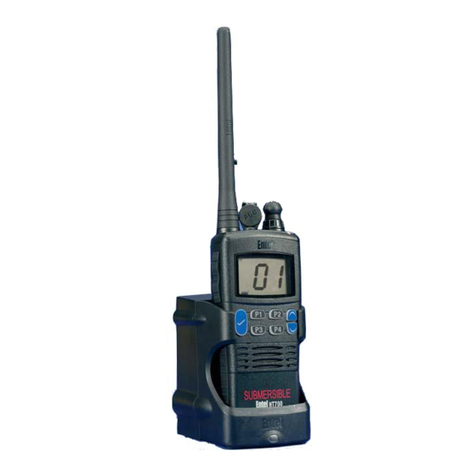
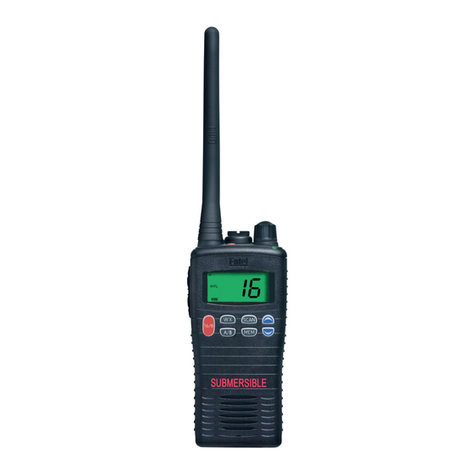
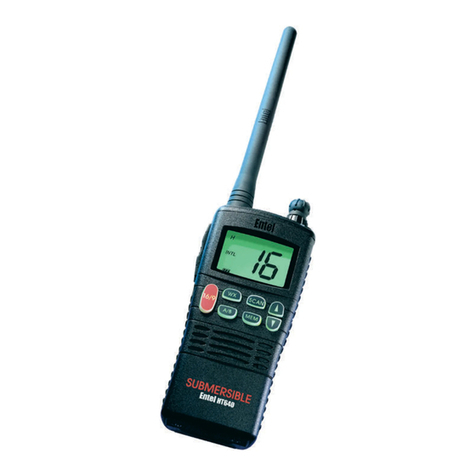
Entel HT644 GMDSS User manual

HT644 User Guide
v07/11
Professional submersiblemarine handheld transceivers
HT644
LCD

TOC
Table of Contents
1

2
Certificate
Declaration of Conformity
Introduction
We Entel UK Limited of:
320 CentennialAvenue
Centennial Park
Elstree
Borehamwood
Hertfordshire
WD6 3TJ
United Kingdom
Declaresunder our soleresponsibility that the product range:
HT644 Series Handheld RadioTransceiver
Conformsto thefollowingstandardsor other nominativedocuments:
•
EN 301 178-2V1.2.2:2007-02,EN 60945:2002,EN60950-1:2006,in accordance with
Directive1999/5/EC.
Serial Number________________________________
MAustin
Quality Manager
1 October 2010
Date:

Warranty
The HT644 comeswith a24 month warranty,
for detailsseeour full terms&conditions.
Advice
• Do not useoptionsor accessoriesnot
specified byEntel
• Ensurethat the radio isused within the
parametersfor which it wasdesigned
• Pleaseswitch thetransceiver off before
connectingoptional accessories
Warning
Turn the transceiver off in the following
locations:
• In explosive atmospheres(flammable gas,
dust includingmetallic & grain powdersetc)
• Whilst takingon fuel or whileparked near a
fuel station
• Near explosivesor blastingsites
• In aircraft,medical institutionsor near
personsknownto bewearingapacemaker
Caution
• Do not disassemble or modify the
transceiver for any reason
• Do not transmit while touchingtheantenna
terminal or any exposed metallic partsof the
aerial asthismay result in aburn
• Please check and observe regulationsin your
country with regard to use whilst driving
End of Life Disposal
When your Entel transceiver reachestheend of its
useful life,pleaseensure that the unit isdisposed of in
an environmentally friendly way. For country specific
information please seewww.entel.co.uk/recycling.
Cleaning your Radio
After exposure to any potentially corrosive substance
includingsalt water it isrecommended to thoroughly
wash the transceiver in fresh water.If washingwith the
battery removed from theradio,ensurethat the
battery isnot immersed in water &that the accessory
cap isattached & clean only with adamp cloth.
Introduction
3
Introduction
The Entel HT644 isaprofessional marine handheld transceiver that operateson theVHFmarineband.
The HT644 has58 marineinternational channels,10 weather & 36 dealer programmableprivate
channels.The 58 marine channelsareswitchable to comply with USA,International or Canadian
regulations. Thisisdone viathe radio’skeypad.It hasan emergency channel,which can be immediately
selected from any channel usingthe red 16/9 button.Weather channelscan also beaccessed immediately
usingthe[WX] key.TheHT644 includesthe followingfeatures:Scan, A/Bquick accesschannels,battery
life indicator, VOX (voice activated transmit),low battery indicator,large LCD with back light.
•HT644Transceiver
•CNB750ERechargeable 1800mAh Li-Ion battery
•CBH750 Springloaded belt clip
Packing List
• CATXX Antenna
• CCA tricklecharger included with certain models
Radio Care
Note:Do not
wash the
transceiver if
you suspect the
waterproofing
seal may be
damaged.Please
return to your
supplier for
inspection /
repair.

PreparingYour Radio For Use
4
Preparing
56
a
b
---
Attaching / Removing the Belt Clip
5
To attach,slot theclip onto the slot on the
back of the battery and slide up until you
hear a“click”
6
To remove,pull the tab towardsthe belt
clip (a).Then slide thebelt clip
downwards(b)
Attaching/RemovingtheAerial
1
Toattach,carefullyaligntheaerialwiththe
socket.Screwintheaerialclockwise(taking
carenottocrossthethread)untilitisseated
firmlywiththeaccessorycover’srubberring
betweentheaerial&thethetopoftheradio.
2
Toremove,unscrewtheaerialanti-clockwise.
12
Attaching / RemovingAudio Accessories
3
To attach,remove theaccessorycover byunscrewingthe
lockingscrew anti-clockwise(leavecover securedunder
antennaasthisprovidesawaterproof seal). Attach accessory
plugby locatingover thesocket.Carefullytighten thelocking
screw clockwiseuntil finger tight (do not tighten with a
screwdriver etc).
4
To remove,unscrew accessory plugthelockingscrew by
hand in an anti-clockwise direction (carefully use acoin or
screwdriver if too tight).Ensure you re-fit the accessory
waterproof cover so asto protect theaccessorysocket.

Introduction
Your Entel radio issupplied with ahigh
performance Lithium-Ion (Li-Ion) battery. These
batteries:
• Extend talk time
• Reduce thebattery’ssizeand weight
• Do not suffer from‘memory effect’ that
reducesthe life of Ni-Cad and NiMH
batteries
• Have alow toxicity,thereforereducingthe
impact on theenvironment
Battery Pack
• If abattery isnot used for an extended
period of time (e.g.several months) you
must:
• Charge the battery to about 50%of its
normal capacity
(a3 hour charge from flat).
• Remove thebattery from theradiosand
storein acool and dry location (at around
0°C).
• Re-charge the batteryto 50%capacity
atleast every 6 monthswhilst in storage.
• In normal use each charge cycle reducesthe
battery’slife.Minimise thenumber of times
you charge your battery especially in hotter
environmentswhich further shortensa
battery’slife.
5
Battery Care / Information
Battery Pack Precautions
• Switch the transceiver OFFbefore
charging
• Charge the battery pack beforeuse
• Do not rechargethebatterypack if it is
alreadyfullycharged.
• Charge the battery in accordance with the
instructionsenclosed with your charger
• Do not charge the transceiver and /or
battery pack if they are wet.
The battery pack includespotentially
hazardouscomponents.Please:
• Do Not disassembleor reconstruct
battery
• Do Not short-circuit thebattery
• Do Not incinerateor applyheat to the
battery
• Do Not immerse the battery in water
unlessattached securely to theradio or
get it wet by other means
• Use only the specified charger and
observechargingrequirements
• Do Not pierce the battery with any
object or strike it with an instrument
• Do Not use the battery pack if it is
damaged in any way
• Do Not reverse-chargeor reverse-
connect thebattery
• Do Not toucharuptured or leaking
battery.
If liquidsfrom the battery get into your eyes,
immediately:
• Wash your eyesout with fresh water &
avoidingrubbingthem.
• Seek medical treatment.
Battery

Battery Charging
1. Connect theAC adapter to thecharger
pod. TheLED statuslight will illuminate
green indicatingready for charge
2. Turn thetransceiver off
3. Insert the battery pack into the charger
pod,either with or without the
transceiver attached. The LED statuslight
changesfrom green to RED & trickle
charge begins
4. A fully discharged battery pack will take
approximately 6 hoursto charge,
dependingon the remainingpower
condition.When charge iscomplete,the
LED statuslight turnsgreen.
Overcharging:
The battery pack hasan over-current
protection circuit fitted. When charginga
completely discharged battery i.e.first charge,
ensurethe battery isremoved from the radio
and then re-attached (if fitted to radio when
charging). Thiswill reset theprotection
circuitry and ensurenormal operation.This
process will need to be repeated if the battery
isallowed to completely discharge in the
future.In normal use thisisunlikely.
6
Battery Care / Information
Battery Indicator
For your safety and convenience your
transceiver continually monitorsthebattery
pack and givesan indication on the LCD:
• 3 Segments: 12 hours
• 2 Segments: 1 hour
• 1 Segment: 20 mins
Note:OnlygenuineEntel batteriesshould be
used. Customer satisfaction isassured as you
can not be supplied with sub standard,
potentially dangerousbattery packsfrom 3rd
party manufacturers,ensuringit deliversthe
expected capacity and endurance.
On HT seriesbatteriesabreathable
membrane isused.Thisisclearly marked on
the battery label. Piercingthemembrane will
allow water ingressto the battery,& will
invalidate thewarranty.
Battery
Attaching / Removing the Battery Pack
1
To attach,locate thepegson the bottom of the
battery into the slotson the radio and pressthe
top of the battery against the radio.Secure
battery by tighteningthe screw clockwise by
hand.(Do not over tighten)
2
To remove,unscrew thelockingscrew
anticlockwise & pull the battery away from the
top of the radio.
12

7
UsingYour HT644
1. ToTurn the radio on rotatethe volumecontrol clockwise,to select the desired audio level
continuerotatingthe control clockwise.to increase volume &counter clockwiseto decrease.
After power-on,thetransceiver will alwaysdefault to the last channel selected.
2. One second after start-up atone isgenerated to indicate the transceiver haspassed its
self-diagnostic test.Duringstandby the LED indicator will pulse amber every 3 seconds,to verify
itscircuitry isfunctioningcorrectly.
3. Use the [UP/DOWN] keysto select adesired channel. A full listingof all availablechannelscan be
found on page 17-18.
4. When receivingasignal the LED indicator illuminatesgreen & an“RX” isdisplayed on the LCD.
5. While the radio isoperating,if you hear white noise you may need to adjust the squelch threshold
of the radio,for more information see page 8“AdjustingSquelchThreshold”.On some channelsa
slight adjustment of the squelch threshold isneeded assome channelshave ahigher noise level
than others.
Reception
Transmitting
1. Perform steps1 through 3 of RECEPTION.
2. Before transmitting,monitor thechannel and makesureit isclear.
3. For communications over short distances,pressthe [H/L] key and select low power (1 watt).
Transmittingon 1 watt prolongsbattery life,and should be selected whenever possible.
4. When receivingasignal,wait until the signal stopsbefore transmitting.The transceiver cannot
transmit and receive simultaneously.
5. Pressthe [PTT] (Push-To-Talk) button to begin your transmission.To confirm transmission in
progresstheLCD indicator illuminatesTX and theLED illuminatesRED.
6. Hold the transceiver 1 inch from your mouth and speak slowly and clearly into the microphone.
7. When the transmission isfinished release the [PTT] button.
TurningThe Radio On & Off
Turn the ON/OFFcontrol on thetop of the radio clockwise until the LCD iluminates& ashort
beep isemitted. To turn the radio off turn the ON/OFFcontrol anti-clock wise until the LCD
deluminates.
UsingYour radio
Before usingyour radio youmay need to adjust thevolumeon theradio to takein to account
background noise. Adjust the volume usingthe rotary control on thetop of the radio.
Channels

UsingYour
8
Channels
INT,USA & Canadian Modes
In compliance with worldwide license regulations the following versions of HT644
are available:
VersionA:INT,USA & Canadian modes
Version B,C & D:INT mode only
1. In the case of versionA only;to change thechannel set of thetransceiver,hold down the
[WX] key.The mode changesfrom USA to Canadian to International.
2. Refer to the marine channel chartsin thisbooklet for allocated channelsin each mode.
NOAA Weather Channels
(Applicableto versionA model only)
1. To receive aweather channel,pressthe [WX] key.The transceiver entersinto weather
channel mode.
2. Thereare 10 weather channels.Use the & buttonsto select thedesired channel.
3. To exit fromthe weather channelspressthe [WX] key.Thetransceiver recallsthe previous
workingchannel.
Emergency Channels
To select the emergency channel,pressthe[16/9] button fromany channel.Channel 16 appears
on the display.To recall thepreviouschannel used,pressthe [16/9] buttononce again.
Channel 9
Channel 9 isused asahailingchannel for initial,non-emergency contact with other vessels.Hold
down the [16/9] key for 1 second to select channel 9.
To recall the previouschannel used,pressthe [16/9] button twice.
Monitor Channels
Presstheblue monitor button on the top of theradio to defeat the squelch mute and release
button to mute radio.A longpress(radio will beep) will hold thesquelch muteopen until
pressed again to cancel again to return to squelch mute.
Adjusting SquelchThreshold
Press&hold theblue monitor button on the top of theradio and switch radio on,then after the
radio emitsabeep release the blue button.Thiswill cause the radio to display anumber
representingthesquelch threshold from 01-16,01 isthe more sensitive &16 isthe lesssensitive.
Usethe UP & DOWN channel buttonsto adjust thelevel &pressMEM to storethe
new squelch level.

SIMPLEX / DUPLEX CHANNEL USE
Your transceiver hasbeen factory programmed in accordance with FCC (USA),Industry Canada
and International regulations.The mode of operation cannot be altered from simplex to duplex
or vice versa.Simplex or duplex mode isautomatically activated,dependingon the channel and
the channel set and whether USA,Canadian,or International modeisselected.
Refer to the channel chartslisted on pages18-20 of thisuser manual.
If you have alicenceto use aspecificsimplex or semi-duplex channel,contact your dealer who
maybe ableto programmeyour channel usingthe transceiver’sprivate channel memory.
CHANNEL A/B INSTANT ACCESS
For your convenience,two user assigned channelscan beprogrammed for instant access.If the
[A/B] key ispressed and no channelA or Bhasbeen assigned,ashort beep will beheard.
PROGRAMMING A/B INSTANT ACCESS BUTTONS
1. Hold down the[A/B] key and turn on the transceiver.
2. The letter A will appear on the display and dashes"_ _" indicate that no channel hasbeen
designated channelA.
3. Pressthe[UP/DOWN] button until the desired channel number isdisplayed.
4. With the desired channel number displayed,pressthe [MEM] key once.The "A" will stop
flashing,indicatingthat thedisplayed channel isnow designated channelA.
5. PresstheA / Bbutton again.The letter "b" will appear onthedisplay.
Repeat steps2 through to 4.
6. Switch transceiver off and on to exit thismode and save changes.If you wish to clear instant
access channelsfollow step 1 then press the [MEM] key.The“A” will flash.Now switch the
transceiver off and on again.
Note:Should you later wish to delete any stored channelssimply press"MEM" key whilst in
A/Bprogrammingmode.
OPERATION OFA/B INSTANT ACCESS BUTTONS
Pressingthe [A/B] button will togglebetweenA,Band the previousselected workingchannel.
ChannelA isrepresented by the "A" to the left of the channel number on the LCD,& channel B
isrepresented by "B".
Note:Do not confuse this"A" withtheone that issometimesdisplayed to the right hand side
of the channel number (in USA and Canadian modes)
9
Channels
Channels

Functions
10
The Scan Function
1. Select the desired channel to be scanned usingthe & buttons.
2. Pressthe[MEM] button to store the channel in the transceiver’smemory.[MEM] is
displayed on the LCD.Thischannel isnow memorised to bescanned.
3. To add further channels,repeat steps1 & 2.
4. To delete achannel from the transceiver’s scan list,pressthe [MEM] button on achannel
that displaysthe[MEM] icon until the icon disappears.
5. All channelsprogrammed remain in thetransceiver’s scan memory,even if the power is
switched off.
6. Adjust the squelch control until the whitenoiseiseliminated.
7. To start scanning,pressthe [SCAN] key.The scan proceedsfrom thelowest to thehighest
programmed channel number & stopson channelswhen atransmission isreceived.
8. To stop thescan at any time,pressthe [SCAN] key again.
VOX (Voice OperatedTransmit)
Pressthe[MEM] button & switch the transceiver on.TheVOX symbol & a"0" will flash."0"
indicatesVOX isswitched off,1 isfor low sensitivity,5 isfor normal sensitivity,and 9 isfor
high sensitivity.Usethe [UP/DOWN] button to select thedesired level,press[MEM] to
confirm,the transceiver isnow set toVOX.To switchVOX off,go back intoVOX programming
modeby holdingthe [MEM] key whilst switchingon.PresstheUP/DOWN buttonuntil the
vox level is"off" and press[MEM] to confirm.
InVOX modethe transceiver will react to your voice,and transmit automatically without you
havingto pressthe PTT button.There isalwaysaslight delay for the electronic switching&
consideration will need to be given.To get optimumperformance from theVOX featureyou
should use anoisecancellingheadset or earpiece microphone (see accessory options).
Functions

11
LCD Indicators
Indicator Description
High power selected (5Watts)
Low power (1Watt).
The Radio isTransmitting.
The Radio isRecieving.
Indicated channel ismemorised for scanning.
Scrambler modeenabled (versionA &Bonly).
Voiceoperated transmit mode enabled.
Indicatesthe channel set for USA.
Indicatesthe channel set for Canadian.
Indicatesthe channel set for International.
NOAA weather channelsselected (USA & Canadian watersonly).
A ship-to-ship channel (in USA or Canadian mode).
Battery lifeindicator.
Indicateskeypad islocked,excludingthe PTT,H/L & LAMPbuttons.
Private channel number selected.
Duplex channel selected (not simplex).
LCD

Accessories
12
Battery & Charger Options
Optional Accessories
Attaching & RemovingAccessories
To attach an accessory: Removetheaccessorycover
byunscrewingthelockingscrew anti-clockwise(leave
cover attached or storein asafeplace).
Attachaccessoryplugto thesocket.Carefullytightenthe
lockingscrew clockwise until finger tight (do not tighten
with ascrewdriver etc).
To remove an accessory: Unscrew thelockingscrew
of the accessory by hand in an anti-clockwise direction
(carefully use acoin or screwdriver if too tight).
Ensureyou re-fit the accessorycover so asto protect
the socket.

Accessories
Optional Accessories
For complete upto datelist of optional accessoriesvisit www.entel.co.uk
13
Standard Features:
•Environmentally protected to IP68 i.e.submersible to 5 metresfor up to 60 minutes.
•Robust design,exceedsMIL-STD-810C/D/E/F.
•LCD screen to display channel number ¤t settings\ status.
•1800mAH Lithium-Ion battery for superior operational time.
•INT,USA,CAN channels.
•Full transmit power output 5Watts.
•Exceptionallyloud & clear audio .
•Ch 16 \ 9 shortcut button.
•WX shortcut button.
•Scan button.
•Monitor button.
•MEM button.
•Automatic power save to further increase operational time.
•Low battery alert indicateswhen the battery needschargingor replacing.
•Battery charge count to indicate when abattery needs replacing.
Dealer Programmable Features:
•Key lock button
•Prefixed minimum volume level and fixed bleep level
•VOX (VoiceOperatedTransmit) Function.
Standard Features

14
Controls
1 Power & Volume Control:Powerstheradio on andoff andcontrolsthe volume.
2 The Microphone: Internal condenser microphone
3 Up / Down Buttons: Pressup / down buttonsto change channel.
4 16/9 Button:A momentary pressof thebutton selectschannel 16 and alonger press
select channel 9.
5 W X Button:Immediately recallsthe weather channels.
6 Scan Button:Starts/ Stopsscanningthe memorised channels.
7 The MEM Button:Memorisesadesired channel for scanning.
8 TheA/B Button:ProvidesInstant access to preassigned channels(if programmed)
9 Speaker:The Radio’sSpeaker.
Controls

15
Controls
10 Lamp / Key lock Button:Momentarily pressingthisbutton illuminatesthe LCD display.
Holdingthisbutton for over 1 second activatesthe key lock. To deactivate the key lock
press& hold the button again until the lock removes.
11 The Radio’s Battery Pack: Rechargeablelithium-ion battery pack.
12 PTT (PushToTalk Switch): Hold down to transmit,release to receive.
13 H/L Button:Pressand hold thisbutton for 1 second to toggle between high and low
power (1 & 5Watts).
14 TheAccessory Connector:Used to attach any HT644 approved accessory.
15 LED Indicator: Indicatesthestatusof the radio:
• RED Steady =Transmitting
• RED Flashingslowly = Battery needsre-charging
• GREEN Steady = Receiving
16 Monitor Button:Pressto monitor the channel without the squelch mute.
17 Antenna Connector:Use to attach the antennaof the radio.
Controls

16
Glossary ofTerms
Term Description
Canadian
Channels Channelsdesignated asdefined and regulated by IndustryCanada,(RIC),
Marine Communications&Traffic Services.
Duplex Transmit and receiveondifferent frequencies.
Encryption Scrambled audio for extraprivacy.
FM Frequency Modulation.
International
Channels Channel designationsasdefined for use in international watersby the
InternationalTelecommunicationsUnion (ITU).
Marine
Channels Special channelsreserved for marinaslocated in selected European
countries.Thesechannelsare pre-programmed in the transceiver asP1 & P2.
Private
Channels
Channelswhich are assigned by regulatory agenciesgoverning VHFradio use
for aspecific region or country.These channelsare prefixed with a"P" and
can only be programmed into the transceiver by authorised dealers.
PTT PressToTalk (Transmit)
RX Receive
Simplex Transmit and receive on the same frequency.
Squelch To suppressbackground noise
TX Transmit
Transceiver A device that can transmit and receive
USA
Channels Channel designationsasdefined by the Federal CommunicationsCommission
(FCCVOX )
VOX VoiceOperatedTransmit
VHF Very High Frequency (30MHzto 300 MHz)
Glossary

17
Troubleshoot
Troubleshooting
SYMPTOM PROBABLE CAUSE REMEDY
Transceiver not switchingon Battery needs chargingor
battery isexhausted Charge the battery pack
replace thebattery pack
The scan key doesnot start
the scan No channelsmemorised
(MEM) Squelch isnot adjusted
Use the MEM key to enter
desired channelsinto scan
memory.Adjust the squelch to
threshold or to thepoint
wherethe white noise just
disappears.
Cannot changeany function Key lock isswitched on Turn key lock off
The LED on the charger does
not illuminatewhen charging
Defective battery or charger.
Dirty terminal contact on
battery or charger
Contact your dealer Clean
contactswith dry clean cloth
No transmit or cannot select
high power Some channelsarelow power
only Battery pack exhausted Change to high power channel
Charge / replace thebattery
Transceiver transmitswithout
pressingPTT button Buttons
seem to work intermittently VOX hasbeen enabled
Hold MEM button for 2 secs,
use UPor DOWN button &
select “off” to turnVOX
off

Channel Chart
18
Channel Chart
CH Channel Set S/D Frequency Channel Use
USA CAN INT Receive Transmit
1A XS 156.05000 PORT OPERATION AND COMMERCIAL
1X X D 160.65000 156.05000 PUBLIC,PORT OPERATIONS
2X X D 160.70000 156.10000 PUBLIC,PORT OPERATIONS
3A XS 156.15000 USGOVERMENT,COAST GUARD
3X X D 160.75000 156.15000 PUBLIC,PORT OPERATIONS
4A XS 156.20000 COMMERCIALFISHING
4XD 160.80000 156.20000 PUBLIC,PORT OPERATIONS
5A X X S 156.25000 PORT OPERATIONS,VTSIN SEATTLE
5XD 160.85000 156.25000 PUBLIC,PORT OPERATIONS
6X X X S 156.30000 INTER-SHIPSAFETY
7A X X S 156.35000 COMMERCIAL
7XD 160.95000 156.35000 PUBLIC,PORT OPERATIONS
8X X X S 156.40000 COMMERCIAL(INTER-SHIPONLY)
9X X X S 156.45000 BOATERCALLING CHANNEL
10 X X X S 156.50000 COMMERCIAL/ INTERSHIP
11 X X X S 156.55000 COMMERCIAL/ PORT OPERATIONS
12 X X X S 156.60000 PORT OPERATION
13 X X S 156.65000 INTER-SHIPNAVIGATION SAFETY
13 XS 156.65000 INTER-SHIPNAVIGATION SAFETY
14 X X X S 156.70000 PORT OPERATION
15 XR 156.75000 - SHIPMOVEMENT
15 X X S 156.75000 SHIPMOVEMENT \ INTERSHIP
16 X X X S 156.80000 INTERNATIONAL DISTRESS
17 X X X S 156.85000 STATECONTROLLED \ INTERSHIP
18A X X S 156.90000 COMMERCIAL
18 XD 161.50000 156.90000 PORT OPERATION,SHIPMOVEMENT
19A X X S 156.95000 COAST GUARD
19 XD 161.55000 156.95000 PORT OPERATION,SHIPMOVEMENT
20A XS 157.00000 PORT OPERATION
20 X X D 161.60000 157.00000 PORT OPERATION AND SHIPMENT
20 XD 161.60000 157.00000 PORT OPERATION AND SHIPMENT
21A X X S 157.05000 U.S.GOV,CANADIAN COST GUARD
21 XD 161.65000 157.05000 PORT OPERATION,SHIPMOVEMENT

Channel Chart
19
Channel Chart
CH Channel Set S/D Frequency Channel Use
USA CAN INT Receive Transmit
22A X X S 157.10000
22 XD 161.70000 157.10000 PORT OPERATION,SHIPMOVEMENT
23A XS 157.15000 U.S.GOVERNMENT ONLY
23 X X D 161.75000 157.15000 PUBLIC CORRESPONDENCE
24 X X X D 161.80000 157.20000 PUBLIC CORRESPONDENCE
25 X X X D 161.85000 157.25000 PUBLIC CORRESPONDENCE
26 X X X D 161.90000 157.30000 PUBLIC CORRESPONDENCE
27 X X X D 161.95000 157.35000 PUBLIC CORRESPONDENCE
28 X X X D 162.00000 157.40000 PUBLIC CORRESPONDENCE
37 XS 157.85000 MARINA CHANNEL
60 X X D 160.62500 156.02500 PUBLIC \ PORT OPERATIONS
61A X X S 156.07500 -
61 XD 160.67500 156.07500 PUBLIC \ PORT OPERATIONS
62A XS 156.12500 -
62 XD 160.72500 156.12500 PUBLIC \ PORT OPERATIONS
63A XS 156.17500 PORT OPERATIONS
63 XD 160.77500 156.17500 PUBLIC \ PORT OPERATIONS
64A X X S 156.22500
64 X X D 160.82500 156.22500 PUBLIC \ PORT OPERATIONS
65A X X S 156.27500 PORT OPERATIONS
65 XD 160.87500 156.27500 PUBLIC \ PORT OPERATIONS
66A XS 156.32500 PORT OPERATIONS
66A XS 156.32500 PORT OPERATIONS
66 XD 160.92500 156.32500 PUBLIC \ PORT OPERATIONS
67 X X S 156.37500 INTERSHIP
67 XS 156.37500
68 X X X S 156.42500 NON-COMMERCIAL
69 X X X S 156.47500 INTERSHIP
70 X X X R 156.25000 - DIGITALSELECTIVECALLING
71 X X X S 156.57500 PORT OPERATIONS
72 X X X S 156.62500 NON-COMMERCIAL\ INTERSHIP
73 X X X S 156.67500 INTERSHIP
Other manuals for HT644 GMDSS
4
Table of contents
Other Entel Transceiver manuals
Entel
Entel DX Land Series Setup guide
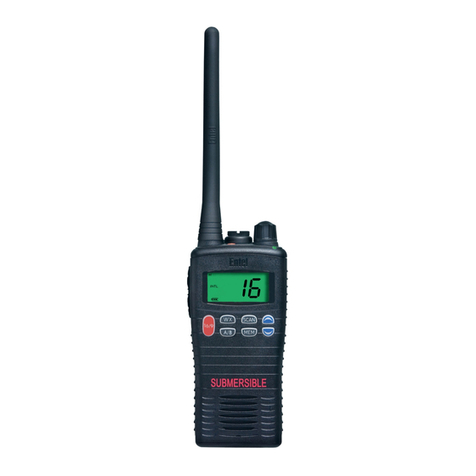
Entel
Entel HT644 GMDSS User manual

Entel
Entel HX402 HX422 User manual
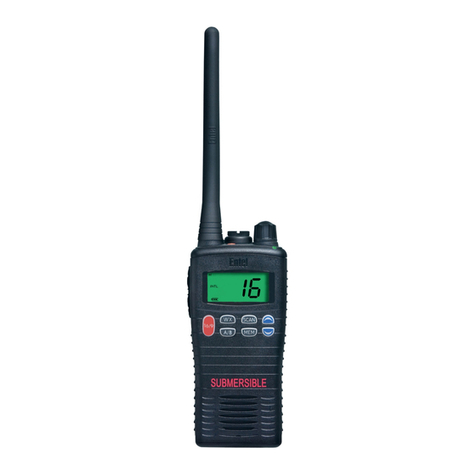
Entel
Entel HT644 GMDSS User manual
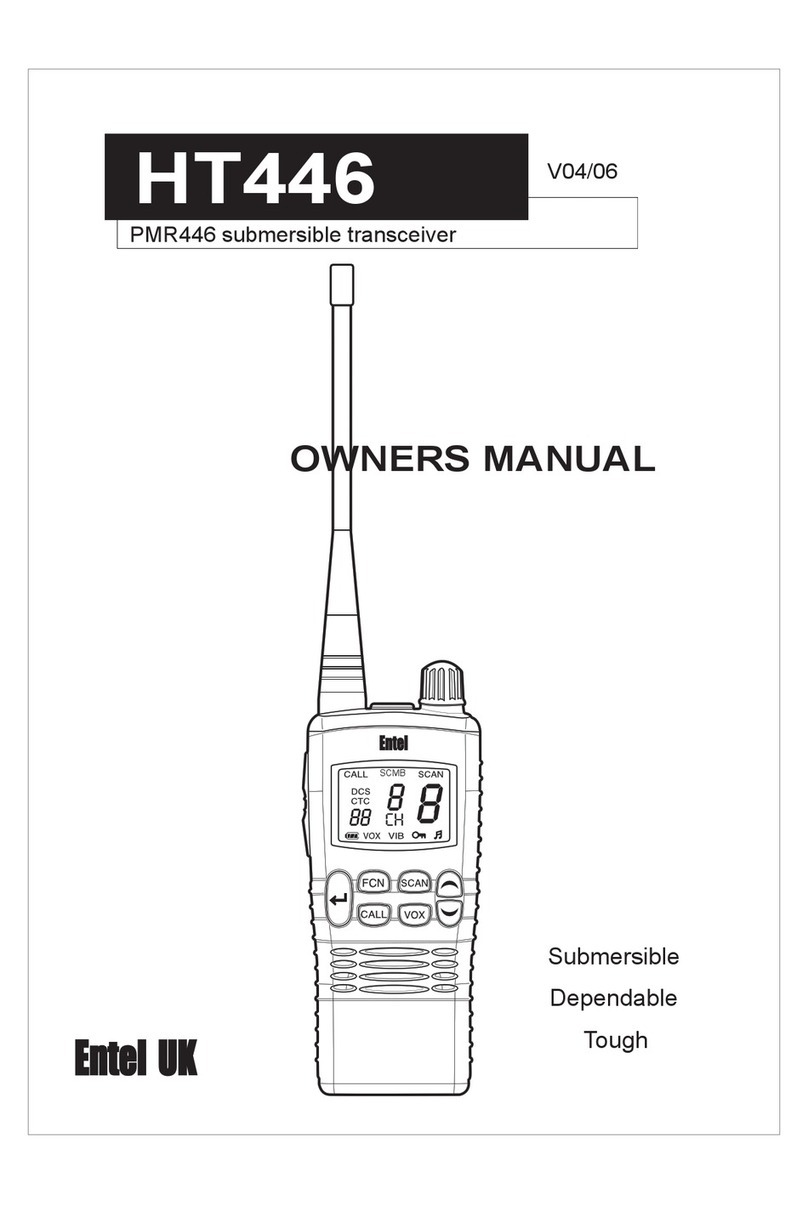
Entel
Entel HT446 User manual
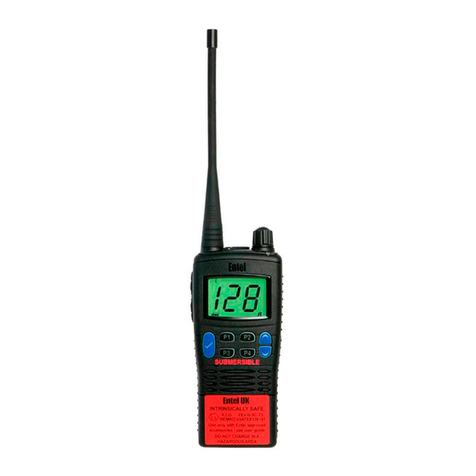
Entel
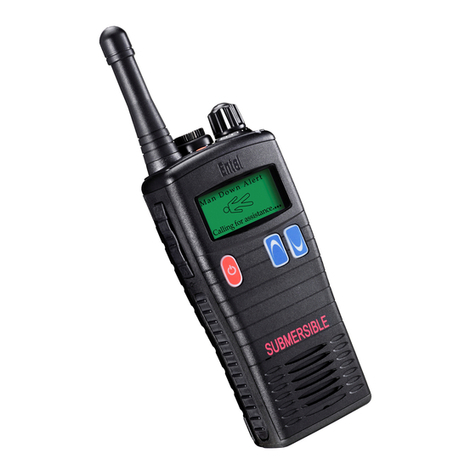
Entel HT920 User manual
Entel
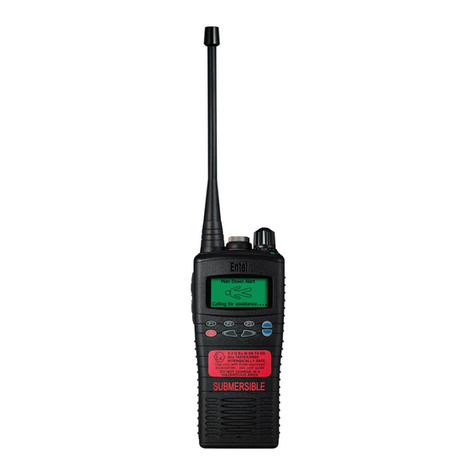
Entel HT952 User manual
Entel
Entel HT900 Series User manual

Entel
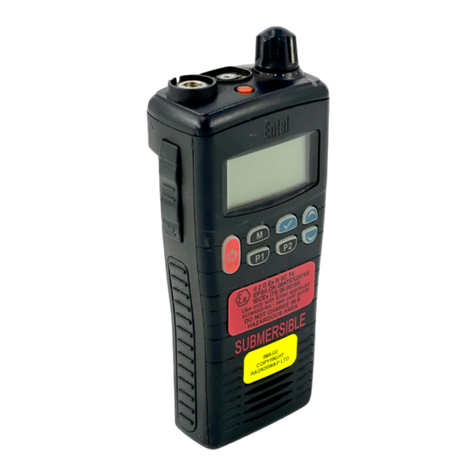
Entel EURO-WAVE User manual
Entel
Entel HT981 User manual
