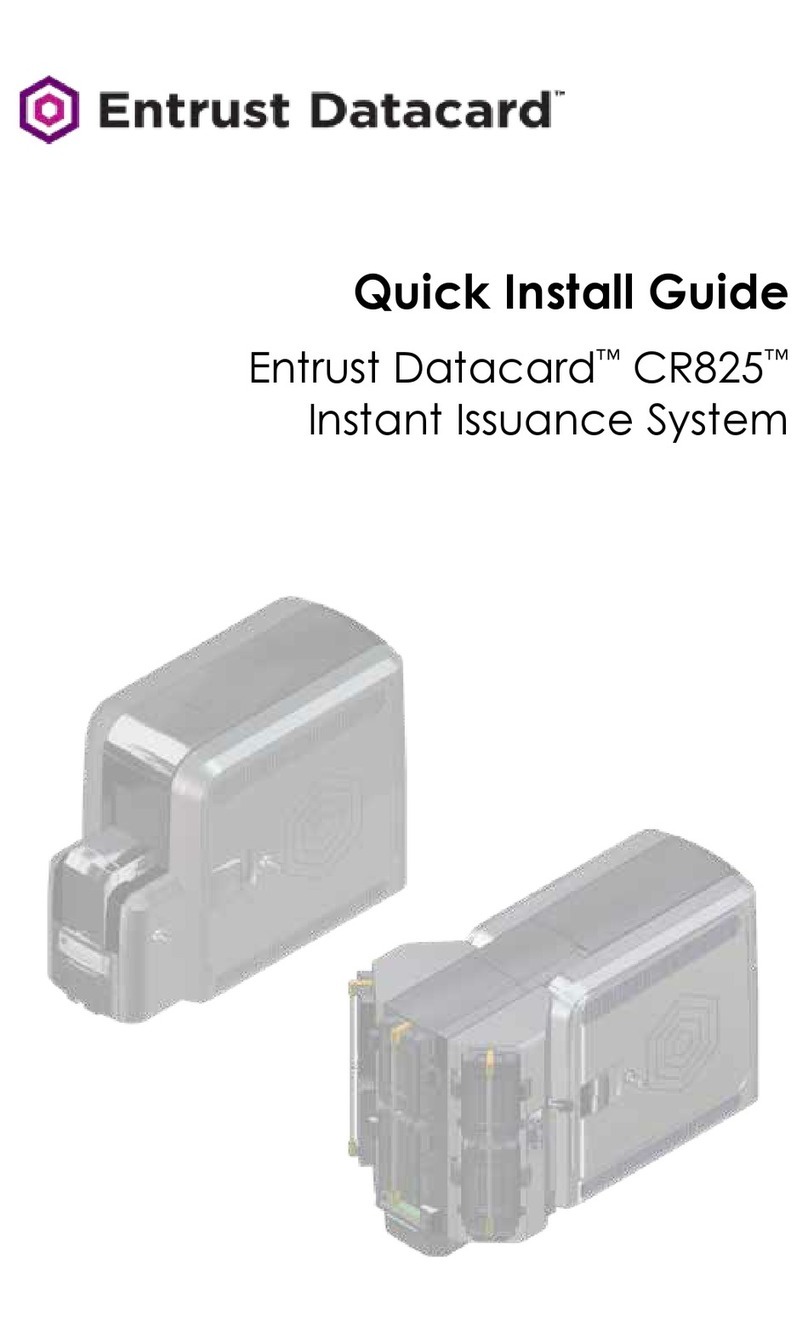
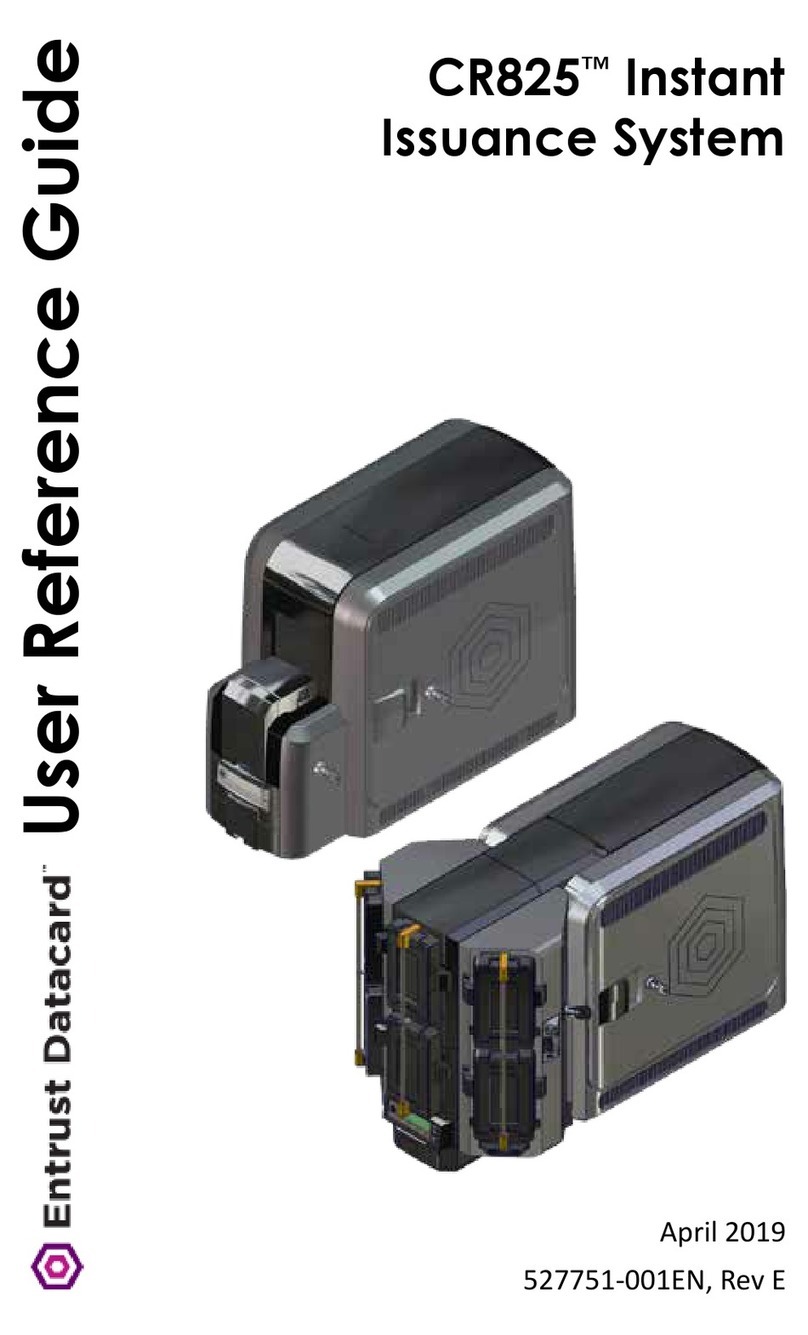
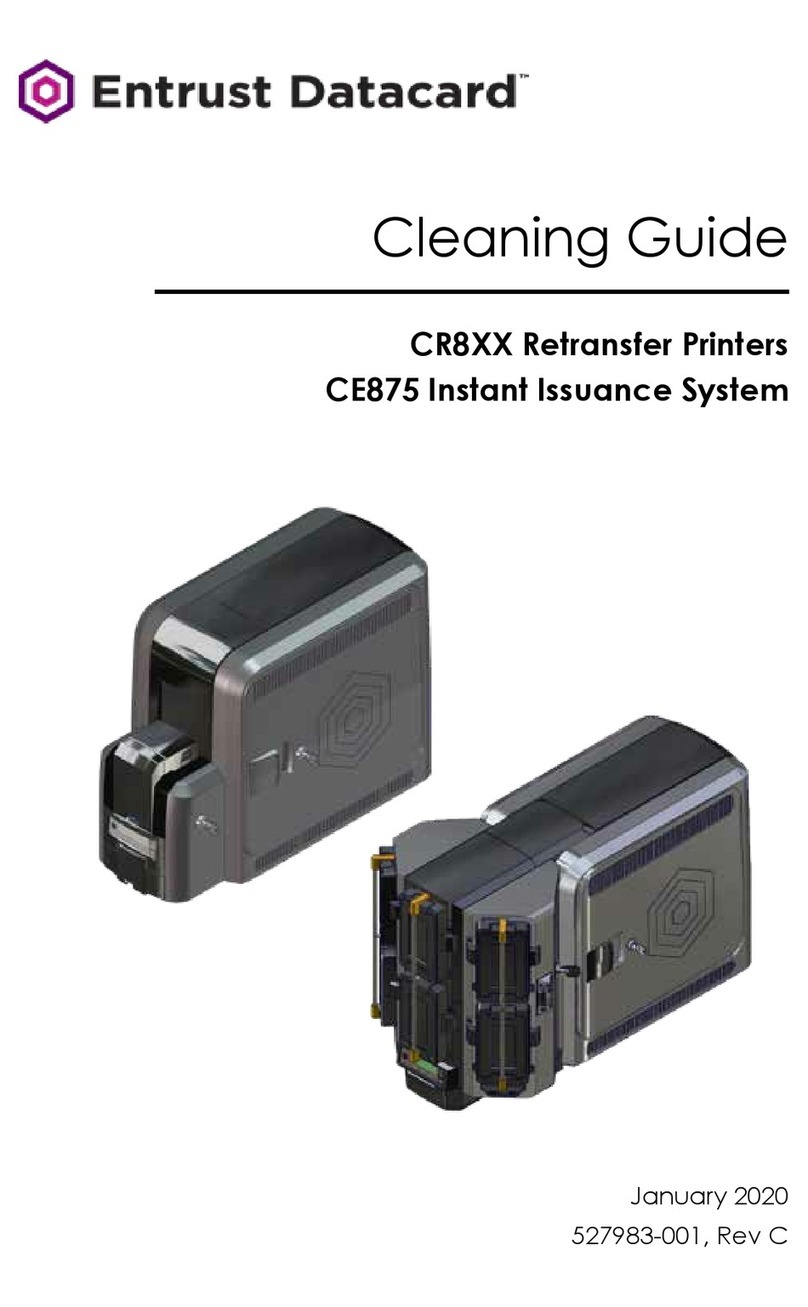
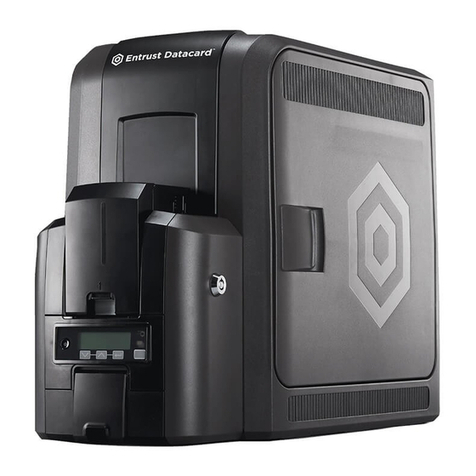
Entrust Datacard Retransfer Series User manual

Cleaning Guide
Entrust Datacard™
Retransfer Series Printers
March 2019
527983-001, Rev B

2 527983-001_B
Retransfer Series Printers Cleaning Guide
527983-001_B 3
Cleaning Kit Contents
The cleaning kit (part number 524554-001) contains the supplies
necessary to clean the printer and maintain print quality. The cleaning
kit contains the following items:
Cleaning Supply Part Number
Cleaning Sleeves, 5 pack 569946-001
Cleaning Swabs, 5 pack 507377-001
Isopropanol Cleaning Cards, 10 pack 552141-002
Adhesive Cleaning Cards, 10 pack 524405-001
2 Lapping Scks 510108-001
Card Inspecon Gloves, 12 pairs/pack 812335-001
Refer to the “Cleaning Schedule” on page 4 for a complete schedule of
when to use the cleaning kit items.
For complete informaon about how to use and maintain the printer, refer
to your printer’s User’s Guide.
Contents
Cleaning Kit Contents .......................................................................... 3
Cleaning Schedule ............................................................................... 4
Roune Printer Cleaning.................................................................... 4
Addional Cleaning Tasks................................................................... 5
Before You Begin ................................................................................. 6
Use the Isopropanol Cleaning Card ......................................................7
Single-Hopper Printer ........................................................................ 7
Mul-Hopper Printer ......................................................................... 8
Run the Isopropanol Cleaning Card ................................................... 9
Use the Adhesive Cleaning Card ........................................................ 10
Single-Hopper Printer ...................................................................... 10
Mul-Hopper Printer ....................................................................... 11
Run the Adhesive Cleaning Card...................................................... 13
......................................... 14
Replace the Cleaning Sleeve .............................................................. 15
Clean the Printhead Cam Rollers........................................................ 17
Clean the Printhead........................................................................... 18
Use the Cleaning Swab..................................................................... 18
Use the Lapping Sck ...................................................................... 19
Clean the Rear Fan Filter.................................................................... 20
................................................................ 21
Notes ................................................................................................ 22

4 527983-001_B
Retransfer Series Printers Cleaning Guide
527983-001_B 5
Cleaning Schedule
Cleaning the retransfer series printer on a regular schedule helps to
maintain the printer and obtain the best print quality
The following table describes the recommended roune cleaning tasks for
the printer.
Schedule Procedure
Every 250 cards Clean the printer with
the isopropanol cleaning
card.
• “Single-Hopper Printer”
on page 7
• “Mul-Hopper Printer”
on page 8
When you
change the ink
ribbon
Clean the printer with
the isopropanol cleaning
card.
• “Single-Hopper Printer”
on page 7
• “Mul-Hopper Printer”
on page 8
Replace the cleaning
sleeve (C3).
“Replace the Cleaning
Sleeve” on page 15
Every 3 months Clean the rear fan lter
(if present).
Note: The rear fan lter is
not present in all printer
models. If the lter is
present, refer to “Clean the
Rear Fan Filter” on page
20.
In addion to these roune cleaning tasks, you may need to perform
addional cleaning procedures if you noce that the print quality has
diminished. Refer to “Addional Cleaning Tasks” on page 5.
The following table describes addional cleaning tasks you may need to
perform to maintain your printer and print quality. Do these procedures
only if you begin to experience prinng issues.
Schedule Procedure
If you see
parcles on
completed cards
Replace the cleaning
sleeve (C3).
“Replace the Cleaning
Sleeve” on page 15
Clean the printer with
the adhesive cleaning
card.
• “Single-Hopper Printer” on
page 10
• “Mul-Hopper Printer” on
page 11
If you see
repeang
color dots on
completed cards
Clean the printhead
cam rollers.
“Clean the Printhead Cam
Rollers” on page 17
If you see color
or white lines on
completed cards
• Clean the printhead
using the cleaning
swab.
• If print quality
connues to
diminish, clean the
printhead using the
lapping sck.
• “Use the Cleaning Swab”
on page 18
• “Use the Lapping Sck” on
page 19
The type of card stock you use and the printer environment can
aect how oen you need to perform the cleaning procedures.
Refer to “Card Handling Informaon” on page 21 for
suggesons to help manage your card stock.

6 527983-001_B
Retransfer Series Printers Cleaning Guide
527983-001_B 7
Use the Isopropanol Cleaning Card
Use the isopropanol cleaning card regularly to clean the printer.
Single-Hopper Printer
1. Remove the ink ribbon and retransfer lm cartridges. Refer to “Before
You Begin” on page 6.
2. Unlock and open the input hopper.
3. Remove the unprinted cards. Handle
the cards by the edges or wear card
inspecon gloves.
4. Open the cleaning card package and remove the
isopropanol cleaning card.
Isopropanol
Cleaning Card
If the cleaning card appears
bowed, insert it as shown.
Card With Bow
Card Without Bow
Before You Begin
• If your printer has locks, unlock the input hopper or printer access
door lock. If your printer does not have locks, disregard any
instrucons that ask you to unlock the printer.
• When you clean a printer using either the isopropanol or adhesive
cleaning card, we recommend that you remove both the ink ribbon
(C1) and retransfer lm (C2) cartridges. If you are not authorized to do
so, disregard that poron of the instrucons.
When using the isopropanol cleaning card:
• Between ribbon changes, removing the ink ribbon and
retransfer lm cartridges is oponal.
• If you change the ink ribbon, remove the supplies to clean
the printer.
• Other procedures require you to remove only one of the
cartridges. Refer to the instrucons for complete informaon.
Do the following to remove the supply cartridges if directed by the clean-
ing instrucons.
1. Unlock the printer and open the printer access door.
2. Remove the ink ribbon and retransfer lm cartridges.
3. Close and lock the printer access door, unless instructed
otherwise.
4. Connue with the cleaning procedure.
5. Load the cleaning card in the input hopper. Clean the printer imme-
diately. The cleaning card dries out if it is out of its package for more
than a few minutes.
6. Close the input hopper and lock the printer.
7. Connue with “Run the Isopropanol Cleaning Card” on page 9.

1
2
3
7
4
5
6
8 527983-001_B
Retransfer Series Printers Cleaning Guide
527983-001_B 9
1. Remove the ink ribbon and retransfer lm cartridges. Refer to “Before
You Begin” on page 6.
2. Open the cleaning card package and remove the isopropanol cleaning
card.
Excepon Slide
5. Connue with “Run the Isopropanol Cleaning Card” on page 9.
Isopropanol
Cleaning Card
3. Pull out the mul-hopper excepon slide and insert the cleaning card.
4. Push in the excepon slide. Clean the printer immediately. The
cleaning card dries out if it is out of its package for more than a few
minutes.
If the cleaning card appears
bowed, insert it as shown.
Card With Bow
Card Without Bow
Run the Isopropanol Cleaning Card
1. Use the LCD panel to run the isopropanol cleaning card.
When the cleaning cycle completes:
The isopropanol cleaning
card is ejected into the output hopper. Remove and discard
the cleaning card.
The isopropanol cleaning card is
placed in the printer reject tray (RT1). It can remain in the
reject tray unl the next me the tray is emped.
2. Connue with “Prepare the Printer for Use Aer Cleaning” on
page 14.

a
b
c
d
f
e
10 527983-001_B
Retransfer Series Printers Cleaning Guide
527983-001_B 11
Use the Adhesive Cleaning Card
Use the adhesive cleaning card to remove parcles that result from the
retransfer process. Refer to “Addional Cleaning Tasks” on page 5for
informaon about when to use the adhesive cleaning card.
Single-Hopper Printer
1. Remove the ink ribbon and retransfer lm cartridges. Refer to “Before
You Begin” on page 6.
2. Unlock and open the input hopper.
3. Remove the unprinted cards. Handle the
cards by the edges or wear card inspecon
gloves.
4. Peel o the center strips on both sides of the adhesive cleaning card.
Leave the side strips in place.
Peel O Center
Strips Only
5. Load the adhesive cleaning card in the input hopper.
If the cleaning card appears
bowed, insert it as shown.
Card With Bow
Card Without Bow
1. Remove the ink ribbon and retransfer lm cartridges. Refer to “Before
You Begin” on page 6.
2. Unlock the mul-hopper.
a. Unlock the mul-hopper door lock (a).
b. Slide the lock bar release buon (B1)
to the le to release the hopper lock
bars (b).
c. Rotate the center lock bar to the le
to provide access to the H2 and H5
mul-hopper input cartridges (c).
6. Close and lock the input hopper.
7. Connue with “Run the Adhesive Cleaning Card” on page 13.
3. Press the cartridge release buon at the top of the H2 cartridge and
open the cartridge door (d).
4. Li the card weight to the top of the cartridge and gently pull it
forward unl it locks in posion (e).
5. Remove the unprinted cards from the H2 cartridge (f). Handle the
cards by the edges or wear card inspecon gloves.

g
1
2
3
7
4
5
6
8
8
12 527983-001_B
Retransfer Series Printers Cleaning Guide
527983-001_B 13
6. Peel o the center strips on both sides of the adhesive cleaning card.
Leave the side strips in place.
7. Load the adhesive cleaning card in the H2 cartridge and close the
cartridge door (g).
Peel O Center
Strips Only
Do not insert the adhesive cleaning card in the excepon
slide of the mul-hopper.
If the cleaning card appears
bowed, insert it as shown.
Card With Bow
Card Without Bow
Run the Adhesive Cleaning Card
1. Use the LCD panel to run the adhesive cleaning card.
If you are cleaning a
mul-hopper printer, the
following message displays.
If you are cleaning a single-
hopper printer, the following
message displays.
OR
When the cleaning cycle completes, the adhesive cleaning card is
ejected into the printer reject tray (RT1).
2. Connue with “Prepare the Printer for Use Aer Cleaning” on
page 14.
8. Lock the mul-hopper.
d. Rotate the center lock bar to the right to the lock posion.
e. Slide the lock bar release buon to the right to lock the lock bars
into place.
f. Lock the mul-hopper door lock.
9. Connue with “Run the Adhesive Cleaning Card” on page 13.

C3
14 527983-001_B
Retransfer Series Printers Cleaning Guide
527983-001_B 15
Prepare the Printer for Use After Cleaning
Do the following aer the cleaning cycle completes.
1. If you removed the ink ribbon and retransfer lm cartridges:
a. Unlock the printer and open the printer access door.
b. Remove the used cleaning card from the printer reject tray (RT1).
c. Discard the cleaning card.
d. Install a new cleaning sleeve. Refer to “Replace the Cleaning
Sleeve” on page 15.
e. Replace the ink ribbon and retransfer lm cartridges.
f. Close and lock the printer access door.
2. Unlock the input hopper lock.
3. Replace the cards in the input hopper of a single-hopper printer, or
the H2 cartridge of a mul-hopper printer.
4. Close the input hopper and lock the input hopper lock.
Replace the Cleaning Sleeve
The cleaning sleeve helps maintain print quality by removing dust and
other parcles from cards before they travel into the printer. Refer to
the “Cleaning Schedule” on page 4 for the replacement schedule.
1. Remove the ink ribbon (C1) cartridge from the printer (refer to
“Before You Begin” on page 6).
2. Li up the cleaning spindle handle (C3) and pull it straight out from
the printer.
3. Remove the used cleaning sleeve from the cleaning spindle and
discard it.
4. Slide the new cleaning sleeve onto the cleaning spindle.
Cleaning
Sleeve
Cleaning
Spindle

C3
16 527983-001_B
Retransfer Series Printers Cleaning Guide
527983-001_B 17
6. Replace the cleaning spindle in the C3 slot in the printer.
7. Replace the ink ribbon cartridge in the printer and close and lock the
printer access door.
Protecve
Wrapper
Clean the Printhead Cam Rollers
Use the adhesive cleaning card to clean the printhead cam rollers.
1. Power o the printer.
2. Remove the retransfer lm (C2) cartridge from the printer (refer to
“Before You Begin” on page 6).
3. Peel o the center and both side strips from one side of the adhesive
cleaning card.
Peel O Center
and Both Side Strips
4. Insert the cleaning card vercally into the printer between the
retransfer cartridge guidepost and the rollers. Make sure that the
adhesive side of the card faces to the right and touches the rollers.
5. Move the cleaning card up and down along the rollers to remove any
debris.
5. Remove the protecve wrapper from the cleaning sleeve and
discard it.
Adhesive
Cleaning Card
Ink Ribbon
Cartridge
Guidepost
Printhead
Cam Rollers
Move the cleaning
card up and down
6. Replace the retransfer lm cartridge. Close and lock the access door
and restart the printer.
7. Discard the used cleaning card.

18 527983-001_B
Retransfer Series Printers Cleaning Guide
527983-001_B 19
Clean the Printhead
Use the Cleaning Swab
1. Power o the printer.
2. Remove the ink ribbon (C1) and retransfer lm (C2) cartridges from
the printer (refer to “Before You Begin” on page 6).
3. Open and remove a cleaning swab from its package.
4. Using gentle pressure, move the cleaning swab along the full length of
the heater line on the printhead.
Printhead
Heater Line
5. Replace the ink ribbon and retransfer lm cartridges.
6. Close the printer access door and lock the printer.
7. Press the Power buon to restart the printer.
8. Print a sample card to verify the quality of prinng.
Lapping
Paper
If the print quality does not improve aer using the cleaning swab, clean
the printhead using the lapping sck.
1. Power o the printer.
2. Remove the ink ribbon and retransfer lm cartridges from the printer.
3. Open and remove the lapping sck from its package.
Do not remove the pink lapping paper from the lapping sck.
4. Repeat step 4 on page 18 using the lapping sck.
5. Open a new cleaning swab and repeat step 4 again to remove any le-
over debris that was loosened by the lapping sck from the printhead.
6. Repeat steps 5through 8 on page 18 to complete the cleaning
process.
• Avoid touching the heater line of the printhead with your ngers.
Contaminaon due to skin oils can damage the printhead.
• Avoid touching the heater line of the printhead cartridge with any
sharp objects that can permanently damage the printhead.
• Use only the lapping sck and cleaning swabs to clean the printhead.
Other materials can sck to the printhead and cause damage.
• Use the lapping sck and each cleaning swab one me only. Discard
the materials aer you clean the printhead.

20 527983-001_B
Retransfer Series Printers Cleaning Guide
527983-001_B 21
Clean the Rear Fan Filter
The rear fan lter is not present in all printer models.
If your printer includes a rear fan lter, clean the lter every three months.
1. Unlock the printer and open the printer access door.
2. Press the K3 rear access door release to open the rear access door.
3. Li up and remove the lter from the fan mount.
4. Rinse the lter under running water and shake it gently to remove
excess liquid. Pat it with a paper towel to remove addional water.
5. Allow the lter to dry completely.
6. Insert the lter into the fan mount.
7. Close the rear access door.
8. Close the printer access door and lock the printer.
Rear Fan
Filter
Card Handling Information
Use the following informaon when purchasing and handling card stock:
• Purchase quality card stock. Excessive burrs, scratches, surface
defects, or contaminates on cards can result in print errors.
• Grease or oils, such as oils from your ngers, can reduce card quality.
To keep cards completely clean, do not touch the print surface of a
card.
• Handle blank card stock by the edges only, or wear the card inspecon
gloves included in the cleaning kit.
• Debris or parcles on blank card stock can reduce card quality and
damage the system. If you drop a card on the oor, clean it using a
lint-free cloth before using it in the system. Do not use solvents to
clean the card.
• Avoid contact with the following, as they can cause discoloraon or
fading of the cards:
Organic solvents, such as alcohol, lm cleaner, or diazo paper.
So vinyl chlorides, document cases, pass holders, or erasers.
Hand loons, hairdressing products, or cosmecs.
• Avoid storing the cards in locaons exposed to direct sunlight, or with
high temperature and high humidity.

22 527983-001_B
Retransfer Series Printers Cleaning Guide
527983-001_B 23
Notes Notes

1187 Park Place
Shakopee, Minnesota 55379
952.933.1223 • 952.933.7971 Fax
www.entrustdatacard.com
Datacard is a registered trademark and service mark of Entrust Datacard Corporaon,
and Entrust is a registered trademark and service mark, in the United States and
other countries. All other trademarks are the property of their respecve owners.
© 2019. The design and informaon contained in these materials is protected by US
and internaonal copyright law.
March 2019 527983-001 Rev B
Table of contents
Other Entrust Datacard Printer manuals

Entrust Datacard
Entrust Datacard CE875 User manual

Entrust Datacard
Entrust Datacard PB8500 Manual

Entrust Datacard
Entrust Datacard CR825 Series Product information sheet

Entrust Datacard
Entrust Datacard CR825 Series User manual

Entrust Datacard
Entrust Datacard CR805 Product information sheet

Entrust Datacard
Entrust Datacard CR8 Series User manual

Entrust Datacard
Entrust Datacard CR825 Series Product information sheet

Entrust Datacard
Entrust Datacard CR825 Series User manual

Entrust Datacard
Entrust Datacard CR805 Product information sheet

Entrust Datacard
Entrust Datacard CR805 User manual