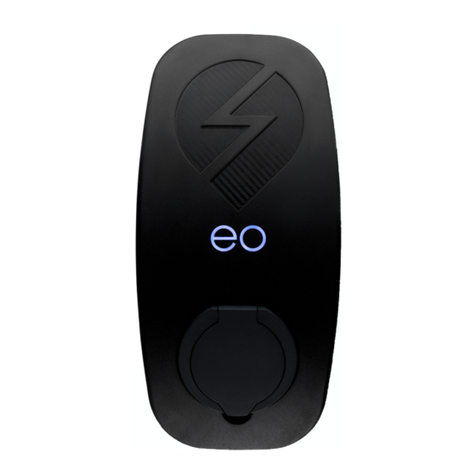
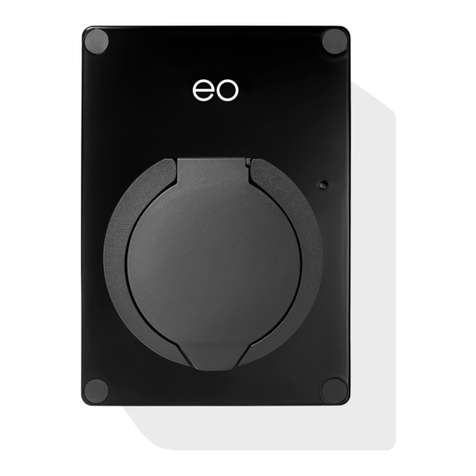
EO Mini Pro User manual

© 2019 Juuce Ltd t/a EO Charging. All rights reserved.
EO Mini Pro Installation
Guide V1.1

EO Mini Pro Installation Guide V1.1
Page 2of 13
24 September 2019
Table of Contents
1 Introduction ....................................................................................................................................3
1.1 Quick Guide.............................................................................................................................3
2 Installation Instructions the EO Mini Pro........................................................................................4
2.1 Physical Installation Instructions.............................................................................................4
2.2 Important Installation Information.........................................................................................8
3 Connecting the EO Mini Pro to the Internet...................................................................................9
3.1 Connecting the EO Mini Pro to the Internet...........................................................................9
4 Further Technical Support ............................................................................................................13

EO Mini Pro Installation Guide V1.1
Page 3of 13
24 September 2019
1Introduction
This document details the installation instructions for the EO Mini Pro. It details:
•How to mount and wire up the EO Mini Pro
•How to connect the EO Mini Pro to the internet
The EO Mini Pro is a joint product made up of a standard EO Mini and the communication infrastructure (called
Juicenet) from eMotorwerks. Therefore this document details how to set up and configure both parts.
1.1 Quick Guide
The following steps need to be followed in order to install an EO Mini Pro
1. Physical Installation
a. Unpack the EO Mini Pro
b. Separate the two halves
c. Fit an appropriate cable gland
d. Mount the back half to the wall
e. Connect the power cable to the front half
f. Connect the three cable connectors from the front to the back
g. Mount the front plate to the back plate and tighten the fastening screws
h. Install the bungs
2. Connect the EO Mini Pro to the Juicenet Cloud
a. Download and install the EV Juicenet app
b. Login and add a new device
c. Apply power to the mini
d. Follow the onscreen instructions
The EO Mini Pro is now ready for use. Congratulations.

EO Mini Pro Installation Guide V1.1
Page 4of 13
24 September 2019
2Installation Instructions the EO Mini Pro
2.1 Physical Installation Instructions
1) Remove the EO Mini Pro from the packaging. Undo the 4 screws in the corners and place the front of the EO
Mini Pro in a safe place.
2)
3) Offer the back of the EO Mini Pro up to the installation location; make sure the surface is flat and level.
Level the EO Mini Pro back and mark the position of the 4 holes. Take the EO Mini Pro back away and drill
the four holes. Do NOT drill through EO Mini Pro back or back screw holes. We suggest using a 6mm
masonry drill bit if affixing to brickwork etc.
4)

EO Mini Pro Installation Guide V1.1
Page 5of 13
24 September 2019
5) Cut the correct size hole in the bottom of the EO Mini Pro back to take the cable gland. Note that cable entry
must be from below to ensure weathertightness of the enclosure.
6) Fit the cable gland and clean out the EO Mini Pro for dust.

EO Mini Pro Installation Guide V1.1
Page 6of 13
24 September 2019
7) Use the rotary switch on the EO Mini to select the correct current rating
8) Fit the EO Mini Pro back to the wall the correct way up; make sure the EO Mini Pro back is not twisted. Strip
and prepare your power cable –EO recommend crimping ferrules onto the ends of the prepared power
cable. Feed the power cable through the cable gland in the EO Mini Pro back and connect to the front of the
EO Mini Pro.

EO Mini Pro Installation Guide V1.1
Page 7of 13
24 September 2019
9) Connect the three sets of cables from the front of the EO Mini Pro to the circuit board in the base of the EO
Mini Pro.
10) Position all cables so that you can close the EO Mini Pro front to the EO Mini Pro back, making sure that no
cables are trapped. Secure the EO Mini Pro front to the EO Mini Pro back. Do NOT over tighten the screws.
Place the 4 bungs back into the screw holes.

EO Mini Pro Installation Guide V1.1
Page 8of 13
24 September 2019
2.2 Important Installation Information
Characteristics of power supply input
Permanently connected to 230V AC supply
Characteristics of power supply output
Supplies 230V AC to the vehicle
Normal environmental conditions
Can be installed indoors or outdoors
Access requirements
Can be installed with no access restrictions
Mounting method
Stationary equipment intended for surface or post mounting
Protection against electric shock
Class II equipment
Charging mode
Mode 3 charging equipment. Note - Adaptors and conversion
adaptors sets are not allowed to be used with the equipment.
Cord extension sets are not allowed to be used.
Ventilation during supply of energy
Does not support ventilation during charging
The installer must select the RCD and earthing configuration in accordance with local regulation & best practice.
Where the EO Mini Pro includes DC leakage protection a Type A RCD can be fitted at the supply. Otherwise a Type B
RCD or equivalent should be used. EO recommend a 20A supply rated supply circuit for a 16A charging station and
40A supply for on 32A charging station.

EO Mini Pro Installation Guide V1.1
Page 9of 13
24 September 2019
3Connecting the EO Mini Pro to the Internet
The process for connecting the EO Mini Pro can be summarised into the following steps:
1) Download the EV Juicenet app onto a smart phone
2) Using the app, connect to the wifi hotspot created by the EO Mini Pro
3) Configure the EO Mini Pro to join a wifi network with access to the internet
At this point it is possible to view the status of the EO Mini Pro using either the app or through the dashboard on a
personal computer.
3.1 Connecting the EO Mini Pro to the Internet
1) Install the EV JuiceNet app onto your mobile device.
2) Log into the EV JuiceNet app. If you do not have an account, create one.
3) Select Add JuiceNet Device on Android devices or Start on iOS devices.
Android
iOS
4) Select Connect Now.

EO Mini Pro Installation Guide V1.1
Page 10 of 13
24 September 2019
5) Have the WiFi network password ready, then turn off the circuit breaker for the EO Mini Pro. In the app,
select Next.
6) Turn on the circuit breaker for the EO Mini Pro. In the app, select Next
Note: After powering the EO Mini Pro, steps 7 through 9 must be completed within 2 minutes.
7) Connect to the EO Mini Pro’s WiFi network.
a. Navigate to the WiFi settings on your mobile device. Connect to the "JuiceBox-###" or "JuiceNet-
###" WiFi network. If the network requires a password, use the password "GoElectric" (case-
sensitive).
Note: The actual name of the network varies by device, such as "JuiceBox-123".

EO Mini Pro Installation Guide V1.1
Page 11 of 13
24 September 2019
Android
iOS
b. Return to the JuiceNet app.
8) In the EV JuiceNet app, select the preferred local WiFi network.
9) Enter the WiFi network password, if necessary, then select Connect JuiceNet device to WiFi.
The app connects the JuiceBox to the WiFi network.

EO Mini Pro Installation Guide V1.1
Page 12 of 13
24 September 2019
10) After the app confirms that WiFi setup is complete, select Next to return to the app home screen.
Customize your experience by following the onscreen app instructions to select your vehicle and charging
profile, or navigate to the JuiceNet dashboard on a personal computer at dashboard.emotorwerks.com.
For a complete video walkthrough of the app, refer to http://docs.juice.net/Videos/AppWalkthrough.html.
For details on how to use and configure the EO Mini Pro then please refer to the EO Mini Pro User Guide.
However, for now the EO Mini Pro is installed and operational. Congratulations!

EO Mini Pro Installation Guide V1.1
Page 13 of 13
24 September 2019
4Further Technical Support
All EO Charging technical documentation is published in the EO Resource Centre, this is found at:
https://www.eocharging.com/service-support/
The EO Support team can be reached at:
•Email: support@eocharging.com
•Phone: +44 (0) 333 77 20383
Table of contents
Other EO Automobile Accessories manuals
Popular Automobile Accessories manuals by other brands

Erickson
Erickson 07400 manual

Virtual Reality
Virtual Reality Rear View Mirror Hands-Free Car Kit VRBT400M installation manual

Roadmaster
Roadmaster Sterling All Terrain owner's manual

Vais Technology
Vais Technology SEER installation manual

Whelen Engineering Company
Whelen Engineering Company Centurion installation guide

Metra Electronics
Metra Electronics 108-TO6HG installation instructions