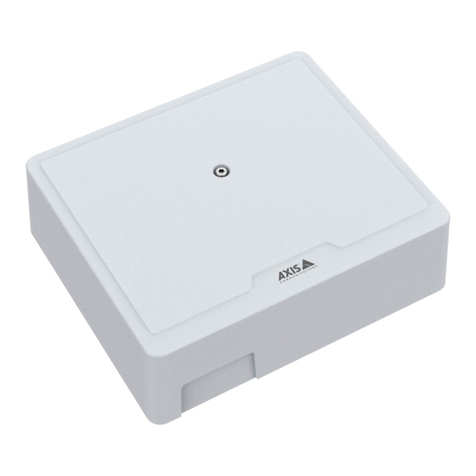
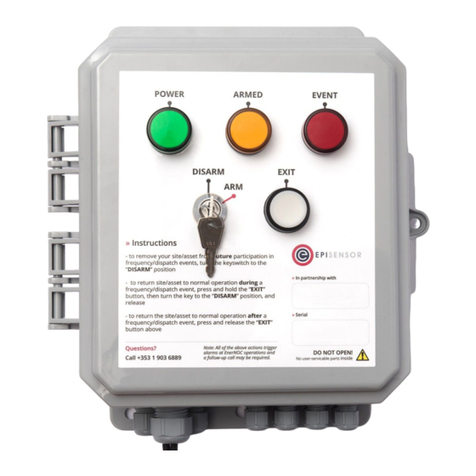
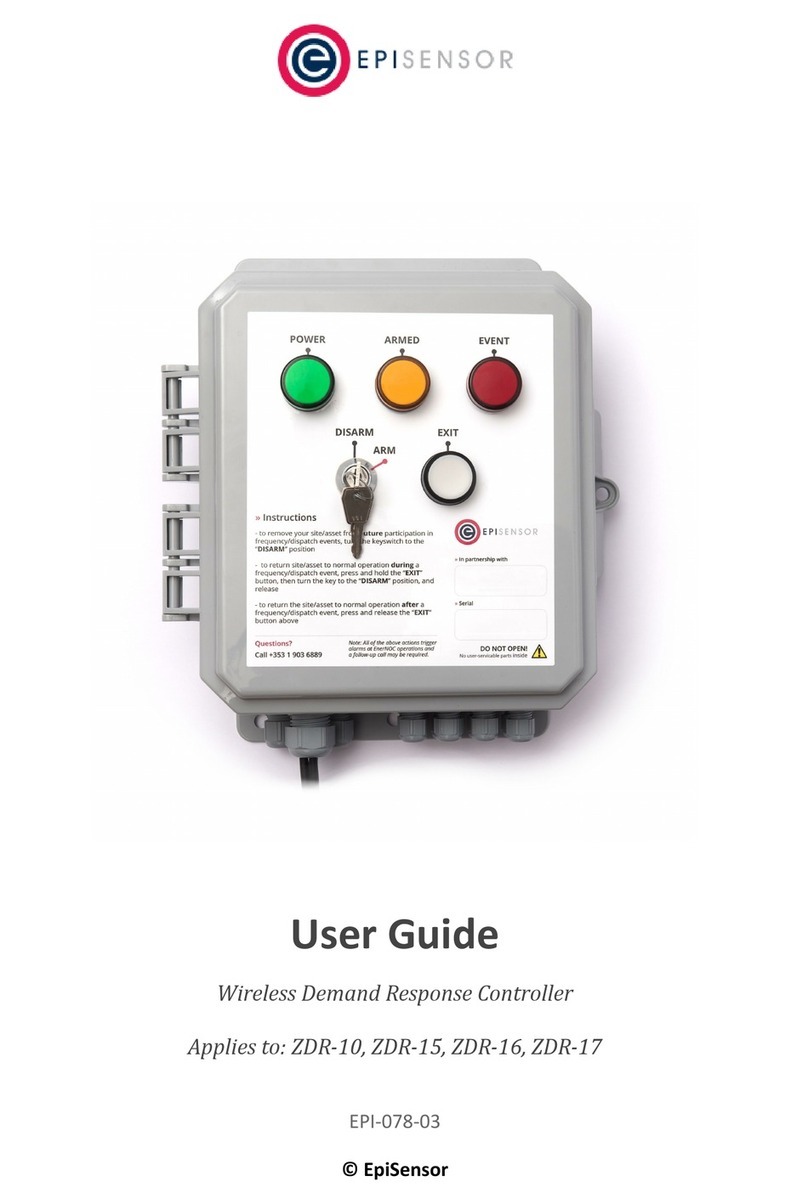
EpiSensor ZDR-20 User manual

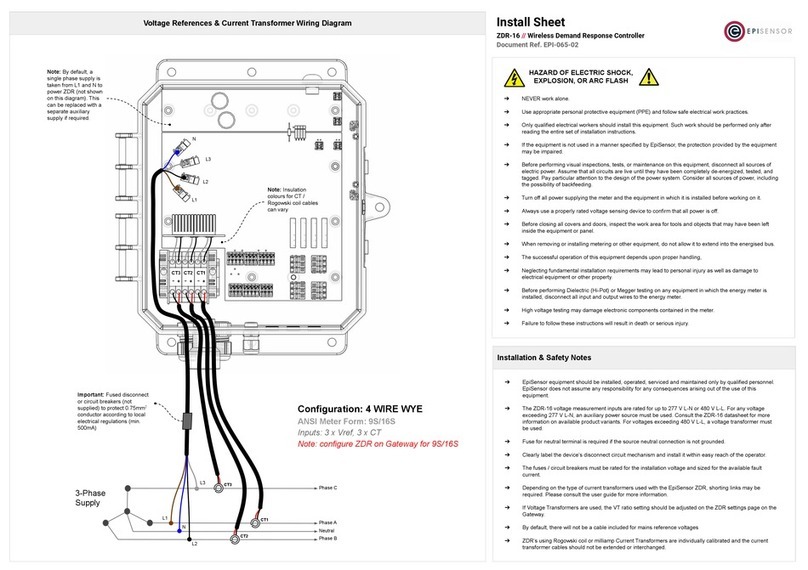
Install Sheet
ZDR-20, ZDR-21, ZDR-22 // Wireless Demand Response Controller
Document Ref. EPI-212-01
Installation & Safety Notes
➔NEVER work alone.
➔Use appropriate personal protective equipment (PPE) and follow safe electrical work practices.
➔Only qualified electrical workers should install this equipment. Such work should be performed only after
reading the entire set of installation instructions.
➔If the equipment is not used in a manner specified by EpiSensor, the protection provided by the equipment
may be impaired.
➔Before performing visual inspections, tests, or maintenance on this equipment, disconnect all sources of
electric power. Assume that all circuits are live until they have been completely de-energized, tested, and
tagged. Pay particular attention to the design of the power system. Consider all sources of power, including
the possibility of backfeeding.
➔Turn off all power supplying the meter and the equipment in which it is installed before working on it.
➔Always use a properly rated voltage sensing device to confirm that all power is off.
➔Before closing all covers and doors, inspect the work area for tools and objects that may have been left
inside the equipment or panel.
➔When removing or installing metering or other equipment, do not allow it to extend into the energised bus.
➔The successful operation of this equipment depends upon proper handling,
➔Neglecting fundamental installation requirements may lead to personal injury as well as damage to
electrical equipment or other property.
➔Before performing Dielectric (Hi-Pot) or Megger testing on any equipment in which the energy meter is
installed, disconnect all input and output wires to the energy meter.
➔High voltage testing may damage electronic components contained in the meter.
➔Failure to follow these instructions will result in death or serious injury.
HAZARD OF ELECTRIC SHOCK,
EXPLOSION, OR ARC FLASH
➔EpiSensor equipment should be installed, operated, serviced and maintained only by qualified personnel.
EpiSensor does not assume any responsibility for any consequences arising out of the use of this
equipment.
➔The ZDR voltage measurement inputs are rated for up to 277 V L-N or 480 V L-L. For any voltage
exceeding 277 V L-N, an auxiliary power source must be used. Consult the ZDR-2X datasheet for more
information on available product variants. For voltages exceeding 480 V L-L, a voltage transformer must
be used.
➔Fuse for neutral terminal is required if the source neutral connection is not grounded.
➔Clearly label the device’s disconnect circuit mechanism and install it within easy reach of the operator.
➔The fuses / circuit breakers must be rated for the installation voltage and sized for the available fault
current.
➔Depending on the type of current transformers used with the EpiSensor ZDR, shorting links may be
required. Please consult the user guide for more information.
➔If Voltage Transformers are used, the VT ratio setting should be adjusted on the ZDR settings page on the
Gateway.
➔ZDR’s using Rogowski coil or milliamp Current Transformers are individually calibrated and the current
transformer cables should not be extended or interchanged.
CT1
Voltage References & Current Transformer Wiring Diagram (4-wire WYE)
Important: Fused disconnect
or circuit breakers (not
supplied) to protect 0.75mm2
conductor according to local
electrical regulations (min.
500mA)
CT3
CT2
Phase C
Phase A
Neutral
Phase B
L1
L2
L3
N
Configuration: 4 WIRE WYE
ANSI Meter Form: 9S/16S
Inputs: 3 x Vref, 3 x CT
Note: configure ZDR on Gateway for 9S/16S
3-Phase
Supply
Note: Insulation colours for
CT / Rogowski coil cables
can vary
By default, the ZDR is powered from a single-phase supply taken from voltage references L1 and N. To power the ZDR from an Auxiliary Mains Supply (85 - 480VAC ± 10%)
first remove shorting links J8 and J9. Important: Use a fused disconnect or circuit breaker (not supplied) according to local electrical regulations (min. 500mA).
CT3
- +
CT2
- +
CT1
- +
Ref
L3
L2
L1
J9
J8
Auxiliary Mains
Supply Terminals
PE
IMPORTANT: Remove
shorting links J8 and J9
before connecting an
auxiliary mains supply!
Auxiliary Mains Supply
Voltage Reference
Terminals
Shorting Links
to Auxiliary Mains Supply
AuxN
AuxL
IMPORTANT: must be
installed in orientation
shown

Install Sheet
ZDR-20, ZDR-21, ZDR-22 // Wireless Demand Response Controller
Document Ref. EPI-212-01
Installation & Safety Notes
➔NEVER work alone.
➔Use appropriate personal protective equipment (PPE) and follow safe electrical work practices.
➔Only qualified electrical workers should install this equipment. Such work should be performed only after
reading the entire set of installation instructions.
➔If the equipment is not used in a manner specified by EpiSensor, the protection provided by the equipment
may be impaired.
➔Before performing visual inspections, tests, or maintenance on this equipment, disconnect all sources of
electric power. Assume that all circuits are live until they have been completely de-energized, tested, and
tagged. Pay particular attention to the design of the power system. Consider all sources of power, including
the possibility of backfeeding.
➔Turn off all power supplying the meter and the equipment in which it is installed before working on it.
➔Always use a properly rated voltage sensing device to confirm that all power is off.
➔Before closing all covers and doors, inspect the work area for tools and objects that may have been left
inside the equipment or panel.
➔When removing or installing metering or other equipment, do not allow it to extend into the energised bus.
➔The successful operation of this equipment depends upon proper handling,
➔Neglecting fundamental installation requirements may lead to personal injury as well as damage to
electrical equipment or other property.
➔Before performing Dielectric (Hi-Pot) or Megger testing on any equipment in which the energy meter is
installed, disconnect all input and output wires to the energy meter.
➔High voltage testing may damage electronic components contained in the meter.
➔Failure to follow these instructions will result in death or serious injury.
HAZARD OF ELECTRIC SHOCK,
EXPLOSION, OR ARC FLASH
➔EpiSensor equipment should be installed, operated, serviced and maintained only by qualified personnel.
EpiSensor does not assume any responsibility for any consequences arising out of the use of this
equipment.
➔The ZDR voltage measurement inputs are rated for up to 277 V L-N or 480 V L-L. For any voltage
exceeding 277 V L-N, an auxiliary power source must be used. Consult the ZDR-2X datasheet for more
information on available product variants. For voltages exceeding 480 V L-L, a voltage transformer must
be used.
➔Fuse for neutral terminal is required if the source neutral connection is not grounded.
➔Clearly label the device’s disconnect circuit mechanism and install it within easy reach of the operator.
➔The fuses / circuit breakers must be rated for the installation voltage and sized for the available fault
current.
➔Depending on the type of current transformers used with the EpiSensor ZDR, shorting links may be
required. Please consult the user guide for more information.
➔If Voltage Transformers are used, the VT ratio setting should be adjusted on the ZDR settings page on the
Gateway.
➔ZDR’s using Rogowski coil or milliamp Current Transformers are individually calibrated and the current
transformer cables should not be extended or interchanged.
Voltage References & Current Transformer Wiring Diagram (3-wire Delta)
By default, the ZDR is powered from a single-phase supply taken from voltage references L1 and N. To power the ZDR from an Auxiliary Mains Supply (85 - 480VAC ± 10%)
first remove shorting links J8 and J9. Important: Use a fused disconnect or circuit breaker (not supplied) according to local electrical regulations (min. 500mA).
CT3
- +
CT2
- +
CT1
- +
L3
L2
L1
J9
J8
Auxiliary Mains
Supply Terminals
PE
IMPORTANT: Remove
shorting links J8 and J9
before connecting an
auxiliary mains supply!
Auxiliary Mains Supply
Voltage Reference
Terminals
Shorting Links
to Auxiliary Mains Supply
AuxN
AuxL
CT1
Important: Fused disconnect
or circuit breakers (not
supplied) to protect 0.75mm2
conductor according to local
electrical regulations (min.
500mA)
CT3 Phase C
Phase A
Phase B
L1
L2
L3
Configuration: 3 WIRE DELTA
ANSI Meter Form: 5S/13S
Inputs: 3 x Vref, 2 x CT
Note: configure ZDR on Gateway for 5S/13S
3-Phase
Supply
IMPORTANT: must be
installed in orientation
shown
Ref

Install Sheet
ZDR-20, ZDR-21, ZDR-22 // Wireless Demand Response Controller
Document Ref. EPI-212-01
Installation & Safety Notes
➔NEVER work alone.
➔Use appropriate personal protective equipment (PPE) and follow safe electrical work practices.
➔Only qualified electrical workers should install this equipment. Such work should be performed only after
reading the entire set of installation instructions.
➔If the equipment is not used in a manner specified by EpiSensor, the protection provided by the equipment
may be impaired.
➔Before performing visual inspections, tests, or maintenance on this equipment, disconnect all sources of
electric power. Assume that all circuits are live until they have been completely de-energized, tested, and
tagged. Pay particular attention to the design of the power system. Consider all sources of power, including
the possibility of backfeeding.
➔Turn off all power supplying the meter and the equipment in which it is installed before working on it.
➔Always use a properly rated voltage sensing device to confirm that all power is off.
➔Before closing all covers and doors, inspect the work area for tools and objects that may have been left
inside the equipment or panel.
➔When removing or installing metering or other equipment, do not allow it to extend into the energised bus.
➔The successful operation of this equipment depends upon proper handling,
➔Neglecting fundamental installation requirements may lead to personal injury as well as damage to
electrical equipment or other property.
➔Before performing Dielectric (Hi-Pot) or Megger testing on any equipment in which the energy meter is
installed, disconnect all input and output wires to the energy meter.
➔High voltage testing may damage electronic components contained in the meter.
➔Failure to follow these instructions will result in death or serious injury.
HAZARD OF ELECTRIC SHOCK,
EXPLOSION, OR ARC FLASH
➔EpiSensor equipment should be installed, operated, serviced and maintained only by qualified personnel.
EpiSensor does not assume any responsibility for any consequences arising out of the use of this
equipment.
➔The ZDR voltage measurement inputs are rated for up to 277 V L-N or 480 V L-L. For any voltage
exceeding 277 V L-N, an auxiliary power source must be used. Consult the ZDR-2X datasheet for more
information on available product variants. For voltages exceeding 480 V L-L, a voltage transformer must
be used.
➔Fuse for neutral terminal is required if the source neutral connection is not grounded.
➔Clearly label the device’s disconnect circuit mechanism and install it within easy reach of the operator.
➔The fuses / circuit breakers must be rated for the installation voltage and sized for the available fault
current.
➔Depending on the type of current transformers used with the EpiSensor ZDR, shorting links may be
required. Please consult the user guide for more information.
➔If Voltage Transformers are used, the VT ratio setting should be adjusted on the ZDR settings page on the
Gateway.
➔ZDR’s using Rogowski coil or milliamp Current Transformers are individually calibrated and the current
transformer cables should not be extended or interchanged.
Connecting a GPS Antenna to ZDR (only applicable to ZDR-22 variant)
to active GPS Antenna
Recommended Antenna:
Manufacturer: Taoglas
Part No.: A.03.C.1001111
Description: Hercules A.03 GPS/GALILEO
Permanent Mount, 10M RG-174
Note: SMA (F) connector
panel mounted on top
side of ZDR enclosure
Isolate power to ZDR before
connecting the antenna

Install Sheet
ZDR-20, ZDR-21, ZDR-22 // Wireless Demand Response Controller
Document Ref. EPI-212-01
Installation & Safety Notes
➔NEVER work alone.
➔Use appropriate personal protective equipment (PPE) and follow safe electrical work practices.
➔Only qualified electrical workers should install this equipment. Such work should be performed only after
reading the entire set of installation instructions.
➔If the equipment is not used in a manner specified by EpiSensor, the protection provided by the equipment
may be impaired.
➔Before performing visual inspections, tests, or maintenance on this equipment, disconnect all sources of
electric power. Assume that all circuits are live until they have been completely de-energized, tested, and
tagged. Pay particular attention to the design of the power system. Consider all sources of power, including
the possibility of backfeeding.
➔Turn off all power supplying the meter and the equipment in which it is installed before working on it.
➔Always use a properly rated voltage sensing device to confirm that all power is off.
➔Before closing all covers and doors, inspect the work area for tools and objects that may have been left
inside the equipment or panel.
➔When removing or installing metering or other equipment, do not allow it to extend into the energised bus.
➔The successful operation of this equipment depends upon proper handling,
➔Neglecting fundamental installation requirements may lead to personal injury as well as damage to
electrical equipment or other property.
➔Before performing Dielectric (Hi-Pot) or Megger testing on any equipment in which the energy meter is
installed, disconnect all input and output wires to the energy meter.
➔High voltage testing may damage electronic components contained in the meter.
➔Failure to follow these instructions will result in death or serious injury.
HAZARD OF ELECTRIC SHOCK,
EXPLOSION, OR ARC FLASH
➔EpiSensor equipment should be installed, operated, serviced and maintained only by qualified personnel.
EpiSensor does not assume any responsibility for any consequences arising out of the use of this
equipment.
➔The ZDR voltage measurement inputs are rated for up to 277 V L-N or 480 V L-L. For any voltage
exceeding 277 V L-N, an auxiliary power source must be used. Consult the ZDR-2X datasheet for more
information on available product variants. For voltages exceeding 480 V L-L, a voltage transformer must
be used.
➔Fuse for neutral terminal is required if the source neutral connection is not grounded.
➔Clearly label the device’s disconnect circuit mechanism and install it within easy reach of the operator.
➔The fuses / circuit breakers must be rated for the installation voltage and sized for the available fault
current.
➔Depending on the type of current transformers used with the EpiSensor ZDR, shorting links may be
required. Please consult the user guide for more information.
➔If Voltage Transformers are used, the VT ratio setting should be adjusted on the ZDR settings page on the
Gateway.
➔ZDR’s using Rogowski coil or milliamp Current Transformers are individually calibrated and the current
transformer cables should not be extended or interchanged.
Connecting the relay output of the ZDR
Isolate power to ZDR before
connecting the relay
Relay Output Specifications:
Max Current: 4A (250VAC, cosφ=1, 85°C)
Max Voltage: 250VAC
Conductor CSA: 0.08 to 3.3mm²
Cable Diameter: 4.5 to 7mm
COM
NO
NC
to switched load
Note: relay output not available
on ZDR-22 variant
IMPORTANT: must be
installed in orientation
shown

Install Sheet
ZDR-20, ZDR-21, ZDR-22 // Wireless Demand Response Controller
Document Ref. EPI-212-01
Input Voltage
If the mains power supply of the ZDR is powered directly from the 3-phase voltage reference,
ensure that the voltage does not exceed 480V AC L-L
Installation Checklist
1
Enclosure Contamination & Integrity
Ensure that there is no swarf or other dirt inside the ZDR enclosure, and that the enclosure has
not been drilled or modified.
2
GPS Signal
If using ZDR-21 or ZDR-22, confirm (with a mobile app, or other handheld test device) that
there is a good GPS signal available at the GPS antenna of ZDR. Line-of-sight view to the sky is
needed for ZDR to synchronise time with GPS satellites.
3
This manual suits for next models
2
Table of contents
Other EpiSensor Controllers manuals
Popular Controllers manuals by other brands

Allen-Bradley
Allen-Bradley 20A Original instructions

Controlli
Controlli MDL Series Guide

Command access
Command access MLRK1-JAC12 instructions

Aqua Computer
Aqua Computer poweradjust 3 User and installation manual

Trane
Trane VAV VV550 LonTalk Installation & operation manual

Basler
Basler SR4A instruction manual

Cole Parmer
Cole Parmer CN-200D Series instruction manual

ASCO Numatics
ASCO Numatics 342 Series Installation & maintenance instructions

TLS
TLS DCV-72 user manual

Minikits
Minikits M1 manual

Allen-Bradley
Allen-Bradley micrologix 1500 installation instructions

United Electric Controls
United Electric Controls 120 Series Installation and maintenance instructions