4
Touch from SETB or PRO mode to bring forward next
programme. To clear advance mode, touch .
16. eys locking
Touch and hold together for 5 seconds. The display will
show symbol. Repeat the step to unlock.
1 . Copy day function
The HSTIRFN allows you to copy a
save the same time and temperature settings for
a day.
1. To use a copy day function, enter the programming
mode.
2. To skip time setting, touch to cycle through hour and
day.
On the next tap, the Programme mode is activated and
the day will flash.
4. Touch
5. Touch
to activate the function. to
select the day you want to copy the
temperature settings from.
6. Touch or to select the day you want to copy the
temperature settings to.
7. Touch to confirm the selection.
The ʻtoʼ word will flash to indicate that the day programme has
been copied to the day selected.
Touch to go back to the Programme mode.
12. S
et programme inactive
To deactivate a programme, enter the programming mode.
Select the programme you want to make inactive and touch .
The time and temperature will now be dashes to indicate that the
programme has been deactivated. In the
temperature setting, touch again.
17. Heat symbol on the display
Every time there is a demand for heat, the display will show
the heat icon.
Reduced heat output when the room temperature is
close to the set temperature (RX products only) ..
Full heat output.
to
14. Fan function only available for fan heaters
Touch any control icon to activate the HSTIRFN touch
activate or deactivate the fan function.
15. Advance mode
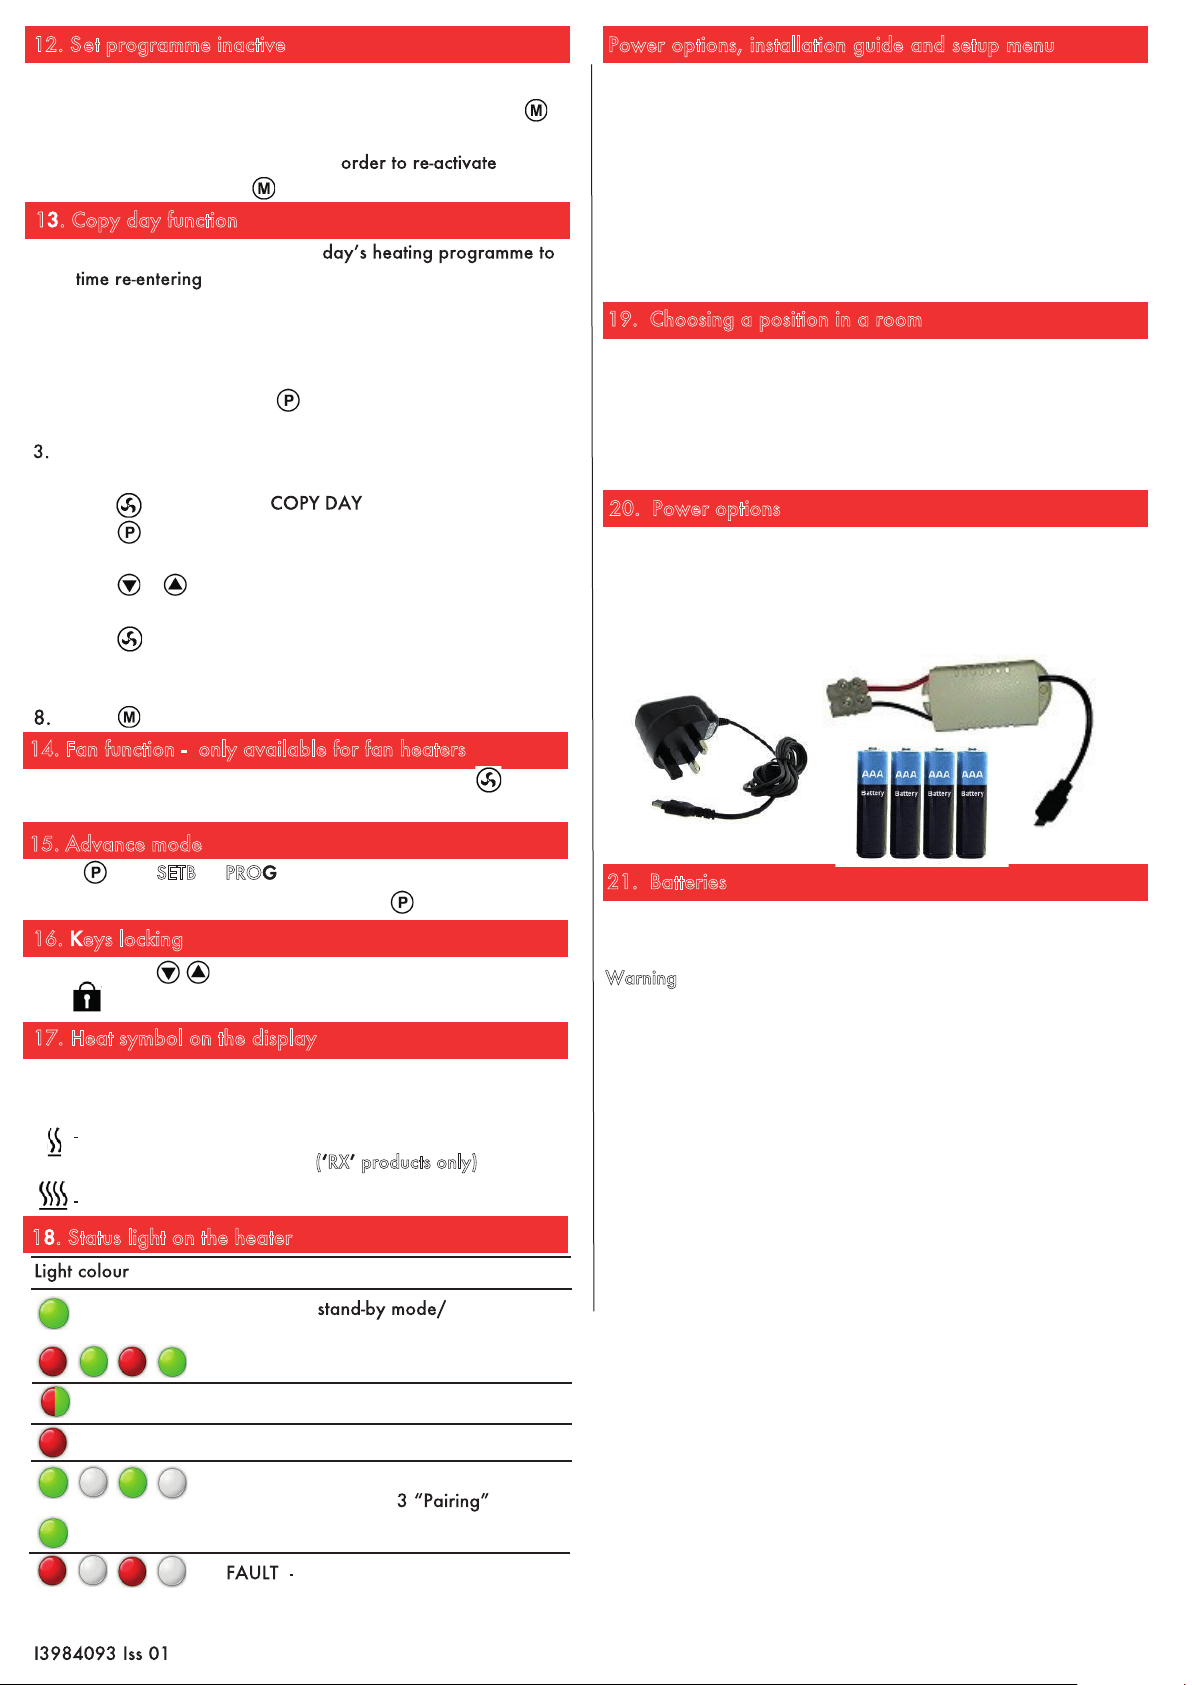
The HSTIRFN controller can be powered either by a 5V power
adapter with a micro USB connector, supplied power adapter
via USB port or 4 AAA batteries. There are 2 available USB
ports for power. One port is located on the bottom and one at
the back of the controller.
The HSTIRFN is a wireless thermostat giving high
precision room temperature control. It is also a 7 day
programmer with up to 6 temperature settings per day.
Each HSTIRFN can control any number of heaters in the same
room (zone).
20. Power options
Power options, installation guide and setup menu
19. Choosing a position in a room
The HSTIRFN should be fixed to the wall or used with the table
top bracket. Avoid areas with draught or direct sun. Do not
position HSTIRFN above or close to the heaters or other heat
sources. Damp areas or areas where HSTIRFN can be
mechanically damaged should also be avoided.
1 . Status light on the heater
Heater status
Heater is in not
receiving signal from HSTIRFN.
Reduced heat output (WX only)
Full power heat output
Overheating (WX only)
Heater is ready for pairing with
HSTIRFN see section
for details.
OR
OR
Remove the HSTIRFN's battery cover and insert 4 new high
quality alkaline AAA batteries.
Warning: Consort is not responsible for damage due to
corrosion. Battery leakage will cause permanent damage. Do
not use batteries when unit is powered on with mains.
To help avoid battery leak:
Replace the batteries annually, even if there is not a low
battery warning. Remove failing or flat batteries
immediately.
Always fit a pair of new high quality alkaline batteries
from the same pack. Never mix new and old batteries, or
batteries of different brands or types.
Never attempt to revive alkaline batteries by heating,
crushing or recharging.
Note: The clock has to be set after replacing the batteries, or if
the USB power cable has been removed from the HSTIRFN.
21. Batteries