page | 6
www.snapav.com Support 866.838.5052
CONSIDERATIONS FOR WALL MOUNTING
To maintain a high level listening experience, the Soundbar should be as close to the TV as possible. Placing To
maintain a proper listening experience, the Soundbar should be as close to the TV as possible. Placing the Soundbar
more than 3” from the screen will separate the audio from the video and provide a poor viewing and listening
experience, keep this in mind when locating the Soundbar.
Before Installing the Mount
• Locate and install the TV mount.
• With the TV on the mount
• Mark the position of the bottom of the TV.
• Mark the position of the TV’s Center Point.
• Remove the TV from the mount
Attaching the Wall Bracket
Note: For ease of installation of the bracket and the Soundbar, we recommend that the TV be removed from the
mount. This allows for the Soundbar to be placed properly.
INSTALLING THE MOUNT (ES-550, AND ES-350)
1. Locate wall studs using a stud finder (not included).
2. Place the Bracket on the wall with the flat side towards the wall. Ensure the center of the bracket is lined up
with the center point of the installed television.
3. Position the center of the bracket 2 ¼ ” from the bottom of the TV. This will place the Soundbar flush with the
bottom of the TV when installed.
Tip: To allow for extra clearance, position the center of the bracket, 2 5/16” from the bottom of the TV.
This will provide an extra 1/16” clearance (recommended for Tilt Mounts) allowing for any tolerance
differences that may occur.
4. Level the bracket and attach it to the wall studs using the horizontal screw hole slots. All 4 screws should be
used, making sure to keep the bracket flat to the wall and securely attached.
Stud Center
Bracket Vertical Center
Adjustment Knobs in
Bottom Corners
AA B
Up
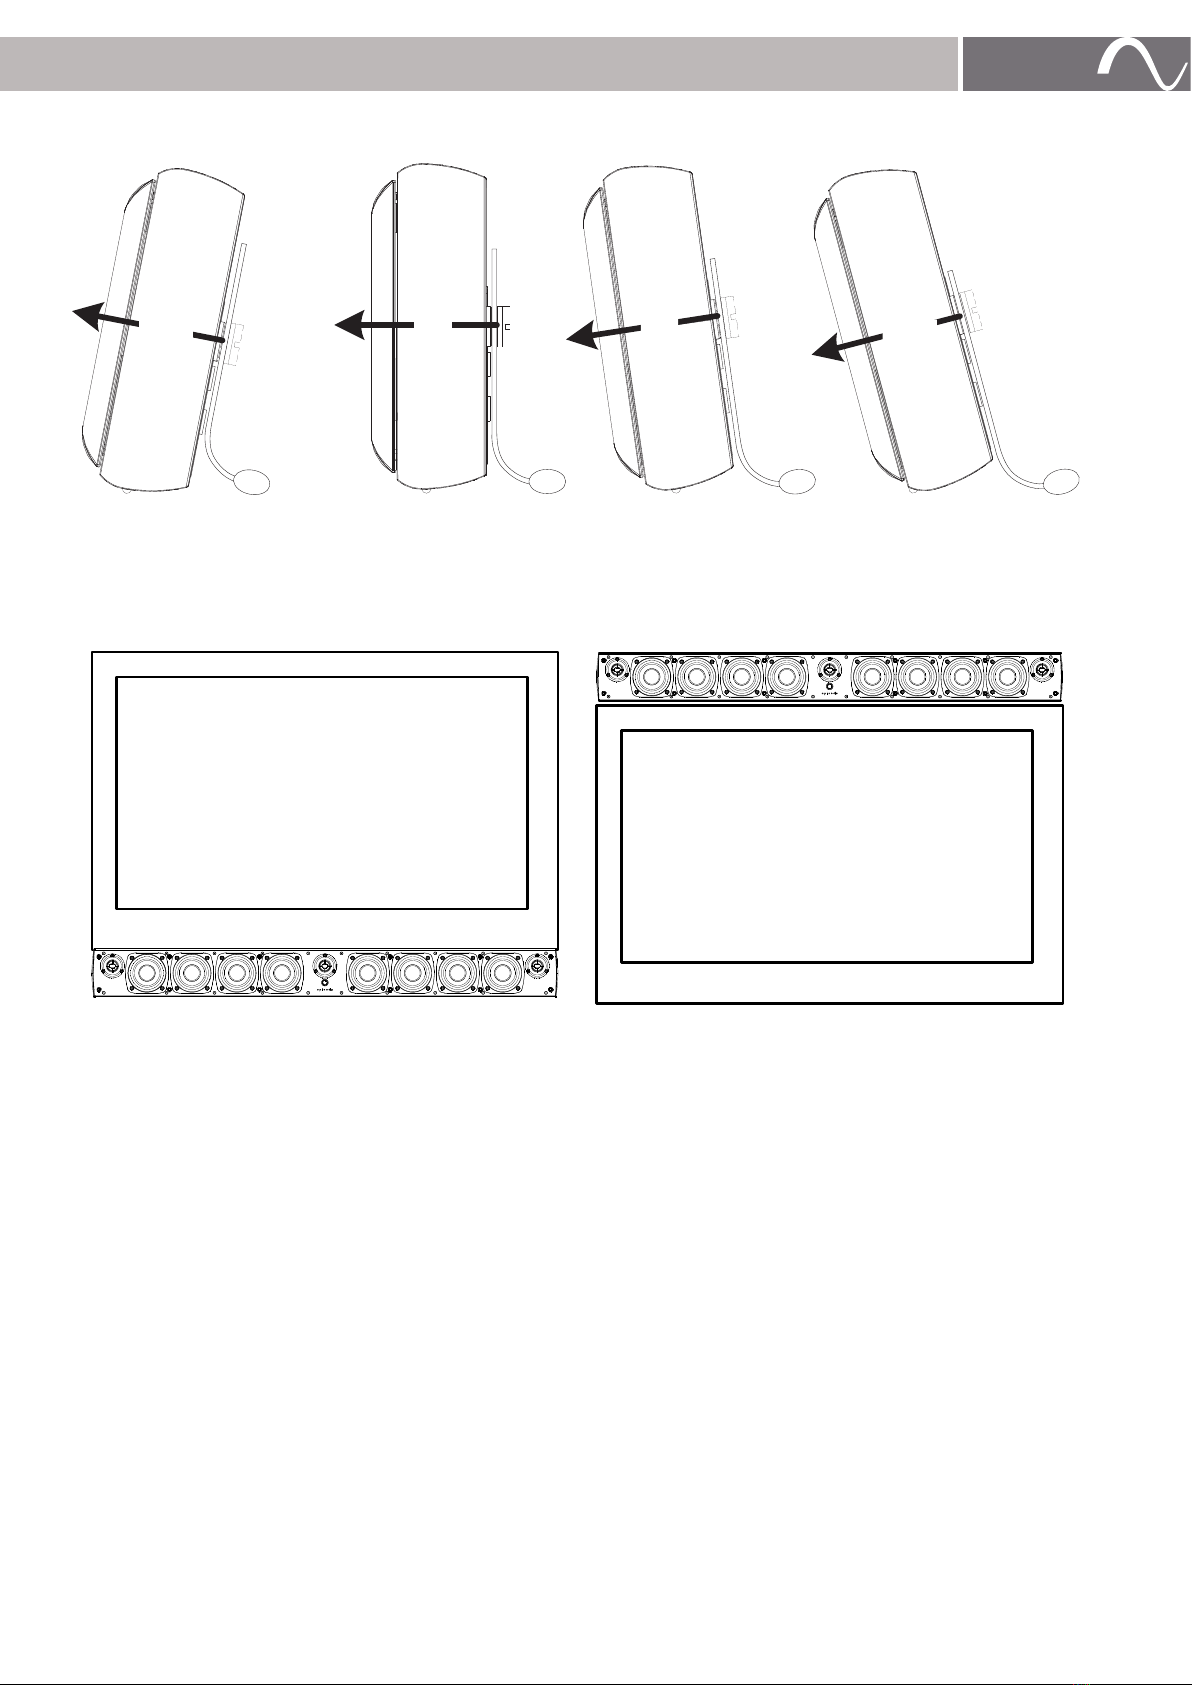
5. Attach the Soundbar to the bracket by placing the bracket’s
mounting bolts into the keyhole slots on the rear of the
soundbar and dropping the Soundbar into place.
Note: Once installed, if the soundbar needs upward
adjustment, the soundbar will need to be
unattached from the bracket.
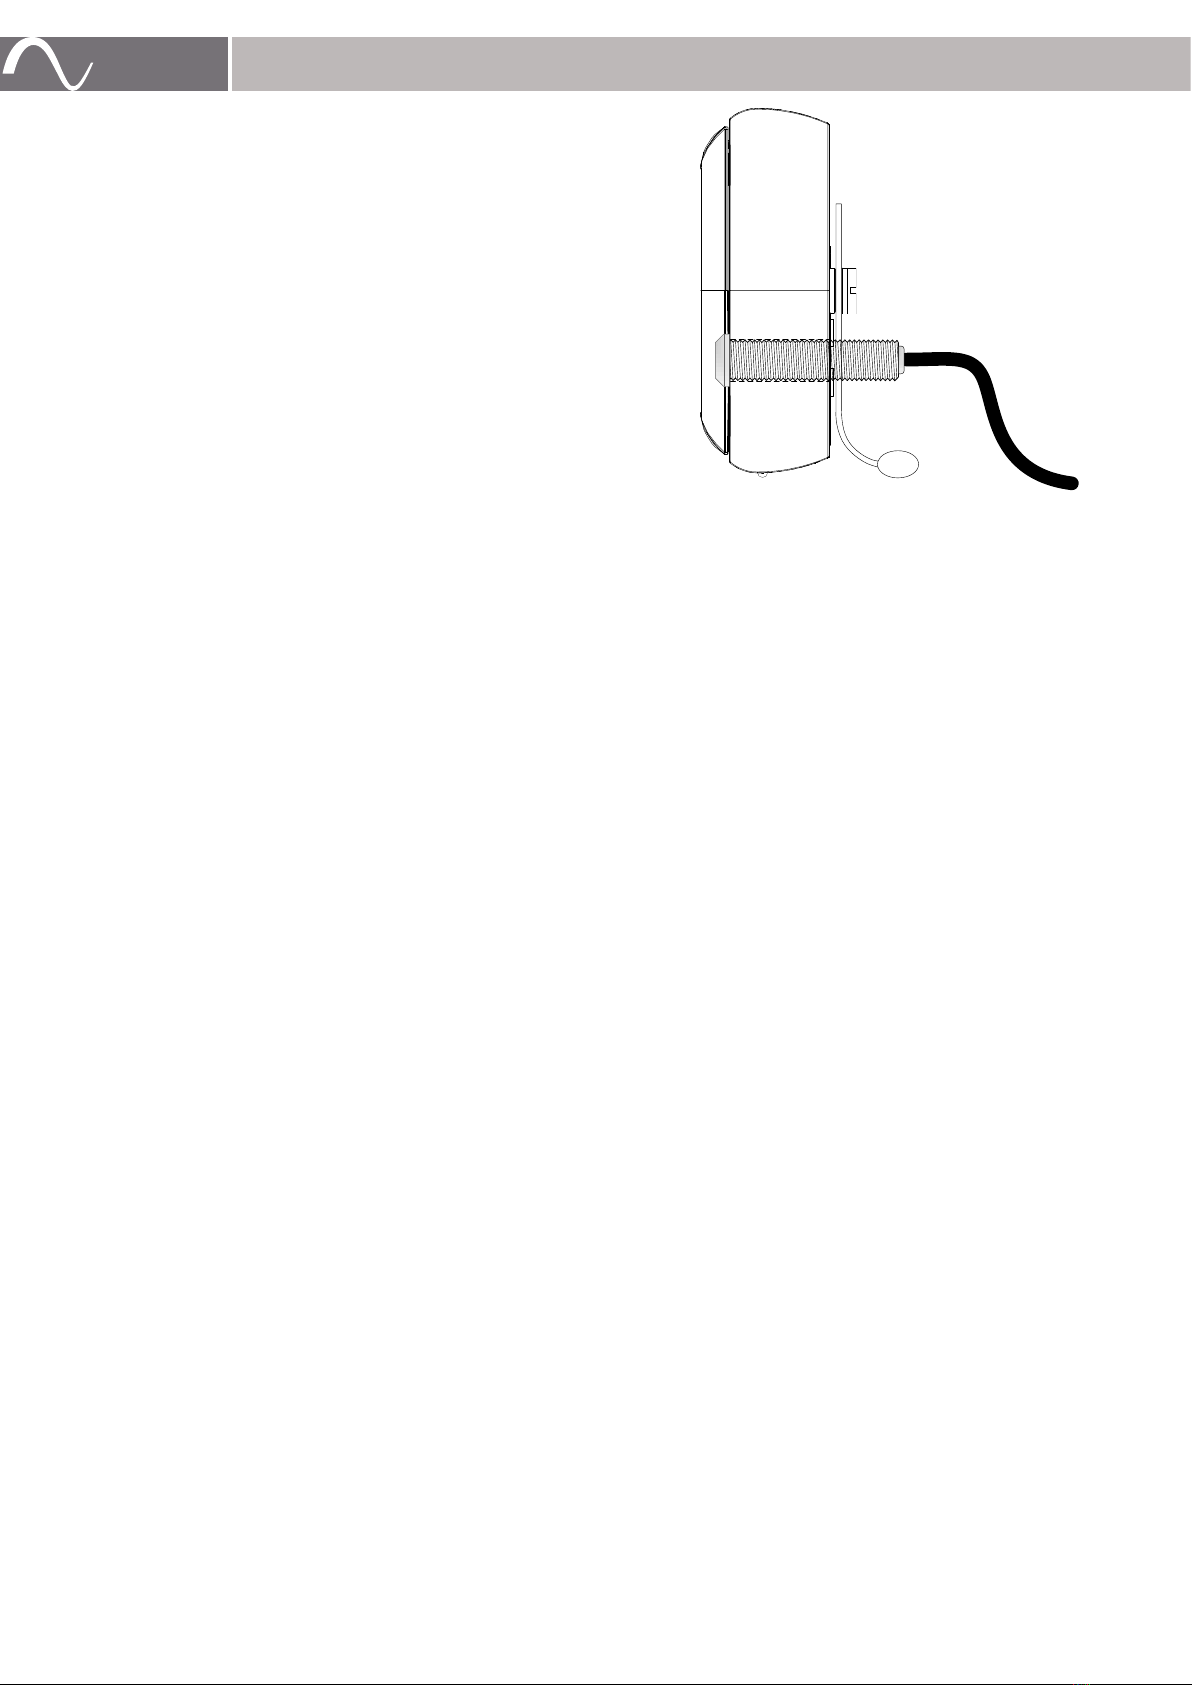
To Adjust:
Remove the soundbar from the bracket, then adjust the
thumbscrews on the bracket by hand or using a flathead
screwdriver if necessary.
Replace the soundbar when adjustment is complete.
Repeat the process if further adjustment is necessary.
Adjustment Knobs In
Bottom Corners
www.snapav.com Support 866.838.5052