Epson Stylus Photo RX580
6 - Epson Stylus Photo RX580 11/06
Copying Documents
You can copy documents in color or black and white, using
plain paper or a variety of Epson papers for special projects.
1. Make sure the RX580 is turned on.
2. Place your document on the glass as described on page 5. Be
sure to close the document cover.
3. Load up to 120 sheets of plain paper or 20 sheets of
specialty paper.
4. Press the Copy mode button.
5. Press lor rto choose Color or B&W.
6. If you want more than one copy, press the Copies + button
to select the number you want.
7. If you want to resize your copy, print on special paper, or
adjust other settings, see “Selecting Copy Settings” on the
right.
8. Press the xStart button to start copying.
If you need to cancel copying, press the yStop/
Clear Settings button. Do not pull out paper that is being
printed; it will be ejected automatically to the front tray.
Note: The copies may not be exactly the same size as the original.
Copying Photos
You can copy a photograph on 4 × 6, 5 × 7, 8 × 10, or
8.5 × 11-inch paper. You can easily resize your photo to fit on
any size paper you want to use. The easiest way to copy photos
(using default settings) is using 4 × 6 Epson Premium Photo
Paper Glossy.
See page 2 for a list of special Epson papers for photos and
creative projects.
1. Place your photo on the glass as described on page 5. Be
sure to close the document cover.
2. Load your photo paper.
3. Press the Copy mode button.
4. Press lor rto choose Color or B&W.
5. If you want more than one copy, press the Copies + button
to select the number you want.
6. Press d, then press r, select Photo, and press OK.
❏These settings are automatically selected when you copy
photos: Borderless prints, automatically sized to fit on
4 × 6-inch Premium Photo Paper Glossy.
❏If you want to copy using a special layout, such as white
borders or multiple photos on one sheet, press d, then
press rand select your layout. See “Layout Settings for
Copying” on the right for more information.
❏If you want to copy on a different size or type of paper,
or select other special settings, press the xPrint
Settings button. See “Print Settings for Copying” on
page 7 for more information.
❏The RX580 remembers your settings, even after you
turn it off.
7. Adjust any settings as necessary, then press OK.
8. Press the xStart button to start copying.
Note: If you want to restore the color in faded photos, see
“Reprinting Photos and Restoring Color” on page 7.
Selecting Copy Settings
You can select special settings for copying on various sizes and
types of paper, reducing or enlarging your original, or other
types of copies. The settings you select will be saved, even after
you turn off the RX580.
Layout Settings for Copying
1. Press the Copy mode button.
2. Press dto select Layout, then press r.
3. Press uor dto select one of the following layout settings,
then press OK.
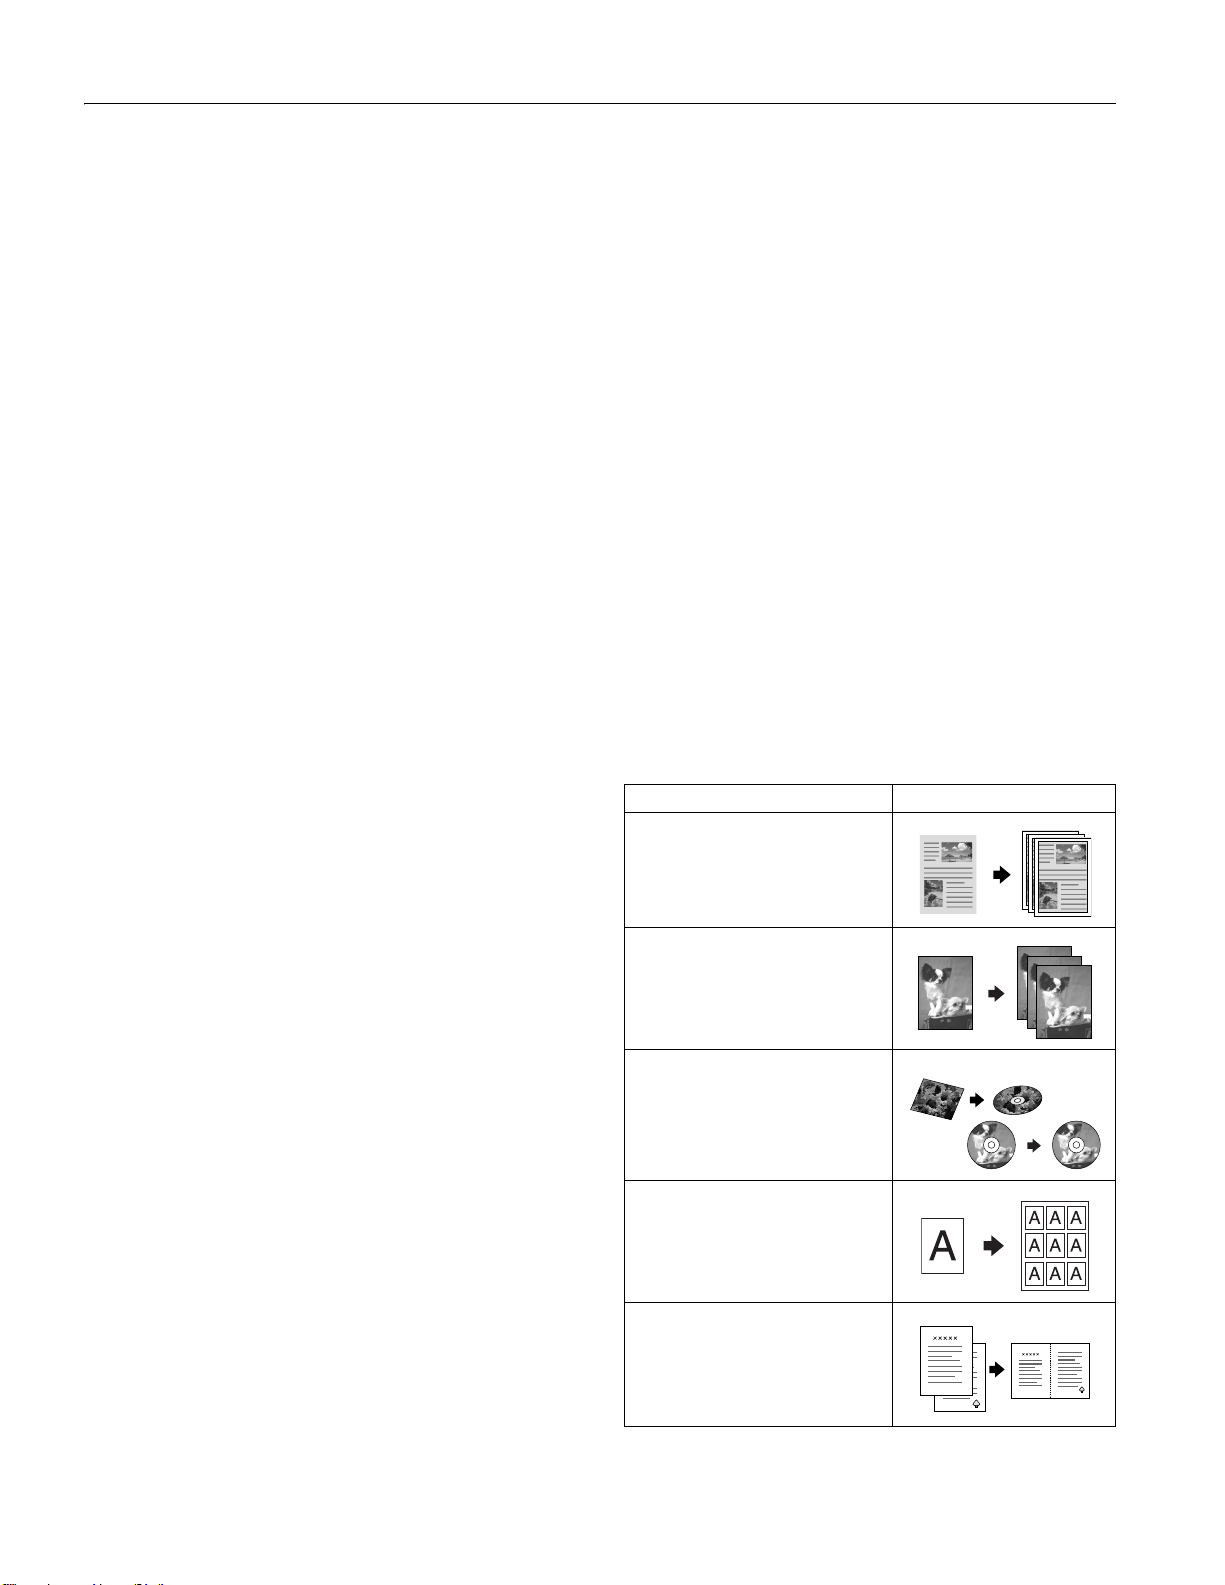
Layout Setting for Copying Result
Border
Copies your original with a standard
3-mm margin.
Borderless
Copies your photo all the way to the
edges of the paper (on Epson photo
papers only). Your image is slightly
expanded and cropped to fill the page.
CD/DVD Copy
Copies onto a CD or DVD. See your
printed Basics Guide for more
information.
Wallet Copy
Makes wallet-sized copies of your
original; 9 copies on letter-sized paper
or as many will fit on smaller sheets.
2-up Copy
Copies two letter-size originals onto
one sheet. After the first original is
scanned, you place the second one on
the glass. Then both originals are
copied on one sheet of paper.