manuals.online logo
Brands
  1. Home
  2. •
  3. Brands
  4. •
  5. Epson
  6. •
  7. Printer
  8. •
  9. Epson SC-T3170X SP Instruction Manual

Epson SC-T3170X SP Instruction Manual

Other Epson Printer manuals

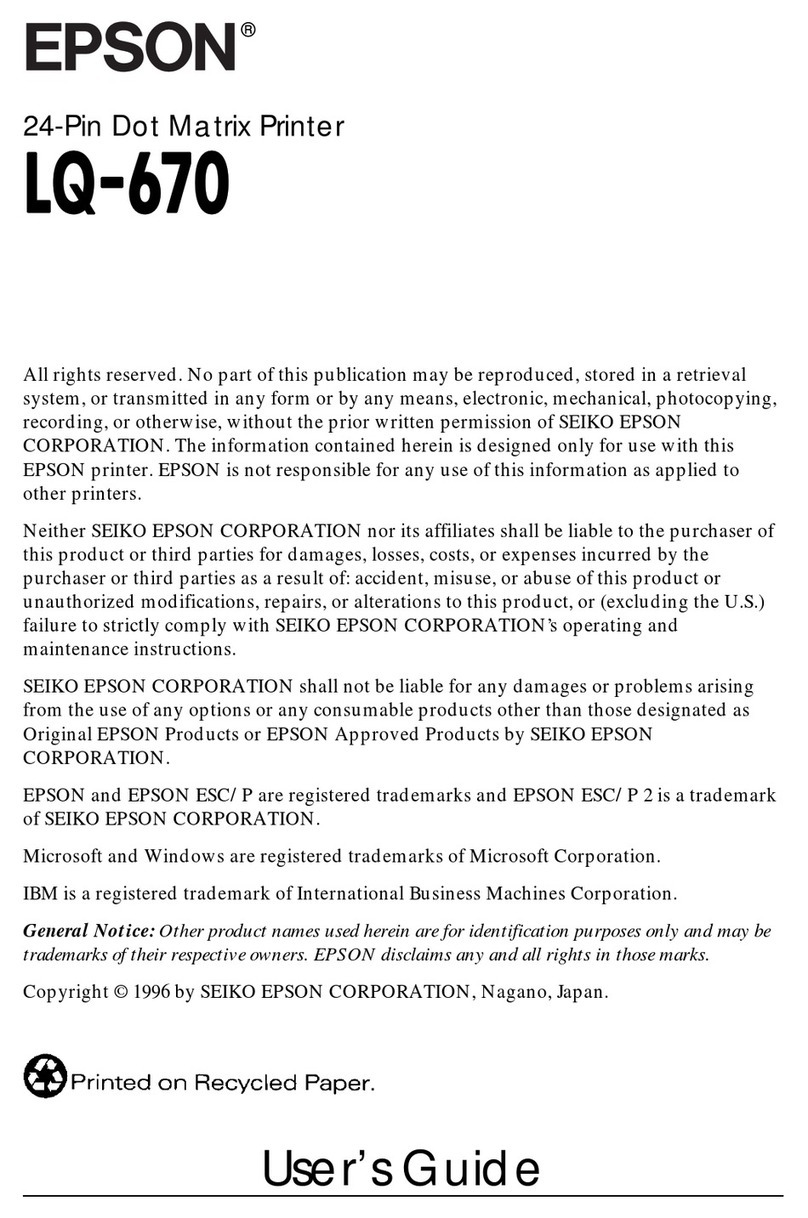
Epson Stylus Photo 1410 Series User manual

Epson

Epson Stylus Photo 1410 Series User manual

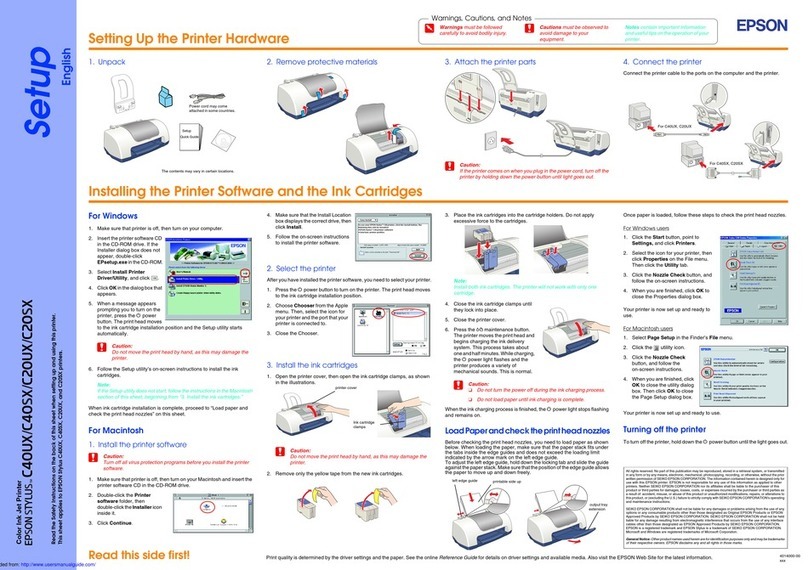
Epson R1900 - Stylus Photo Color Inkjet Printer User manual

Epson

Epson R1900 - Stylus Photo Color Inkjet Printer User manual

Epson AcuLaser C4000 User manual

Epson

Epson AcuLaser C4000 User manual

Epson Stylus C82 User manual

Epson

Epson Stylus C82 User manual

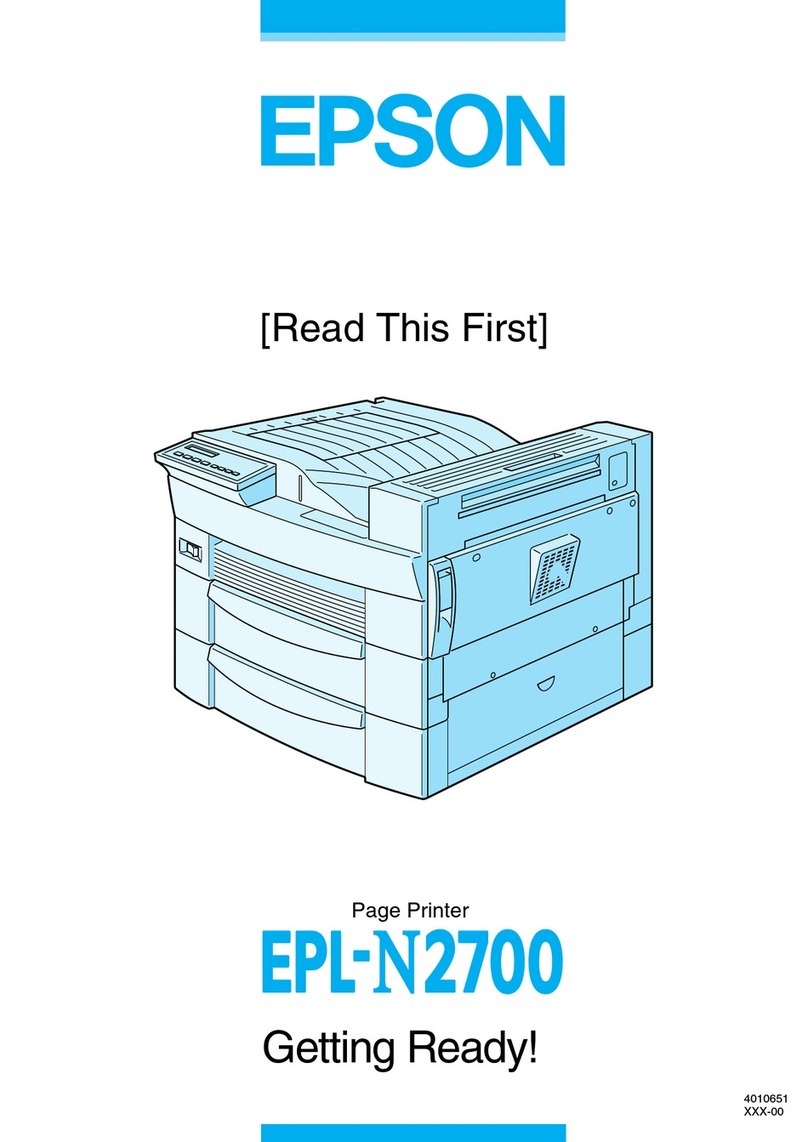
Epson EMP 720 User manual

Epson

Epson EMP 720 User manual

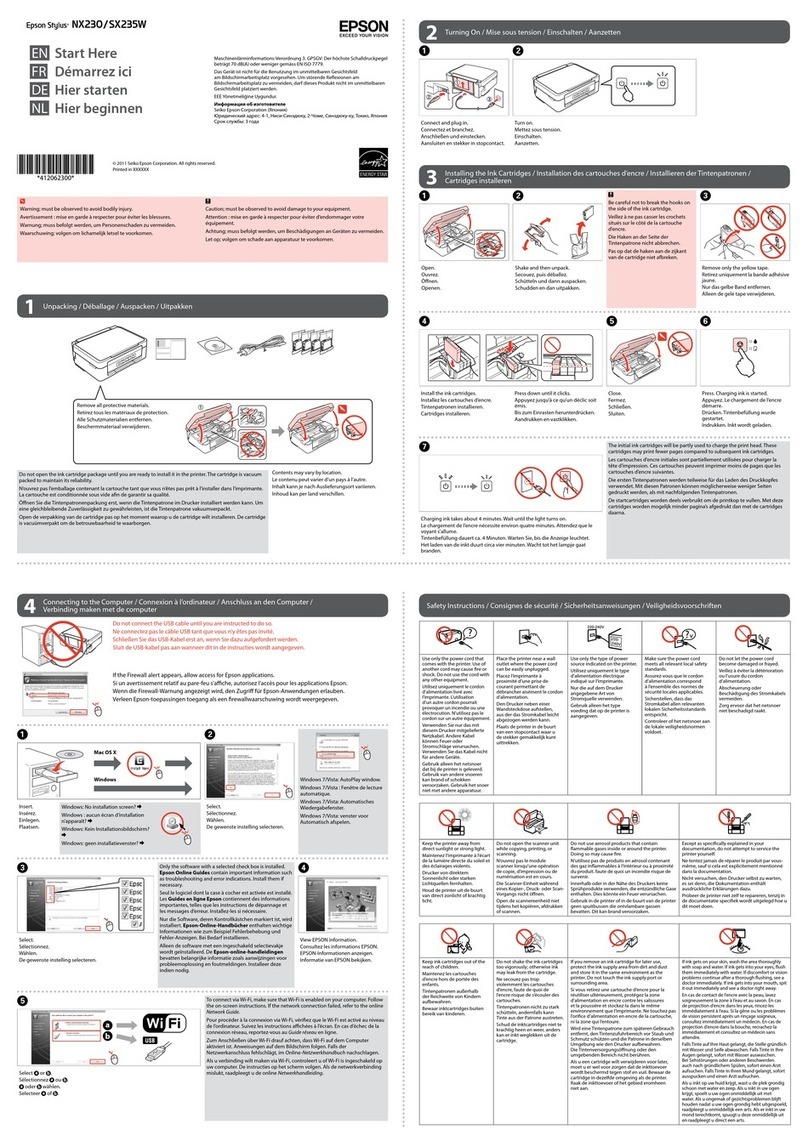
Epson WorkForce WF-2510 User manual

Epson

Epson WorkForce WF-2510 User manual

Epson Stylus 1500 User manual

Epson

Epson Stylus 1500 User manual

Epson Surecolor SC-S50670 User manual

Epson

Epson Surecolor SC-S50670 User manual

Epson Workforce Pro WF-M5298 Series User manual

Epson

Epson Workforce Pro WF-M5298 Series User manual

Epson WF-C20600 User manual

Epson

Epson WF-C20600 User manual

Epson WF-M5399 User manual

Epson

Epson WF-M5399 User manual

Epson STYLUS 850Ne User manual

Epson

Epson STYLUS 850Ne User manual

Epson WorkForce WF-2540 User manual

Epson

Epson WorkForce WF-2540 User manual

Epson SureColor P6570D User manual

Epson

Epson SureColor P6570D User manual

Epson EcoTank M2140 User manual

Epson

Epson EcoTank M2140 User manual

Epson Stylus Color 880 User manual

Epson

Epson Stylus Color 880 User manual

Epson Stylus C82 User manual

Epson

Epson Stylus C82 User manual

Epson Stylus C48 User manual

Epson

Epson Stylus C48 User manual

Epson Aculaser CX28DN Series User manual

Epson

Epson Aculaser CX28DN Series User manual

Epson U950 - TM B/W Dot-matrix Printer User manual

Epson

Epson U950 - TM B/W Dot-matrix Printer User manual

Epson PX-F10000 User manual

Epson

Epson PX-F10000 User manual

Epson Photo750 User manual

Epson

Epson Photo750 User manual

Epson Portrait Edition Series User manual

Epson

Epson Portrait Edition Series User manual

Epson R800 - Stylus Photo Color Inkjet Printer User manual

Epson

Epson R800 - Stylus Photo Color Inkjet Printer User manual

Popular Printer manuals by other brands

Evolis Elypso user guide

Evolis

Evolis Elypso user guide

Lexmark 522n - C Color Laser Printer Service manual

Lexmark

Lexmark 522n - C Color Laser Printer Service manual

Panduit COUGAR LS9Q Operator's manual

Panduit

Panduit COUGAR LS9Q Operator's manual

Olivetti PG L2140 Operation guide

Olivetti

Olivetti PG L2140 Operation guide

Samsung SL-M2820DW user manual

Samsung

Samsung SL-M2820DW user manual

Kyocera FS-9530DN specification

Kyocera

Kyocera FS-9530DN specification

Canon LASER SHOT LBP-1210 Specifications

Canon

Canon LASER SHOT LBP-1210 Specifications

Canon PIXMA PRO-1 Series Getting started

Canon

Canon PIXMA PRO-1 Series Getting started

Canon LBP113w Getting started

Canon

Canon LBP113w Getting started

Lexmark Infoprint 1332 user manual

Lexmark

Lexmark Infoprint 1332 user manual

TransAct POSJET 1500 Spare parts

TransAct

TransAct POSJET 1500 Spare parts

Telpar MTP-1500 user manual

Telpar

Telpar MTP-1500 user manual

Star DP8340 SERIES user manual

Star

Star DP8340 SERIES user manual

MGI JETVARNISH 3DS user manual

MGI

MGI JETVARNISH 3DS user manual

Kyocera TASKalfa PA4500ci Operation guide

Kyocera

Kyocera TASKalfa PA4500ci Operation guide

Emaar EP-360 user manual

Emaar

Emaar EP-360 user manual

Fujitsu DL7400 user manual

Fujitsu

Fujitsu DL7400 user manual

Centronics 101A Technical manual

Centronics

Centronics 101A Technical manual

manuals.online logo
manuals.online logoBrands
  • About & Mission
  • Contact us
  • Privacy Policy
  • Terms and Conditions

Copyright 2025 Manuals.Online. All Rights Reserved.

Start Here
GO T3170X SP
2
All ink tanks (CMYK) must be filles with ScreenMate™
Color SeparationBlack Ink.
10 Open the cut sheet cover and remove the tape inside the
printer.
11 Open and fold back the roll paper cover.
12
Remove the tape and the protective pieces.
13
Close the roll paper cover and the cut sheet cover.
14
Dispose of all the tape and the protective pieces.
Fill Ink Tanks
Warning: Keep the ink bottles out of the reach of children and do not drink
the ink.
Caution: This product requires careful handling of ink. If ink spills, wipe it off
immediately with a damp towel to avoid permanent stains. If ink gets on your
clothes or belongings, it may not come off.
Note:
• Use the ink bottles included with the printer to set up the product. Part of
the ink will be used to charge the print head.
1 Open the ink tank cover.
2 Remove the plastic sheet and all tape from the outside of
the printer.
3 Open the left cover.
4 Remove the tape and the protective piece.
5 Close the left cover.
6 Open the front cover.
7 Turn and remove the protective piece.
8 Close the front cover.
9 Remove the protective film from the control panel.
Note:The touch screen will not operate if you do not remove the
protective film.
Open the cap for the black ink.
Note:
3 Unpack the black (BK) ink bottle. Hold the ink bottle upright
and slowly turn the bottle cap to remove it. Remove filling
cap off and remove protective foil from bottle. Put filling
cap on the bottle by slowly turning the cap until it is tightly
secured
Caution: Do not squeeze the ink bottle. Do not touch the top of the ink
bottle after its cap is removed.
4 Insert the ink bottle into the filling port, as shown below.
5 Wait for the ink to fill the tank. Do not squeeze the bottle.
Ink flows into the tank and stops automatically when the
ink tank is filled to the upper line.
Note: If ink does not flow from the bottle, lift and reinsert the bottle.
IMPORTANT:
Before using this product, make sure you read these
instructions and the safety instructions in the online User’s Guide.
Choose a Location for the Printer
Choose a location for the printer that is near a wall outlet where the
power cord can be easily unplugged. Avoid places subject to rapid
changes in temperature and humidity. Also keep the printer away
from direct sunlight, strong light, or heat sources.
Make sure to place the printer on a flat, stable surface with enough
space on all sides (see illustration below). The surface supporting
the printer should be wider than the space between the rubber feet
on the bottom of the printer and capable of supporting the weight
shown below.
5.9 in.
(150 mm)
Weight: 63.93 lbs (29 kg)
1.97 in.
(50 mm)
12.20 in.
(310 mm)
5.9 in.
(150 mm)
H
D
W
Unpack
1 Make sure you have these items:
Printer and roll spindle Output tray
Ink bottles Power cord
Note:
• See the online User's Guide for instructions on using the
output tray and assembling the optional stand and paper
basket.
•
W ARNING:
The printer requires two people to lift and move it. Make sure
to grip the printer as shown in the illustration.
Caution: Do not hold the printer by its paper support.
Need Ink or Film?
17 To complete filling the ink tanks, repeat steps 1 through 8
using the remaining ink in the bottles.
18 Close the ink tank cover.
19 Select Proceed and follow the on-screen instructions to
reset the ink levels.
N ote:
• You may need to replace the maintenance box soon after ink
initialization. See the online for instructions.
• See the online User’s Guide for instructions on loading paper.
Install Software
Note: An internet connection is required to obtain the product software.
1 Make sure the product is
NOT CONNECTED
to your computer.
2 Download and run your product’s software package:
U.S.: www.epson.com/support/t3170x
Canada: www.epson.ca/support/t3170x
3 Follow the instructions on the screen to run the setup
program.
4 When you see the Select Your Connection screen, select one
of the following:
• W ireless connection
In most cases, the software installer automatically
attempts to set up your wireless connection. If setup is
unsuccessful, you may need to enter your network name
(SSID) and password.
• D irect USB connection
Make sure you have a USB 2.0 or 3.0 cable (not included).
Note:If you do not use a USB 2.0 or 3.0 cable, print speed and
performance may decline.
• W ired network connection
Make sure you have an Ethernet cable (not included).
Product Support
User’s Guide
Windows®
: Click the icon on your desktop or Apps screen to
access the online User’s Guide.
Mac: Click the icon in Applications/Epson Software/Guide to
access the online User’s Guide.
User’s Guide
6 When the ink tank is full, remove the ink bottle and replace
the bottle cap. Place the remaining ink aside; you will need
it later.
Note: Do not leave the ink bottle inserted; otherwise the bottle may
be damaged or ink may leak.
8 Repeat steps 2 through 7 for all other ink tanks.
9 Close the ink tank cover.
10 Connect the power cord to the printer. Route the cord
through the hooks on the back of the printer and plug the
other end of the power cord into an outlet.
11 Press the power button on the control panel to turn on
the printer. Raise the control panel if necessary.
12 Select your language on the LCD screen.
13 When you see a message about removing protective parts,
select Done
14 Select the date and time.
15 When the message to see the Start Here sheet appears on
the LCD screen, press and hold the home button for 5
seconds.
16 When the ink confirmation message appears on the LCD
screen, select Start to start charging the ink. Ink charging
takes approximately 20 minutes.
Caution: Do not turn off or unplug the printer or perform any other
operations during ink charging or you’ll waste ink.
Visit our website at www.inkjetbiz.com to order
online! Call us at (408) 394-7595 or email us
at [email protected]
7 Confirm the transportation cap is on the right position.
Then close the ink tank cap.