product’s software package
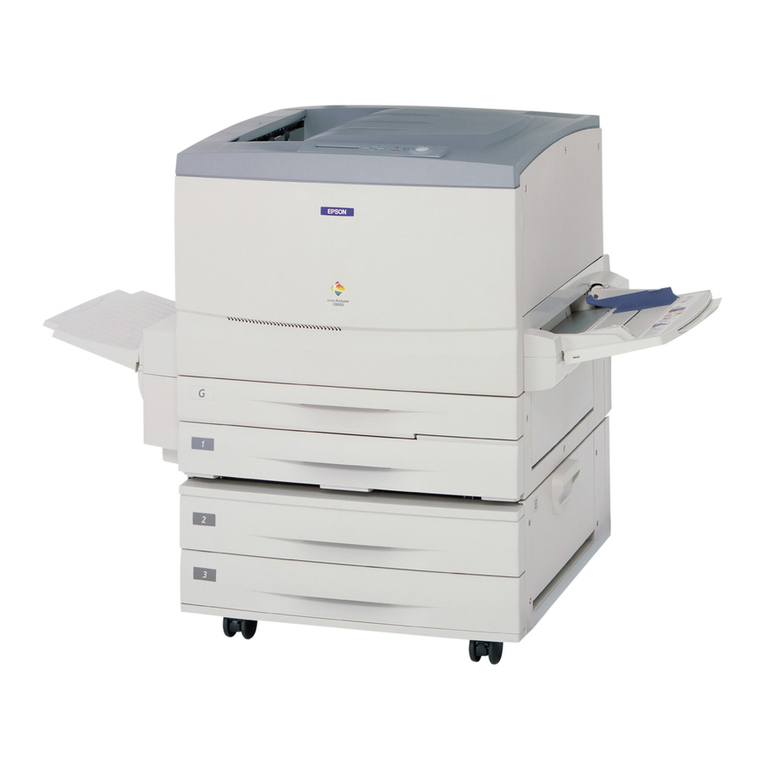
Start Here Read these instructions before using your product. The illustrations show the WF-7620, but the steps
are the same for the WF-7610.
Note for Spanish speakers/Nota para hispanohablantes: Para obtener instrucciones de
configuración en español, consulte la Guía de instalación en epson.com/support/wf7610sp o
epson.com/support/wf7620sp (requiere una conexión a Internet).
1
2
3
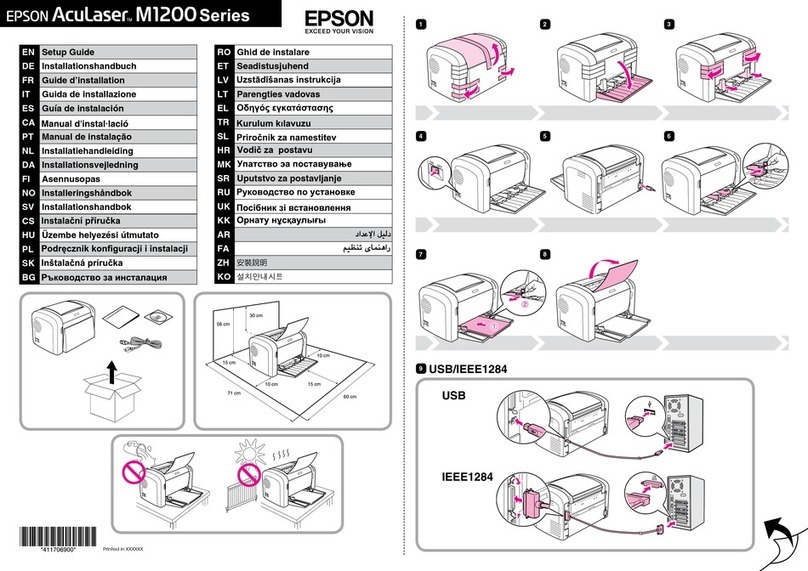
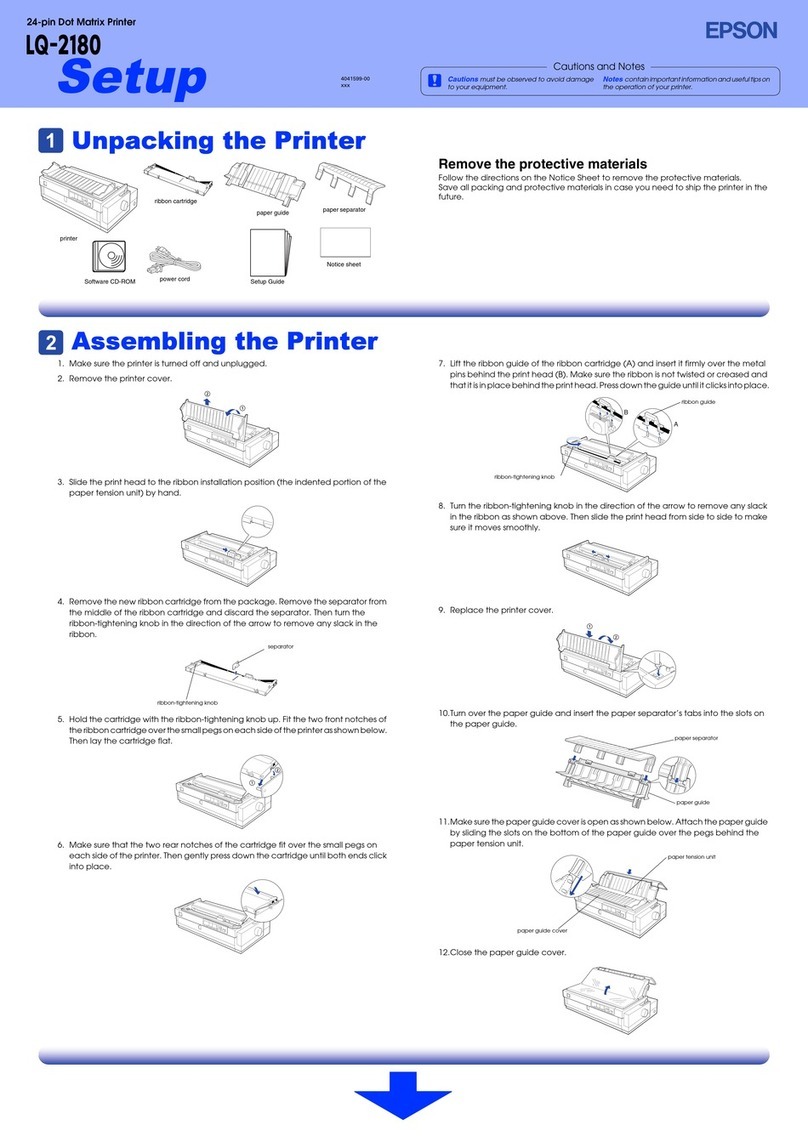
Unpack
Turn on and configure
4Load paper
Install ink cartridges
Setup is unable to find my printer after connecting it with a USB cable.
Make sure it is securely connected as shown:
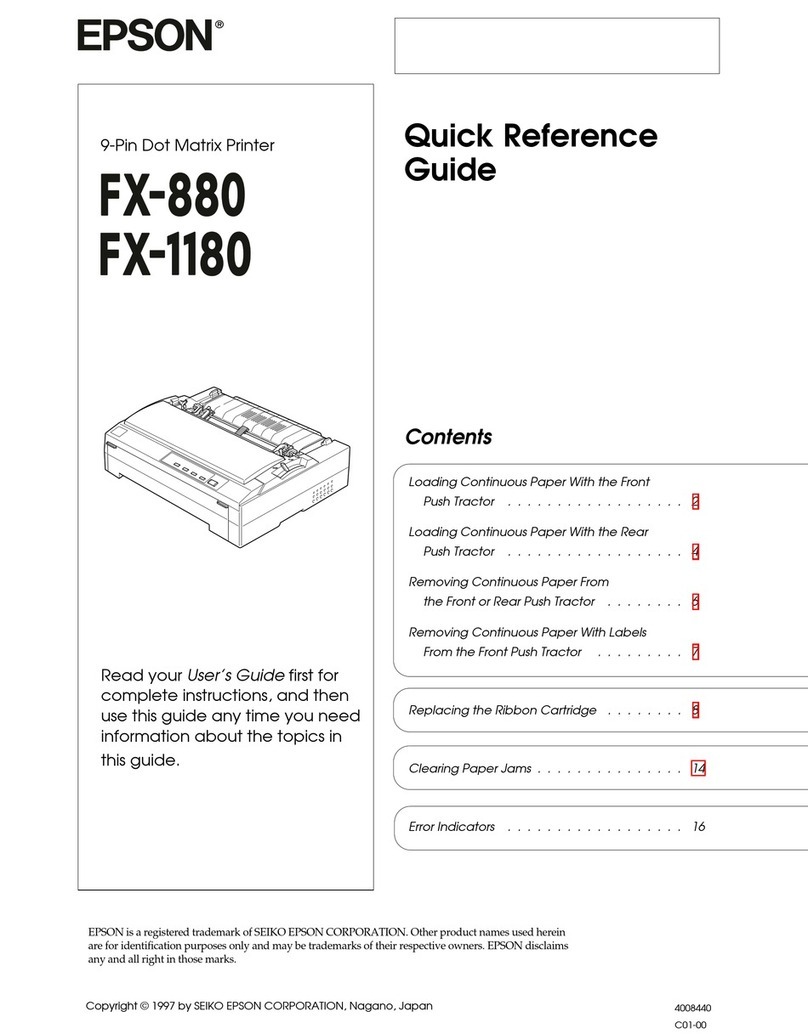
Any questions?
Quick Guide
Basic information and troubleshooting.
User’s Guide
Windows: Click the icon on your desktop or Apps screen to access the online
User’s Guide.
OS X: Click the icon in Applications/Epson Software/Guide to access the online
User’s Guide.
If you don’t have a User’s Guide icon, go to the Epson website, as described below.
Need paper and ink?
Try Epson
WF-7610/WF-7620 replacement ink cartridges
Color Standard-capacity High-capacity Extra High-capacity
Black 252 252XL 254XL
Cyan 252 252XL –––
Magenta 252 252XL –––
Yellow 252 252XL –––
Select your language, country, date, and time.
Note: You can change these settings later using the product’s
control panel. For more information, see the online User’s Guide.
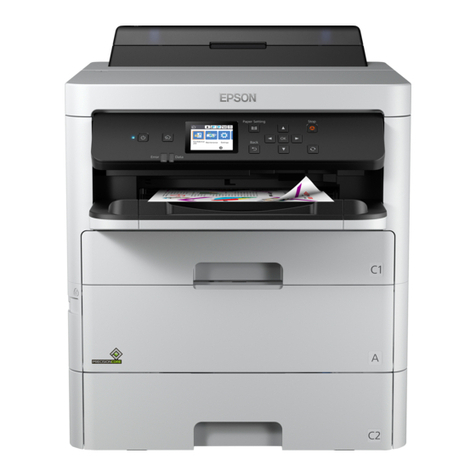
WF-7610/WF-7620
5Connect the fax line
1Connect the phone cord to a telephone wall
jack and to the LINE port on your product. See
the online User’s Guide for more information.
2Press Start if you want to set up the fax, or
press Close to set it up later.
6Install software
Note: If your computer does not have a CD/DVD drive or you are using a Mac, an Internet connection
is required to obtain the printer software.
1Make sure the printer is NOT CONNECTED to your
computer.
Windows®:If you see a Found New Hardware screen,
click Cancel and disconnect the USB cable.
2Insert the product CD or download and run your
3Follow the instructions on the screen to run the setup program.
OS X: Make sure you install Software Updater to receive firmware and software updates for
your product.
4When you see the Select Your Connection screen, select one of the following:
• Wireless connection
Make sure you know your network name (SSID) and network password.
• Direct USB connection
Make sure you have a USB cable (not included).
• Wired network connection
Make sure you have an Ethernet cable (not included).
5When software installation is complete, restart your computer.
Mobile printing
Your product must be set up for wireless printing or Wi-Fi Direct®. See the online
User’s Guide for instructions.
Any problems?
Network setup was unsuccessful.
• Make sure you select the right network name (SSID). The printer can only connect
to a network that supports 2.4 GHz.
• If you see a firewall alert message, click Unblock or Allow to let setup continue.
•
If your network has security enabled, make sure you enter your network password
(WEP key or WPA passphrase) correctly. Password must be entered in the correct
case.
There are lines or incorrect colors in my printouts.
Run a nozzle check to see if any of the print head nozzles are clogged. Then clean the
print head, if necessary. See the online User’s Guide for more information.
The printer’s screen is dark.
Press any button to wake your product from sleep mode.
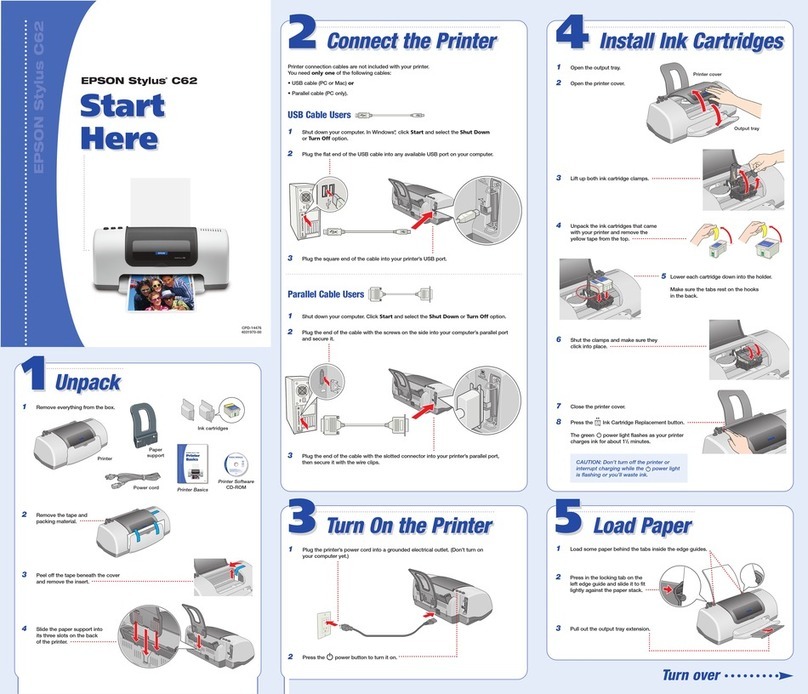
Note: Do not open ink cartridge packages until you are
ready to install the ink. Cartridges are vacuum packed
to maintain reliability.
French control
panel stickers
Note: The cartridges included with the
printer are designed for printer set up and
not for resale. After some ink is used for
priming, the rest is available for printing.
Caution: Don’t turn off the printer while it
is priming or you’ll waste ink.
Caution: Do not connect to your computer yet.
Select the paper settings on the
product’s control panel.
Remove only the yellow tape from
each cartridge.
Caution: Don’t remove any other seals or
the cartridges may leak.
4129595 Rev.0
1-F C
4129595 Rev.0
1-F M
4129595 Rev.0
1-F Y
4129595 Rev.0
1-F K
