Installation:
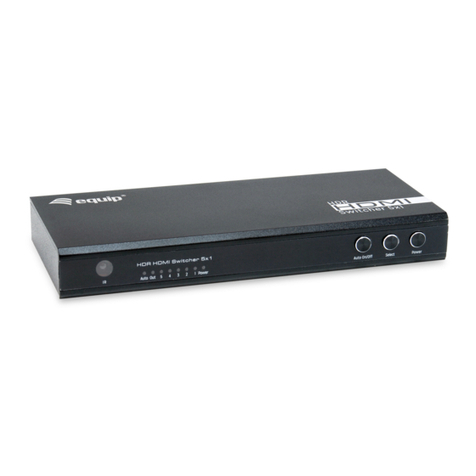
• Plug in the AC/DC power supply to the power jack of the switch; then connect it to a power outlet
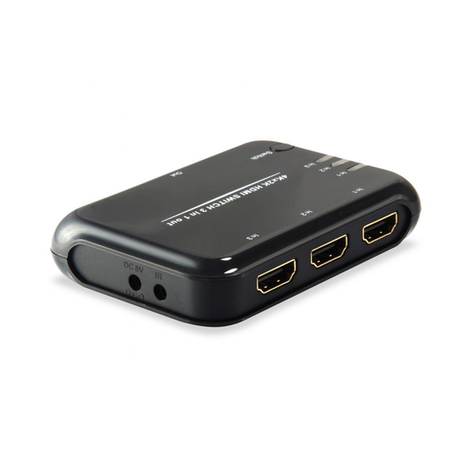
• Connect the HDMI cables from the source devices e.g. DVD player, Set-Top-Box, etc. into one of the
HDMI input ports
• Connect the HDMI cable for the output device first into the output port of the switch and then into the
HDMI input port of your TV, monitor or projector
Operation:
Power on or off the HDMI Switch:
• Press and hold the „Switch/Power“ key on the HDMI Switch until the „Power“ indicator LED turns on or off
• Press the „Power“ key on the IR remote controller to turn on or off the HDMI Switch
Select desired HDMI source port by the front panel of the HDMI Switch:
Press the „Switch/Power“ key on the HDMI Switch repeatedly to switch between port one to port four in
sequenz; the red LED indicator will turnwill trun on for easy distinguish of the selected channel
Select desired HDMI source port by the IR remote controller of the HDMI Switch:
Press the number 1~4 key on the IR remote controller to select the desired channel directly or press the
„<“ or „>“ key to select previous / next channel
Auto-Switching function:
After power on the HDMI Switch, when any of 4 connected HDMI source devices are on and outputting
„Live“ HDMI signals to the HDMI switch , the HDMI switch will automatically select the „Live“ HDMI
channel.
Last-Channel-Memory function:
After power on the HDMI Switch without receiving any „Live“ HDMI signals from the source devices,
the HDMI Switch will automatically switch to the last used channel.
Special Note:
Please be carefull when selecting your HDMI connection cables - non certified HDMI cables may affect
your signal and display quality!
Manual_Page 4
www.equip-info.net

