Equipt EQBPL092 User manual

EQBPL092
Multi-Directional
LED Sensor Light
USER GUIDE

page 2page 3
EQBPL092
USER GUIDE
CAUTION
• The lights are designed in a way that protects them from average rainfall, but the device is not waterproof.
When installing the lights outdoors, place it under eaves so that rain doesn’t hit it directly. In the event of
heavy rain, water may enter and cause the lights to fail.
• When attaching the lights to the tripod, make sure you’ve screwed the device on tightly and the tripod
legs are firmly positioned.
• If installing the lights from above, make sure they aren’t positioned where they might cause damage if
they accidentally fall.
• Do not install the lights near curtains, clotheslines, trees, air-conditioners or on streets with passing
vehicles. That’s because the auto sensor might be triggered frequently, exhausting the batteries.
• Do not use in the bathroom. Excessive moisture may cause the lights to fail.
• Do not look directly at the LED since doing so could hurt your eyes.
• Do not bend the leg of tripod at the same position repeatedly since the stress could cause it to break.
• Do not disassemble the device since reassembling it could cause it to fail.
USE common SEnSE whEn DEcIDInG whERE to InStall thE lIGhtS.
Avoid locations likely to be hit by heavy rain. Install under an overhang instead.
Avoid installing the device where it sways with the wind. Fix it firmly.
Avoid placing it where it might fall on people or vehicles. Install it in a safe place.
Avoid installing the device near curtains, an air conditioner, trees or the road.
PARTS DIAGRAM
tIPS
Pushing the lights open too much or turning them by force could damage the device.
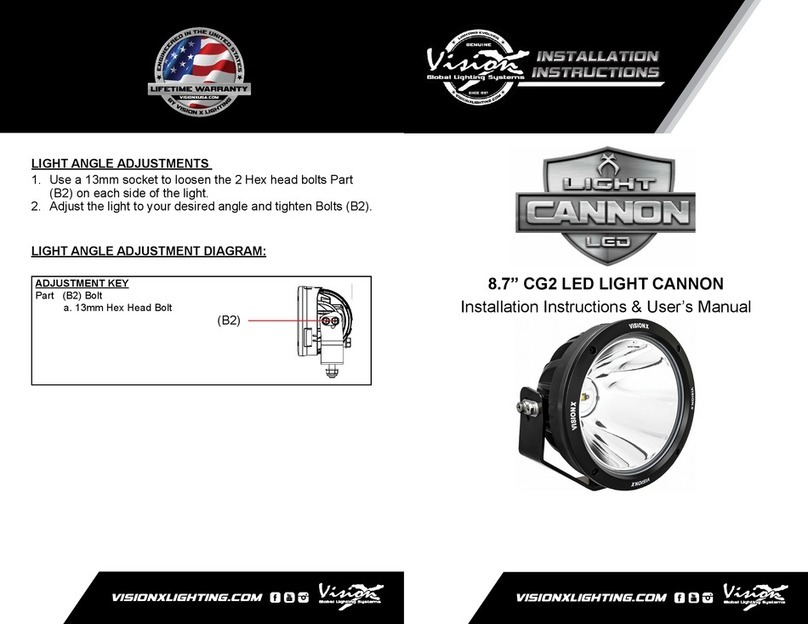
BoDy: With the pedestal fixed, the main body can slide along the curved slot by 90°. You can optionally
attach the magnetic disc at the bottom of the pedestal.
tRIPoD:Screw it into the threaded hole at the bottom of the pedestal.
accESSoRIES:Attach the metal plate to wooden wall with the mounting screw. Attach it so that the magnet is
at the bottom of the pedestal. Concrete plugs are used for attaching to concrete walls.
Before tightening a mounting screw, drill a prepared hole of 3 mm for wooden wall. and 6 mm for inserting a
concrete plug.
BoDy accESSoRIES tRIPoD
Mode changing switch
High-luminance white LEDs
Motion-detection sensor
Battery cover
Metal plate
Screw
Plastic plug
Light latch
Magnet
Base
EQBPL092
USER GUIDE

page 4page 5
HOW TO CHANGE THE BATTERIES
Open the lights by pressing each light latch while pulling the edge
of the light outward.
One side contains the battery compartment. Press the battery
latch and pull toward you to open.
Insert 3 new AA alkaline batteries (not included) by aligning the
(+) and (-) poles correctly.
Press the latch as you close the battery cover.
*Be sure to use three new, identical batteries. Don’t mix brands and
used batteries.
OPERATION
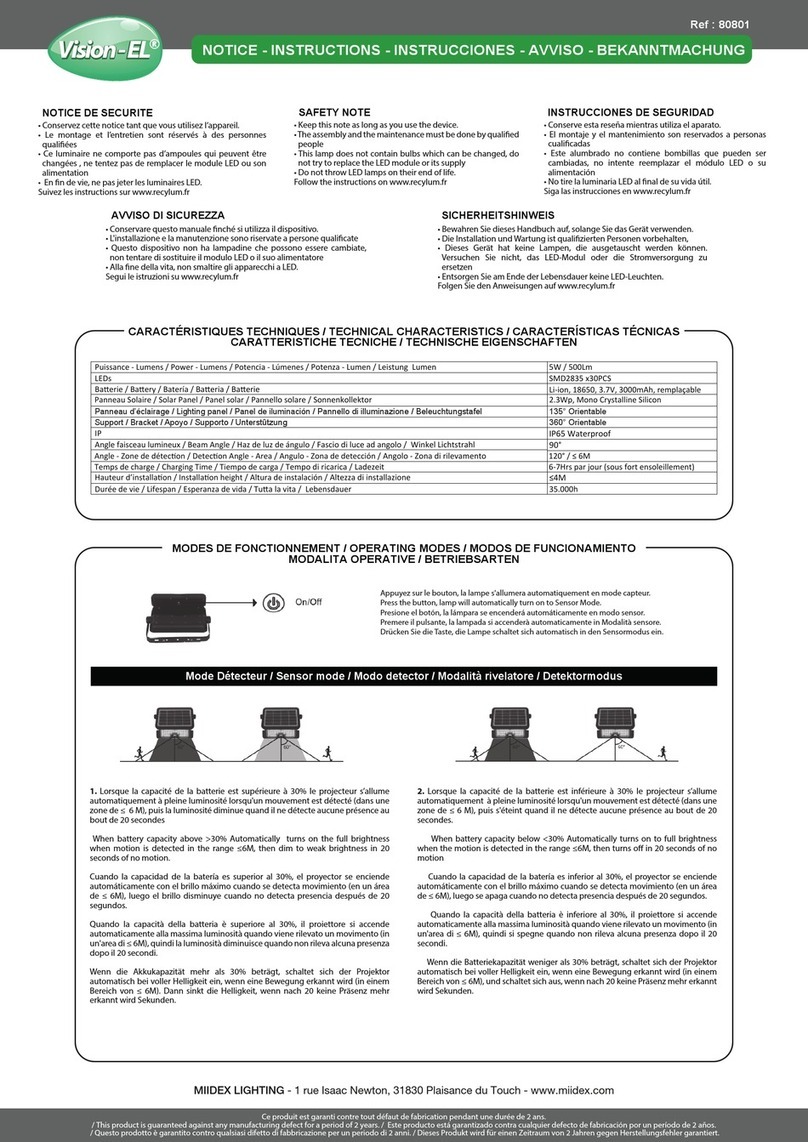
aUto:To activate the sensor, move the switch to the Auto position. When someone enters the sensor’s
range at night and the area is in the dark, the lights will turn on automatically. When the person leaves the
detection zone or stays still, the lights will turn o after about 10 seconds to preserve the batteries. Note: if
the area is well-illuminated by other lights, the sensor will not activate the lights.
off:Move the switch here to keep the lights o indefinitely.
on:Move the switch here to keep the lights on until you manually turn them o or the batteries drain.
When placing it on the floor, open the lights to face the front and with the pedestal
part down as shown in the right figure. Use it by adhering the supplied metal plate
to the magnet of the pedestal. If you are placing it on the floor with the lights open,
you must use the metal plate to prevent the light from tipping over.
SPECIFICATIONS
LED
Battery
Battery Life
Sensor Mode
Stay-ON Mode
Detecting Method
Field of Detection
Auto (Sensor) Mode
Lights’ Movability
Rainproof benchmark
Size
Body (folded)
Body (lights extended)
Tripod (height)
Weight
Accessories
High-luminance white 0.75W x 2 (170 lm); not replaceable
AA-size alkaline x 3 (Rechargeable batteries can also be used)
About 120 days (turning on briefly 10 times per day)
About 4.5 hours
Passive infrared sensor
Max 100° at 13' (4 m) with 6.5' (2 m) height
Sensor triggers light for about 10 sec.
Pivots 180°; rotates a total of 270°
IP43
3.5˝x 4.4˝x 4˝(9 x 11.3 x 10.2 cm)
8.5˝x 4.4˝x 4˝(21.6 x 11.3 x 10.2 cm)
5.1˝(13 cm) adjustable
7.1 oz. (200 g) excluding batteries and tripod
Metal plate, mounting screw, concrete plug
EQBPL092
USER GUIDE
EQBPL092
USER GUIDE

page 6
HELP
Thank you for purchasing an EQUIPT product! We appreciate your business and strive to make your
experience the best possible. If you have any issues with your product, please contact us at
WARRANTY
This Limited Warranty applies to physical goods sold by EQUIPT and lasts for a period of 90 days from
the date of sale of the device.
This Limited Warranty covers any manufacturing defects to the device or accessories encountered by
normal use. This warranty does NOT cover damages resulting from improper use of the device (including
the use of incompatible accessories such as chargers, storage devices, etc.), unauthorized modifications
to the device, negligence, or from any environmental or natural disasters, or from loss or theft. This
warranty requires proof of sale of the device from EQUIPT or from approved resellers only.
Devices that are covered will be repaired or replaced at EQUIPT’s discretion. Devices requiring
replacement will be fulfilled with a new or refurbished unit, or a similar unit if the original unit is no
longer available.
To take advantage of our warranty, please go to www.getequipt.com/return-policy/ and review our
returns policy. If your device meets the above guidelines as well as the guidelines on our website, please
click the button to proceed to the Return Authorization Form. In the event our online guidelines
change, this warranty will supersede any newer changes. Once you have filled out the Return Merchant
Authorization form, please wait for instructions. The date the form is filled out must not exceed 90 days
from the date of sale.
EQBPL092
USER GUIDE
