Equity 31022V2 User manual

Page 3Page 2
1INCH INSTASET
ALARM CLOCK
MODEL: 31022V2
DC: 110921
POWER UP
1. Open the Battery Cover located on the bottom of the clock.
2. Insert 2 “AAA” Batteries (not included) according to polarity.
3. Replace Battery Cover.
INSTA-SET TIME
After inserting batteries, the clock will automatically set the time and date according
the Pacific Standard Time Zone. Simply select your time zone for correct time.
1. Hold TIME ZONE button. The Time Zone Indicator (P,M, C, or E) will flash.
2. Press TIME ZONE button to select your time zone.
P =Pacific Standard Time
M= Mountain Standard Time
C = Central Standard Time
E = Eastern Standard Time
3. Hold the TIME ZONE button, or wait 10 seconds to return to your normal
time display.
DAYLIGHT SAVING TIME (DST) SETTING
1. If you live in an area that observes Daylight Saving Time, make sure to have the
DST ON/OFF Switch set to the ON position. The clock will automatically adjust
your time on the dates needed.
2. If your area does not observe Daylight Saving Time, keep the DST ON/OFF
Switch in the OFF position.
Note: The DST Indicator will appear on the LCD when the DST ON/OFF Switch is in
the ONposition.
ALARM TIME SETTING & OPERATION
Hold down the button until the display changes.
1. Press the HOUR button to set your alarm hour.
Note: The PM Indicator will appear when you advance to PM time.
2. Press the MINUTE button to set your alarm minutes.
3. When the correct alarm time is shown on the display, press the button.
4. Move the ALARM ON/OFF switch to the ON position to turn the alarm on.
Note: The Alarm Indicator will appear when the alarm is on.
5. To silence the alarm for 24 hours, press any button except SNOOZE/LIGHT, and
the alarm indicator will continue to show and the alarm will sound the next day.
6. To permanently turn o a sounding alarm, move the ALARM ON/OFF switch to
the OFFposition.
SNOOZE
When alarm sounds, press the SNOOZE/LIGHT button to silence alarm for
5minutes. Snooze function can be repeated many times if desired.
ON-DEMAND BACKLIGHT
Press the SNOOZE/LIGHT button to activate the display backlight. The backlight
will stay on for 7 seconds each time it is pressed.
MANUAL TIME & CALENDAR SETTING
1. Hold SET button until the display changes. The Time will flash. Press the HOUR
button to set your hour. Note: The PM Indicator will appear when you advance to
PM time.
2. Press the MIN button to set your minutes. Press the SET button to confirm.
4. The Year digits will flash. Press the YEAR button to set your year. Press the SET
button to confirm.
5. The Month and Date digits will flash. Press the MONTH Button to set your month.
6. Press the DATE button to set your date. Press the SET button to confirm and exit.
12 HOUR OR 24 HOUR TIME
Press the TIME ZONE (12H/24H) button to change from 12-hour to 24-hour time
format.
POWER REQUIREMENTS & DIMENSIONS
Requires: 2 “AAA” batteries (not included)
Dimensions: 3.93" L x 2.75" W x 2.36" H
9.98 cm L x 6.99 cm W x 5.99 cm H

Page 6Page 5Page 4
WARNING:
1. This product contains a Button Cell Battery.
2. If swallowed, it could cause severe injury or death in just 2 hours.
3. Seek medical attention immediately.
SAFETY INSTRUCTIONS
1. Read Instructions: All the safety and operating instructions should be read before the appliance is operated.
2. Retain Instructions: The safety and operating instructions should be retained for future reference.
3. Water and Moisture: The appliance should not be used near water - for example, near a bathtub, washbowl,
kitchen sink, laundry tub, in a wet basement, or near a swimming pool.
4. Ventilation: The appliance should be situated so that its location or position does not interfere with its
proper ventilation. For example, the appliance should not be situated on a bed, sofa, rug or similar surface
that may block the ventilation openings, or place in a built-in installation such as a bookcase or cabinet that
may impede the flow of air through the ventilation openings.
5. Heat: The appliance should be situated away from heat sources such as radiators, heat registers, stoves, or
other appliances (including amplifiers) that produce heat.
6. Power Sources: The appliance should be connected to a power supply only of the type described in the
operating instructions or as marked on the appliance.
7. Grounding or Polarization: Precautions should be taken so that the grounding or polarization means of an
appliance are not defeated.
8. Cleaning: The appliance should be cleaned only as recommended by the manufacturer.
9. Object and Liquid Entry: Care should be taken so that objects do not fall and liquids are not spilled into the
enclosure through openings.
10. Damage Requiring Service: The appliance should be services by qualified service personnel when:
A. Objects have fallen, or liquid has been spilled into the appliance; or
B. The appliance has been exposed to rain; or
C. The appliance does not appear to operate normally or exhibits a marked change in performance; or
D. The appliance has been dropped, or the enclosure damaged.
11. Servicing: The user should not attempt to service the appliance beyond that described in the operating
instructions. All other servicing should be referred to qualified service personnel.
Please help in the preservation of the environment and return used batteries to an authorized
depot. Remove the battery from the clock if you do not intend to use it for an extended period
of time.
Warning: Changes or modifications to this unit not expressly approved by the party responsible for
compliance could void the user’s authority to operate the equipment.
WARNING - KEEP BATTERIES OUT OF REACH OF CHILDREN
1. Swallowing may lead to serious injury or death in as little as 2 hour, due to chemical burns and potential
perforation of the esophagus.
2. If you suspect your child has swallowed or inserted a button battery, immediately seek urgent
medical assistance.
3. Examine devices and make sure the battery compartment is correctly secured, e.g. that the screw or
other mechanical fastener is tightened.
4. Do not use if compartment is not secure.
5. Dispose of used button batteries immediately and safely. Flat batteries can still be dangerous.
6. Tell others about the risk associated with button batteries and how to keep their children safe.
WARRANTY & SUPPORT
Equity provides a 2-year limited warranty on this product from the date of consumer purchase against defects
for material and workmanship. During this period such defects will be repaired, or the product will be replaced
at Equity’s option, without charge. This warranty does not cover damage caused by misuse or negligence.
ALL IMPLIED WARRANTIES, INCLUDING BUT NOT LIMITED TO IMPLIED WARRANTIES OR FITNESS AND
MERCHANTABILITY, ARE LIMITED IN DURATION TO A PERIOD ENDING TWO YEARS FROM DATE OF
PURCHASE.
Some states do not allow limitations on how long an implied warranty lasts so the above limitation may not
apply to you. This warranty gives you specific legal rights and you may also have other rights which vary from
state to state.
FCC STATEMENT
This equipment has been tested and found to comply with the limits for a Class B digital device, pursuant
to part 15 of the FCC Rules. These limits are designed to provide reasonable protection against harmful
interference in a residential installation. This equipment generates, uses and can radiate radio frequency
energy and, if not installed and used in accordance with the instructions, may cause harmful interference to
radio communications. However, there is no guarantee that interference will not occur in a particular installation.
If this equipment does cause harmful interference to radio or television reception, which can be determined by
turning the equipment o and on, the user is encouraged to try to correct the interference by one or more of
the following measures:
Reorient or relocate the receiving antenna.
Increase the separation between the equipment and receiver.
Connect the equipment into an outlet on a circuit dierent from that to which the receiver is connected.
Consult the dealer or an experienced radio/TV technician for help.
This device complies with Part 15 of the FCC Rules. Operation is subject to the following two conditions:
(1) This device may not cause harmful interference, and
(2) This device must accept any interference received, including interference that may cause undesired
operation.
Caution!
Any changes or modifications not expressly approved by the party responsible for compliance could void the
user’s authority to operate the equipment.
All rights reserved. This manual may not be reproduced in any form, even in part, or duplicated or processed
using electronic, mechanical or chemical process without the written permission of the publisher.
This booklet may contain errors or misprints. The information it contains is regularly checked and corrections
are included in subsequent editions. We disclaim any responsibility for any technical error or printing error, or
their consequences.
All trademarks and patents are recognized.
This product can expose you to chemicals including styrene, which is known in the State of California to cause
cancer. For more information, go to: www.P65Warnings.ca.gov
WARNING:
Battery Replacement Instructions
When batteries of dierent brand or type are used together, or new and old batteries are used together, some
batteries may be over-discharged due to a dierence of voltage or capacity. This can result in venting, leakage,
and rupture and may cause personal injury.
•Always purchase the correct size and grade of battery most suitable for the intended use.
•Always replace the whole set of batteries at one time, taking care not to mix old and new ones, or batteries
of dierent types.
•Clean the battery contacts and also those of the device prior to battery installation.
•Ensure the batteries are installed correctly with regard to polarity (+ and -).
•Remove batteries from product during periods of non-use. Battery leakage can cause corrosion and damage
to this product.
•Remove used batteries promptly.
•For recycling and disposal of batteries, and to protect the environment, please check the internet or your
local phone directory for local recycling centers and/or follow local government regulations.
If your product is not working properly, please send: your product, a letter explaining the problem, and $5.00
for postage and handling to:
Equity by La Crosse Warranty Department
2830 26th St S.
La Crosse, WI 54601
For Full Warranty Details, Visit: www.lacrossetechnology.com/support
Support: bit.ly/contact_techsupport
JOIN THE CONVERSATION
Ask questions, watch detailed setup videos, and provide feedback on our LaCrosse
Technology social media outlets!
This manual suits for next models
1
Other Equity Alarm Clock manuals
Equity
Equity 30902 User manual
Equity
Equity 40001 User manual
Equity
Equity 75903 User manual
Equity
Equity 30227 User manual
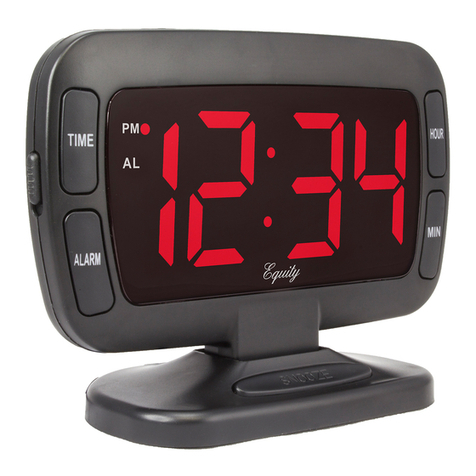
Equity
Equity 30016 User manual

Equity
Equity 30024 User manual
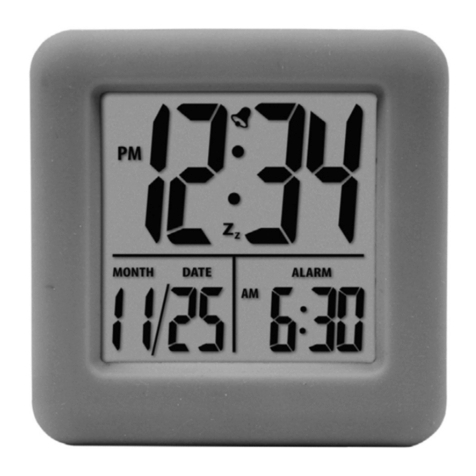
Equity
Equity 73002 User manual
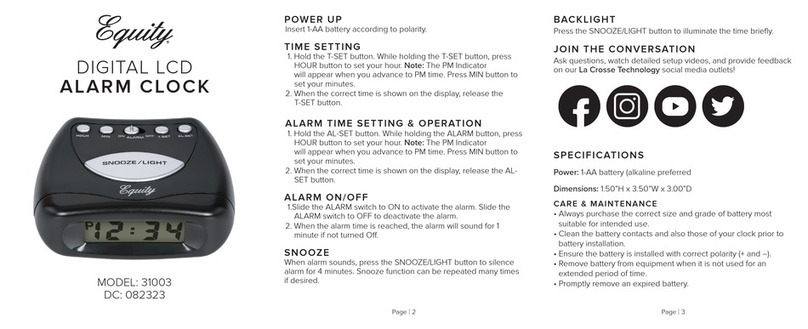
Equity
Equity 31003 User manual
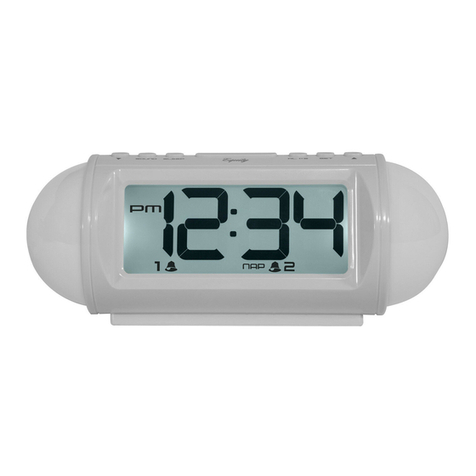
Equity
Equity 31112 User manual

Equity
Equity nightvision 21103 User manual

Equity
Equity 31302 User manual

Equity
Equity 30037 User manual

Equity
Equity 20090 User manual
Equity
Equity 75905 User manual

Equity
Equity 30029-USB User manual

Equity
Equity 33100 User manual
Equity
Equity 40009 User manual

Equity
Equity NIGHT VISION 30330B User manual

Equity
Equity 30041 User manual
Equity
Equity 31015 User manual

