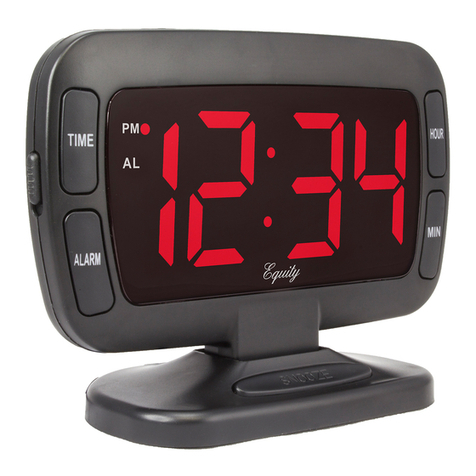
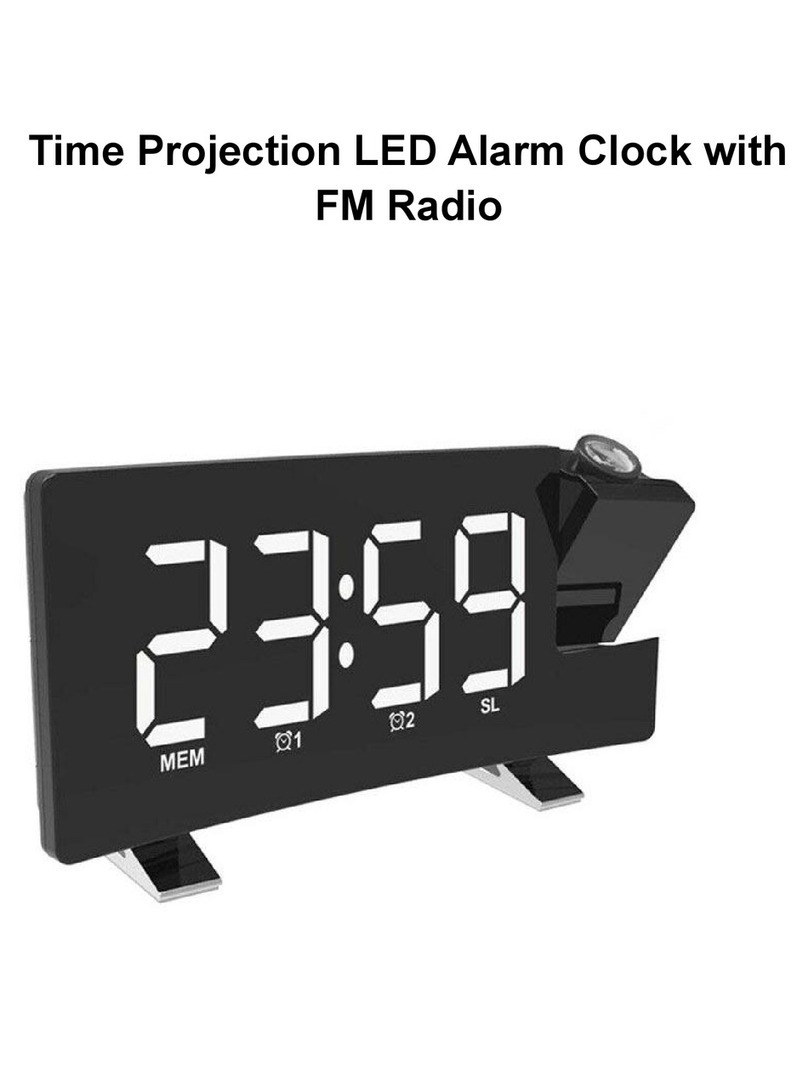
Equity 30024 User manual

Page 3 Page 4
Page | 2
.9-inch LED Alarm Clock
with USB Charging Port
Model: 30024 & 30025
DC: 011419
POWER UP
1. Insert the 120 volt power cord into an outlet, then into your
clock. Optional: Insert one 9 volt battery for backup.
2. 12:00 will flash as an indication to set the time and/or alarm.
TIME SETTING
1. Continuously hold down the TIME button, then:
• Press the HOUR button to set your hour.
• Press the MINUTE button to set your minutes.
Note: The PM indicator will appear when you advance to PM time.
2. Release the TIME button when the correct time is shown on the
display.
USB CHARGING PORT
• Connect your external device’s USB charging cable
(not included) to the USB charging port.
• USB Power Output: 5V 1A maximum current.
• Charge devices that are self-regulating.
TIME ALARM
ON: Slide the ALARM ON/OFF switch to the ON position to turn
the alarm ON. The alarm light indicator will appear.
OFF: Slide the ALARM ON/OFF switch to the OFF position to turn
the alarm OFF. The alarm light indicator will disappear.
ALARM ON/OFF
1. Continuously hold down the ALARM button, then:
• Press the HOUR button to set your hour.
• Press the MINUTE button to set your minutes.
Note: The PM indicator will appear when you advance to PM time.
2. Release the ALARM button when the correct alarm time is set.
SNOOZE
• When the alarm sounds press the SNOOZE/LIGHT button to
silence the alarm for 10 minutes.
• Snooze may be repeated.
Note: This is a Ascending alarm. It will sound with increased
frequency for 2 minutes then shut o if no buttons are pressed.
• Always purchase the correct size and grade of battery most
suitable for ntended use.
• Clean the battery contacts and also those of your clock prior to
battery installation.
• Ensure the battery is installed with correct polarity (+ and -).
• Remove battery from equipment when it is not used for an
extended period of time.
• Promptly remove an expired battery.
CARE & MAINTENANCE
BATTERY BACKUP
• Insert one “9V” battery into the battery compartment on the back
of the clock. The battery will keep the alarm and time settings
until the power is restored.
• The LED display will not light-up but the alarm will sound at the
preset alarm time.
• If there is no battery installed but the power is interrupted, the
display will flash at 12:00 and the time and alarm need to be set
again.
Power: 120V power cord
Requires one 9V battery for back-up not included
Dimensions: 5.00 ”W x 2.00”D x 2.85”H
POWER REQUIREMENTS
BACKLIGHT
Your backlight has three levels: High, Low , and Off.
• Press the SNOOZE/LIGHT button to adjust.
Table of contents
Other Equity Alarm Clock manuals

Equity
Equity nightvision 21103 User manual
Equity
Equity 31022V2 User manual

Equity
Equity 75905 User manual
Equity
Equity 40009 User manual

Equity
Equity 20090 User manual

Equity
Equity 31015 User manual
Equity
Equity 70902 User manual

Equity
Equity 30029 User manual
Equity
Equity 73002 User manual

Equity
Equity NIGHT VISION 30330B User manual

Equity
Equity 30037 User manual

Equity
Equity 30029-USB User manual

Equity
Equity 33100 User manual
Equity
Equity 31112 User manual
Equity
Equity 75903 User manual
Equity
Equity 31003 User manual

Equity
Equity 31038 User manual

Equity
Equity 25655 User manual
Equity
Equity 30227 User manual
Equity
Equity 30902 User manual
