5
Operators Manual ES-643P
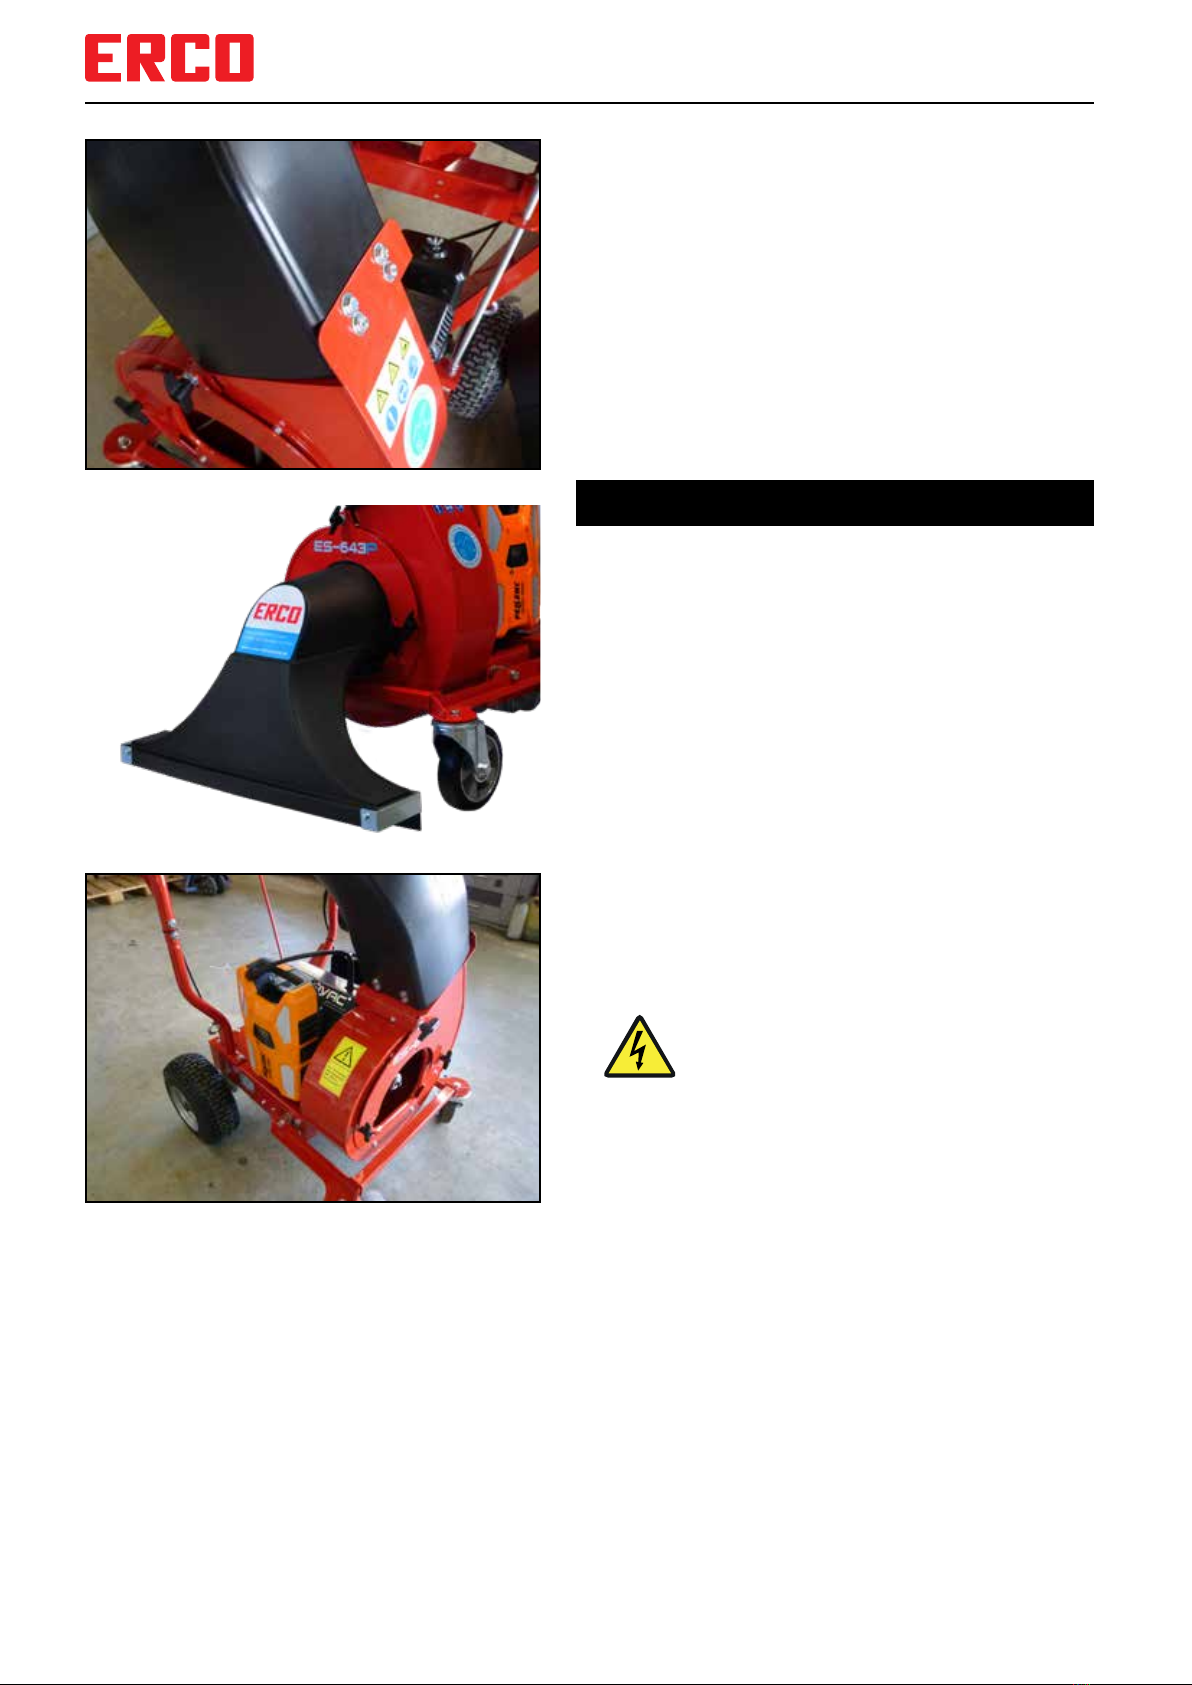
Intended use
The device is suitable as a leaf and waste vacuum clean-
er. Any other use is considered improper and is prohibited.
The manufacturer is not liable for any damage resulting
from this; the risk for this is borne solely by the user.
Intended use also includes the operating and main-
tenance conditions prescribed by the operating and
maintenance conditions prescribed by the manufacturer.
Possible misapplication
Do not vacuum wires, cables or heavy stones. Damage
to the machine and/or injury may result from propelling.
Do not push objects under the suction nozzle with your
foot under the suction nozzle. (Risk of injury!)
Do not suck in any objects that could cause the blower
to block (material damage!).
General sources of danger
Application and operation
Before starting work, the unit including all attachments
must be checked for proper condition and operational
safety.
The operator must use the device as intended.
The device may only be operated by persons who have
been instructed in its use or who have proven their ability
to operate it and who have been expressly authorized
to use it.
All protective devices must be properly attached and
functioning.
Never leave the machine unattended.
When leaving the machine, turn key switch to “OFF”,
remove key and secure the machine against accidental
movement.
Never operate the machine without a collecting bag.
The operator is responsible for accidents involving other
persons or their property.
Product-specic hazards
Do not suck in highly flammable substances or hot
objects (e.g. ashes, barbecue charcoal) (danger to life
from burns).
Dangers due to battery voltage
Only Pellenc batteries with the designation ULIB-1500
may be used. The safety regulations can be found in the
Pellenc battery operating instructions!
Defective or faulty batteries must be removed from the
device immediately and stored in a re-proof location!
Contact your Pellenc dealer immediately!
Dangers when driving
Only slopes up to a maximum of 20% may be driven on.
Special care must be taken when driving across the slope
(danger of tipping over).
Dangers for children, senior persons and animals
The operator must pay attention to the local conditions,
aswellastonoiseeectsonpersonsandanimals.
The device must never be parked on a slope.
Children, elderly persons and animals must not be in the
area near the machine.
Children must not play with the machine
Maintenance
Cleaning, repair and maintenance work as well as the
elimination of malfunctions may only be carried out when
the motor is shut down.
Set the key switch to “OFF” and remove the key.
The unit must not be cleaned with a water hose or
high-pressure cleaner (risk of short circuits or other
damage).
Observe the safety inspection according to the locally
applicable regulations for mobile commercially used
devices.
Always carry out work on the machine with suitable work
tools.
Only use original spare parts from the manufacturer.
Personnel and user qualication
Persons with reduced physical, sensory or mental capa-
bilities or lack of experience and/or knowledge are not
allowed to use the device unless a person responsible
for their safety supervises the operation or instruction.
Young persons under 16 years of age are prohibited from
operating the device.
The user’s ability to react must not be impaired, e.g. by
drugs, alcohol or medication.
The operator must have been instructed in the use of
the device.
The operator must be familiar with the instructions in the
operating manual.
Safety instructions