manuals.online logo
Brands
  1. Home
  2. •
  3. Brands
  4. •
  5. Ergo
  6. •
  7. Indoor Furnishing
  8. •
  9. Ergo PrimeCables Cab-PC-08255 User manual

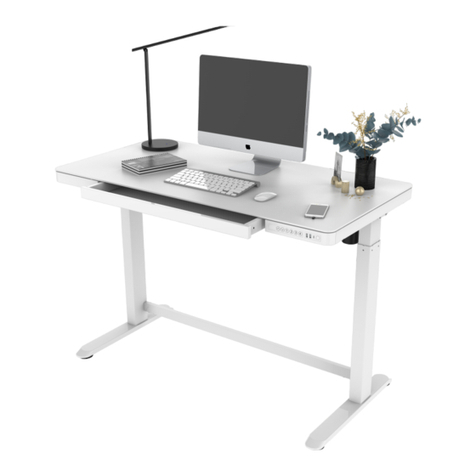
Ergo PrimeCables Cab-PC-08255 User manual

This manual suits for next models

1

Other Ergo Indoor Furnishing manuals

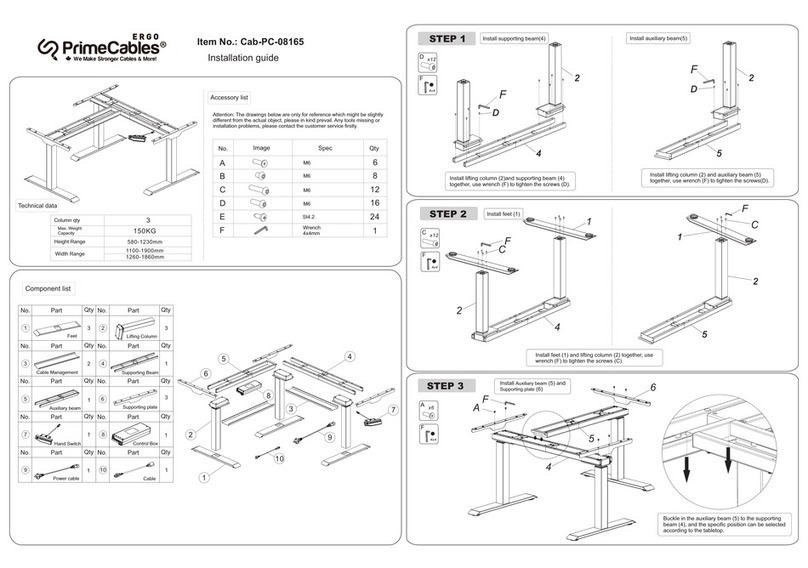
Ergo PrimeCables Cab-PC-08211 User manual

Ergo

Ergo PrimeCables Cab-PC-08211 User manual

Ergo PrimeCables Cab-PC-08267 User manual

Ergo

Ergo PrimeCables Cab-PC-08267 User manual

Ergo PrimeCables Cab-PC-08238 User manual

Ergo

Ergo PrimeCables Cab-PC-08238 User manual

Ergo PrimeCables Cab-PC-08164 User manual

Ergo

Ergo PrimeCables Cab-PC-08164 User manual

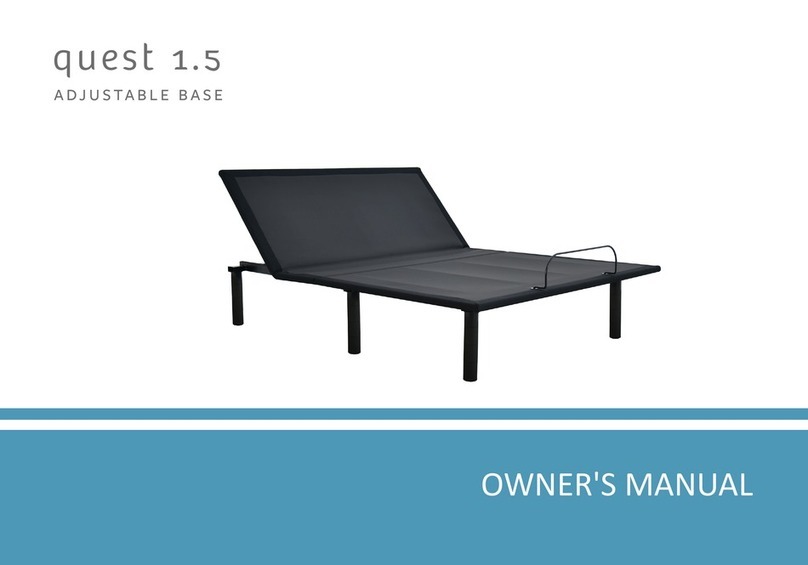
Ergo quest 1.5 User manual

Ergo

Ergo quest 1.5 User manual

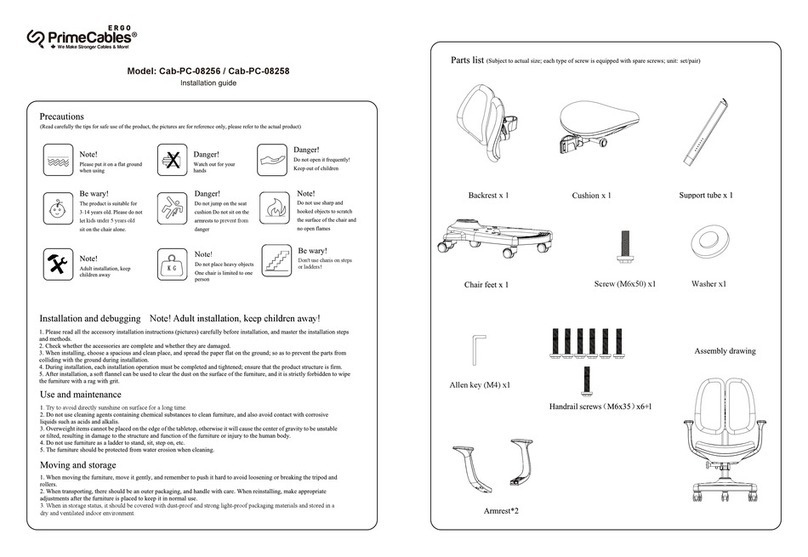
Ergo PrimeCables Cab-PC-08256 User manual

Ergo

Ergo PrimeCables Cab-PC-08256 User manual

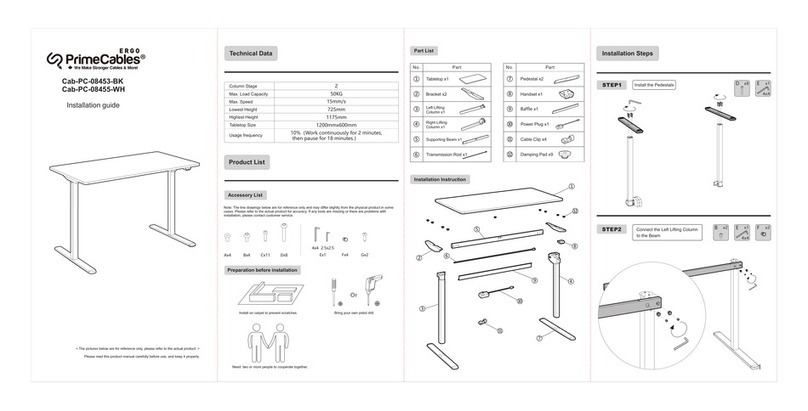
Ergo PrimeCables Cab-PC-08453-BK User manual

Ergo

Ergo PrimeCables Cab-PC-08453-BK User manual

Popular Indoor Furnishing manuals by other brands

Regency LWMS3015 Assembly instructions

Regency

Regency LWMS3015 Assembly instructions

Furniture of America CM7751C Assembly instructions

Furniture of America

Furniture of America CM7751C Assembly instructions

Safavieh Furniture Estella CNS5731 manual

Safavieh Furniture

Safavieh Furniture Estella CNS5731 manual

PLACES OF STYLE Ovalfuss Assembly instruction

PLACES OF STYLE

PLACES OF STYLE Ovalfuss Assembly instruction

Trasman 1138 Bo1 Assembly manual

Trasman

Trasman 1138 Bo1 Assembly manual

Costway JV10856 manual

Costway

Costway JV10856 manual

moss DESIGN Caisson Credenza Assembly instructions

moss DESIGN

moss DESIGN Caisson Credenza Assembly instructions

Aquaglide FULL DECK 15.0 owner's manual

Aquaglide

Aquaglide FULL DECK 15.0 owner's manual

AREBOS AR-HE-SW30 user manual

AREBOS

AREBOS AR-HE-SW30 user manual

Till-Hilft Fulda 87005.330 Assembly instructions

Till-Hilft

Till-Hilft Fulda 87005.330 Assembly instructions

Twoey Outside 2010 quick start guide

Twoey Outside

Twoey Outside 2010 quick start guide

Hettich Easys 200 operating instructions

Hettich

Hettich Easys 200 operating instructions

The bedboss RELAX 404 Series owner's manual

The bedboss

The bedboss RELAX 404 Series owner's manual

Oeseder Möbelindustrie Bern 991 720 Assembly instructions

Oeseder Möbelindustrie

Oeseder Möbelindustrie Bern 991 720 Assembly instructions

Costway HW68469 user manual

Costway

Costway HW68469 user manual

Next ALIX A27743 Assembly instructions

Next

Next ALIX A27743 Assembly instructions

BROSA Hans Assembly guide

BROSA

BROSA Hans Assembly guide

Prodigg MINIKA PBA015T-FUR installation manual

Prodigg

Prodigg MINIKA PBA015T-FUR installation manual

manuals.online logo
manuals.online logoBrands
  • About & Mission
  • Contact us
  • Privacy Policy
  • Terms and Conditions

Copyright 2025 Manuals.Online. All Rights Reserved.

2
1
3
4
7
9
Ax4
D
5x5
Ax4
M8 5x5
Bx1
4
2
D
A
x4
M5 3x3
x1
5
6
10
11
D
D
5x5
CX8
ST4.2
1 2 3
4 5 6
7 8 9
11 1
2
4
1 1
1 1
10 11 1 412 1
13 1
8
12
13
x4
B
3x3
DB
D
5
2
6
1
7
7
2
CX8
C
13
14
ST4.2
14 2
14
40KG(including 10KG for schoolbag hooks)
15mm/s
100-240V
550mm
890mm
length1000mm
0~40°C
2
width500mm
Function Description Schoolbag hook can hang schoolbags or heavy
objects weighing less than 10KG
Feet
Left
support plate
Lids Adapter
Cable clip
Power cable
Adapter bracket
Right
support plate
Desktop Desk
frame
Protective
cover
Hand-switch
Adapter cable
Install the feet
Connect the feet (4) with screws (A) to the desk frame(2), and lock
them with a 5 x 5 allen key (D).
Note! Only adults are allowed to install,
children should not be near
Pay attention to install the orientation of the
table legs as shown in the figure, and the two
table legs are facing the same direction.
Install left and right
support plates
Install desktop, handle
and adapter bracket
Install the left and right support plates (5) (6) on the desk frame (2),
and tighten the screws (B) with a allen key (D)
Note that the long side direction and the feet
must be consistent when the support plate is installed
Long side to long side
Note that the adapter bracket is on the
right side of the mounting hole
Mounting
holes
Deduct
First buckle the adapter bracket (7) into the desk frame (2) and then
screw the desk frame (2) on the desktop (1) with screws (C), the hand-switch
(13) and screws (14) on the desk top (1) Go up and tighten with a pistol drill.
Model: Cab-PC-08255 / Cab-PC-08257
Duty cycle
3
8
2
8
3
2
1
2
1
2
1 1
97
1
1
9
7
10
2
1
21 1
1 1
1 1
13
First buckle the four lids(8) into the beam of the desk
frame (2) and then into the protective cover (3)
Install the protective cover and lids
Deduct
Deduct
Connect each cable to the adapter
Cable clips (11) can be used to fix the cables
on the desktop to keep the cables tidy
Split it Cable
Management Fix it
Connect the power after the wiring is completed
Motor connection M1
interface
Adapter cable to DC
interface
Keep it away from children.
Common fault treatment
The following tips will help you detected and eliminate the common fault
and error. If the fault you met is not listed below, please contact with your
supplier. Only the manufacturer and professionals are capable for investigating
and correcting those fault and error.
Fault phenomenon Method
No response while long pressing
down arrow after connected with
a power supply
1.Check if all the cables be connected well
2.Contact your supplier or dealer
No response while pressing up
arrow/ down arrow after
connected with a power supply
Rising in a low speed
1.Check if overloaded, max loading: 40kg;
2.Contact your supplier or dealer
The motor not move as instructed 1. Contact your supplier or dealer
1.Reposition
2.Contact your supplier or dealer
Go down but not go up
Downward sliding
Self-Reset
Overwork
(Duty cycle:Max 2min on/18min OFF)
1.Restart after suspend for 18mins while
connecting with power;
2.Contact your supplier or dealer;
Attention
1. Power supply: AC100V-240V,50/60Hz
2. Service Environment: 0-40℃
3. Unplug the power plug before cleaning, wipe the dust on surface with slight wet
dishcloth when cleaning, be careful not to let the drops into the internal parts, not loose
the connector.
4. The electric box contains electronic components, metals, plastics, wires etc., so
dispose of it in accordance with each country's environmental legislation, not the
general household waste.
5. Check carefully to ensure correct and complete assembly before using.
6. Be familiar with all functions and program settings of the product before first use.
7. Children are forbidden to play on the desk as the behavior is unpredictable.
Manufacturer is not responsible for loss, injury, or damage due to those improper
action.
8. Slight noise caused by the V-ribbed belt or brake system due to structure will not
have any effect on the use of the equipment.
9. Corrosive or abrasive materials are forbidden to clean the equipment. Must ensure
that the cleaner used will not pollute the environment.
10. This appliance can be used by children aged from 8 years and above and persons
with reduced physical, sensory or mental capabilities or lack of experience and
knowledge if they have been given supervision or instruction concerning use of the
appliance in a safe way and understand the hazards involved. Children shall not play
with the appliance.
11. Cleaning and user maintenance shall not be made by children without supervision.
12. If the supply cord is damaged, it must be replaced by the manufacturer, its service
agent or a similarly qualified person in order to avoid a hazard.
13. Please make sure there is no hazard sources in your operating environment. e.g.,
do not litter the tools around. Always be careful to treat the packaging materials in order
to avoid any possible danger, e.g. plastic bag may lead to choking hazard to children.
14. Keep the original package of the equipment if necessary in case of the future use in
transportation.
Waste disposal This marking indicates that this product should
not be disposed with other household wastes.
To prevent possible harm to the environment or
human health from uncontrolled waste disposal,
recycle it responsibly to promote the sustainable
reuse of material resources. To return your used
device, please use the return and collection
systems or contact the retailer where the
product was purchased. They can take this
product for environmental safe recycling.
Not enough up&down height
2.Contact your supplier or dealer.
1.Perform a reset operation;