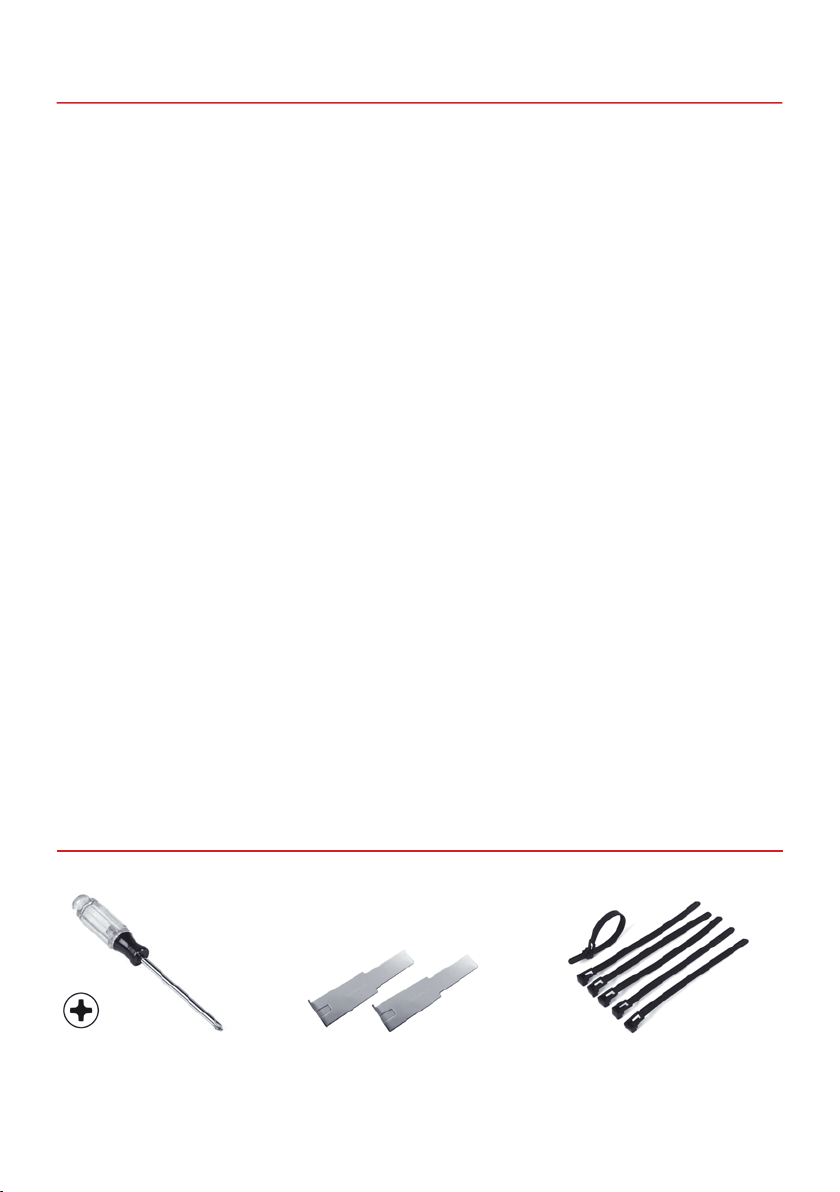
7
INSTALLATION HINTS
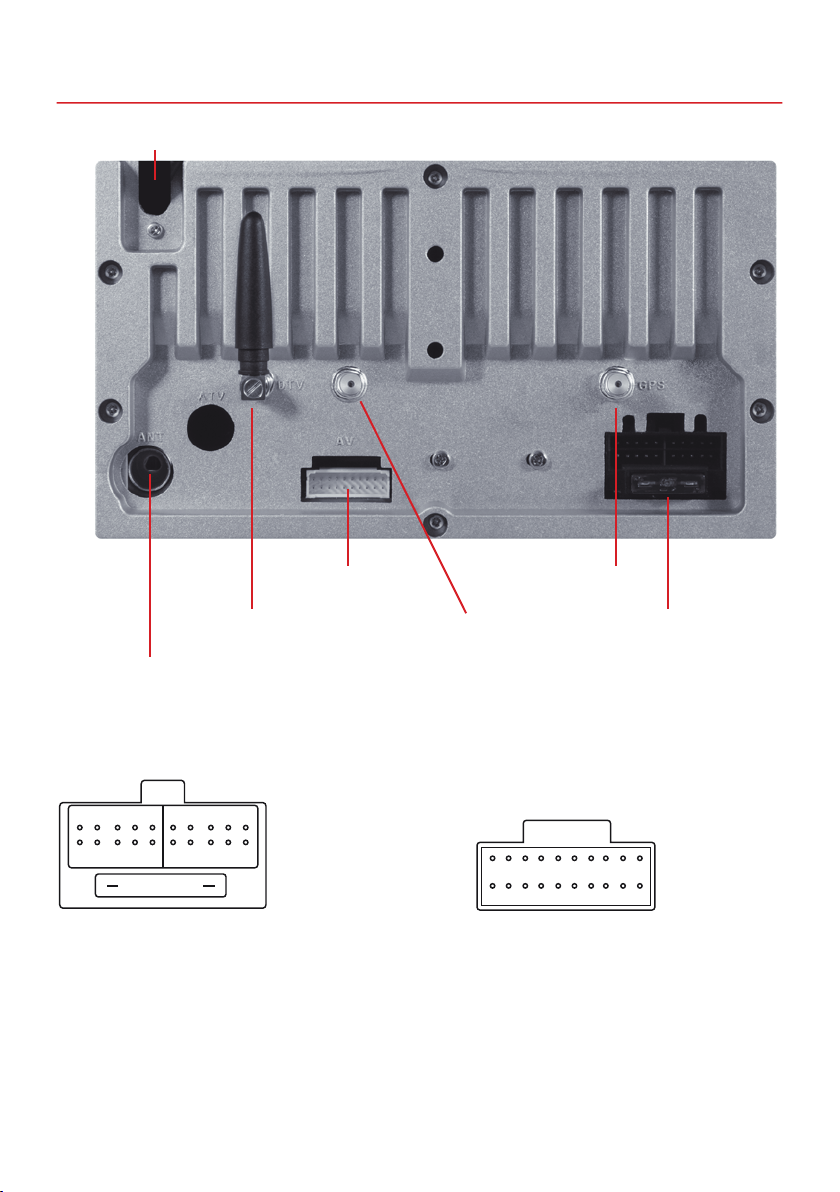
GPS antenna:
The GPS antenna must be mounted horizontally in front on the dashboard (ensure a clear view to the sky). A
metalized windscreen allows no reception. If a factory GPS antenna with the same connector type is already
available, it can be used. Then the installation of the included GPS antenna is not necessary.
DAB antenna:
Lay the adhesive DAB antenna to the windshield and fasten it there.
USB ports:
Lay the USB cables to the desired location, such as in the glove compartment. If necessary, openings have
to be drilled for this purpose.
Handbrake connection:
Depending on the type of vehicle the CAN-BUS sends the information of the handbrake signal to the ESX
device. If this is not the case, the included cable needs to be connected. The signal must be connected with
ground while the handbrake is applied. Please contact for a proper and safe installation your car dealer!
According to legal regulations, the device must playback a DVD or video on the main screen only with the
handbrake applied, Never connect the cable permanently with the vehicle‘s ground. To prevent accidents by
inattention while driving, the screen is blanked. The video outputs (10) are not affected.
If the device stops responding to input, the system is overloaded or crashed. Then reboot the system by
pressing the reset button (RST) on the front panel. Use a suitable object, such as a paper clip or a ballpoint
pen. After pressing the reset button, the system restarts without losing your previous settings.
RESET BUTTON