The chimney can be checked, before the appliance is installed, with a smoke match. If the chimney doesn’t pull the
smoke it may suggest the chimney needs attention.
Two flue draught readings should be taken, one with the appliance at minimum firing rate and one at maximum
firing rate. The flue draught test hole must be drilled in the flue pipe as close to the appliance as possible and before
any flue draught stabiliser.
Minimum reading: The appliance should be lit and allowed to warm the flue thoroughly. Close the air slider control,
thermostat control and the flue box door and ensure firebox door is fully closed. Allow the burning rate to become
steady. The flue draught reading should now be taken; the minimum required is 12 Pascals [Pa] (0.05’’ w.g.).
Maximum reading: The air slider control can now be opened to allow the appliance to burn at maximum rate, and the
firebox door open on the first catch. Keep the flue box door closed. Take a flue draught reading.
Ideally, the flue draught readings should range between 12Pa, 0.12mm (0.05’’ w.g.) and 24Pa, 2.5mm (0.1’’ w.g.).
Any readings significantly outside this range may indicate the need for remedial action. Low flue draught symptoms:
difficult to light and smoke coming into the room. High flue draught and fuel burns away very quickly.
A flue stabiliser can be fitted to reduce the draught through the appliance if the draught is too high. The flue
stabiliser should be fitted in the same room as the appliance and be the same size as the flue pipe.
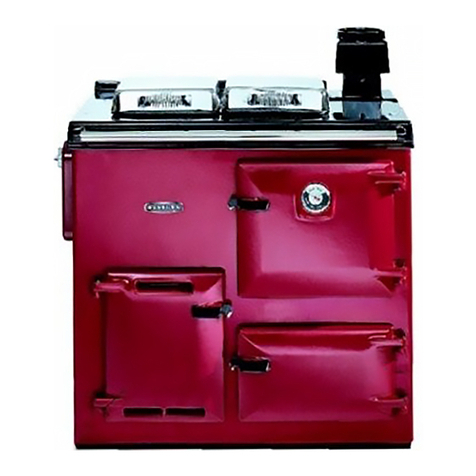
The appliance should be sited on non-combustible material.
The flue pipe used to connect the appliance to the chimney is 6’’ (150mm) in diameter. A 5-6’’ adaptor is supplied to
connect to the flue box of the range.
The flue connection is on the top of the appliance, in the centre at the back.
1. The installation must allow access for adequate chimney sweeping and flue cleaning.
2. Avoid using bends greater than 45º to the vertical. All flue pipe sections should be as close to the vertical as
possible.
3. All joints in the flue system must be effectively sealed.
4. All flue sockets must face upwards. On completing the installation of the appliance, the chimney, hearth and
walls adjacent to the cooker must conform to local or national regulations currently in force. In the United
Kingdom, the appropriate sections of the Building Regulations must be conformed to.
5. Air inlet grilles should be positioned so that they are not liable to blockage.
6. An air extraction device shall not be used in the same room as the appliance unless adequate additional
ventilation is provided.
The chimney/flue to which this appliance is being connected must be swept and examined for soundness
prior to installation. Remedial action should be taken if required, seeking expert advice if necessary. Where the
chimney is believed to have served an open fire installation it is possible that a higher flue gas temperature from a
closed appliance may loosen deposits that were firmly adhered, with the consequent risk of flue blockage. It is
7. A flue cleaning door should be fitted to provide access for cleaning the flue and chimney.
8. Check the appliance for soundness of seals between casting and main components and that all supplied parts
and fittings are correctly fitted.
9. Ensure the appliance is left operational and hand over the operating instructions and operating tools supplied.
10. Before leaving the installation demonstrate the operation of the appliance to the user. Explain all controls and
flue way access for cleaning.
