ETCR ETCR2000+ User manual


CONTENT
I. Attention.......................................................................................1
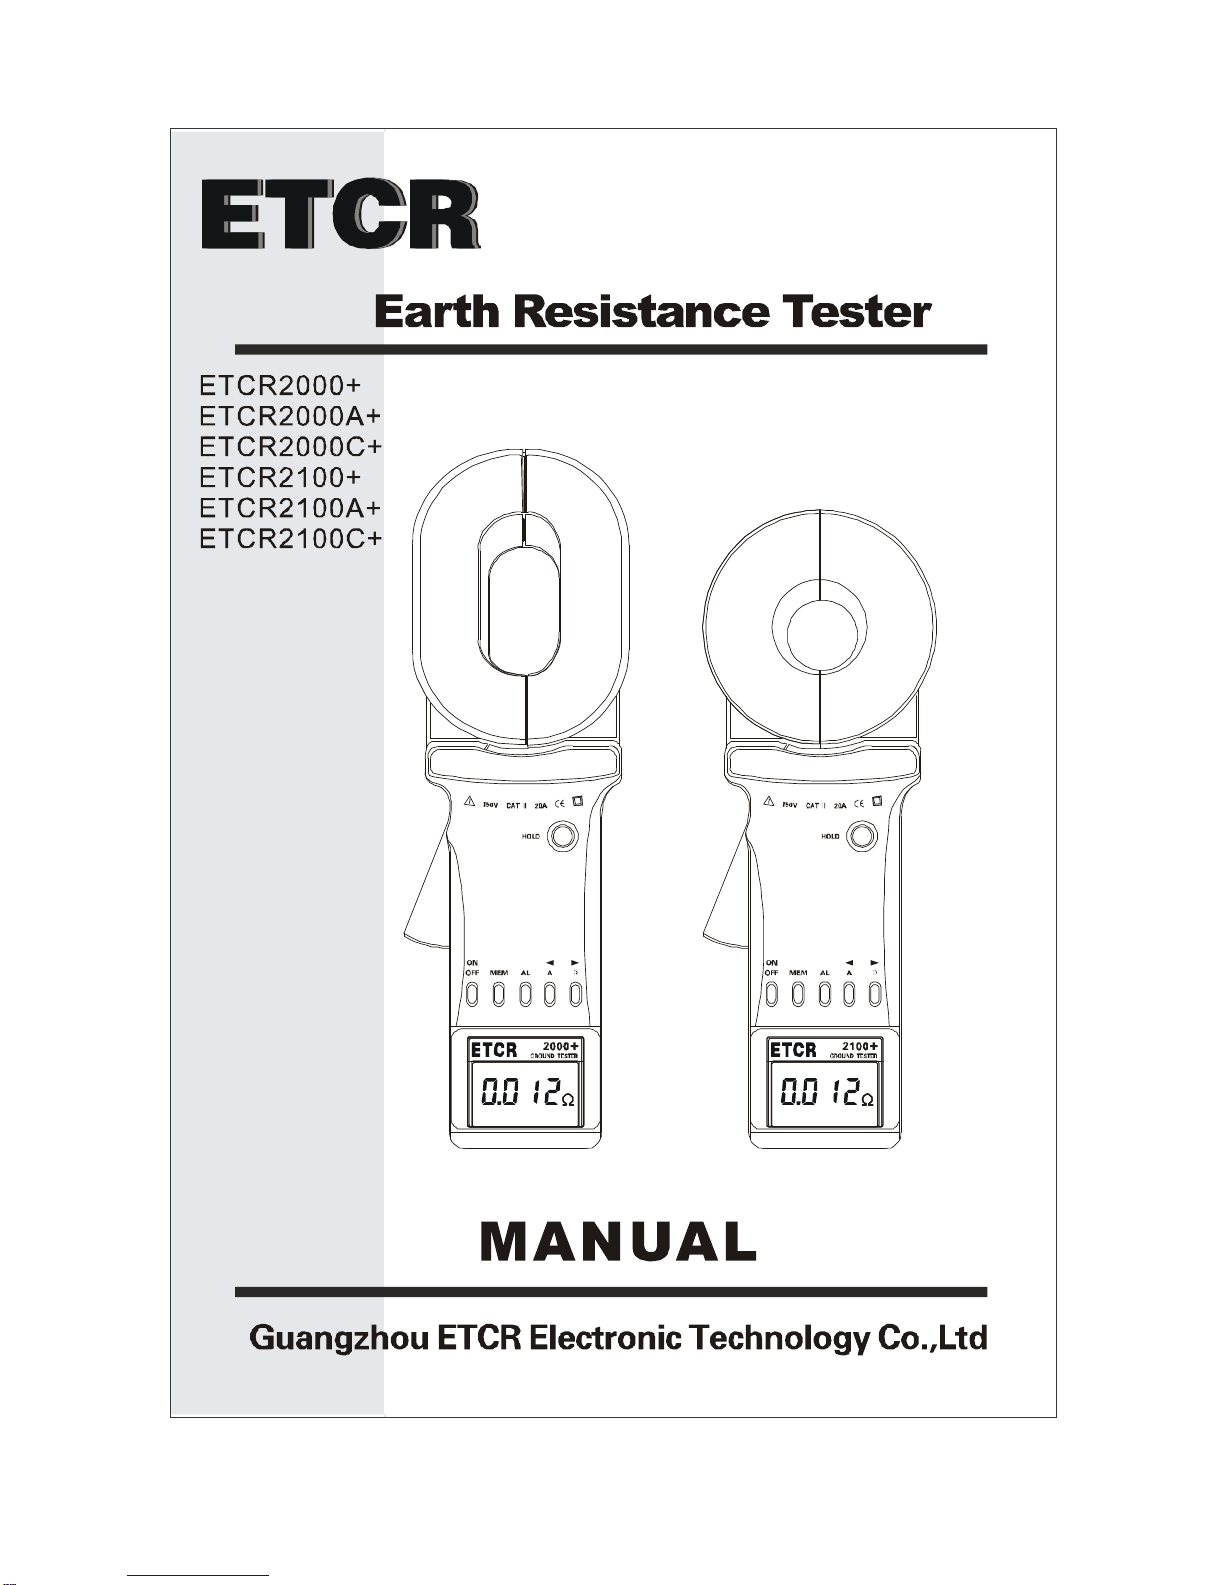
II. BriefIntroduction........................................................................3
III. Specification ..............................................................................5
1ModelofSeries..................................................................5
2. RangesandAccuracyofMeasurement..............................5
3. Specifications......................................................................6
IV. StructureofMeter......................................................................7
V. LiquidCrystalDisplay.................................................................8
1. LCD Screen.........................................................................8
2. Description ofSpecialSymbols...........................................9
3. ExamplesIllustrated..........................................................10
VI. OperatingMethod....................................................................11
1.Bootup................................................................................11
2Shutdown.........................................................................12
3ResistanceMeasurement................................................13
*4 Current Measurement....................................................14
5DateLock/Release/Storage.............................................15
6DataAccess.....................................................................16
7AlarmSettings.................................................................16
8Access toAlarmCriticalValue.........................................17
9ClearData........................................................................17
VII. Measurement Principle..........................................................18
1. PrincipleofResistanceMeasurement..............................18
2. PrincipleofCurrent Measurement....................................18
VIII. Measurement MethodofEarthResistance..........................19

1. Multi-Point GroundingSystem............................................19
2. Limited Point GroundingSystem........................................20
3. Single-Point GroundingSystem..........................................21
IX. Bill ofLoading..........................................................................24
X. PartsListand AssemblyDetails...............................................25
1. PartsList...........................................................................25
2.AssemblyDetails...............................................................26
XI.Troubleshooting......................................................................27

-1-
I. Attention
Thankyou forpurchasingthispincersearthtesterfromETCR
ElectronicTechnologyCompany. Inordertomakebetteruseofthe
product, pleasebecertain:
----Toreadthisusermanual carefully.
----Tocomplywiththeoperatingcautionspresentedin
thismanual.
1 Underanycircumstances, usetheMetershouldpayspecial
attentiontosafety.
2 Payattention tothe measurement rangeofthe Meterand the
usingenvironment provided.
3 Payattention tothe text labeled onthepaneland back plane
ofthe Meter.
4 Beforebootingup, the triggershouldbepressed for1-2times
toensurethe jawsarewell closed.
5 At Boottime, DO NOTpress the trigger, norclampanywire.
6 Beforethe autoinspection iscompleted and the "OL "
symbolsareshowed, the measured objectscannot be
clamped on.
7 Thejawplanescontact must bemaintained clean, and should
not bepolished withcorrosiveand roughmaterials.
8 Avoidanyimpact ontothisMeter, especiallythe Jawcontact
surface.
9 ThisMeterwill havesomebuzzingsound inmeasurement

-2-
process, and it isnormal.
10Themeasurement current ofthe wireshouldnotexceed the
upperlimit ofthe Meter.
11Pleasetakeout the batteriesinthe caseofthe Meterbeing
idleforalongtime.
12Thedismantling, calibration and maintenancethe Metershall
beoperated bytheauthorized staff.
13Ifthe continuinguseofit wouldbedangerous, theMeter
shouldbestopped usingimmediately, andimmediatelysealed
forthe treatment bythe authorized agencies.
14Thecontentsinthisusermanualmarked with"*"arelimited to
C+.

-3-
II. BriefIntroduction
Thisinstrumentwasdesigned bytechnicaldepartmentof
ETCR ElectronicTechnologyCompany.Itsperformanceismainly
reflected in:
uBreakthroughinself-test the boot alongtimetowait,start
immediatelyintothe test.
uBreakthroughrelayself-testmode,usingthe most
advanced processingalgorithmsand digitalintegration
technology,afullyintelligent.
uBreaktheoldproducttoheavyissues,moreinlinewith
characteristics ofhandhelddevices.
uNewdesign,paneloperation with6buttons,better
performance.
uAnincreaseofsoundand light alarm,"beep—beep--beep
--" alarmsound.
uIncreasetheinterferencesignalrecognition indicator.
uImproved anti-jammingcapabilityand test stability.
uStored data: 99Units.
uWiderrange: 0.01 -1200
uLowerpowerconsumption:Maximumoperatingcurrent
not exceeding50mA.
ETCR seriesofPincersEarthTesteriswidelyusedinthe
groundingresistancemeasurementofthe power,
telecommunications,meteorology,oilfield,construction and the

-4-
industrialand electricalequipment.
ETCR seriesofPincersEarthTester,inthe measurementof a
groundingsystemwithloopcurrent, doesnotrequirebreaking
downthe groundingwire,and neednoauxiliaryelectrode.Itissafe,
fast and simpleinuse.
ETCR seriesofPincersEarthTestercan measureoutthe
faultsbeyondthe reachofthe traditionalmethods,and canbe
applied inthe occasionsnotinthe rangeofthe traditionalmethods.
ETCR seriesofPincersEarthTestercan measurethe
integrated value ofthegroundingbodyresistanceandthe
groundinglead resistance.
ETCR seriesofPincersEarthTesterisequipped withalong
jaw,asindicated inthe figurebelow.Alongjawisparticularly
suitableforthe occasion ofgroundingwiththe flat steel.
Inaddition,
C+ PincersEarthTesterisalsoabletomeasurethe leakage
current and the neutralcurrent inthegroundingsystem.

-5-
III. Specification
1Model ofSeries
Model Jaw
Size
(mm)
Rangeof
Resistance
()
Rangeof
Current
(A)
Storage
Function
Alarm
Function
ETCR2000+ 65×32
0.01--1200 -- 99 Units √
ETCR2000A+
65×32
0.01--200 -- 99 Units √
ETCR2000C+
65×32
0.01--1200 0.0--20.0 99 Units √
ETCR2100+ φ32 0.01--1200 -- 99 Units √
ETCR2100A+
φ32 0.01--200 -- 99 Units √
ETCR2100C+
φ32 0.01--1200 0.0--20.0 99 Units √
Note: “√” meansavailable.
2. Ranges andAccuracyofMeasurement
Mode Range Resolution
Accuracy
Resistance
0.010 -0.099 0.001 ±(1%+0.01 )
0.10 -0.99 0.01 ±(1%+0.01 )
1.0 -49.9 0.1 ±(1%+0.1 )
50.0 -99.5 0.5 ±(1.5%+0.5 )
100 -199 1 ±(2%+1)
200 -395 5 ±(5%+5)
400-590 10 ±(10%+10 )
600 -880 20 ±(20%+20 )
900 -1200 30 ±(25%+30 )
*Current
(True-RMS)
0.00mA-9.00mA 0.05mA ±(2.5%+2mA)
10.0mA-99.0mA 0.1mA ±(2.5%+10mA)
100mA-300mA 1mA ±(2.5%+20mA)
0.30A-2.99A 0.01A ±(2.5%+0.1A)
3.0A-9.9A 0.1A ±(2.5%+0.5A)
10.0A-20.0A 0.1A ±(2.5%+1A)
Resistance MeasurementFrequency:>1KHz
MeasuredCurrentFrequency: 50Hz/60Hz
Setting RangeofResistance Alarm CriticalValue: 1 -199
*Setting RangeofCurrentAlarm CriticalValue 1mA -499mA

-6-
3. Specifications
Instrumentsafety: IEC/EN61010-1,IEC/EN6010-2-032
Insulation: doubleinsulation
Pollution degree: class II
Overvoltagecategory: CATIII150Vtoground, Max20A
Degrees ofprotection:
-IP30, GroupIII equipment asperEN60529 Ed92
-IK04, asperEN50102 Ed95
Dimensions(L×W×H):
-Longellipticjaw: 285mm×90mm×66mm; (11×4×3inches)
-Round jaw: 260mm×90mm×66mm;(10×4×3inches)
SpanofJaw: Longellipticjaw35mm; round jaw32mm
Weight (includingbatteries): Longellipticjaw-1160g,Round
jaw-1120g
Batterytype: 4 ×1.5Valkaline LR6AAbattery
Lowbatteryindication: isdisplayed
Internal consumption: <50mA
AutoPoweroff: after5minutesofidleness
Display: 4LCD, sign, decimalpoint and backlight
Memorysize: 99UnitsofReading
Environment (Temperature&RelativeHumidity):
-Working: -10°C~55°C, 10%RH-90%RH
-Storage: -20°C~60°C,below70%RH
Rangeshift: Full rangeautomaticshifting
External magneticfield: <40A/m
External electricfield: <1V/m
Datauploadinterface: RS232 (Optional)

-7-
IV. StructureofMeter
1. Long Pincers Jaw : 65mmx32mm
2. Round Pincer Jaw : φ32mm
3. Trigger: tocontrolopeningand closingofjaw
4. HOLDKey:lock / Releasedisplay / Storage
5. POWERKey: Boot Up/ Shutdown/*Quit /ClearData
6. MEMKey: DataAccess / ClearData
7.ALAlarmFunction Key:AlarmOpen /TurnOff/AlarmCritical
Value Setting
8. ResistanceMeasureSwitchKey (RightArrowKey)
9. *CurrentMeasureSwitchKey A(LeftArrowKey)
10. LiquidCrystal Display (LCD)
Note:"*"islimitedtoC+.

-8-
V. LiquidCrystalDisplay
1. LCD Screen
(1).AlarmSymbol
(2). Symboloflowbattery&voltage
(3). Symboloffulldatastorage
(4). Symbolofdataaccess
(5). 2-DigitalNo. OfDataStorageUnit
(6). Current unit
(7). Resistanceunit
(8). Noisesignal
(9). Datalock symbol
(10).Symbolofan open jaw
(11). SymbolofDC
(12). Metrication decimalpoint
(13). 4-digitalLCD figuresdisplay
(14). SymbolofAC

-9-
2. DescriptionofSpecial Symbols
Note:"*"islimitedtoC+.
. Symbolofan open jaw:Asajawisinthe open state,the
symbolshows.Atthispoint, triggermaybeartificiallypressed,
orthe jawshavebeen seriouslypolluted,andcan nolonger
continuetomeasure.
.⑵“Er”Boot errorsymbol,Maybepressingtriggerwhen boot or
jawhasbeen opened.
.⑶Symboloflowbattery&voltage:when the battery
voltageislowerthan 5.3V,thesymbolshows.Atthistime,it
cannotguaranteeaccuracyofthemeasurements.Batteries
shouldbereplaced.
.⑷"OL "symbolindicatesthatthemeasured resistancehas
exceededtheupperlimit ofthe Meter.
.⑸"L0.01 "symbolindicatesthatthemeasured resistancehas
exceededthelowerlimit ofthe Meter.
*.⑹"OLA"symbolindicatesthatthemeasuredcurrenthas
exceededtheupperlimit ofthe Meter.
.⑺Alarmsymbol:when the measured value isgreaterthan
the criticalvalue ofalarmsetting, the symbolflashes,and the
meterissued byintermittent "beep--beep –beep--"sound.
.⑻MEM Symboloffulldatastorage: memoryisfull ofdataunits
of99, andcannolongercontinuetostoredata. MEM symbol
flashes.
.⑼MR Symbolofaccess todata: todisplayinan access todata,
alsoincludingthe numberofdata.

-10-
.⑽NOISE signal:when thesymbolflashes, inthemeasurement
ofgroundingresistanceatagreaterinterferencecurrentin
the loop.Atthistimeitcannotguaranteeaccuracyofthe
measurements.
3. Examples Illustrated
Note:"*"islimitedtoC+.
.---Jawisinopen state,andcannot
measure
⑵. ---Boot errorinstructionsEr(Error)
⑶. ---Measured loopresistanceisless
than 0.01
.⑷---Measured loopresistanceis5.1
.⑸---Measured loopresistanceis2.1
---Lock the current measurement
value: 2.1
---Autostorageas08 set data
.⑹---Access tothe stored dataofUnit No.26
---Measured loopresistanceis0.028
*.⑺---Alarmfunction activated,themeasured currentexceeded

-11-
the criticalvalue ofalarmsetting
---Lowbattery&voltageisdisplayed.Atthistime,itnot
guarantee the accuracyofthe measurements
---Measured current is8.40A
---Lock the current value displayed
---Storethe current value asthedata
Unit No.37
.⑻--- Access tothe stored dataunit No.8
--- Measured resistanceis30
--- Thisdataismeasured inalotofsignalsinterference
VI. OperatingMethod
1.Bootup
Boot,DONOTpress thetrigger,don’topenjaws, nor
clampanywire
Bootcomplete,show “OL ”,thenpress thetrigger,
openjaws, clampthemeasuredwire
Beforebooting up,thetriggershouldbepressedfor
acoupleoftimes toensurethejawsarewell closed.
Boot,mustmaintainclampmeternaturalresting
state,don’tflipClamp,don’tbeimposedoutside
force on thejaw,otherwise cannotguaranteethe
accuracyofmeasurement
Press POWER KeytoBoot,first, automated testingLCD,

-12-
showall ofitssymbols(Figure1).Meanwhilethe instrument
auto-calibration,afterbootdisplayed "OL ",automaticallyenter
the resistancemeasurementmode (Figure2).Ifthereisno normal
bootself-calibration,instrumentwill show"Er"symbol,saidboot
error. need tocheck thecauseandreboot (Figure3).
Figure1Figure2Figure3
AfterPowerOnand SelfTest if
not appear"OL ",but showsalarge
resistance(Figure4).
However,when measured withthe
testring,still givesthe correctresult, indicatingClampmeasured
onlyinthe high-value (forexample,morethan100 )haslarge
errors,When measuringasmall resistanceretainsthe original
Accuracy, theusercanrest assureduse.
2Shutdown
Press POWER KeytoShutdown.
5minutesafterboot, LCD displayintotheblinking state.To
reducebatteryconsumption,blinkingstatefor30 seconds
automaticallyshut down.Intheblinkingstatepress POWER keyto
delayshutdown, Clampcontinue towork.
Inthe HOLD state, need topress HOLD keytoexit the HOLD
state,thenpress POWER keytoshut down.
InsettingAlarmCriticalValue state,needtopress the

-13-
POWER keyorpress the AL keyfor3seconds,exit AlarmCritical
Value state, thenpress POWER keytoshut down.
3Resistance Measurement
Afterthe bootingauto-inspection iscompleted,itshows"OL "and
will beabletoproceed withresistancemeasurement. At thispoint,
press the triggerand open thejaws, clampthe targetloop, reading
toget theresistancevalue.
Ifthe userthinks it necessary, the test can bedone withthe ringas
showninthe followingfigure5.Itsshowvalue shouldbeconsistent
withthe normalvalue on the test ring(5.1 ).
Thenormalvalue on thetestringisthe
value at atemperatureof20°C.
It isnormaltofind the differenceof
numerical1wordbetween the show
value and thenominalvalue,
Forinstance:Ifthe nominalvalue of
test ringis5.1 , it wouldbenormal
showing5.0 or5.2 .Figure5
It shows"OL ”, indicatingthat the
measured resistancevalue exceeded
the upperlimit ofMeter, see Figure2.
It shows"L0.01 ”, indicatingthat the
measured resistancevalue exceededthelowerlimitofMeter,see
Figure6.
Flashingdisplaysymbols,go withintermittent
"beep--beep--beep--"sound,indicatingthemeasured resistance

-14-
exceedsthe resistanceofAlarmCriticalValue.
Inthe HOLD state, need topress HOLD keytoexit the HOLD
state,then continue measurement.
Inthe MR state,need topress MEM keytoexitthe MR state,
then continuetomeasurement.
InsettingAlarmCriticalValue state,needtopress the
POWER keyorpress the AL keyfor3seconds,exit AlarmCritical
Value state, thencontinue tomeasurement.
*Inthe currenttestmode,press keytoswitchto
resistancetestmode.
*4 CurrentMeasurement
Afterthebootingauto-inspection iscompleted,theMeter
automaticallyentertheresistancemeasurementmode.Upon
showing"OL ",press Akey,and the Meterenterthe current
measurementmode,showing"AC0.00mA",see Figure7.Atthis
point, press the triggerand open the jaws,clampthe targetwire,
readingtoget
the current value.
It shows"OLA”, indicating
that themeasured current value exceeded theupperlimit ofMeter,
see Figure8.
Flashingdisplaysymbols,gowithintermittent"beep
--beep--beep--"sound,indicatingthe measured currentexceeds
the currentofAlarmCriticalValue.
Inthe HOLD state, need topress HOLD keytoexit the HOLD
state,then continue measurement.

-15-
Inthe MR state,need topress MEM keytoexitthe MR state,
then continuetomeasurement.
InsettingAlarmCriticalValue state,needtopress the
POWER keyorpress the AL keyfor3seconds,exit AlarmCritical
Value state, thencontinue tomeasurement.
Inthe resistancetestmodel,press A keytoswitchtocurrent
test model.
5DateLock/Release/Storage
Intestmodel,press HOLD keytoLock currentlydisplayed
value and HOLD symbol.Atthesametime,thislock-valuesasa
setofdatafollowed byauto-IDand store,andthenpress HOLD
keytocancelthelock, HOLD symboldisappeared,can continue
tomeasure.Loopoperation,can store99 setsofdata.Ifthe
memoryisfull,blinkingdisplay MEM symbol.
Figure9,Lock measured resistance0.016 ,atthesametime
asthe first 01 setsofdatastorage.
*Asindicated inFigure10,lock the measured current278mA,and
saveit asdataunit No.99.
And thememoryisfull now.
blinkingdisplay MEM symbol.
IntheDateAccess Model,press MEM keytoexit,then can
lock and storagethe data.
InsettingAlarmCriticalValue state,needtopress the
POWER keyorpress the AL keyfor3seconds,exit AlarmCritical
Value state, thencan lock and storagethe data.
Shutdownand thenboot up, don’t losestored data.

-16-
6DataAccess
Press MEM keytoenterDataAccess Model,thedefault
displaystored inthe first 01 Units
ofdata, showninFigure11.Then
the right arrowkeys, up, read the
datastored,press the left arrowkey,
scroll downtothe datastored.Ifnotstoredata,displayshownin
Figure12.
InsettingAlarmCriticalValue state,needtopress the POWER
keyorpress the AL keyfor3seconds,exitAlarm CriticalValue
state,thenpress MEM keytoenterdatastoragemodel.
7Alarm Settings
Inthe testmodel,press AL keytoturnonorshutdownalarm
function.
Intestmodel,press AL keyfor3seconds,then entertoset
alarmcriticalvalue function,temporality,thehighest-digitflashing,
firstsetamaximumbit, showninFigure13,Figure14.Press AL
keytoswitchtothelownumber,inthe currentdigitflashing,press
the left/rightarrowkeystochangethe"0,1,...9"figures,afterthe
numberfinished setting, press the AL keyfor3secondstoconfirm
the currentsetalarmcriticalvalue,when setthealarmfunction
successful,openingalarmfunction,thenautomaticallyreturnto
measurementmode.Ifthe loadbiggerthan thealarmcritical,
meterwill beflashingan

-17-
alarmsymbol, also
issued intermittent
"beep--beep--beep--"
sound.
Settingprocess,press POWER keytoexitAlarm Critical
Value settingfunction,returntomeasurementstatus,doesnot
changetheprevioussettings.
Indataaccess model,press MEM keytoexit,then setting
AlarmCriticalValue.
8Access toAlarm Critical Value
Press AL keytoenterthemode ofresistanceorcurrent
measurement. Press down AL keyfor3sec,you can access to
check thealarmcriticalvalue,whichwouldflashesinhigh-digit.
Thevalue accessed wassetinthelasttime.And againpress down
AL keyfor3secor POWER keytoquitfromthe access stateand
returntothe measuringstate.
Asindicated inFigure15, thealarmcritical
value ofresistanceset inthelast timeis20 .
9ClearData
Inthe dataaccess model,press MEM+POWER, automatism
clearall the stored data.AfterclearingdisplayshowinFigure12.
Thedatacan’t berestoreafterclear.
Note:"*"islimitedtoC+.
This manual suits for next models
5
Table of contents
Other ETCR Test Equipment manuals
Popular Test Equipment manuals by other brands

Keysight Technologies
Keysight Technologies U3020AD01 User's and service guide

Agilent Technologies
Agilent Technologies 1153A User and service manual

NI
NI PXI-5122 Getting started guide

Midtronics
Midtronics EXP-1050 Software update procedure

DGC
DGC DHT-400PLUS instruction manual

Fluke
Fluke 9132 user guide