PCB function
PCB
With thePCB functionon, choosinga song
on aCD canonly bedone whenat themain
menu. Withthe PBCfunction off,song
selections canbe madeby enteringthe
number ofthe songselection withthe
number buttons.
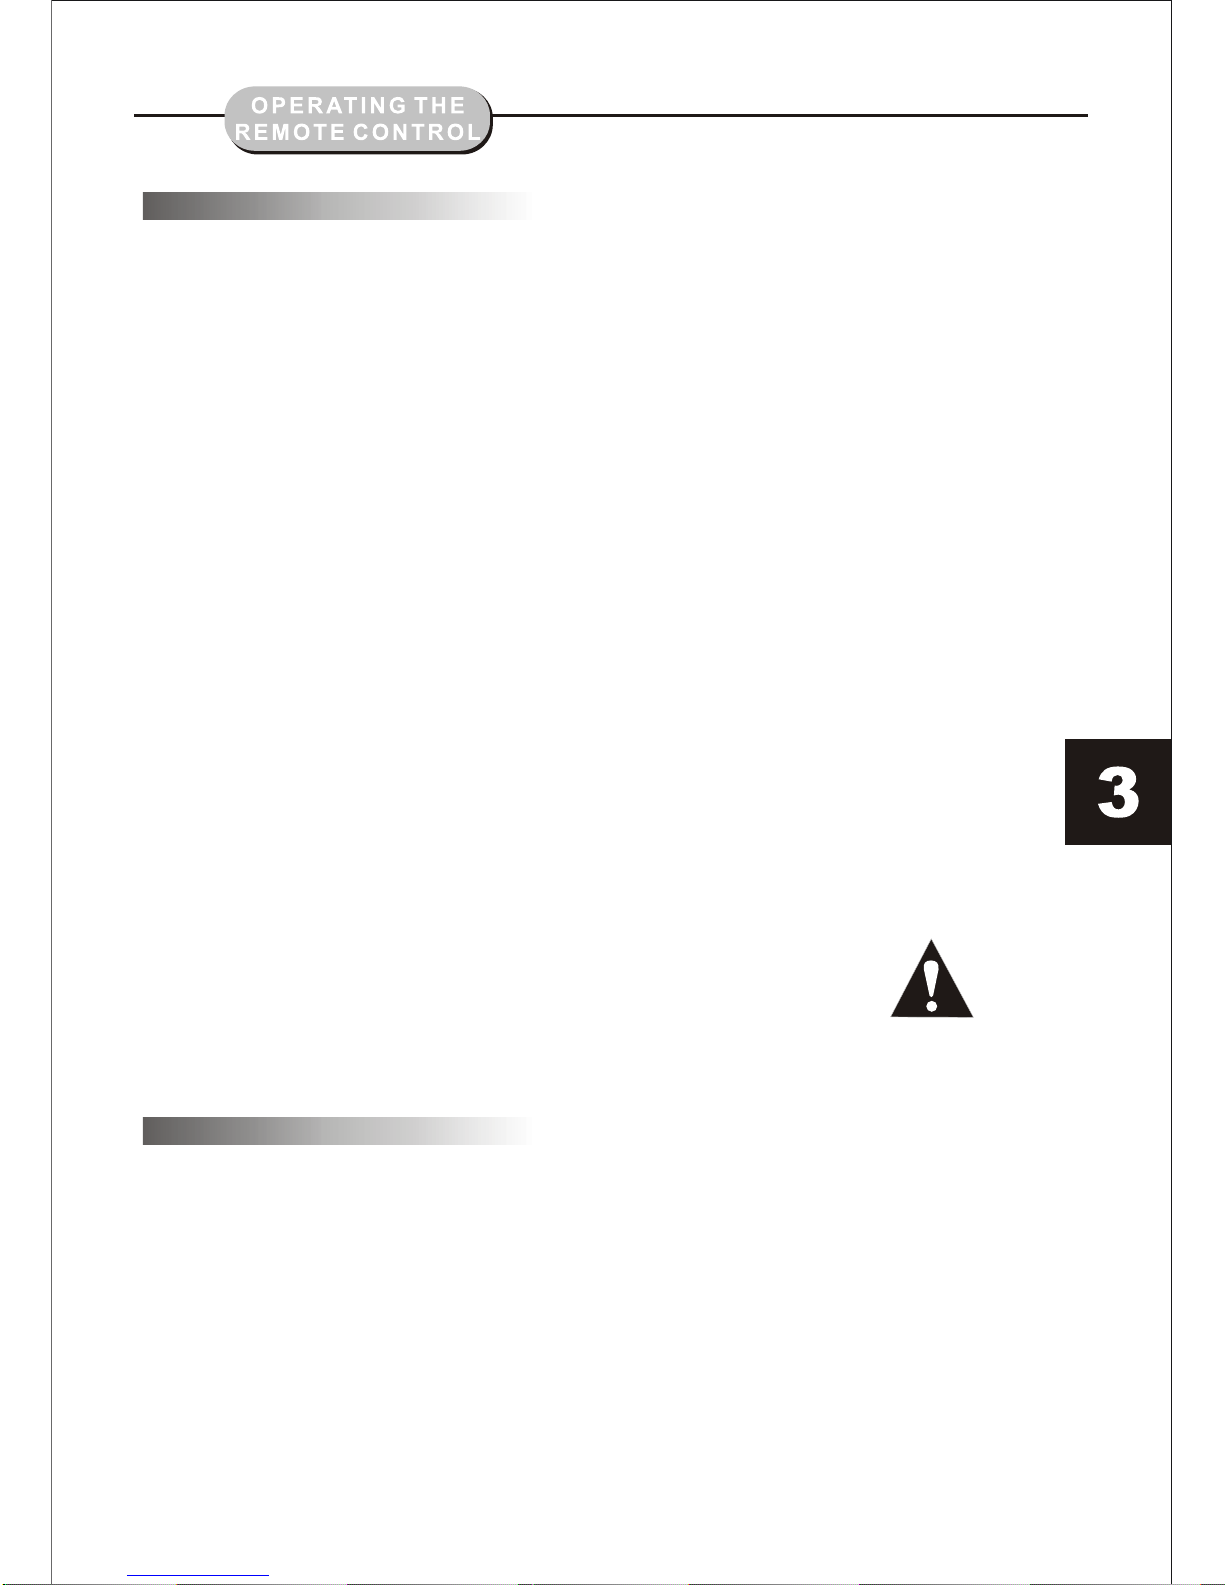
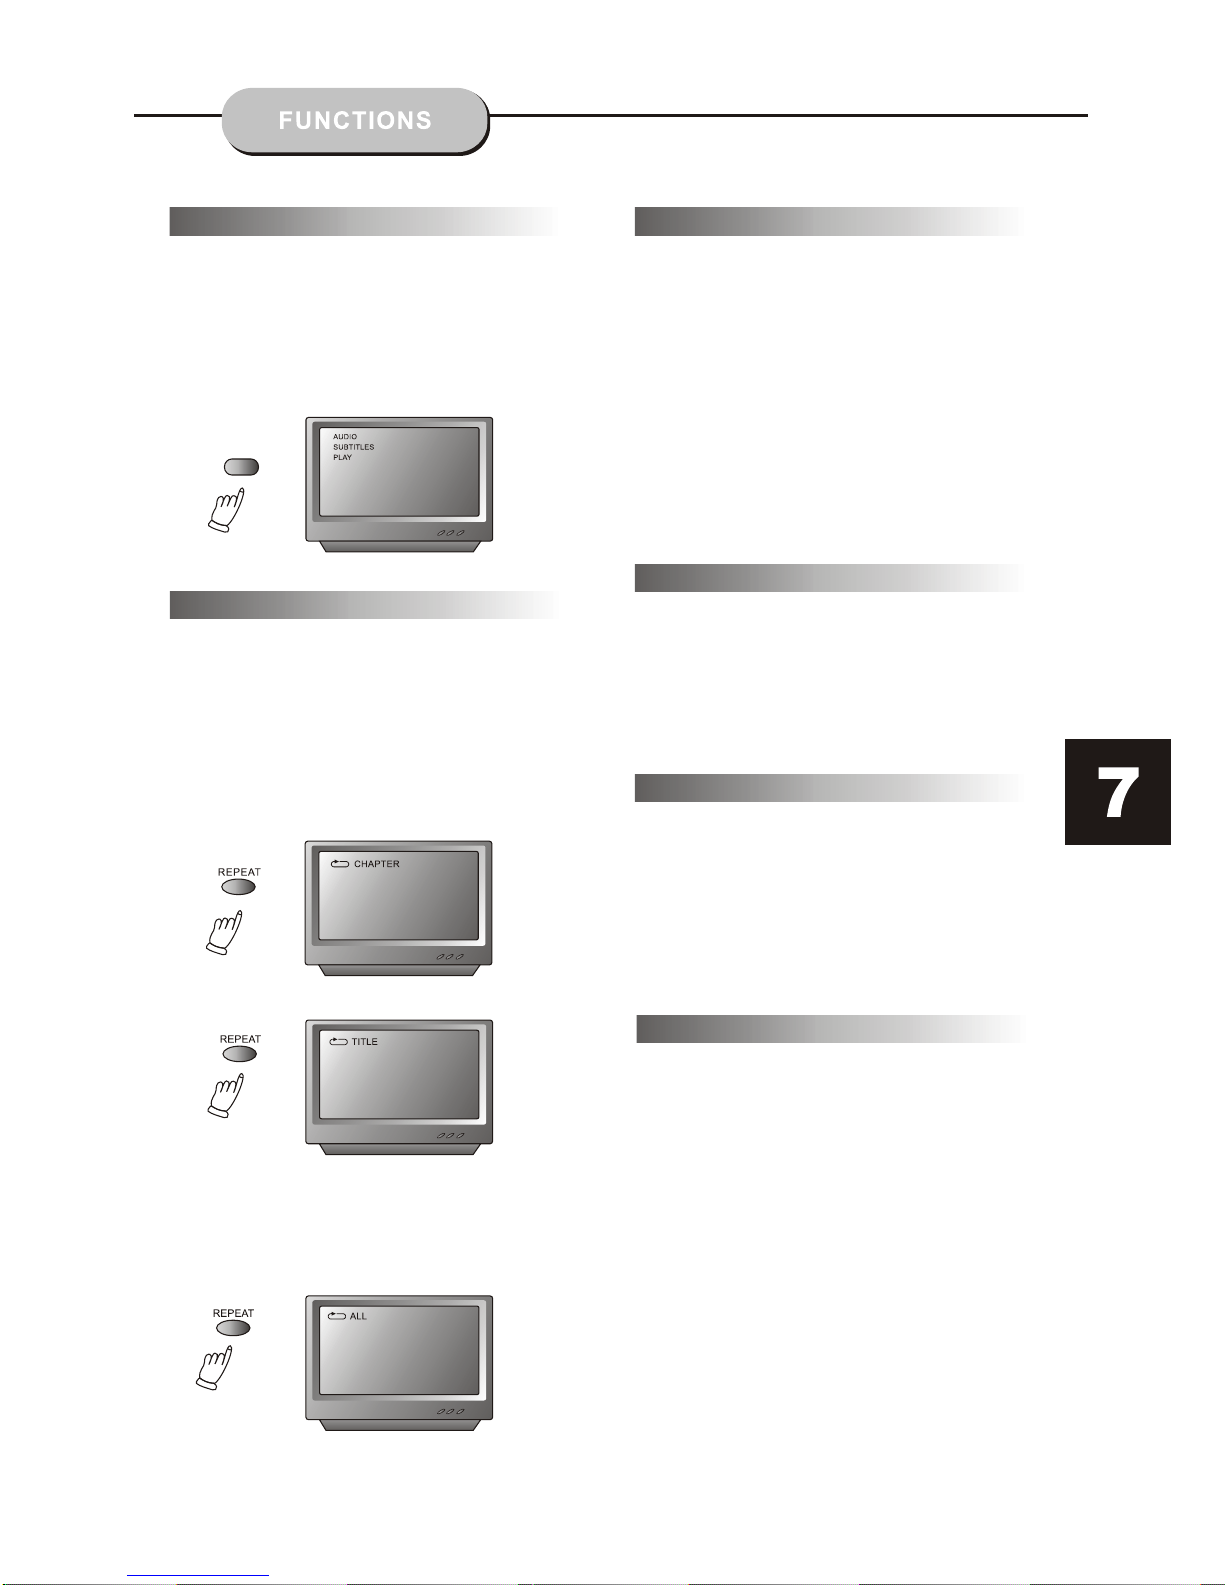
Repeat Play
This DVDreceiver allowsrepeated
playback ofspecific titles,chapter/
tracks, orsegments. Iteven allows
switching betweentwo itemsthat
are beingrepeated,
1. Selectthe itemto repeat.
2. Pressthe REPEATbutton.
The repeatmode changeseach time
the REPEATbutton ispressed (i.e.,
from titlerepeat tochapter repeat,
all repeat,to repeatoff.)
ZOOM
Apicture maybe enlargedup tofour times
during eitherplayback orslow motionthrough
the unit'szoom function.Press theZOOM
button onceand itenlarges theimage 2x,
press asecond timeand theimage enlarges
3x.Athird pressenlarges theimage 4x.
Afourth press,shrinks theenlarged imageby 1/2x,
a fifthpress shrinksthe image1/3x, asixth press
shrinks theimage 1/4x.To returnto normal-size
image, pressthe ZOOM button aseventh time.
Enlargement takesplace inthe centerof the
picture.
The volumeon thisDVD playeris easily
controlled withthe remotecontrol bypressing
either theVOL +button toraise thevolume orthe
VOL- button tolower it.By pressingthe MUTE
button, noaudio willbe heard.To returnthe
audio, pressthe MUTE button again.
This functionallows youto programthe desired
order ofplay forspecific tracks.Press thePROG
button, andthe Programmenu willappear onthe
screen. Setthe programsplay orderusing the
number buttons.Then scrollto Starton themen.
Press theENTER button tobegin programplay.
To exitfrom theprogram playmode, pressthe
PROG button again.
Press theSETUP button onthe remotecontrol
and themain menuwill appear.
1.After accessingthe setupmenu, pressthe
scroll buttonup ordown toselect adesired Item.
Once anitem isselected, pressthe PLAY/PAUSE
button toconfirm yourentry andthen youwill
have accessto theSub-directory.
2. Usethe leftor rightscroll buttonsto move
the pointerand theup ordown scrollbuttons
to selectthe desiredoption. Oncean itemis
selected, pressthe ENTER button toconfirm
your selection.This completesthe setupof
the selectedfunction.
Volumeand Mute
Program
DVD MenuSetup